Bound To
You
written
8/29/2014
Supplies
needed:
Tube is by
Di_Halim. You can get this tube at
http://scrapsncompany.com/index.php?main_page=product_info&cPath=161&products_id=5301
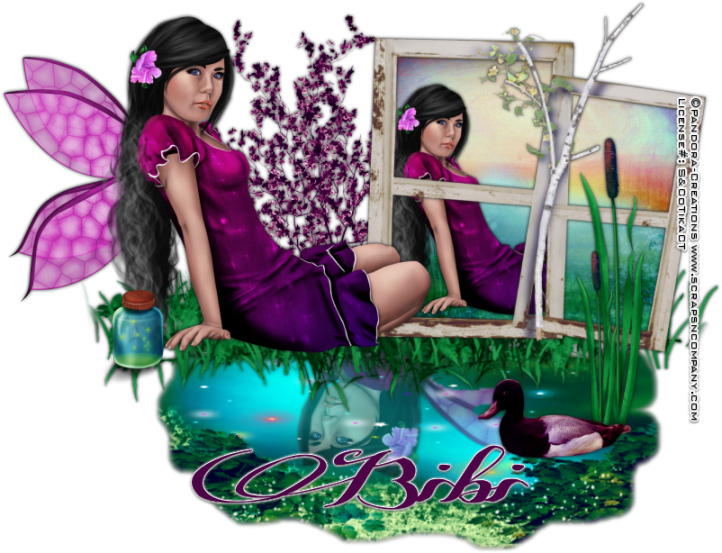
Scrap Kit
is by Bibi's Collection. You can get it at
http://scrapsncompany.com/index.php?main_page=product_info&cPath=161&products_id=5301
Template
is by Me. You can get it at
http://www.4shared.com/photo/ZXCs6M2Jba/BoundToYouTemplate2014tbt.html
Mask of
your choice. I am use the Glass Block Edge mask by EssexGirl. You can
get it at http://www.essexgirl.uk.com/sg_masksp11.htm
Font of
your choice. I am using Channel. You can get it at
http://www.fontriver.com/font/channel/
Lets
Begin:
Open the
template and shift+D to duplicate.
Close the
original.
Delete the
creators information layer.
Make your
canvas large enough to work with.
Open paper
12 and copy and paste as a new layer.
Drag to
the bottom.
Apply your
mask.
Delete the
mask layer and merge the group.
Re-size
the mask so that it is just behind the circle layers so to speak.
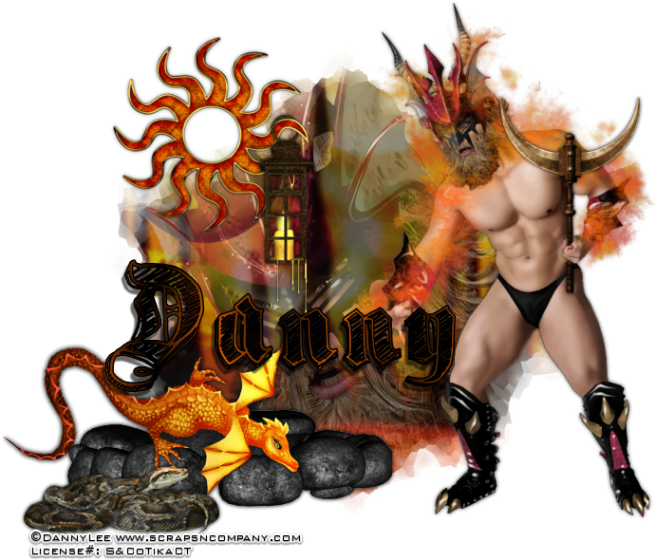
Use my tag
for reference if needed.
Make your
black rectangle layer active and go to selections select all float
and defloat.
Open paper
7 and copy and paste as a new layer.
Selections
invert.
Hit
delete.
Selections
select none.
Delete the
original black rectangle layer.
Using your
eye candy 4000 gradient glow add a fairly thick black glow to the new
rectangle layer.
Add a drop
shadow.
Make your
large grey circle layer active and go to selections select all float
and defloat.
Layers new
raster layer.
Open paper
11 and copy and paste into selection.
Selections
select none.
Delete the
original grey circle layer.
Add the
same gradient glow to the new layer and add a drop shadow.
Make the
center grey circle layer active and selections select all float and
defloat.
Layers new
raster layer.
Open paper
6 and edit copy and paste into selection.
Open your
tube and copy and paste as a new layer and position in the circle.
Selections
invert and erase any bits hanging out that you do not want.
Selections
select none.
Delete the
original circle layer.
Add a
gradient glow to the new paper layer.
Add a drop
shadow to both the paper layer and your tube.
Add a drop
shadow to the text glitter layer.
Make your
Dash Dot Lines layer active.
Adjust
add/remove noise and add noise at 100% monochrome and uniform.
Add a drop
shadow.
Open
element 42 and re-size so it will fit nicely on the side of your tube
within the rectangle area.
Copy and
paste as a new layer and move to the left of the tube and duplicate.
Image flip
horizontal.
Move to
the right side of your tube.
Open
element 36 and re-size so it will fit nicely on the right hand side
of your tag.
Copy and
paste as a new layer and place in the lower right.
Add a drop
shadow.
Open
element 35 and re-size so it will fit nicely on the same right hand
side.
Copy and
paste as a new layer and drag down to just above your tube.
Place on
the right side and use my tag for reference if needed.
Open
element 65 re-size.
Copy and
paste as a new layer and drag down to just above your rectangle
layer.
Image
rotate to the left 30 degrees.
Open
element 132 and re-size so they fit nicely under your shoes.
Copy and
paste as a new layer.
I chose to
erase bits so it looked like they were wound around the shoes.
Open
element 137 and copy and paste as a new layer and place along the
bottom of your tag.
Add your
name and copyright information.
Crop and
save.