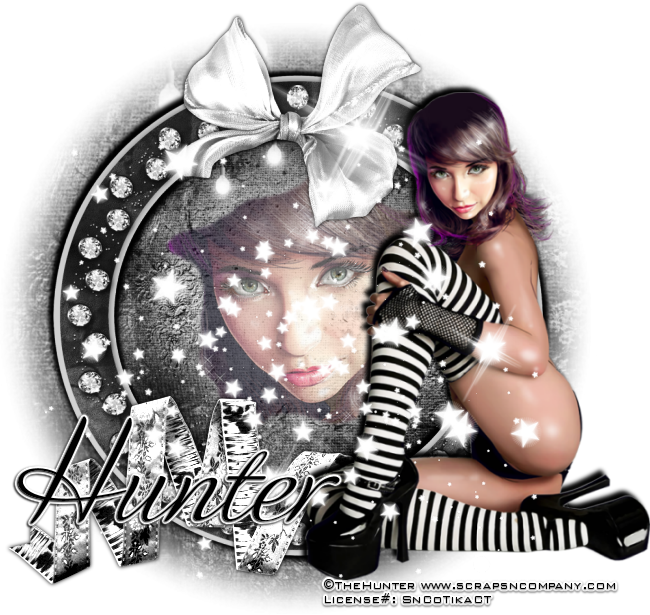
Saturday, November 29, 2014

Unwrap Me


Unwrap Me
written 11/28/2014

Supplies Needed:


Mask of your choice. I am using one by sagitara7. You can get it at http://sagitara7.deviantart.com/art/paint-shop-pro-masks-269765752

Font of your choice. I am using Flaemische Kanzleischrift. You can get it at http://www.1001fonts.com/flaemische-kanzleischrift-font.html

Plugins:

Lets Begin:

Open paper 6 and shift + D to duplicate.
Close the original.
Re-size to a size you like.
Apply your mask.
Delete the mask layer and merge the group.
Using your selection tool set to rectangle select the middle of the mask.
Open the close up of your tube and copy and paste as a new layer.
Re-size so she fits nicely within the selected area.
It's ok if you have bits hanging out the top of it.
Selections invert and using eraser remove any bits you don't want hanging out.
Selections select none.
Add a drop shadow.
Open element 10 and re-size by 75%.
Copy and paste as a new layer and place along the bottom of the tag.
Add a drop shadow.
Open element 16 and re-size by 55%.
Copy and paste as a new layer and drag under your tube.
Move to the far left side.
Add a drop shadow.
Open element 17 and re-size by 35%.
Copy and paste as a new layer.
Move the lower right corner on top of the ribbon.
Add a drop shadow.
Open element 22 and re-size by 50%.
Copy and paste as a new layer.
Move to the lower right and drag it under the bell.
Add a drop shadow.
Open element 129 and re-size so it will fit on the top of the tree.
Copy and paste as a new layer and drag to where its just on top of the tree.
Add a drop shadow.
Add your name.
Add your copyright and licensing information.
Crop and save.

Friday, November 14, 2014

Stockings


Stockings
written 11/14/2014

Supplies Needed:


Matching scrap kit by Bibi's Collection. You can get it at http://scrapsncompany.com/index.php?main_page=product_info&products_id=6486

Mask of your choice. I am using mask #200 by Insatiable Dreams. You can get her masks at http://insatiabledreams.net

Font of your choice. I am using Adios Script. It is a Pay To Use font. You can purchase it at http://www.myfonts.com/fonts/sudtipos/adios-script-pro/regular/

Plugins:
None

Lets Begin:
Open element 9 and shift+D to duplicate.
Close the original so you can use it again.
Re-size by 65%.
Make your canvas larger so you have room to work with.
Layers new raster layer and drag under the frame.
Make your frame active and use your magic wand to select the inside of the frame.
Selections modify and expand by 6.
Open paper 2 and copy and paste into selection.
Selections select none.
Use your freehand selection tool set to freehand.
Draw around the middle part of the paper that looks to be the whitest.
Open the closeup of your tube and copy and paste as a new layer and position her face within the part that you just selected.
Selections invert and hit delete.
Selections invert again and then go to selections modify and contract by 4.
Selections invert and then selections feather and hit delete a few times.
This will soften the edges of your tube.
Selections select none.
Lower the opacity of this tube layer to 60.
Copy and paste the paper again as a new layer and drag to the bottom.
Apply the mask of your choice.
Delete the mask layer and merge the group.
Center behind your frame if it is not there already.
Add a nice drop shadow to your frame.
Open your full size tube and re-size so it will fit nicely along side the frame.
Copy and paste as a new layer and move to the far right side.
Add a drop shadow.
Open element 6 and copy and paste as a new layer and move under your tube.
Place along the bottom of the frame.
Add a drop shadow.
Open element 7 and re-size by 65%.
Copy and paste as a new layer and place at the top center of the frame.
Add a drop shadow.
Open element 76 and re-size by 50%.
Copy and paste as a new layer and center on your tag.
Add your name.
Add your copyright and licensing information.
Crop and save.


Friday, November 7, 2014

The Sadness


The Sadness
written11/7/2014

Supplies Needed:


Scrap Kit by Disturbed Scraps. You can get this kit at http://scrapsncompany.com/index.php?main_page=product_info&products_id=6416

Font of your choice. I am using Guilty for the word sadness which you can get at http://www.fontspace.com/misprinted-type/guilty. I am also using Grunge Caltek Bold for the rest of the wordart. You can get it at http://www.fontpalace.com/font-details/Grunge+Caltek+Bold/. For the name I am using the alpha from the kit.

Plugins:
Eye Candy 4000 Gradient Glow

Lets Begin:
Open element 76 from the kit and shift+D to duplicate.
Close the original.
Re-size by 75%.
Image rotate to the right or left. Does not matter.
Make your canvas large enough to work with.
Using your magic wand select the inside of the frame.
Selections modify and expand by 6.
Open paper 14 and copy and paste as a new layer.
Drag under the frame.
Selections invert and hit delete.
Selections invert again and selections modify and contract by 4.
Open your tube and copy and paste as a new layer.
Drag under the frame and move over to the far right side.
Position wherever you are happy with the placement.
Selections invert again and hit delete.
Selections select none.
Apply a slight gradient glow in white around your tube.
Open element 27 and re-size by 75%.
Copy and paste as a new layer and drag under the tube.
Place near the top and behind your tube.
It is ok if it peeks out the top of your frame some.
Open element 46 and re-size by 50%.
Copy and paste as a new layer at the top.
Move to the top left corner of the framed area.
Duplicate.
On the bottom copy go to adjust blur gaussian blur and blur at 25.
On the blur layer apply the blinds texture included in psp with the following settings:
width – 2
opacity – 70
color – black
horizontal and light from left/top both checked
Add a drop shadow to the top copy.
Lower the opacity of this layer to 75.
Open element 32 and re-size by 90%.
Copy and paste as a new layer at the top.
Place along the bottom of the frame area.
Add the same gradient glow you did to your tube.
Add a drop shadow.
Open element 80 and copy and paste as a new layer.
Move to where it is coming from the bottom middle of the frame area up over the top of the clock.
Re-size so it will fit nicely as it is rather large.
Add your wordart/text.
Add your name.
Add your copyright and licensing information.
Crop and save.