Thursday, January 29, 2015

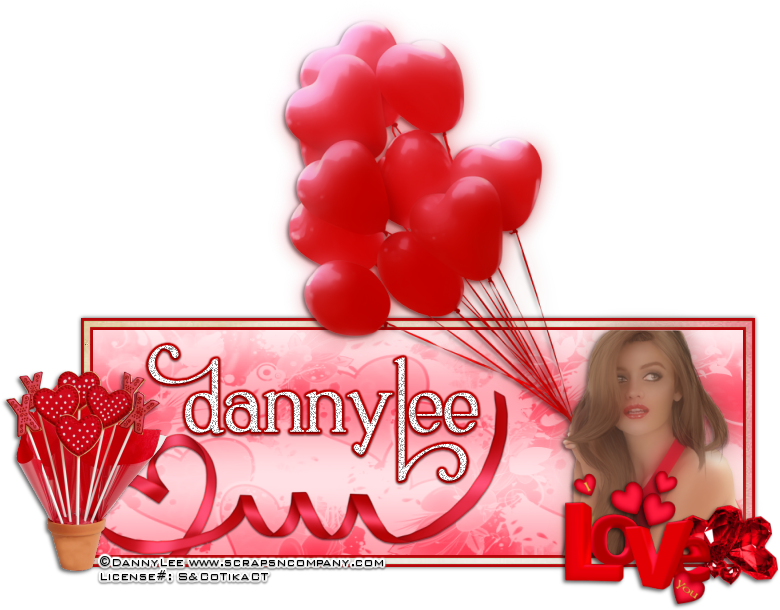
Full Of Love - Forum Set


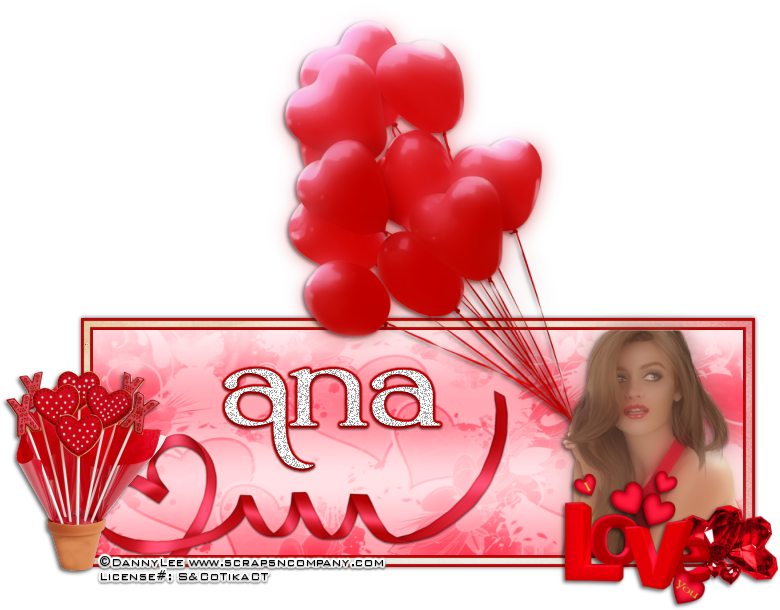
Full of Love – Forum Set
written 1/29/2015

Supplies Needed:


Mask of your choice. I am using one by Moonbeams and Spiderwebs. I am using mask# 29. You can get it at http://moonbeamsandspiderwebs.blogspot.com/2013/01/mask-49-forum-mask-29.html

Font of your choice. I am using SNF Ambrosia Bold. It is a PTU font but you can get it at http://www.letteringdelights.com/font:snf_ambrosia_bold-10513.html It is on sale for 75cents right now.

Plugins:
None

Lets Begin:
Open a new blank canvas for 650x225.
Set your foreground color to white and your background color to a color from your tube.
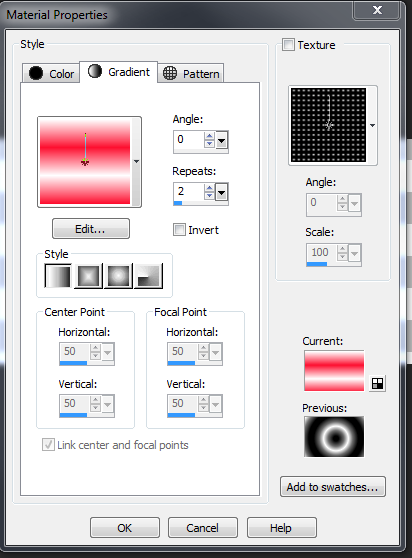
Change the background color properties to a gradient with the following settings:


Flood fill your canvas.
Adjust blur gaussian blur at 25.00.
Layers new raster layer and flood fill with white.
Apply your mask.
Delete the mask layer and merge the group.
Lower the opacity of this layer to 50.
Open ribbon1 and re-size by 75%.
Copy and paste as a new layer.
Move to the lower left hand corner of the canvas.
You want to make it look as if it is coming out of the canvas.
Crop your canvas at this time.
Image add border of 3 in a color from the ribbon.
Image add border of 6 in any contrasting color. You want to make sure its something completely different so you can select it and we can fill it with a paper from the kit in a minute.
Image add border of 3 in the same color as the first border.
Using your magic wand select the off color border.
Open paper 4 and edit copy and paste into selection.
Selections select none.
Promote your background layer to a raster layer.
Image canvas size and make it large enough to work with.
Using your selection tool set on rectangle select the center portion of your tag canvas.
Open your tube and copy and paste as a new layer.
Move over to the far right side of the tag canvas within your selected area.
Selections invert and use your eraser tool to erase any bits of the the tube that are hanging out except for the balloons.
Once you are done selections select none.
Duplicate your tube.
On the top copy go to adjust blur gaussian blur of 10.
Lower the opacity of the blurred layer to 60.
Add a drop shadow to the bottom copy of the tube.
Open cookies element and re-size by 50%.
Copy and paste as a new layer and move to the bottom far left corner.
Add a drop shadow.
Open diamonds element and re-size by 50% and then again by 60%.
Copy and paste as a new layer and move to the far bottom right hand corner.
Add a drop shadow.
Open wordart and re-size by 50% 2x.
Copy and paste as a new layer and move to the bottom to the left of the diamonds.
Add a drop shadow.
Add your name in the tag canvas.
Add your copyright and licensing information.
Crop and save.
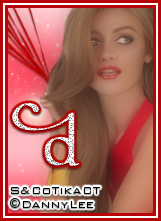
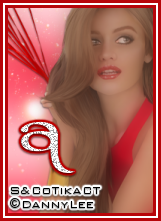
Now lets begin our avatar:
Open a new canvas of 145x205.
Flood fill with the same gradient as you did your tag above and apply the same gaussian blur as you did above.
Open light1 and copy and paste as a new layer.
Open your tube and copy and paste as a new a layer.
Duplicate the tube and gaussian blur by 10 as you did on your tag.
Add a drop shadow to the bottom copy of the tube.
Add a border of 3 in the same red you used on your tag border and then a border of white that is 2 wide and then another red border of 3.
Add your name or initial.
Add your copyright and licensing information.
Save. 


All You Need Is Love


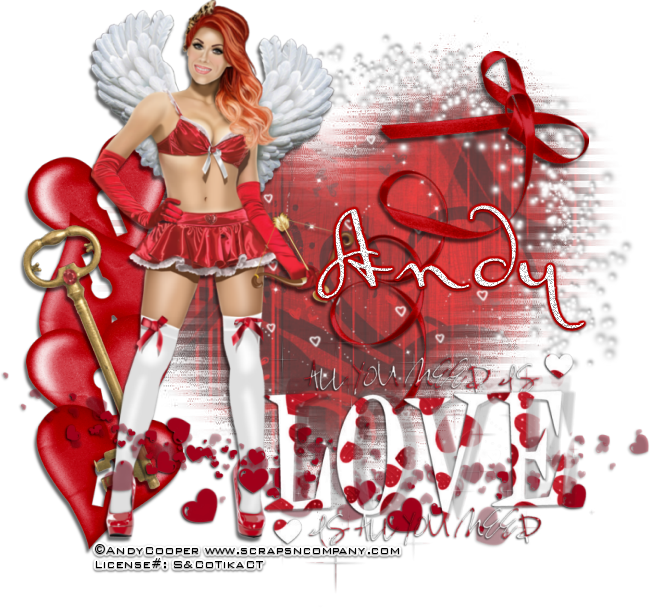
All You Need Is Love
written 1/29/2015

Supplies Needed:


Matching scrap kit by Bibi's Collection. You can get it at http://scrapsncompany.com/index.php?main_page=product_info&products_id=7566

Mask by Vix. I am using mask # 10 and mask #447 . You can get them at http://www.freewebs.com/vixpsp/

Font of your choice. I am using Bluelmin Ralph. You can get it at http://www.fontspace.com/intellecta-design/bluelmin-ralph

Plugins:
None

Lets Begin:
Open paper 6 and shift+D to duplicate.
Close the original.
Re-size to a size you like. We are going to use this for a mask.
Promote background to a layer and make your canvas large enough to work with.
Apply your first mask.
Delete the mask layer and merge the group.
Open element 66 and re-size so it will fit nicely on top of the mask with not much overhang.
Copy and paste as a new layer and position.
Open your tube and re-size so she will fit nicely along side of the heart mask.
Copy and paste as a new layer and move to the far left side.
Add a drop shadow.
Open element 73 and re-size by 75% 2x.
Image flip horizontal.
Copy and paste as a new layer and move to the right side and place so it looks like it is attached to the top right corner edge of the heart.
Add a drop shadow.
Open element 80 and copy and paste as a new layer.
Drag under your tube.
Now re-size so it will fit nicely along side of your tube and move to the left of her a bit.
Add a drop shadow.
Open element 97 and re-size by 75% 2x.
Copy and paste as a new layer and move over on top of the hearts you just placed.
Add a drop shadow.
Open element 106 and re-size by 75%.
Copy and paste as a new layer and drag under the bow and ribbon you have on there already.
Move over to the far top right.
Open paper 8 and re-size just as you did your first paper.
Copy and paste as a new layer and make sure its at the top.
Apply the second mask and delete the mask layer.
Merge the group.
Add a nice drop shadow to help it stand out.
Place along the bottom to the right of your tube.
Open element 96 and re-size by 75%.
Copy and paste as a new layer.
Drag under the wordart you just created.
Place along the bottom of the tag.
Add a drop shadow to help it standout.
Add your name.
Add your copyright and licensing information.
Crop and save.


Tuesday, January 27, 2015

Hot In The City


Hot In The City
written 1/27/2015

Supplies Needed:


Scrap Kit by Bibi's Collection. You can get it at http://scrapsncompany.com/index.php?main_page=product_info&products_id=7599

Font of your choice. I am using Atelas. You can get it at http://www.dafont.com/atelas.font

Plugins:
None

Lets Begin:
Open element 21 and shift+D to duplicate.
Close the original for use later.
Re-size to the size you wish. This will be the base of your tag.
Make your canvas large enough to work with.
Add a drop shadow.
Open element 41 and re-size by 65%.
Copy and paste as a new layer and place in the top left corner of the tag.
Using your magic wand select the inside of the black area of the element.
Open paper 1 and copy and paste as a new layer.
Re-size by 50%.
Move upwards so that the city skyline is within the selected area.
Selections invert and hit delete.
Selections select none.
Lower the opacity of this layer to 69.
Merge down to the element.
Apply a drop shadow.
Open your tube and re-size as necessary.
Copy and paste as a new layer.
Move to the far right hand side of the tag.
Add a drop shadow.
Open element 62 and re-size so it will fit nicely along the bottom of your tag.
Copy and paste as a new layer and drag under to the tube.
Open element 111.
Re-size so it will fit nicely along the bottom of your tag in front of your tube.
Image flip mirror so the front tire is facing the left side of the tag.
Copy and paste as a new layer and move into position in front of your tube.
Add a drop shadow.
Open element 96 and copy and paste as a new layer.
Move to the left of the bike.
Open element 85 and re-size by 50% 2x.
Copy and paste as a new layer and move behind the element with the cityscape in it.
Place at the top left.
Duplicate and move the copy to the right of your tube near her head.
Open element 82 and copy and paste as a new layer.
Place on the far right side of the tag next to the tube and the motorcycle.
Open element 7and re-size by 50%.
Copy and paste as a new layer and move to the far left side at the bottom of your element with the cityscape in it.
Image free rotate to the left 22 degrees.
Adjust sharpen.
Add a drop shadow.
Open element 46 and copy and paste as a new layer.
Place right in the center at the bottom of the thermometer.
Add a drop shadow.
I add some text along the top. This is completely up to you.
Add your name.
Add your copyright and licensing information.
Crop and save.


Monday, January 19, 2015

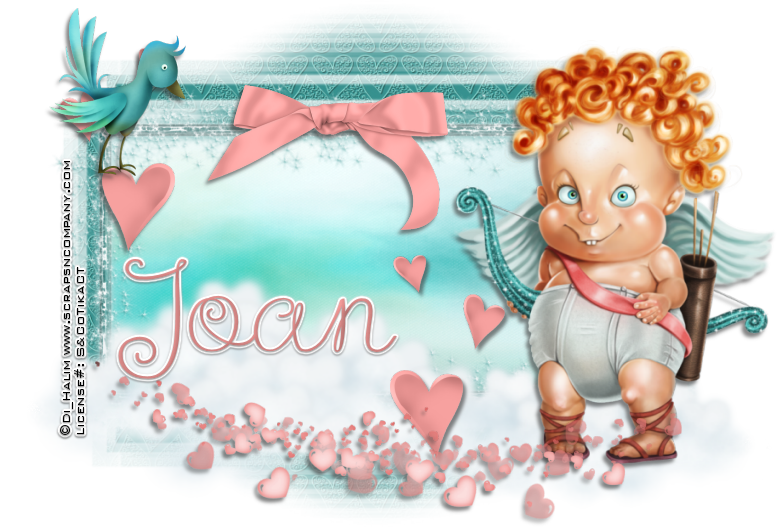
Cupid Shuffle


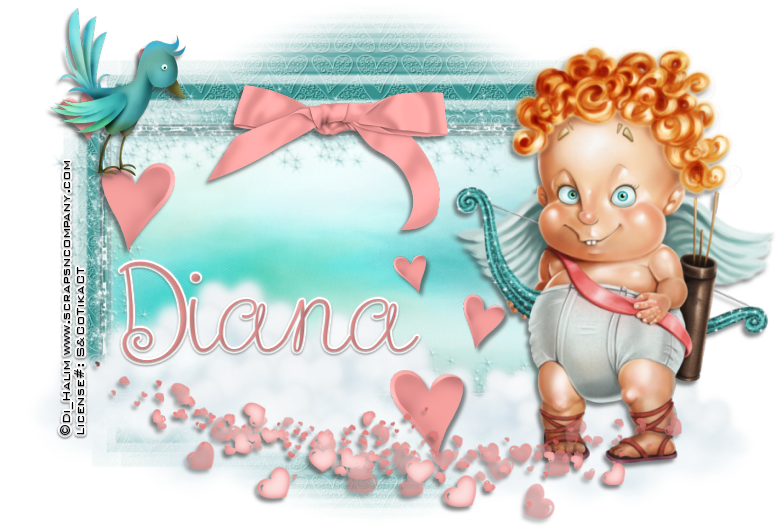
Cupid Shuffle
written 1/19/2015

Supplies Needed:


Mask of your choice. I am using mask #145 by WeeScotLass Creations. You can get her masks at http://weescotslasscreations.blogspot.com/2009/04/masks.html

Cloud tube is by Rainbow Coffi. There are cloud elements in the kit but I did not like the way they were cut off so I opted to use Rainbow Coffi's. Her's are free to use but you must be a member of PSP Playground and they are not accepting new members. If you are you can get the clouds I used at http://www.psp-playground.com/

Font of your choice. I am using Sweethearts Love Letters. You can get it at http://www.dafont.com/sweethearts-love-letters.font

Plugins:
None

Lets Begin:
Open element 77.
Shift +D to duplicate.
Close the original.
Re-size by 85%.
Make your canvas large enough to work with.
Using your freehand selection tool set to point to point draw around the frame edge.
Layers new raster layer and drag under the frame.
Open paper 2 and edit copy and paste into selection.
Selections select none.
Open paper 8 and copy and paste as a new layer.
Drag to the bottom.
Apply your mask.
Delete the mask layer and merge the group.
I re-sized mine by 90% to make it fit better behind the frame but this is up to you based on the mask that you use.
Open your tube and re-size so he will fit nicely along side of the base of the tag you just created.
Copy and paste as a new layer and move to the far right side.
Add a drop shadow.
Open your cloud tube or cloud element whichever you are using and copy and paste as a new layer and place along the bottom of the tag to the far left.
Duplicate and image flip horizontal.
Re-size this duplicate by 75%.
Move this duplicate to the far right behind your tube.
Open element 45 and re-size by 60%.
Copy and paste as a new layer and place in the top left corner.
Duplicate and image flip horizontal.
Move to the lower right side just to the left of your tube.
Open element 89.
Re-size by 50%.
Copy and paste as a new layer and place so he is standing on top of the largest heart in the group near the top left.
Open element 78.
Re-size by 75%.
Copy and paste as a new layer and position along the bottom in the clouds.
Open element 51 and re-size by 50%.
Copy and paste as a new layer and place along the top in the center.
Add a drop shadow.
Add your name.
Add your copyright and licensing information.
Crop and save.


Wednesday, January 14, 2015

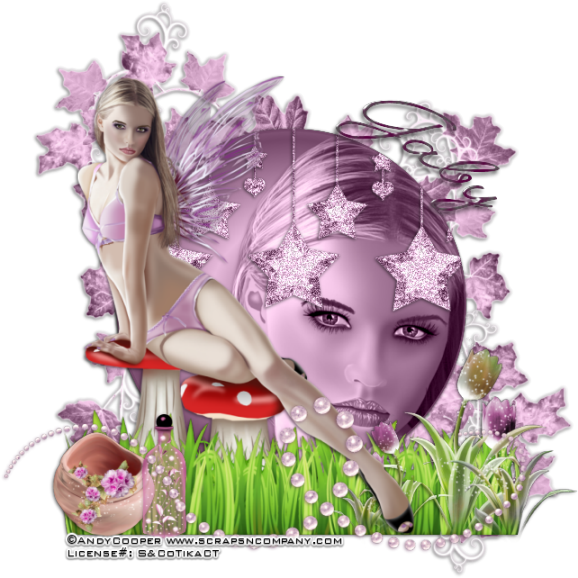
Fairy Whimsy


Fairy Whimsy
written 1/14/2015

Supplies Needed:


Font of your choice. I am using Angelface. You can get it at http://www.dafont.com/angelface.font

Plugins:
None

Lets Begin:
Open element 73 and shift + D to duplicate.
Close the original.
Re-size by 75%.
Make your canvas large enough to work with.
Apply a slight drop shadow.
Set your foreground and background colors to a darker and lighter color from your tube.
Change the background to a foreground/background gradient.
Using your elipse preset shape tool create a circle in the center of the element.
Convert to a raster layer.
Selections select all float and defloat.
Open the close up of your tube and copy and paste as a new layer over the circle.
Move to the far right of the circle.
Open element 67 and re-size by 60%.
Copy and paste as a new layer and position at the top of the circle.
Selections invert and hit delete on both the star layer and the closeup tube layer.
Selections select none.
Adjust add/remove noise at 55% uniform and monochrome checked.
Add a drop shadow to the circle and the stars.
Open your tube and re-size if necessary.
Copy and paste as a new layer.
Move to the far left side of the circle.
Add a drop shadow.
Open element 6 and re-size by 75% and then again by 85%.
Copy and paste as a new layer.
Erase the bits around the fairy's foot so it is in front of the grass.
Add a drop shadow.
Open element 7 and re-size by 50% and then again by 75%.
Copy and paste as a new layer and place in the grass to the far right.
Erase the bits so her leg is again in front of them.
Add a drop shadow.
Open element 37 and re-size by 50% 2x.
Copy and paste as a new layer and place in the grass to the far left.
Add a drop shadow.
Open element 53 and re-size by 50% 2x.
Copy and paste as a new layer and move to the grass in front of the pot.
Add a drop shadow.
Open element 74 and re-size by 75% and copy and paste as a new layer and place along the bottom of the tag.
Add a drop shadow.
Add your name.
Add your copyright and licensing information.
Crop and save.


Tuesday, January 13, 2015

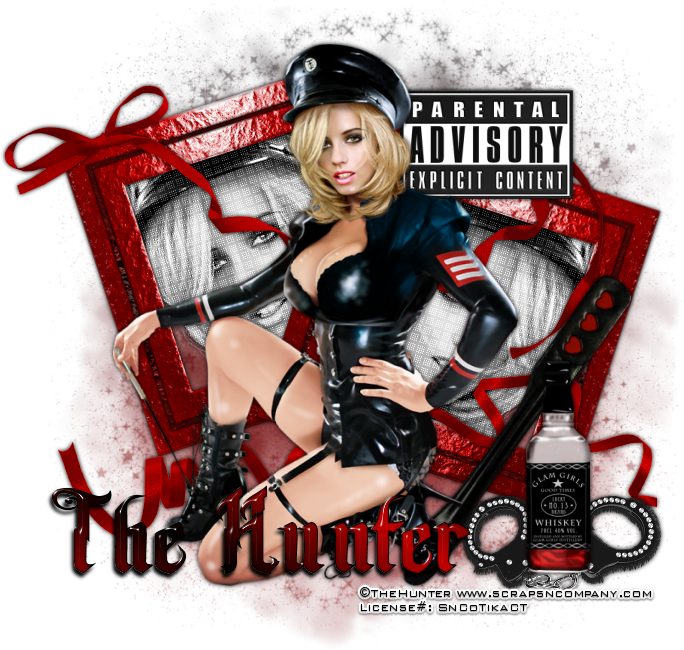
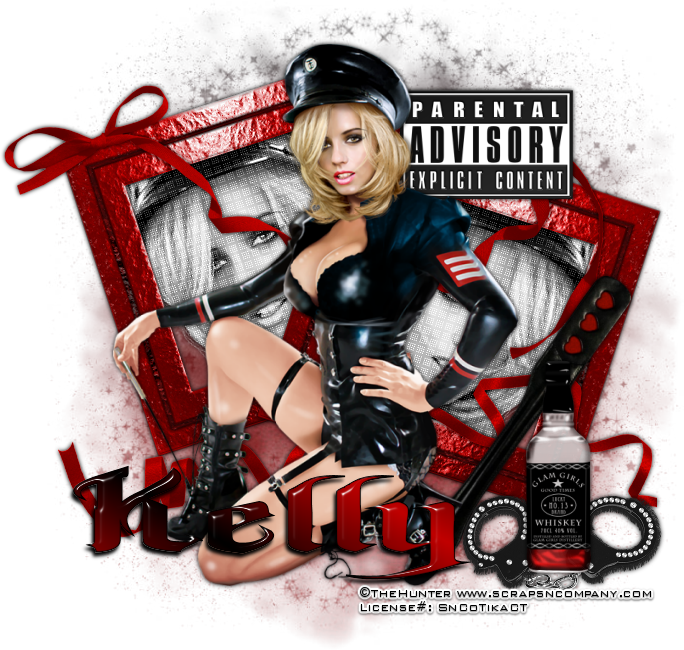
Love Commander


Love Commander
written 1/13/2014

Supplies Needed:


Mask of your choice. I am using mask #27 by Millie. You can get her masks at http://milliespspmadness.blogspot.com/search/label/Masks

Font of your choice. I am using Back Stab. You can get it at http://www.dafont.com/backstab.font

Plugins:
Penta dot com Dot and Cross

Lets Begin:
Open a new blank canvas that will give you plenty of room to work with.
Open element 35.
Re-size by 65%.
Copy and paste as a new layer.
Using your magic wand select the inside of the frame.
Selections modify and expand by 4.
Open the close up of your tube and copy and paste as a new layer.
Drag under the frame and position her face in the frame.
Selections invert and hit delete.
Selections select none.
Adjust hue and saturation/colorize and set both properties to 0.
Apply the Penta dot com Dot and Cross plugin using the default settings.
Add a drop shadow to both the tube and the frame.
Merge these 2 layers together.
Image free rotate to the left 18 degrees.
Duplicate and image flip horizontal.
Move this duplicate to the right and down just a bit.
Open your main tube and copy and paste as a new layer.
Place in the center in front of the frames.
Add a drop shadow.
Open element 6 and re-size by 50%.
Copy and paste as a new layer.
Move over to the far right of the frames.
Open element 10.
Re-size by 50% and again by 75%.
Copy and paste as a new layer.
Move up near the tubes head and drag behind your tube a bit.
Open element 14 and copy and paste as a new layer and move to the far top left of the frame.
Open element 15 and copy and paste as a new layer and place near the bottom.
Open element 49 and re-size by 50%.
Copy and paste as a new layer and move under the bottle.
Open element 54 and re-size by 75% 2x.
Copy and paste as a new layer and place between your tube and the bottle.
Open paper 9 and copy and paste as a new layer.
Drag to the bottom.
Apply the mask of your choice.
Delete the mask layer and merge the group.
Add your name.
Add your copyright and licensing information.
Crop and save.


Monday, January 12, 2015

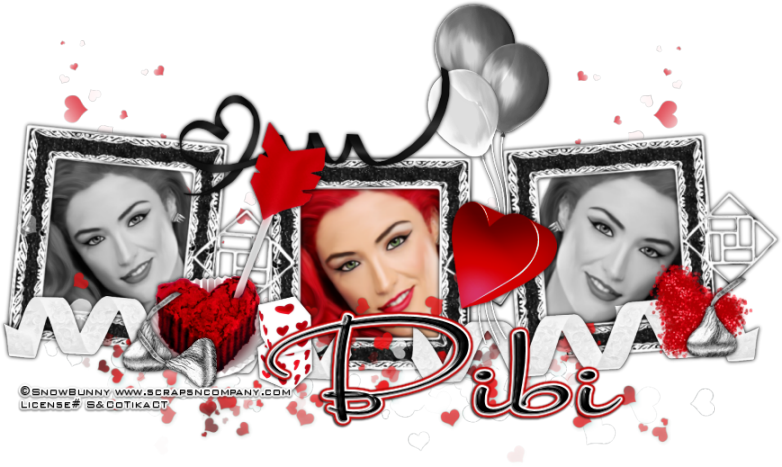
Be Mine - Forum Set


Be Mine – Forum Set
written 1/11/2015

Supplies Needed:


Matching Scrap Kit by Bibi's Collection. You can get it at http://scrapsncompany.com/index.php?main_page=product_info&products_id=7381

Font of your choice. I am using Stalemate. You can get it at http://www.1001fonts.com/stalemate-font.html

Plugins:
None

Lets Begin:
We are going to create the tag first then we will move on to the avatar.
Open element 14 and shift+D to duplicate.
Close the original.
Re-size to a size you are happy with as this will be the foundation of your tag.
Make your canvas large enough to give you room to work with.
Using your magic wand select the inside of the far left frame.
Selections modify and expand by 6.
Open your tube and copy and paste as a new layer.
Drag under the frame.
Position so her face is in the framed area.
Selections invert and hit delete.
Selections select none.
Adjust hue and saturation. Colorize with both values set to 0.
Repeat the above steps with the far right frame however flip horizontal your tube so she is facing the opposite direction.
Using your magic wand select the middle frame and selections modify and expand by 6.
Open your tube again and copy and paste as a new layer dragging under the frame.
Position within the framed area.
Selections invert and hit delete.
Selections select none.
Add a drop shadow to the frame.
Open element 43 and image flip vertical.
Re-size by 65%.
Copy and paste as a new layer.
Drag to the bottom and place on the far left side.
Duplicate and image flip horizontal the duplicate.
Move the duplicate to the far right side.
Merge these 2 layers together.
Open element 123 and re-size so it fits nicely along the bottom of your tag.
Copy and paste as a new layer and position.
Open element 10 and re-size by 65%.
Copy and paste as a new layer and place along the bottom but between the 1st and 2nd frames.
Add a drop shadow.
Open element 40 and re-size by 50% and then again by 75%.
Copy and paste as a new layer and move to the far left of the heart cake.
Add a drop shadow.
Duplicate and move the duplicate to the far right side of the 3rd frame.
Duplicate again and image rotate 90 degrees to the left.
Sharpen.
Move this one in front of the heart cake.
Open element 53 and re-size by 50% 2x.
Copy and paste as a new layer and place on the right side of the heart cake.
Add a drop shadow.
Open element 56.
Copy and paste as a new layer and place between the 2nd and 3rd frames.
Add a drop shadow.
Open element 86 and re-size by 50% 2x.
Copy and paste as a new layer.
Image free rotate to the right 27 degrees.
Move over to the far right and drag behind the kiss.
Open element 87 and re-size by 65% 2x.
Image rotate to the right.
Copy and paste as a new layer and drag down to just above the heart splatter.
Place to the far left.
Duplicate and image flip horizontal. Move this duplicate to the far right.
Add a drop shadow to both.
Open element 92 and re-size by 50%.
Image flip horizontal.
Copy and paste as a new layer and position along the top between the 1st and 2nd frames.
Add a drop shadow.
Open element 121 and re-size by 50%.
Copy and paste as a new layer and place between the 2nd and 3rd frames.
Add a drop shadow.
Add your name.
Add your copyright and licensing information.
Crop and save.
Lets make the avatar now.
Open a new blank canvas of 180x180
Open your tube and copy and paste as a new layer.
Re-size if needed and position face within the avatar area.
Open element 123 and re-size by 50%.
Copy and paste as a new layer and place along the bottom.
Open element 92 and image flip horizontal.
Re-size by 50% 2x.
Copy and paste as a new layer and place along the bottom.
Add any other elements from the kit.
Add your name or initial.
Add a border of 2 in black.
Then a border of 5 in the red color from the tube.
Then another border of 2 in black.
Add your copyright and licensing information.


Friday, January 2, 2015

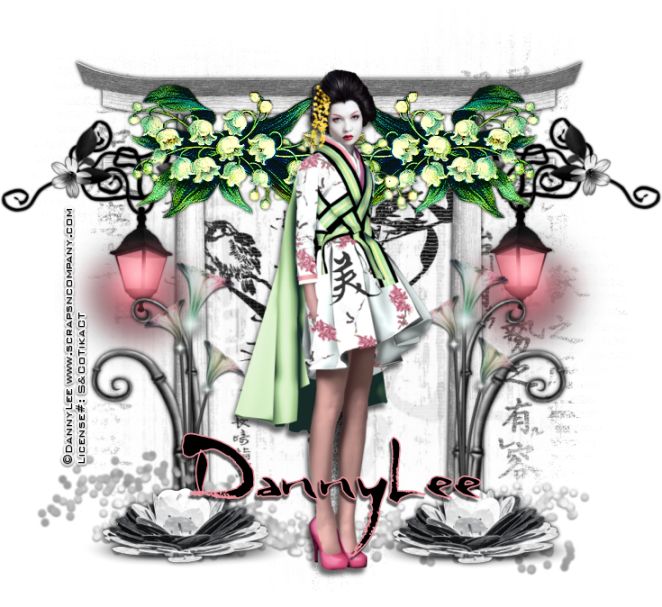
Geiko Princess


Geiko Princess
written 01/02/2015

Supplies Needed:


Matching Scrap Kit by Bibi's Collection. You can get it at http://scrapsncompany.com/index.php?main_page=product_info&cPath=161&products_id=7254

Mask of your choice. I am using mask #81 by WeeScotLass Creations. You can get her awesome masks at http://weescotslasscreations.blogspot.com/2009/04/masks.html

Font of your choice. I am using MGS Four Brush. You can get it at http://www.dafont.com/mgs4brush.font

Plugins:
None

Lets Begin:
Open element 11 from the kit and shift+D to duplicate.
Close the original.
Now re-size this to a size that you are happy with.
This is going to be the base of your tag and the focal point.
Once you are happy with the size then make your canvas large enough to give you room to create with.
You will crop and re-size when we are done.
Open paper 10 and copy and paste as a new layer.
Drag under the element.
Apply your mask.
Delete the mask layer and merge the group.
Add a drop shadow to the element.
I used 0 0 100 black 6.50
Open element 125.
Re-size so it will fit nicely along the second cross beam of the main element.
Place on the far left side with the light hanging on the outside.
Duplicate and image flip horizontal.
Move the duplicate to the far right side.
Merge these 2 together and add a drop shadow.
Open element 87 and copy and paste as a new layer.
Place to the right side but not all the way. Use my tag for reference if needed.
Duplicate and image flip horizontal.
Move the duplicate to the left side.
Merge together and add a drop shadow.
Open your tube at this point and copy and paste as a new layer.
Position in the center and re-size as needed.
Add a slight drop shadow.
Open element 130 and copy and paste as a new layer.
Place on the right hand side in front of the base element.
Re-size if you need to.
Duplicate and image flip horizontal.
Move this duplicate to the left hand side.
Merge together and add a drop shadow.
Open element 79 and copy and paste as a new layer.
Re-size if needed.
Drag under your tube but in front of the bamboo.
Add a slight drop shadow.
Open element 27 and copy and paste as a new layer.
Drag down on top of the bamboo.
Place on the left side in the middle of the bamboo.
Duplicate and image flip horizontal.
Move the duplicate to the right hand side.
Merge together and add a drop shadow.
Open element 20 and copy and paste as a new layer.
Place on top at the bottom in front of the bamboo and flowers.
Re-size if needed.
Duplicate and move the duplicate to the opposite side.
Merge together and add a drop shadow.
Add your name.
Add your copyright and licensing information.
Crop and save.