Tuesday, March 31, 2015

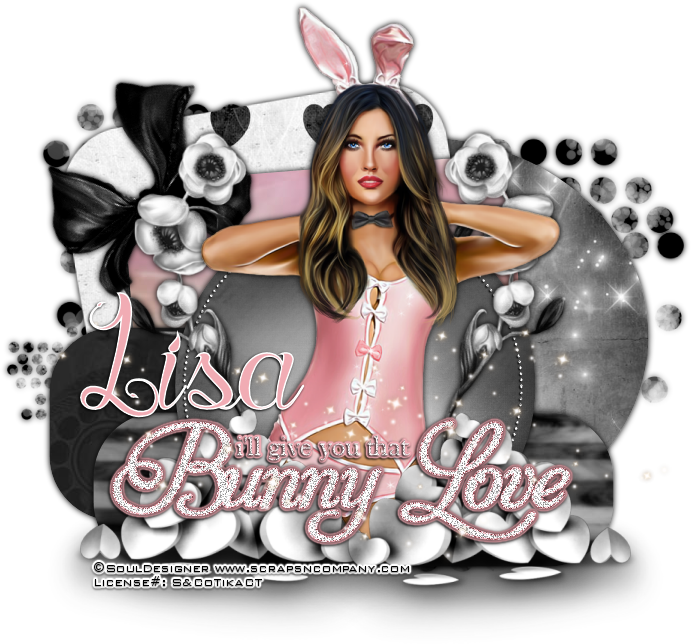
Bunny Love


Bunny Love
written 3/31/2015

Supplies Needed:


Matching Scrap Kit by Bibi's Collection. You can get it at http://scrapsncompany.com/index.php?main_page=product_info&products_id=8876

Font of your choice. I am using Blood Shade. You can get it at http://www.dafont.com/blood-shade.font


Plugins:
NONE

Let's Begin:
Open your template and shift + D to duplicate. Close the original for use another time.
Delete the layer with the creators information on it and the background layer.
Starting at the bottom we are going to fill each layer of the template with different papers. You can follow along and use the same papers as I do or you can use any of your choice from the kit.
I used papers
14
13
10
9
7
Add a drop shadow to all your layers.
Open your tube and copy and paste as a new layer.
Position where you want.
Add a drop shadow.
Now lets dress this up.
Using the elements of your choice and dress the tag up.
If you want you can use the same elements as me and use my tag for reference.
The elements I used are
134
132
124
43
36
Add your name.
Add your copyright and licensing information.
Crop and save.


Sunday, March 29, 2015

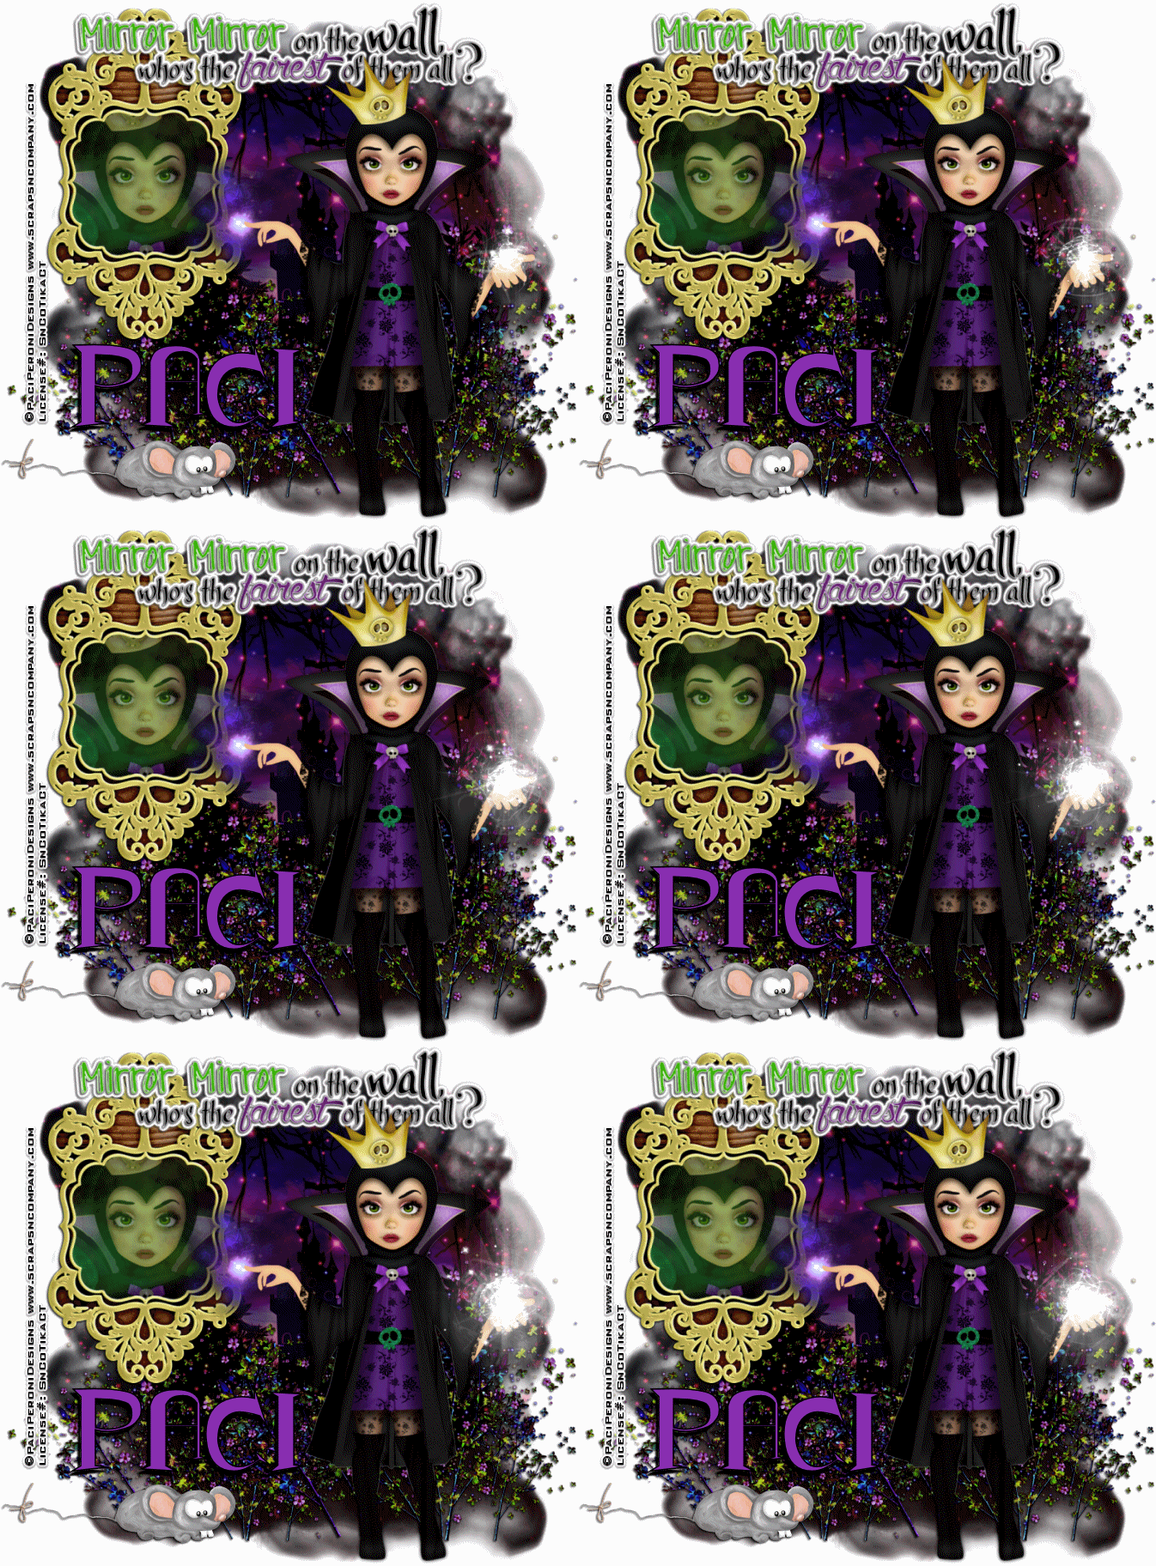
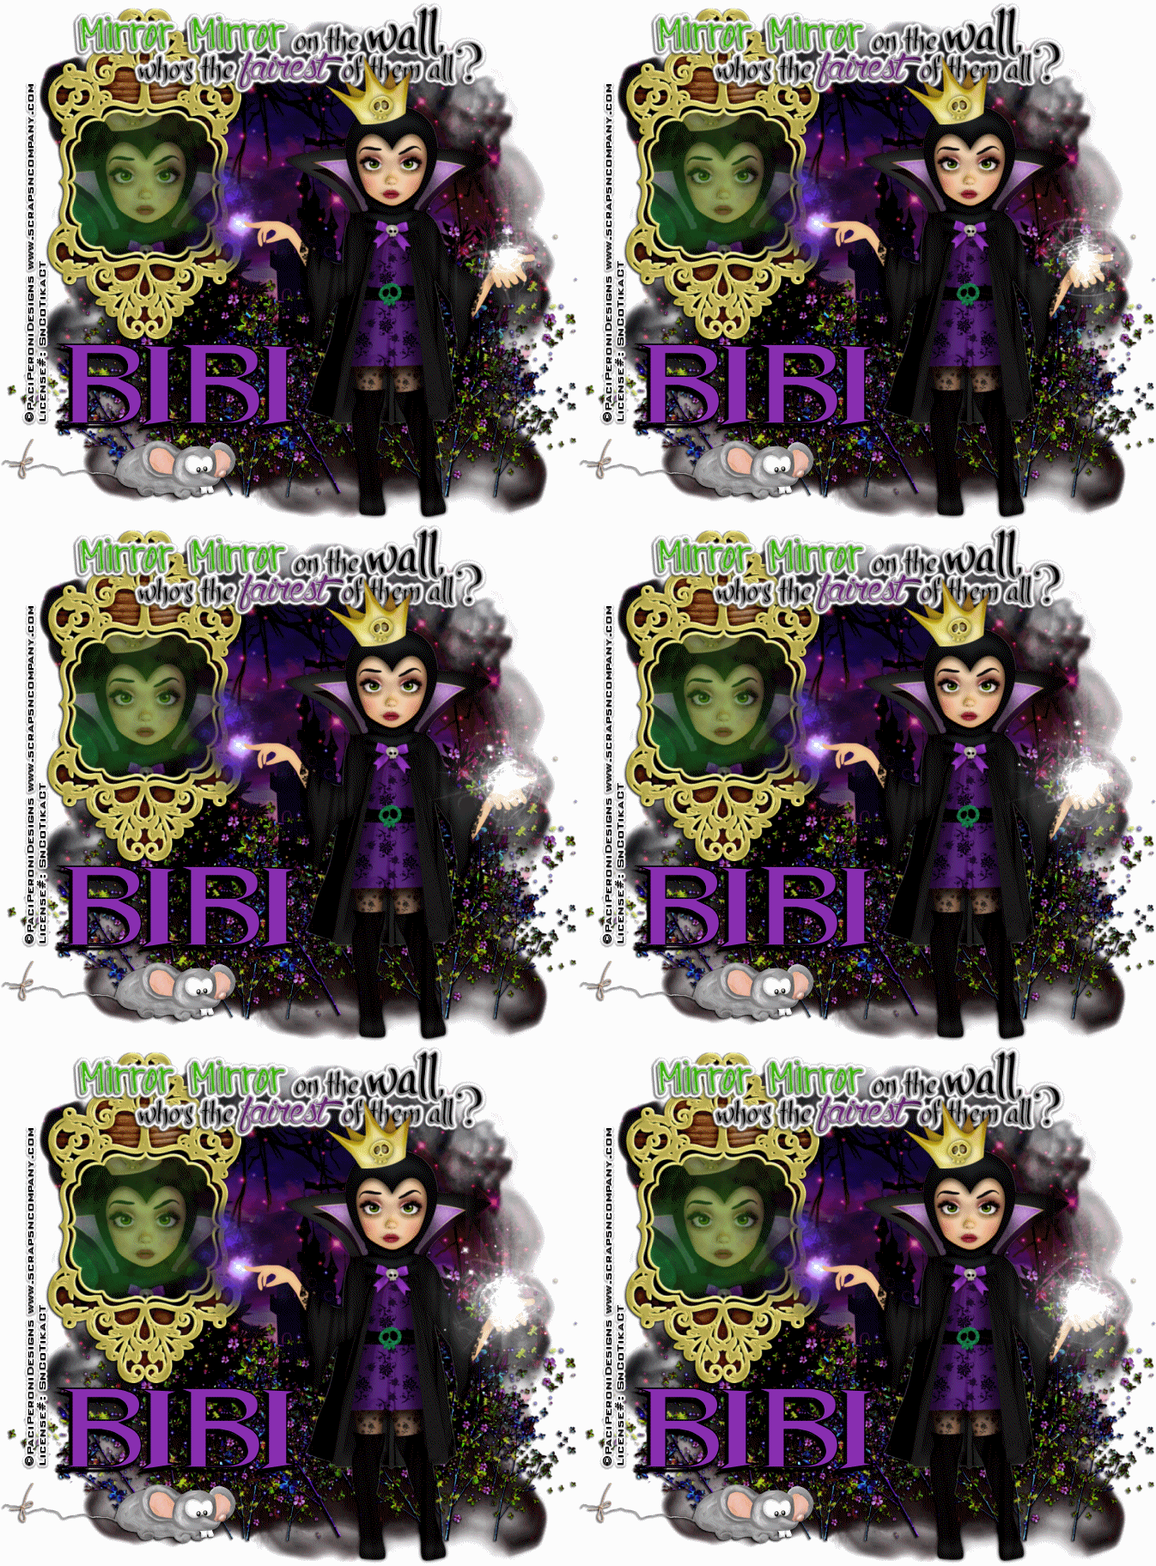
Fairest Of Them All


Fairest Of Them All
written 3/27/2015

Supplies Needed:


Matching Scrap Kit by Bibi's Collection. You can get it at http://scrapsncompany.com/index.php?main_page=product_info&products_id=8805


Font of your choice. I am using Lushus. You can get it at http://www.fontpalace.com/font-details/LushUs/

Plugins:
None

Let's Begin:
Open element 4 and shift+D to duplicate.
Close the original.
Re-size by 85% and make your canvas large enough to work with.
Open your tube and copy and paste as a new layer.
Re-size if needed.
Add a drop shadow.
Open element 27 and copy and paste as a new layer.
Leave it super large for now.
Using your freehand selection tool set to point to point; draw around the edges of the mirror staying on the gold pieces.
Open your tube and copy and paste again.
Position so her face is within the mirror.
Selections invert and hit delete.
Selections select none.
Lower the opacity of the tube layer to 50.
Using your eraser tool erase any bits that are hanging over the gold edges.
Merge your tube down to the mirror layer.
Now re-size.
Open element 24.
Copy and paste as a new layer and re-size so it fits nicely along the top between the mirror and the top of your tube.
Open element 43 and copy and paste as a new layer just above the background masked layer.
Re-size so it will fit nicely along the bottom of your tag.
Add a drop shadow.
Open element 77 and copy and paste as new layer.
Re-size and move to the lower left corner.
Add a drop shadow.
Layers new raster layer and move to the bottom.
Flood fill with white.
Add your name.
Add your copyright and licensing information.
Lets get ready to animate:
Merge all layers together.
Copy and paste into animation shop.
Open the animation you are going to use and take note of the amount of frames it has.
Duplicate your tag frames to match.
Select all frames on both your animation and your tag.
Drag the first frame of your animation onto the first frame of your tag.
Position and release when ready.
View your animated tag.
If you are happy save.


Tuesday, March 24, 2015

Egg Hunt


Egg Hunt
written 3/24/2015

Supplies Needed:


Matching scrap kit by Design By Joan. You can get it at http://scrapsncompany.com/index.php?main_page=product_info&products_id=8677


Mask of your choice. I am using mask # 451 by Vix. You can get it at http://www.freewebs.com/vixpsp/

Font of your choice. I am using Channel. You can get it at http://www.dafont.com/channel.font?text=Isabella

Plugins:
None

Let's Begin:
Open your template and shift+D to duplicate.
Close the original.
Remove the copyright/creators information and the background layers.
Make your canvas large enough to work with.
Begin at the bottom with layer #10 and selections select all float and defloat.
Open paper 7 and copy and paste as a new layer.
Selections invert and hit delete.
Selections select none.
Delete the original template layer.
You are going to repeat the above steps for all layers except the word art.
Once all layers are now covered with papers lets add the mask of your choice to the bottom and using whichever paper you would like.
Delete the mask layer and merge the group.
The layer that is the dotted line; go to selections select all float and defloat.
Layers new raster layer and flood fill this new layer with white.
Selections select none.
Delete the original layer and on the new white layer apply noise using 100% uniform and monochrome.
Add a slight drop shadow to all layers.
Open your tube and re-size until she is just larger than the template layers.
Copy and paste as a new layer and move to the far right side.
Add a drop shadow.
Drag the rectangle layer under the first top circle layer and move the word art over to the center closer to your tube.
Use my tag for reference if needed.
Now lets dress this tag up with some elements.
I will tell you the elements I used and you can either use the same or choose others.
Also placement is up to you but feel free to use my tag as reference if you wish.
Elements:
#2
#3
#12
#17
#18
#23
#24
#46
#63
#88
#89
#94
Add your name.
Add your copyright and licensing information.
Crop and save.


Thursday, March 19, 2015

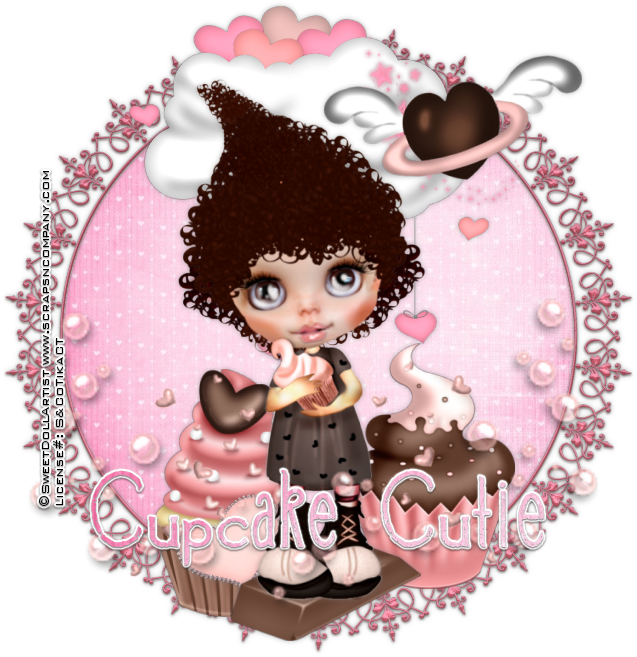
Cupcake Cutie


Cupcake Cutie
written 3/19/2015

Supplies Needed:


Font of your choice. I am using 2 Peas Chatter. This is a PTU font so you may substitute for any other font.

Drop Shadow Used:
0 0 60 7.50 color #808080

Plugins:
None

Let's Begin:
Open frame 3 and shift+D to duplicate.
Close the original.
Make your canvas large enough to give you room to work with.
Using your magic wand select the inside of the frame.
Go to selections modify and expand by 2.
Layers new raster layer and drag under the frame.
Open paper 3 and edit copy and paste into selection.
Selections select none.
Open element 54 and re-size by 60%.
Copy and paste as a new layer and place in the top center of your frame.
Add a drop shadow to this element and the frame.
Open your tube and re-size her.
You still want her sort of large. Mine is just slightly smaller than the frame.
Copy and paste as a new layer and place in the center of the frame so she is standing on the bottom edge.
Add a drop shadow.
Open element 1 and copy and paste as a new layer.
Drag under your tube.
Now you are going to re-size until it is small enough for her to be standing on and her feet will cover the lettering on it but you want to be able to see it.
Open element 4.
Copy and paste as a new layer and drag under your tube and the piece of chocolate.
Move over to the left hand side and re-size until it comes up just past her elebow.
Add a drop shadow.
Open element 7 and repeat the above steps only placing this one on the right hand side of your tube.
Add a drop shadow.
Open element 13 and copy and paste as a new layer.
Re-size and move to the bottom left in front of the cupcake.
Image rotate to the left 23 degrees.
Adjust sharpen.
Add a drop shadow.
Open element 44.
Copy and paste as a new layer.
Re-size.
Move to the top right of the tag in front of the cloud.
Add a drop shadow.
Open element 52.
Re-size by 50%.
Copy and paste as a new layer and place on the bottom right of the tag.
Duplicate and image flip horizontal.
Move to the bottom left of the tag.
No drop shadow needed as they already have a bit of a shadow on them.
Add your name.
Add your copyright and licensing information.
Crop and save.

Tuesday, March 17, 2015

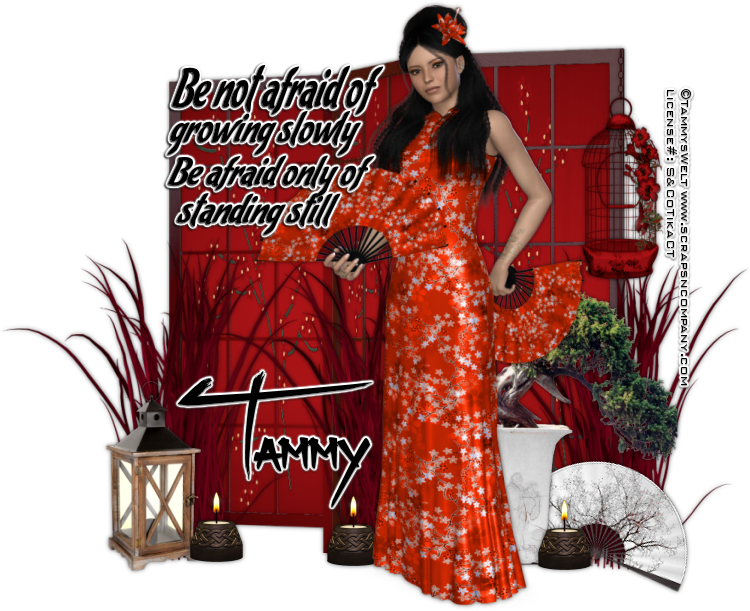
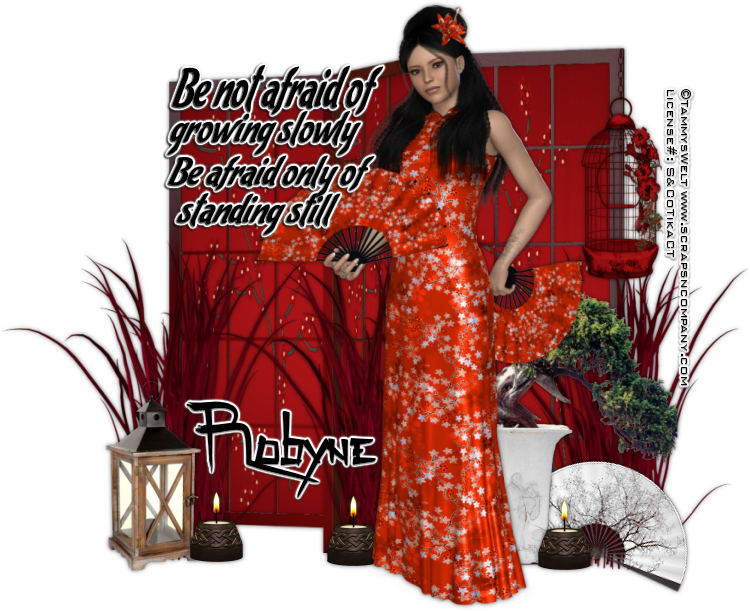
Standing Still


Standing Still
written 3/16/15

Supplies Needed:


Font of your choice. I am using Cafe Latte which you can get at https://www.fontyukle.net/en/Cafelatte.ttf and also Zenzai Itacha which you can get at http://www.dafont.com/zenzai-itacha.font

Drop shadow used throughout:
0 0 60 6.00 black

Plugins:
None

Let's Begin:
Open element 7 and shift +D to duplicate.
Close the original.
Re-size by 75% and then again by 85%.
Make your canvas large enough to work with.
Add a drop shadow to the element.
Open element 24 and re-size so they will fit nicely along the legs of the screen element.
You will need to copy and paste several to cover the bottom legs that are cut off.
Add a drop shadow to each.
Open your tube and re-size so she is just slightly larger than the screen.
Copy and paste as a new layer and place just to the right of the center of the screen.
Add a drop shadow.
Open element 70 and re-size by 50% 3 times.
Copy and paste as a new layer and place on the far left in front of the grass.
Add a drop shadow.
Open element 56 and re-size by 50% 2x.
Copy and paste as a new layer and drag under your tube.
Place to the right of your tube peeking out from behind her.
Add a drop shadow.
Open element 32 and re-size by 50% and then again by 60%.
Copy and paste as a new layer and place on the right so it looks to be hanging onto to the screen element.
Add a drop shadow.
Open element 18 and re-size by 50% 3x.
Copy and paste as a new layer.
Place at the bottom to the right of the light.
Duplicate and move to the left of your tube and I placed mine behind the tube and then duplicate again and place to the right of the white planter.
Add a drop shadow to all.
Open element 1.
Re-size by 50% 2x.
Copy and paste as a new layer.
Image rotate to the right 23 degrees.
Adjust sharpen.
Move over to the bottom right hand side and drag down under the other elements but on top of the red grass.
Add a drop shadow.
Using the cafe latte font add some text or a proverb to your tag like I did.
I applied a gradient glow to help it stand out.
Add your name.
Add your copyright and licensing information.
Crop and save.


Sunday, March 15, 2015

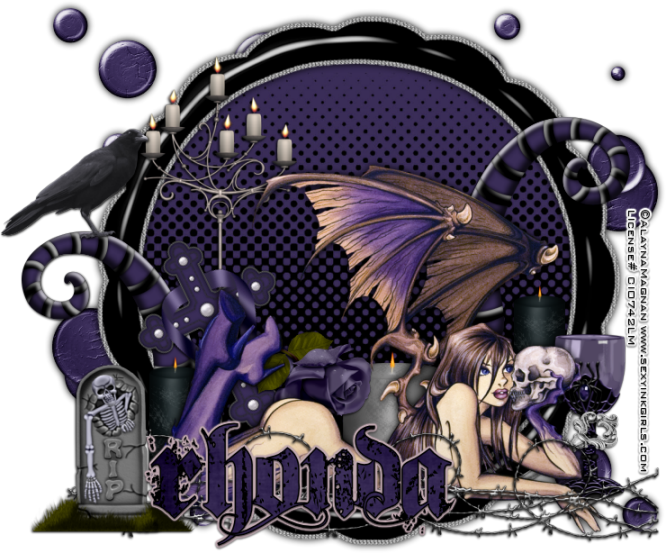
Darkness Falls


Darkness Falls
written 3/7/2015

Supplies Needed:

Tube of your choice. I am using the work of Alayna Magnan. I got this tube when she was CILM and I am not sure where you can purchase her work now if you even can.

Scrap Kit by Wicked Princess Scraps. It's called Death becomes her and you can get it at http://wickedprincessscraps.blogspot.com/2011/10/freebie-alert-gone-madagain-former-ptu.html

Font of your choice. I am using Dirt2 Soulstalker. You can get it at http://www.dafont.com/dirt2-soulstalker.font

Plugins:
None

Let's Begin:
Open circle frame and shift+D to duplicate.
Close the original.
Resize by 85%.
Make your canvas large enough to work with.
Using your magic wand select the inside of the frame.
Selections modify and expand by 6.
Layers new raster layer and drag under the frame.
Open paper 9 and edit copy and paste into selection.
Selections select none.
Add a drop shadow to the frame.
At this point open your tube and copy and paste as a new layer.
Since my tube lays down I decided to place along the bottom of the frame.
Place yours wherever you feel it will look best.
Add a drop shadow.
Now lets add some elements and dress this tag up.
I will simply tell you the elements I used and you can determine the placement on your own based on your tastes and the tube you are using.
Lets start with circle splatter.
Copy and paste as a new layer and drag to the bottom.
Make it peek out from behind your tag at the top left.
Duplicate and image flip horizontal and then again image flip vertical.
Move the duplicate to the lower right.
Merge these 2 layers and add a drop shadow.
Elements:
candelabra
candle
cane
cross
crow
gothic goblet
gray candle fat
Loopy wire
Rose breanch
Tombstone with grass
After arranging your elements add a drop shadow to each of them.
Add your name.
Add your copyright and licensing information.
Crop and save.


Thursday, March 12, 2015

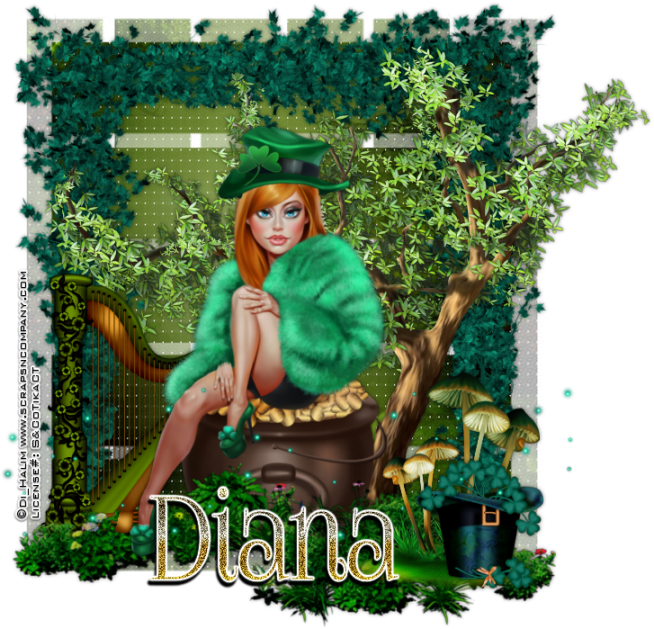
Pot O' Gold


Pot O' Gold
written 3/12/2015

Supplies Needed:


Scrap Kit by Ginnibug Designz. You can get it at http://scrapsncompany.com/index.php?main_page=product_info&products_id=8416

Mask of your choice. I am using mask #250 by Vix. You can get it at http://www.freewebs.com/vixpsp/

Font of your choice. I am using Foglihten No07 and you can get it at http://fontspace.com/gluk/foglihtenno07

Drop shadow used:
0 0 50 6.00 black

Plugins:


Let's Begin:
Open a new blank canvas that gives you plenty of room to work with.
Open paper 5 and copy and paste as a new layer.
Apply your mask.
Delete the mask layer and merge the group.
Open your tube and re-size if needed.
Copy and paste as a new layer and place in the center bottom of your mask area.
Add a drop shadow.
Open element 94 and re-size so it will fit nicely along the bottom of the tag.
Copy and paste as a new layer and move into position on the bottom.
I erased bits so her foot was in front of it. This is completely up to you.
Add a drop shadow.
Open element 63 and re-size so it will fit nicely along side of your masked area.
Copy and paste as a new layer and move to the far left side.
Add a drop shadow.
Duplicate and move this copy to the far right side.
Duplicate again and go to image rotate and rotate to the right 90 degrees.
Move this copy to the top and drag under the first 2.
If you have any bits of stem poking out erase it.
Open element 46 and copy and paste as a new layer.
Move to the right side behind your tube.
Add a drop shadow.
Open element 10 and re-size by 50% and then again by 60%.
Copy and paste as a new layer at the top.
Move to the bottom right corner of your tag.
Add a drop shadow.
Open element 6 and re-size by 50%.
Copy and paste as a new layer.
Drag under the hat and move to the bottom right behind the hat.
Add a drop shadow.
Open element 36 and re-size by 50%.
Copy and paste as a new layer.
Drag under your tube.
Place to the far left of the tag.
Add a drop shadow.
Open element 65 and re-size so it will fit nicely across your tag.
Copy and paste as a new layer and move to the bottom.
Add your name.
Add your copyright and licensing information.
Crop and re-size if you wish.
Save.


Tuesday, March 10, 2015

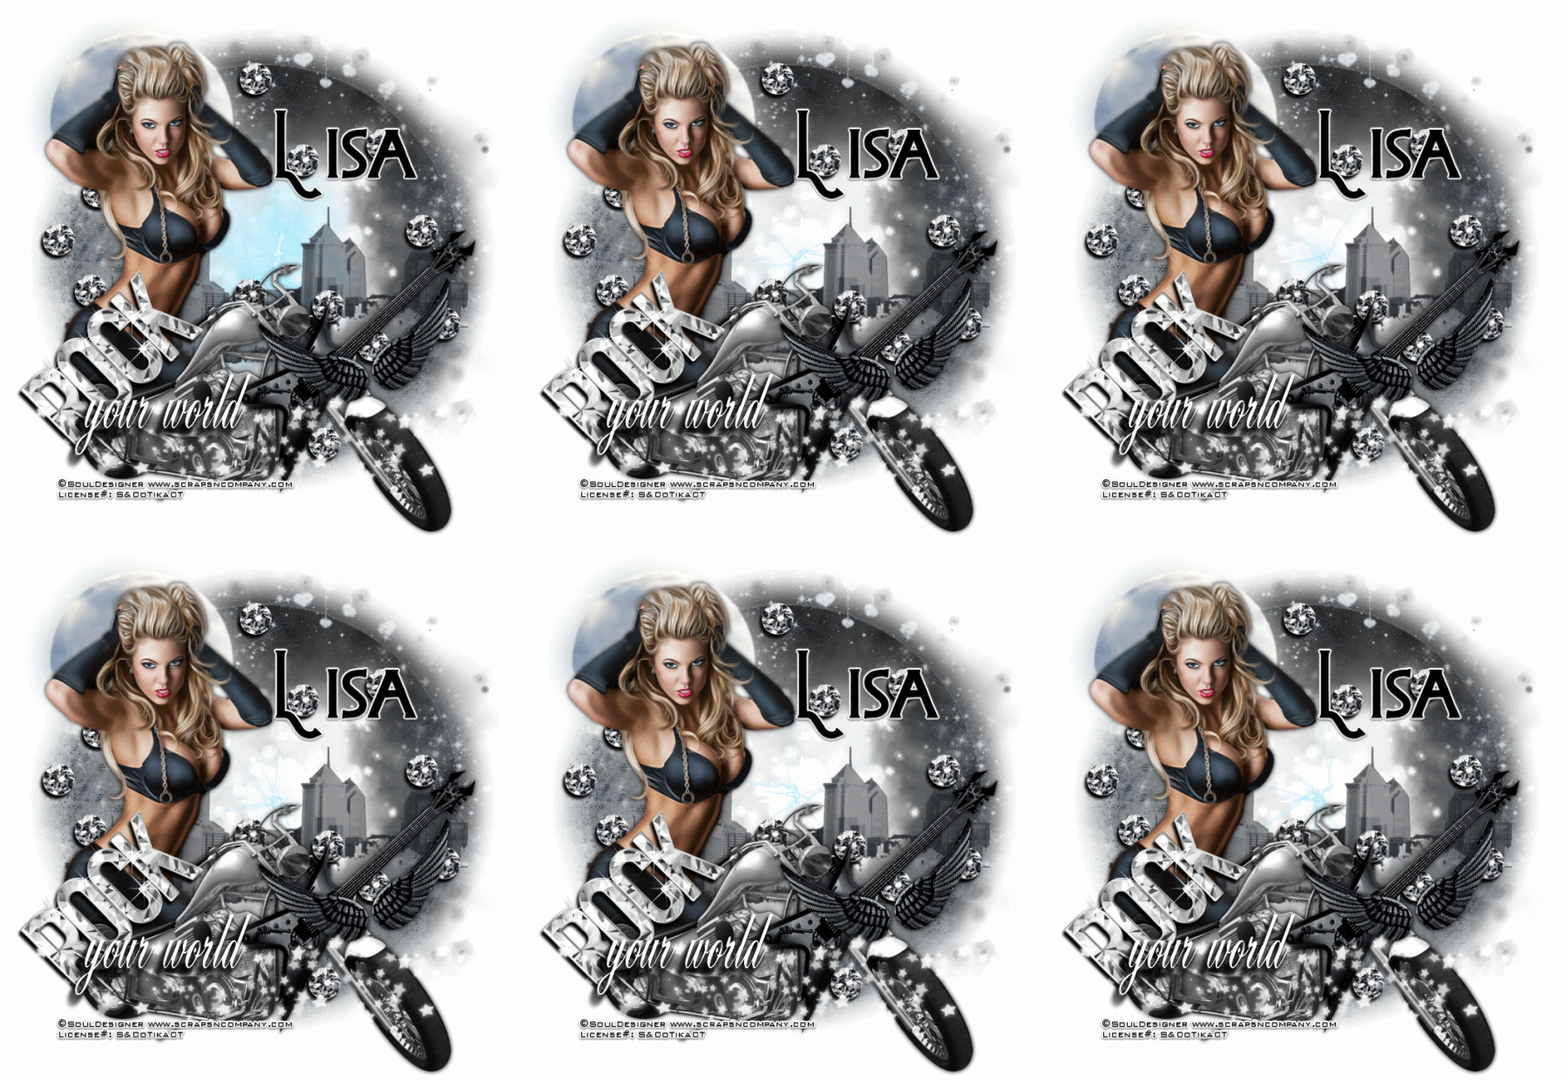
Rock Your World


Rock Your World
written 3/10/2015

Supplies Needed:


Mask of your choice. I am using mask #200 by Insatiable Dreams. You can get her great masks at http://insatiabledreams.net

Font of your choice. I am using I am using Pipeburn. This is a PTU font.


Plugins:
None.

Let's Begin:
Open a new blank canvas large enough to work with.
Open paper 11 and copy and paste as a new layer.
Apply your mask.
Delete the mask layer and merge the group.
At this point open your tube and copy and paste as a new layer.
Re-size as needed so she is just slightly bigger than the mask area.
Move to the far left side.
Add a nice drop shadow.
Now we will begin to build the tag out around her.
Open element 60 and re-size by 75% and then again by 85%.
Copy and paste as a new layer and drag under your tube.
Move to the top left behind her head.
Open element 82 and copy and paste as a new layer.
Drag down to just above your mask layer.
Center within the mask area.
Open element 95.
Re-size by 75% and then again by 85%.
Copy and paste as a new layer and place along the bottom.
Hide your tubes cut off legs behind the rear wheel and seat of the bike.
Add a drop shadow.
Open element 137.
Copy and paste as a new layer.
Drag down to just above the white center of the frame mask area.
Re-size until it will fit nicely tucked behind your tube and across the mask layer to the right.
Use my tag for reference if needed.
Open element 19.
Copy and paste as a new layer.
Re-size so it will fit nicely in the front of the bike above the front wheel.
Add a drop shadow.
Open element 44.
Copy and paste as a new layer.
Drag to just below the wings.
Re-size by 85%.
Image flip horizontal.
Place in front of the bike and behind the wings.
Add a drop shadow.
Open element 140.
Go to adjust hue and saturation then colorize.
Set both values to 0.
Copy and paste as a new layer.
Re-size by 75% 2x/
Move over to the far left above the rear wheel of the bike and across the tube a bit.
Add a drop shadow.
Open element 133.
Copy and paste as a new layer.
Re-size by 50% and then again by 65%.
Drag down to below your tube.
Place anywhere within your tag and then duplicate many times and move them around just randomly on your tag.
Add a drop shadow to each one.
Open element 77 and copy and paste as a new layer at the top.
Move to the bottom of the tag.
Using the font of your choice add the words “ your world” by the “ROCK” wordart.
Add your name.
Add your copyright and licensing information.
If you are not going to animate then crop and save.
If you are going to animate lets put this together.
Layers new raster layer and drag to the bottom.
Flood fill with white.
Hide all of your layers.
Now unhide your white background, the mask layer and the white center layer.
Merge these 3 layers together.
Now hide that layer.
Unhide the rest of the layers and merge them together.
This leaves you with 2 layers.
Unhide the bottom layer and copy it.
Open animation shop and paste as a new animation.
Open your animation.
Take note of the amount of frames in your animation.
If you are using the one I am then it has 20 frames.
Delete the first frame that is black and then select all the rest of the frames.
Back to your tag duplicate those frames to match 20 frames.
Select all of those frames.
Drag the first frame of your animation onto the first frame of your tag.
Once you have it where you want it release it.
Place in the center of the white area.
Back to psp and copy the layer that has the remainder of your tag on it.
In animation right click and paste as a new animation.
Again duplicate the frames to 20.
Select all frames and drag the first frame to the first frame of your tag.
Once you are happy with placement release it.
View your animated tag and if you are happy re-size and save.


Saturday, March 7, 2015

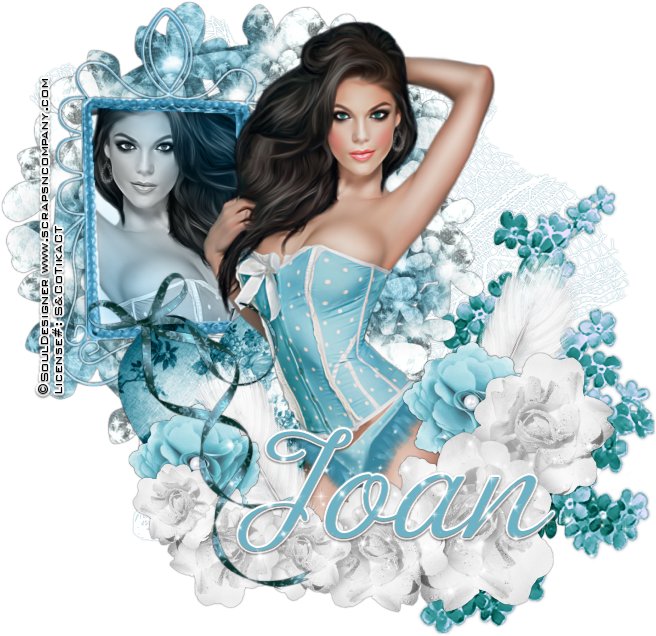
Soft Beauty


Soft Beauty
written 3/7/2015

Supplies Needed:


Font of your choice. I am using Zelda. This is a PTU font and you can purchase it at http://www.mightydeals.com/deal/zelda-script-font.html?ref=awnews&refNL

Plugins:
None

Let's Begin:
Open a canvas large enough to give you plenty of room to work with.
You can crop and re-size when we are done.
Open element 4 and re-size by 75% and then again by 85%.
Image flip horizontal.
Copy and paste as a new layer and place in the upper left corner of what will be your tag.
Using your selection tool set on point to point draw a selection around the inside mirror portion.
Open your tube and re-size so her face and upper body will fit within the selected area.
Copy and paste as a new layer and position.
Selections invert to clear the excess.
Selections select none.
Change the properties of this layer to luminance legacy.
Merge this layer down to your frame.
Add a slight drop shadow to your mirror.
Open your tube again and copy and paste as a new layer.
Position to the right of the mirror.
Add a slight drop shadow.
Open element 19 and copy and paste as a new layer.
Move down to the bottom to cover the cut off legs.
Add a drop shadow.
Open element 21 and re-size by 50% and then again by 65%.
Copy and paste as a new layer and drag under the other flowers.
Place wherever you want and duplicate 1 or 2 more times and place them randomly.
Open element 26 and re-size by 65%.
Copy and paste as a new layer and image free rotate to the right 28 degrees.
Adjust sharpen.
Place to the far right and then duplicate and image flip horizontal.
Move this one to the far left.
Open element 39 and copy and paste as a new layer.
Drag to the bottom.
Add a drop shadow using the darker blue from the kit or your tube.
Open element 50 and re-size by 50%.
Copy and paste as a new layer and drag down under your tube but above your mirror.
Add a drop shadow.
Open element 90 and re-size by 75%.
Copy and paste as a new layer and drag under your mirror.
Move over so it is behind your mirror and your tube but mostly behind the mirror.
Add a drop shadow.
Open element 98 and re-size by 50% and then again by 75%.
Copy and paste as a new layer at the top and on the far left hump of the heart.
Add a drop shadow.
Open element 101 and copy and paste as a new layer.
Drag down to just on top of the lace fan layer.
Move to the bottom right so it is coming out from behind the flowers.
Add a drop shadow.
Add your name.
Add your copyright and licensing information.
I also added element 115 on top of my name but this is up to you.
Crop and save.
 

Thursday, March 5, 2015

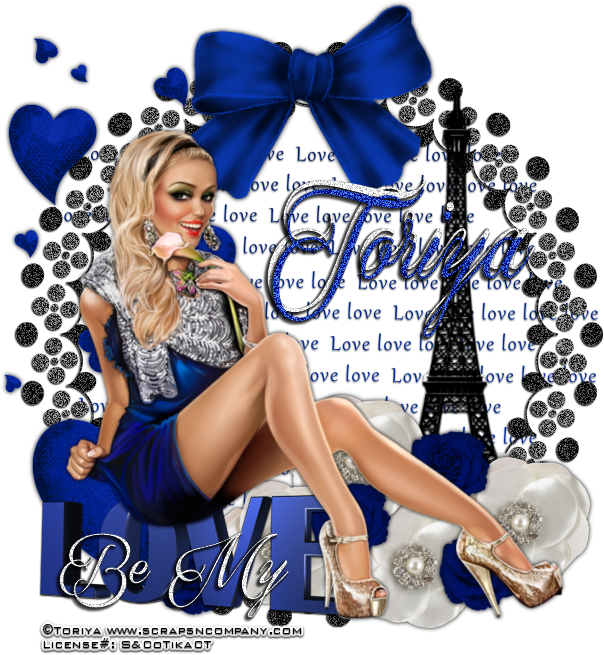
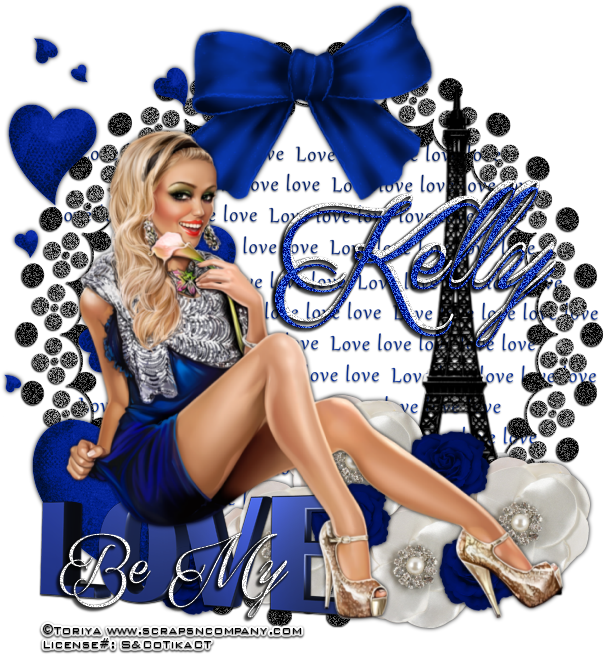
Be My Love


Be My Love
written 3/5/2015

Supplies Needed:


Matching Scrap Kit by Kizzed By Kelz. You can get it at http://scrapsncompany.com/index.php?main_page=product_info&products_id=8232

Font of your choice. I am using Qaskin. You can get it at http://www.fontspace.com/m%C3%A5ns-greb%C3%A4ck/qaskin-black-personal-use

Plugins:
None

Let's Begin:
Open element 45 and shift+D to duplicate.
Close the original.
Make your canvas large enough to work with.
Go to adjust add/remove noise and add noise at 75% with uniform and monochrome checked.
Add a sharp drop shadow to the element frame.
I used 1 -1 100 2.00 black
Open element 55.
Copy and paste as a new layer.
Drag under the frame.
Move to the left side of the inside of the frame.
Add a slight drop shadow.
I used 1 0 60 2.00 black.
Duplicate and move this layer to the right side.
Merge these 2 layers together just to keep your layer palette clean.
Open your tube and copy and paste as a new layer.
Re-size so she will fit nicely within your tag.
I moved mine to the far left of the frame so it looked like she was sitting on it.
Add a drop shadow to your tube.
Now lets add some elements and dress this tag up.
Placement is entirely up to you and you can use my tag as reference.
I will list the elements that I used:
element 11 – I placed this under my tube so she was sitting on it.
Element 30 – I duplicated and placed them randomly along the bottom.
Element 35
Element 38
Element 86 – again I duplicated and placed them randomly along the bottom with the white flowers.
Element 119
I used my font and added the words “ Be My” at the bottom in front of love but this is up to you.
Add your name.
Add your copyright and licensing information.