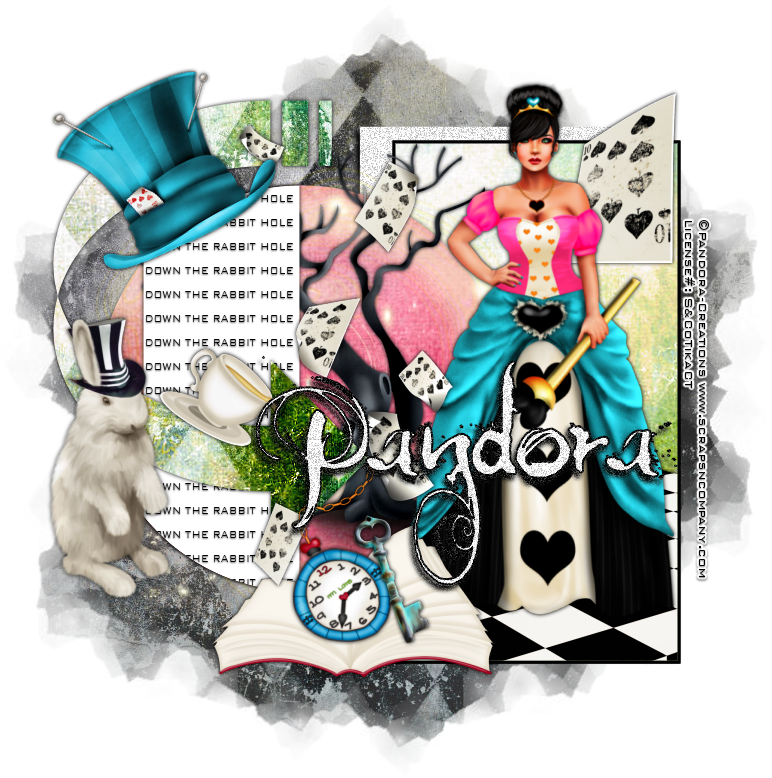
Down the
Rabbit Hole
written
7/27/2015
This
tutorial is merely a guide. Feel free to use any tubes and scrapkits
that you wish. If you want your tag to look just like mine then use
the same supplies and use my tag as a reference.
Supplies
Used:
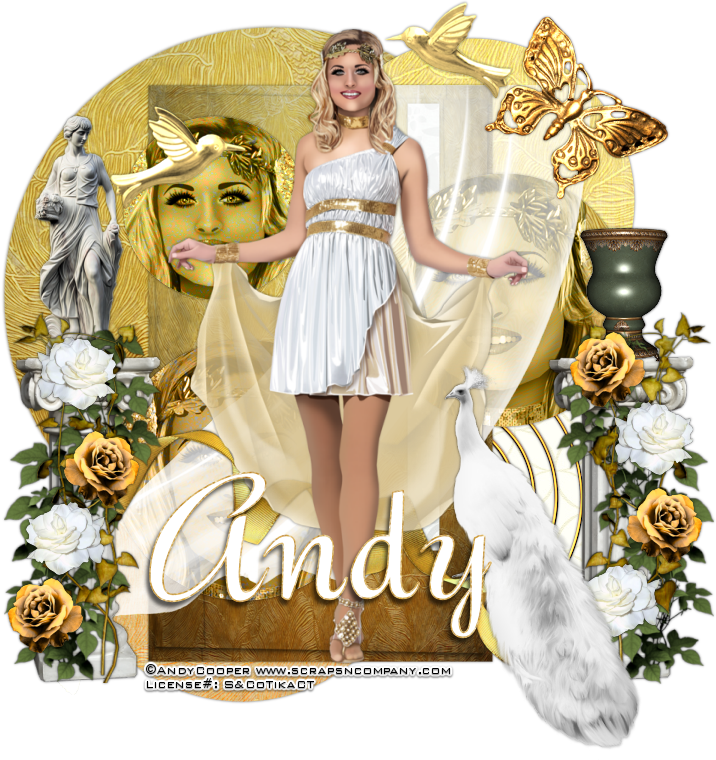
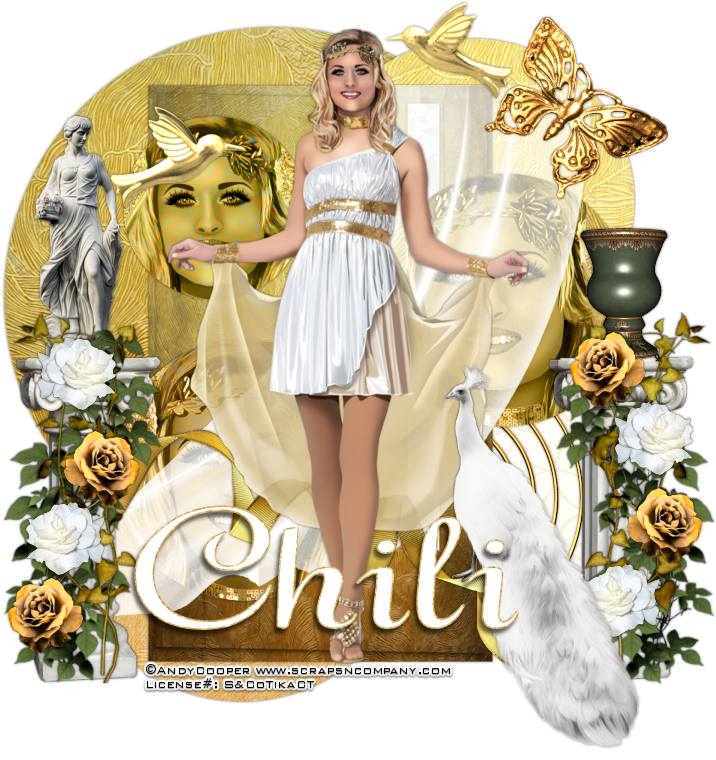
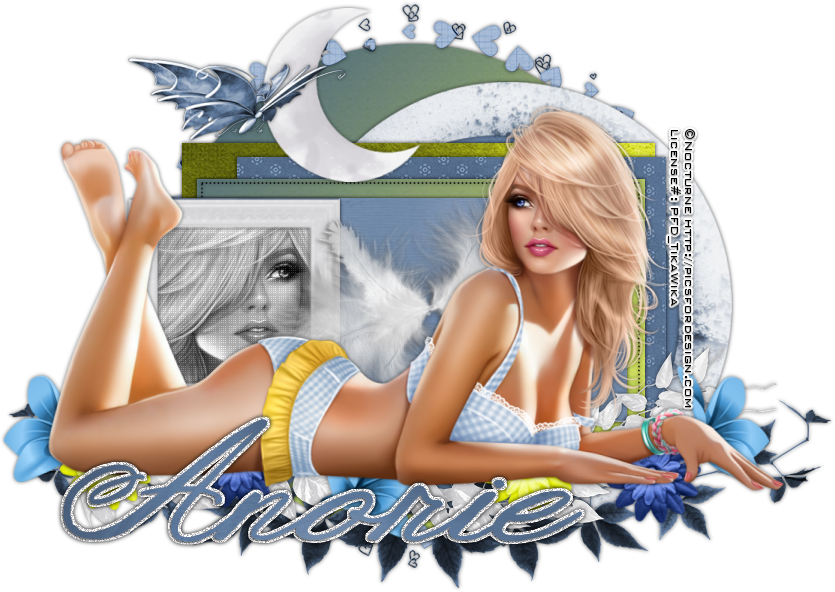
Tube by
Pandora Creations. You can get it at
http://scrapsncompany.com/index.php?main_page=product_info&cPath=144&products_id=12380
Matching
Scrap Kit by DnScraps. You can get it at
http://scrapsncompany.com/index.php?main_page=product_info&products_id=12361
Tag
Template by Me. You can it on my blog at the bottom of this tutorial.
Mask of
your choice. I am using mask 220 by WeeScotlas Creations. You can get
her masks at
http://weescotslasscreations.blogspot.com/2009/04/masks.html
Font of
your choice. I am using Moonlight Shadow. You can get it at
http://www.fontspace.com/david-kerkhoff/moonlight-shadow
Plugins:
NONE
Let's
Begin:
Open your
tag template and shift+D to duplicate.
Close the
original so you can use it again if you wish.
Delete the
cr layer.
Make your
canvas large enough to work with.
Open paper
5 from the kit and copy and paste as a new layer and drag to the
bottom.
Apply the
mask of your choice.
Delete the
mask layer and merge the group.
Add a drop
shadow to your mask layer.
Add a drop
shadow to the white glitter rectangle layer.
Make your
black rectangle layer active and go to selections select all float
and defloat.
Selections
modify and contract by 3.
Open paper
4 and copy and paste as a new layer.
Selections
invert and hit delete.
Selections
invert again.
Open the
ground element from the kit and copy and paste a a new layer and
position within the selected area.
Selections
invert and hit delete.
Selections
select none.
Add a drop
shadow to the floor.
Make the
grey circle layer active and selections select all float and defloat.
Open paper
2 and copy and paste as a new layer.
Selections
invert and hit delete.
Selections
select none.
Make grey
arrow layer active.
Selections
select all float and defloat.
Open paper
7 and copy and paste as a new layer.
Selections
invert and hit delete.
Selection
select none.
Add a drop
shadow to all layers.
Open your
tube and copy and paste as a new layer.
Re-size
and position where she is in the rectangle standing on the floor.
Add a drop
shadow.
Lets dress
this up with some of the fun elements from the kit.
I will
list the elements I used.
Placement
is up to you.
Elements
used:
hat
hallo
dark tree
rabbit
clock
key
cup
cards2
cards
book2
Add your
name.
Add your
copyright and licensing information.
Crop and
save.
Template made for this tutorial
You can download it HERE