Thursday, October 29, 2015

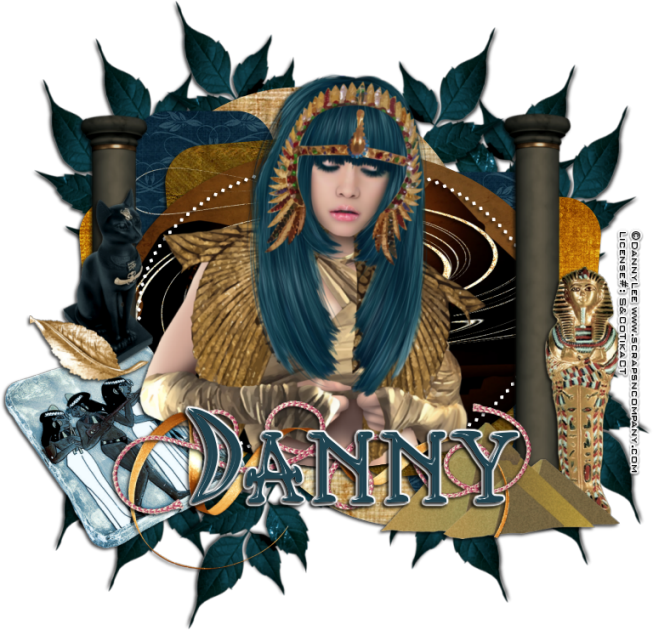
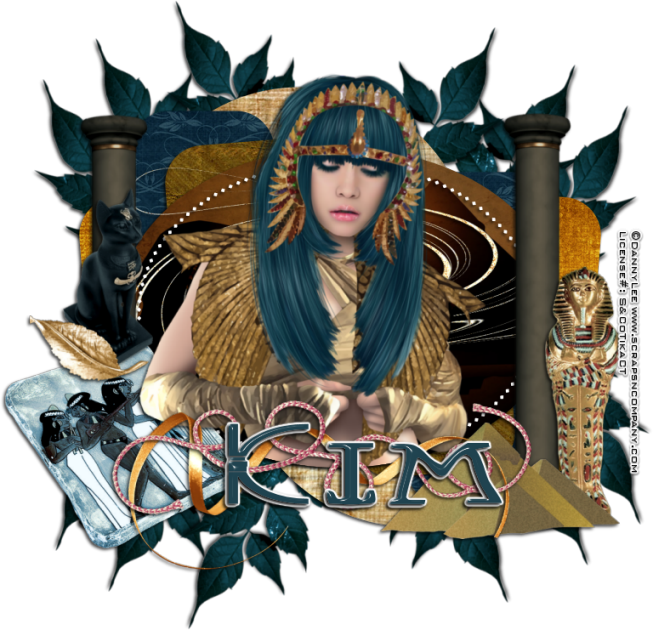
Egyptian Nights


Egyptian Nights
written 10/29/15

This tutorial is meant purely as a guide. Feel free to make your tag unique by using your own tube and scrap kit. If you want your tag to look exactly like mine then use the same supplies that I have and use my tag for reference.

Supplies Used:

Tube by Danny Lee called Egyptian Mummy. You can purchase her at http://scrapsncompany.com/index.php?main_page=product_info&cPath=113_132_219&products_id=15028

Matching scrap kit by Chili Designz called Egyptian Nights. You can purchase it at http://scrapsncompany.com/index.php?main_page=product_info&products_id=15031


Font of y our choice. I am using Pegypta. You can get it at http://www.fontspace.com/cybapee-creations/pegypta D

Plugins:
NONE

Let's Begin:
Open the tag template and shift+D to duplicate.
Close the original.
Delete the following layers:
bkg, cr, 12 and 11
Make your canvas large enough to work with.
Start at the bottom of the template and flood fill each of the layers with colors of your choice to match your tube or using papers from the kit.
Once you are done then select the oval layer and copy and paste your tube as a new layer and position within the selected area.
Erase any bits you do not want hanging outside of that area.
Add a drop shadow to each of the layers including your tube.
Let's dress up the tag with elements from the kit.
I will list the elements I used and placement is completely up to you.
If you want your tag to look just like mine then use my tag for reference.
Once you have all elements on then add a drop shadow to each of them.
Elements used:
book 2
cat
column
pyramids
ribbon
statue2
string2
swirvl
leaf7
leaf3
Add your name.
Add your copyright and licensing information.
Crop and save.


Wednesday, October 28, 2015

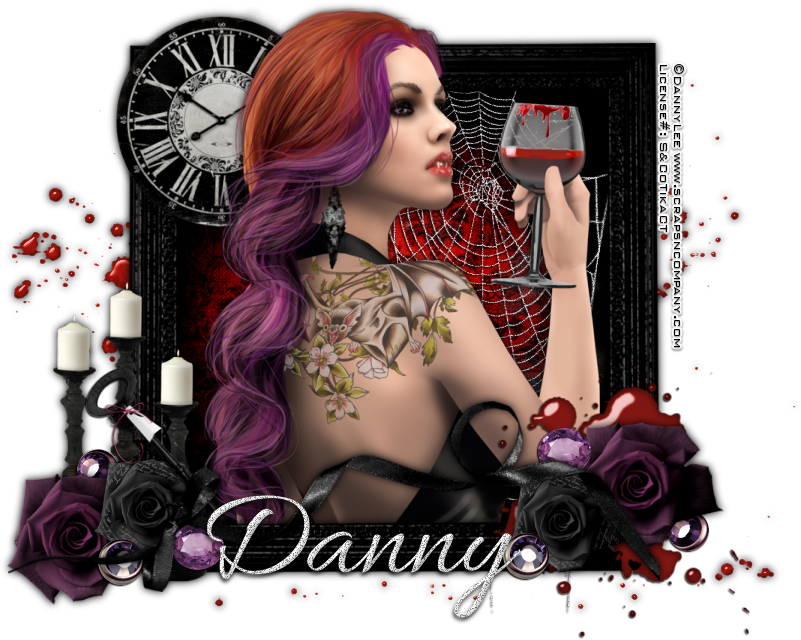
Glamorous Death


Glamorous Death
written 10/28/15

This tutorial is meant purely as a guide. Feel free to make your tag unique by using your own choice of tube and scrap kit. If you want your tag to look just like mine then use the same supplies that I have and use my tag for reference.
This tutorial works best with a tube that has a close up.

Supplies Used:

Tube by Danny Lee called Bloody Mary. You can purchase her at http://scrapsncompany.com/index.php?main_page=product_info&cPath=113_132_219&products_id=14730

Beautiful matching scrap kit by Chili Designz also called Bloody Mary and you can purchase it at http://scrapsncompany.com/index.php?main_page=product_info&products_id=14733

Font of your choice. I am using Allura. You can get it at http://www.fontspace.com/typesetit/allura

Plugins:
NONE

Let's Begin:
Open frame 8 from the kit and shift+D to duplicate.
Close the original.
Re-size to a size you would like.
This will be the base of your tag.
Using your magic wand select the inside of the frame.
Selections modify expand by 10.
Layers new raster layer and drag under the frame.
Open paper 6 and copy and paste into selection on the new layer.
Selections select none.
Make your frame layer active again and using your magic wand select the inside of the frame again.
Selections modify and expand by 4.
Open the close up of your tube and copy and paste as a new layer.
Position within the frame.
Selections invert and using your eraser tool erase any bits that are hanging outside of the frame that you do not want.
Selections select none.
Add a drop shadow to both your tube and your frame.
Ok let's dress this tag up with elements from the kit.
I will list the elements I used and placement is entirely up to you.
If you want your tag to look just like mine then use my tag for reference.
Elements I used:
Blood
Blood4
Gem
Gem2
Key
Bow2
Candles
Clock
Rose
Rose2
Web2
Add your name.
Add your copyright and licensing information.
Crop and save.

Friday, October 23, 2015

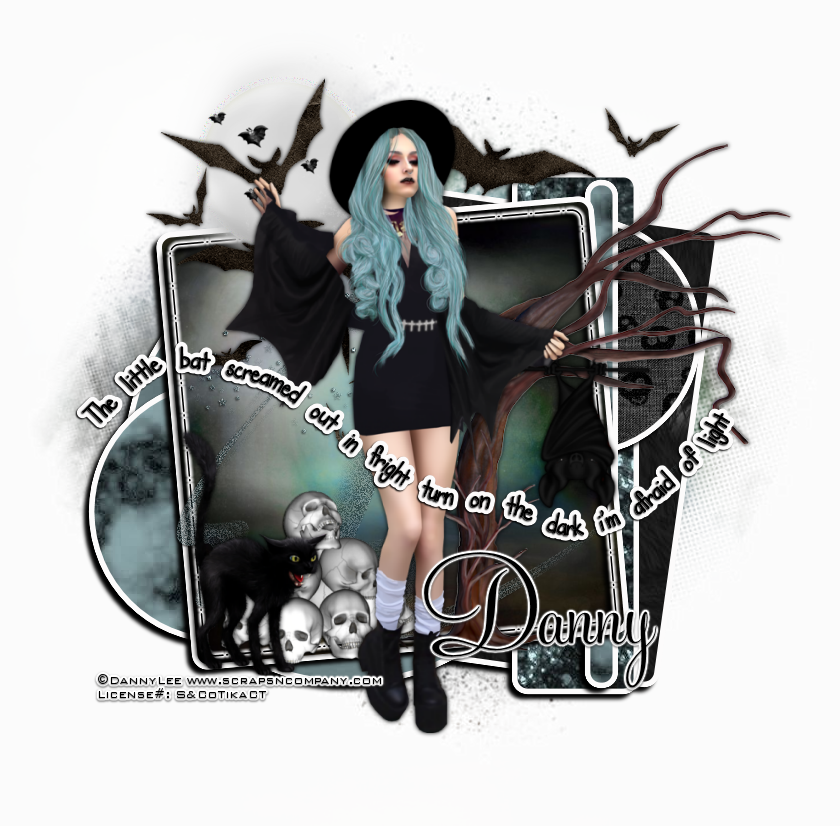
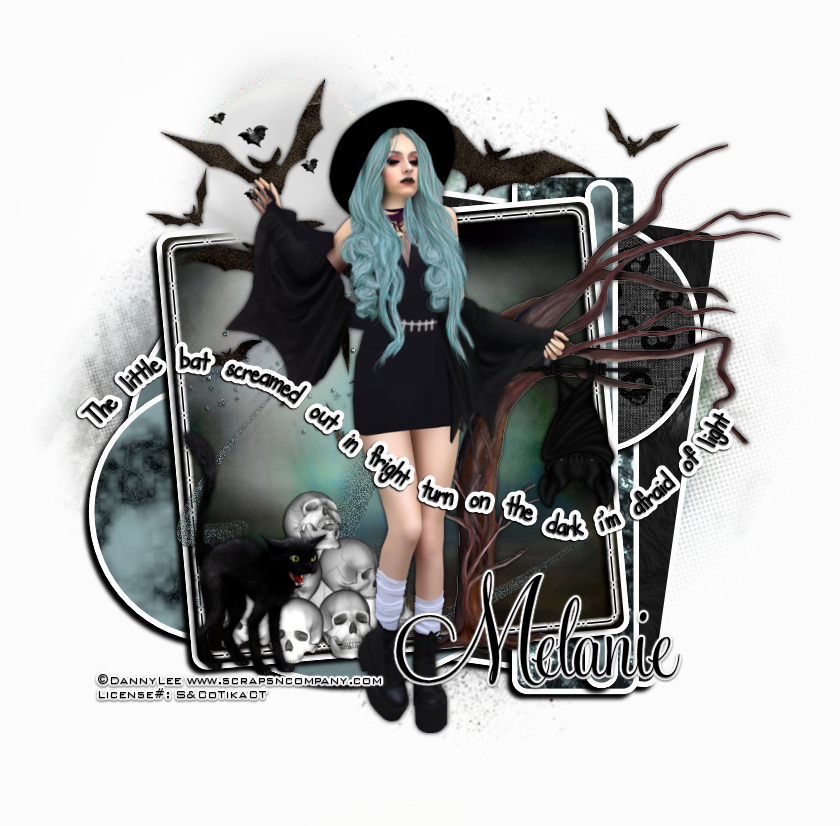
Afraid Of Light


Afraid Of Light
written 10/23/2015

This tutorial is meant purely as a guide. Feel free to make your tag unique by using your own tube and scrap kit. If you want your tag to look just like mine then use the same tube and the same scrap kit. Use my tag for reference for placement of items.

Supplies Used:


Scrap Kit by Blissful Designs. You can get it at http://scrapsncompany.com/index.php?main_page=product_info&products_id=14818

Mask of your choice. I am using mask #134 by Millies PSP Madness. You can get it at http://milliespspmadness.blogspot.com/2015/09/mask-134-and-tag-w-verymany-and-pink.html

Template #10 by Dangerously Delicious Designz. You can get it in the Halloween Templates 1-10 on the left side of her blog at http://dangerouslydeliciousdesignz.blogspot.ca/

Font of your choice. I am using DJB Teacher for the text on a path. This is a PTU font so use whatever you like and for the name I used Feelscript which is also a PTU font.

Plugins:
Eye Candy 4000 or Eye Candy 5 Gradient Glow

Let's Begin:
Open the template and shift+D to duplicate.
Close the original.
Remove the following layers:
info, You drive me, Batty Black, Batty White, blue star and bg.
Merge together raster 9 and raster 11.
Move them up to the top left of the template
Make your canvas large enough to work with.
Starting with the green square layer.
Selections select all float and defloat.
Open paper 10 and copy and paste as a new layer.
Selection invert and hit delete.
Selections select none.
Delete the original green square layer.
Repeat the above steps with all layers except the orange square and the circles that we merged together.
On the orange square selections select all float and defloat.
Layers new raster layer.
Open paper 1 and copy and paste into selection.
Selections select none.
Delete the original orange square layer.
Now starting with the bottom layer apply a gradient glow in white of your choice on size and what not to each of the layers except the merged circles.
Then add a drop shadow to each layer.
Open paper 1 and copy and paste as a new layer and drag to the bottom.
Apply the mask of your choice.
Delete the mask layer and merge the group.
Open your tube and re-size if needed.
Copy and paste as a new layer.
Position where you want.
Move the merged circles up behind her head but to the left of it.
Open element 68 and copy and paste as a new layer and re-size as needed but place it in the center of the merged circles to cover the green inside of it.
I chose to greyscale mine but that is completely up to you.
Now lets dress this tag up with some elements.
I will list the elements that I used and placement is up to you.
Unless you want your tag to look just like mine then use my tag for reference.
Elements used:
element 4
element 13
element 21
element 23
element 26 (I added noise to this element)
element 59
Add a drop shadow to all elements.
Using your pen tool and turning off your background color.
Draw a vector path across your tag up and down that we can add some text to.
Add the text of your choice.
Add your name.
Add your copyright and licensing information.
Crop and save.


Tuesday, October 20, 2015

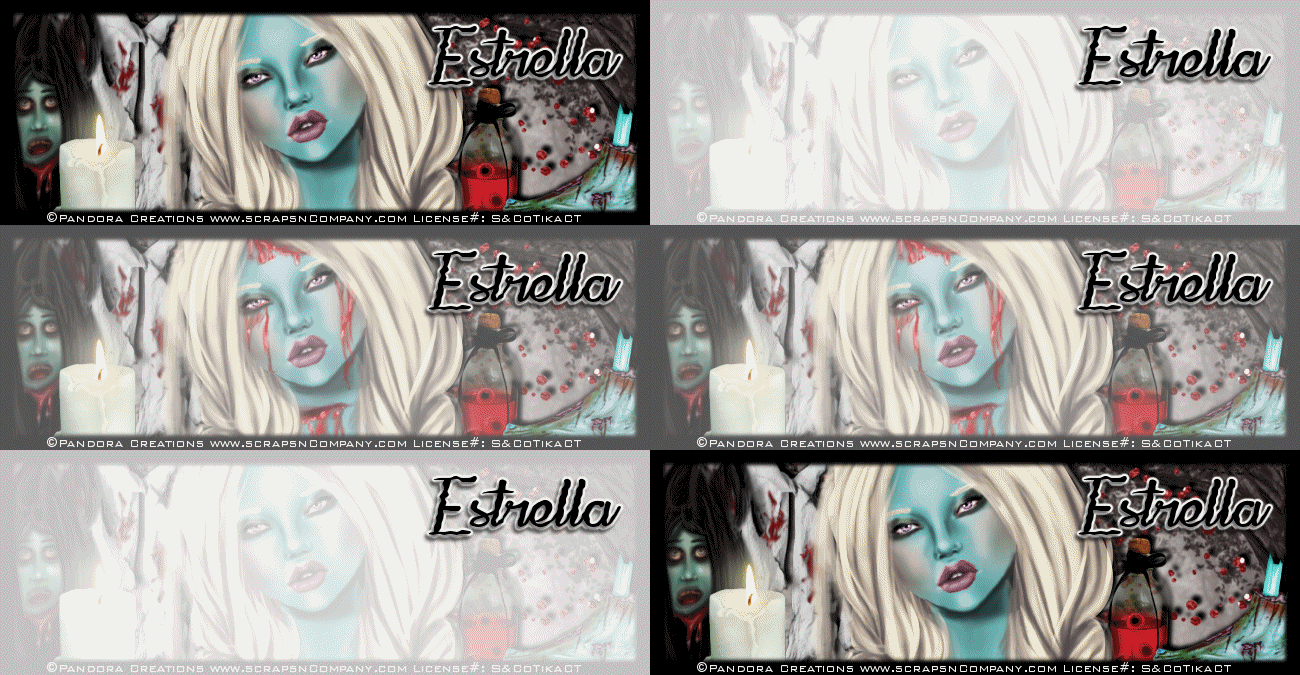
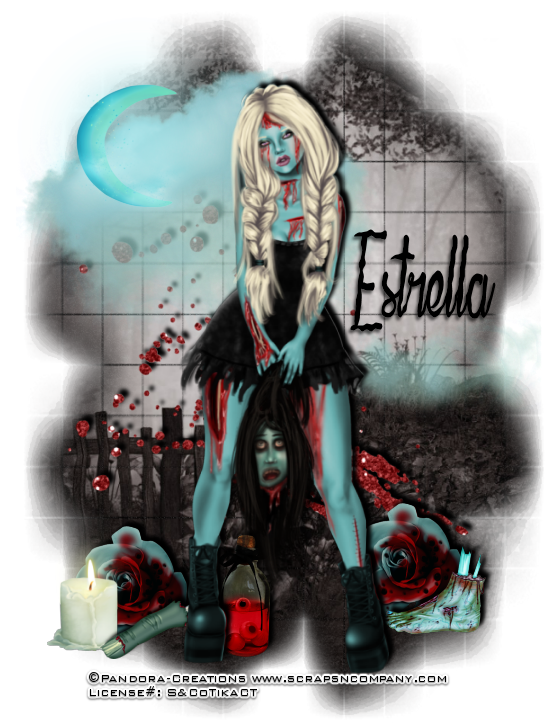
Off With Her Head - 3 Piece Forum Set


Off With Her Head – 3 piece set
written 10/20/2015

This tutorial is meant purely as a guide. Feel free to make your tag unique by using your own tubes and scrap kit. If you want your tag to look just like mine then use the same supplies that I have and use my tag for reference on placement of items.

Supplies Used:


Mask of your choice. I am using mask #30 from Insatiable Dreams. You can get her masks at http://insatiabledreams.net

Font of your choice. I am using La Maison de Papier. You can get it at http://www.dafont.com/la-maison-de-papier.font

Plugins:
NONE

Please note this is going to be a lengthy tutorial as it is 3 pieces and I will describe how to create each of the 3 pieces and since 2 of them are animated it will take a bit of time. *

Let's Begin:
We are going to start with the first item in the set which will be the avatar and the easiest.
Open a new blank canvas that is 98x208.
Selections select all.
Open paper 6 and copy and paste into selection.
Selections select none.
Open your tube.
If you are using the same tube as me you will have 1 layer that is normal and 1 layer that is bloody. We will be working with both.
First select all the options you want as far as hair color, makeup etc.
Select the layer that is bloody first.
Copy and paste as a new layer onto your avatar canvas.
Re-size by 50%.
Move to the lower part of the canvas with her head tilting towards the left.
Once you have her into place go back to your tube and copy and paste as a new layer the normal tube with the same options as you selected previously.
Re-size by 50%.
Move down and make sure you place it directly on top of the first tube.
Add a drop shadow to both tubes.
Layers new raster layer and flood fill with black.
Selections modify and contract by 7 and then hit delete.
Selections select none.
Add a drop shadow to the frame.
Add your name or initial.
Add your copyright and licensing information and lets get ready to animate.
I am going to go over the animation instructions and it will be the same for this avatar and the banner tag.
Hide the bottom tube layer which should be your bloody layer.
Copy merged the normal layer.
Open animation shop and right click and paste as a new animation.
Go to effects image transition and select fade.
Delete the very last frame which will leave you 20 frames.
Copy the above steps with the bloody tube.
Click on the last frame of the normal tube animation and copy and paste all the frames of the bloody tube animation after that frame.
Adjust the frame properties until you are happy with the effect.
This is all trial and error.
Now lets go back to psp and work on the banner tag.
Open a new blank canvas that is 650x225.
Open paper 6 and copy and paste as a new layer and position how you want on your canvas.
Copy and paste your bloody tube and then your normal tube like you did on the av.
Link them and then move them to position how you want in the center of the tag canvas.
Add a drop shadow as you did on the avatar.
Dress up your banner by adding some of the elements from the kit.
Add an outside banner like you did with the avatar. Only I made mine 10 thick on this banner.
Now animate your banner just like you did your avatar.
Lets move on to the actual tag.
Open paper 6 and shift+D to duplicate.
Close the original.
Promote your background layer to a raster layer.
Apply the mask of your choice.
Delete the mask layer and merge the group.
Selection select all float and defloat.
Selections modify and expand by 6.
Flood fill with black and you might have to do it a couple of times until you get it as full as you want.
Selections select none.
Drag the black layer under the mask layer.
Merge these 2 together.
Open your tube either the normal or the blood your choice.
Copy and paste as a new layer and position on your tag.
Add a drop shadow.
Now dress up your tag with elements from the kit.
Add your name to all 3 pieces along with copyright and licensing information.
Crop and save.
Thanks for trying my tutorial.


Saturday, October 17, 2015

Warm Coffee, Warm Heart


Warm Coffee, Warm Heart
written 10/17/2015

This tutorial is meant purely as a guide. Feel free to make your tag unique by using your own tube and scrap kit. If you want your tag to look just like mine then use the same supplies that I have and use my tag for reference on the placement of items.

Supplies Used:

Tube by Vi Nina. It is called Fall Colors and you can get it at http://scrapsncompany.com/index.php?main_page=product_info&cPath=113_294&products_id=14469

Matching Scrap Kit by Bibi's Collection. It is called Fall Colors. You can get it at http://scrapsncompany.com/index.php?main_page=product_info&products_id=14468

Mask of your choice. I am using mask #260 by Vix. You can get her awesome masks at http://www.freewebs.com/vixpsp/

Font of your choice. I am using Burgues Script. It is a PTU font so any font of your choice will work.

Plugins:
NONE

Let's Begin:
Open element 121 and shift+D to duplicate.
Close the original.
Re-size as this will be the base and frame of your tag.
Make your canvas large enough to work with.
Using your magic wand select the inside of the frame and go to selections modify and expand by 10.
Layers new raster layer and drag under the frame.
Open paper 5 and copy and paste into selection.
Selections select none.
Using your magic wand again select inside the frame and go to selections modify and expand by 2 this time.
Open your tube and copy and paste as a new layer.
Position within the frame.
Selections invert and using your eraser tool erase any bits you have hanging outside of the frame that you do not want to be part of your tag.
Once you are done selections select none.
At this time add a drop shadow to both the tube and the frame.
Open paper 11 and copy and paste as a new layer and drag down to the bottom.
Apply the mask of your choice.
Delete the mask layer and merge the group.
Add a drop shadow to the mask layer.
This will help it pop a bit.
Now lets dress it up with some elements.
Again I will list the elements I used and placement is entirely up to you.
If you want your tag to look just like mine then use my tag for reference on the placement of the elements.
Elements used:
element 16
element 24
element 43
element 46
element 73
element 89
element 109
Add your name.
Add your copyright and licensing information.
Crop and save.
Thanks for trying my tutorial.


Friday, October 16, 2015

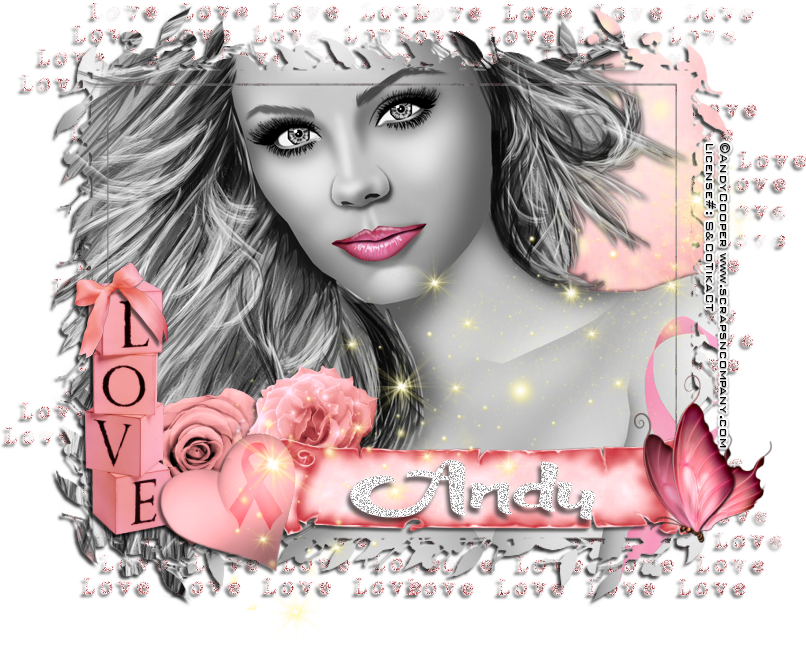
Love Yourself Enough


Love Yourself Enough
written 10/15/2015

This tutorial is meant purely as a guide. If you want your tag to look just like mine then used the exact same supplies as I have. Feel free to make your tag unique by using your own tube and scrap kit. Also if you want your tag to look just like mine then use my tag for reference on placement of the elements.

Supplies Used:

Tube called October Pink by Andy Cooper. You can get it at http://scrapsncompany.com/index.php?main_page=product_info&cPath=113_304&products_id=14501

Scrap Kit called BCA Sweetie by Bibi's Collection. You can get it at http://scrapsncompany.com/index.php?main_page=product_info&products_id=14500

Mask of your choice. I am using mask #251 by WeeScotsLass Creations. You can get it at http://weescotslasscreations.blogspot.com/2009/04/masks.html

Font of your choice. I am using Annabelle Script. You can get it at http://www.fontspace.com/maellekeita/anabelle-script

Plugins:
NONE

Let's Begin:
Open a new blank canvas that is 700x700.
Open paper 2 and copy and paste as a new layer.
Open your close up of your tube and copy and paste as a new layer.
You want your tube to take up a good portion of the paper canvas.
Now I wanted my tube to be black and white except a couple of pops of color and the places I chose were her lips and the breast cancer ribbon on her arm.
I am going to teach you my way of achieving this effect. I am sure there are many other ways but this is how I do it. Feel free to either follow in my instructions or do it your own way.
Duplicate your tube.
On the bottom layer go to adjust hue and saturation colorize and set both values to 0 and there by changing the color of the bottom tube to black and white.
Now on your top layer using your eraser tool erase all the bits that you do not want colored. Leaving the bits you want colored un touched.
You may need to change the sizes of your eraser to get this and when I am doing the fine details around the colored items I will zoom in really really close and erase each little bit dot by dot. This can be time consuming but for me the effort is well worth the effect and final outcome.
Once you are done erasing if your edges of the colored items look jagged just use your soften tool and go around the edges a bit and soften them and blend them .
Add a drop shadow to your bottom tube ONLY.
Now merge all of your layers together.
Make your canvas large enough to work with.
Now lets dress it up with some elements from this beautiful kit.
I will list the elements I used.
Placement is completely up to you.
If you want your tag to look just like mine then use my tag for reference.
Elements I used:
element 26
element 43
element 49
element 72
element 80
element 110
element 113
element 123
Add your name.
Add your copyright and licensing information.
Crop and save.


Wednesday, October 14, 2015

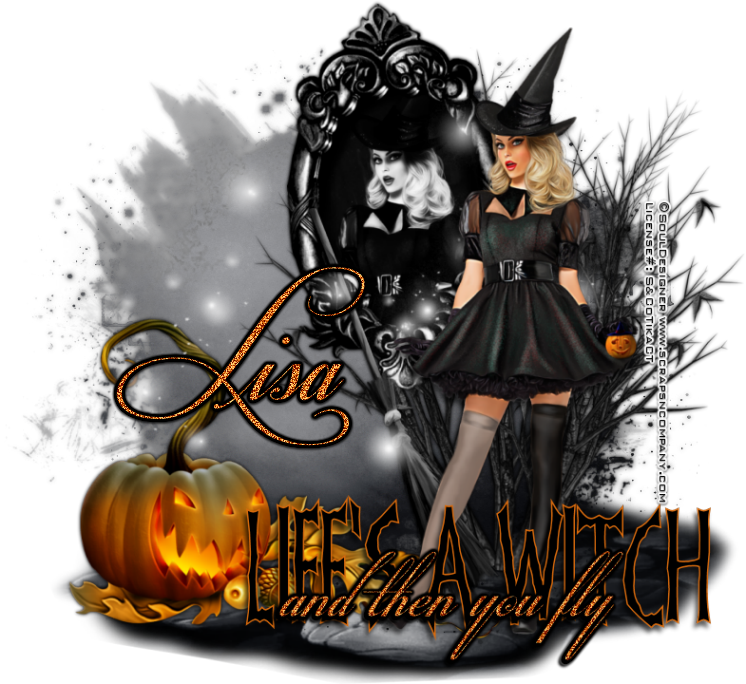
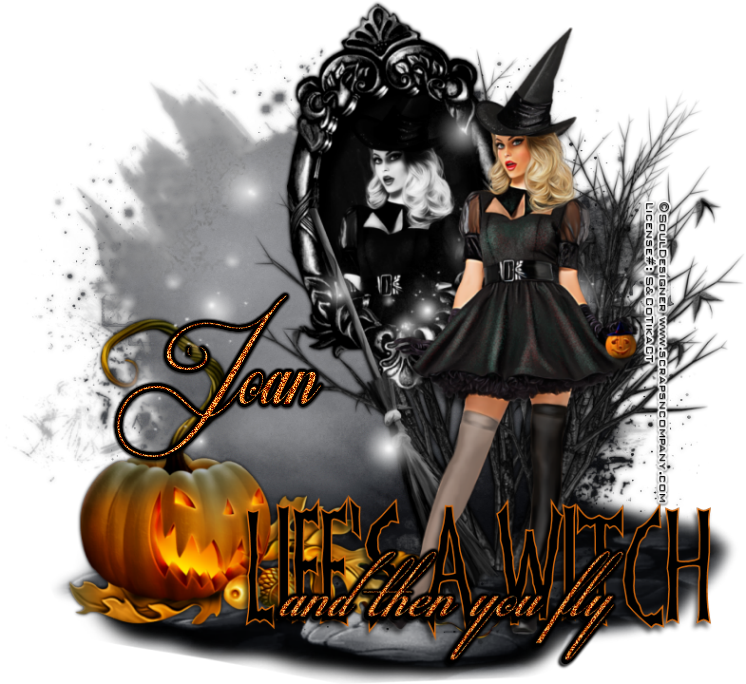
Life's A Witch


Life Is A Witch
written 10/14/2015

This tutorial is meant purely as a guide. Feel free to make your tag unique by using your own tube and scrap kit. If you want your tag to look exactly like mine then use the same supplies that I did and follow the tutorial as I have written it.

Supplies Used:


Mask of your choice. I am using mask #2 from this set at Rachel Designs. You can get it at https://racheldesignsblog.wordpress.com/2015/10/11/mask-set-97/

Font of your choice. I am using Frankendork which you can get at http://www.dafont.com/frankendork.font and also Respective which you can get at http://www.dafont.com/respective.font

Plugins:
Xero Radiance

Let's Begin:
Open paper 7 from the kit and shift+D to duplicate.
Close the original.
Re-size.
Promote your background layer to a raster layer.
Apply your mask.
Delete the mask layer and merge the group.
Add a drop shadow to the mask layer.
Open your tube and copy and paste as a new layer.
Position where you want.
Add a drop shadow to the tube.
Open element 89 and shift+D to duplicate.
Close the original.
Ok lets prep this element to go onto our tag.
Using your selection tool select the inside of the frame.
I find it easiest to make the element large and then use my selection tool set to point to point so I can get as close the edges as I can.
Once you have it all selected open your tube again and copy and paste as a new layer and position her face within the selected area.
Selections invert and hit delete.
Selections select none.
Apply the Xero Radiance plugin using the default settings.
Change the properties of this layer to luminance legacy.
Merge your tube down to the frame layer so you have 1 layer.
Re-size so it will fit on your tag.
Copy and paste as a new layer and position where you want.
I will list the elements that I used and placement is up to you.
If you want them in the same place as mine then use my tag for reference.
Elements used:
element 2
element 15
element 23
element 47
element 64
Add some text along the bottom if you wish.
Add your name.
Add your copyright and licensing information.
Crop and save.

Sunday, October 11, 2015

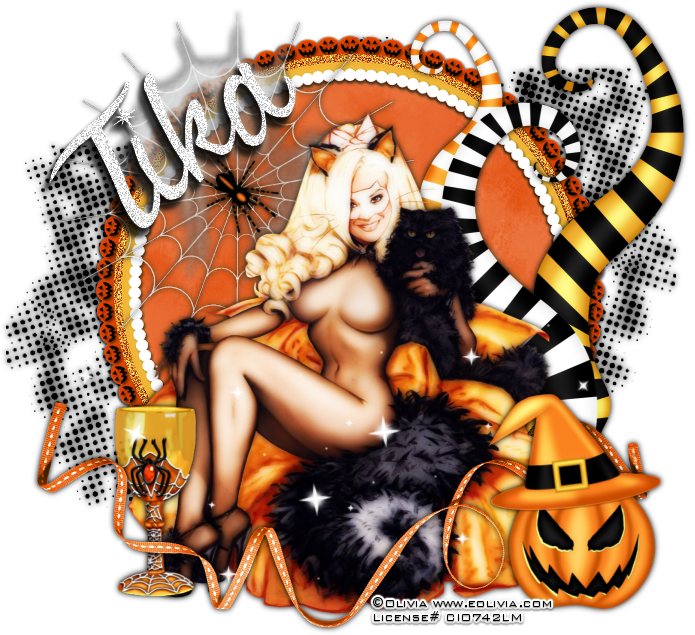
Black Cat Night


Black Cat Night
written 09/28/2015

This tutorial is meant purely as a guide. Feel free to make your tag your own by using supplies of your choice. If you want your tag to look just like mine then use the exact same supplies as I do.

Supplies Used:

Tube of your choice. I am using a tube by Olivia. I got this tube when the artist was at CILM. I am not sure where to purchase this tube now.

FTU scrap kit by Crystals Creations. I am using the Spookylicious kit. You can get it at http://crystalsscrapcreations.blogspot.com/2015/09/ptu-now-ftu-halloween-kits.html

Font of your choice. I am using Witched. You can get it at http://www.dafont.com/bewitched.font

Plugins:
Xero Porcelain

Let's Begin:
Open ee40 from the kit and shift+D to duplicate.
Close the original.
Make your canvas large enough to work with.
Using your magic wand select the inside of the frame and go to selections modify and expand by 8.
Layers new raster layer.
Drag under the frame.
Open pp7 and copy and paste into selection.
Selections select none.
Add a drop shadow to the frame.
Open your tube and copy and paste as a new layer and position where you want.
Mine is sitting center bottom of the frame.
Apply Xero Porcelain nat the default settings.
Add a drop shadow to your tube.
Open ee45 from the kit and copy and paste as a new layer.
Drag to the bottom and move to the far right side so it is peeking out from behind.
Duplicate.
Image flip horizontal.
Move the duplicate to the far left side.
Merge the 2 layers together and then add a drop shadow.
I will list the elements I used.
If you want your tag to look just like mine use my tag for reference for placement.
Elements Used:
ee10
ee16
ee25
ee27
ee36
ee44
Add your name.
Add your copyright and licensing information.
Crop and save.
Thursday, October 8, 2015

End Of Summer


End of Summer
written 10/08/2015

This tutorial is meant purely as a guide. Make your tag your own by using your own tube of choice and scrap kit. If you want your tag to look just like mine then use the same supplies and follow the tutorial to the letter. Use my tag for reference for the placement of elements.

Supplies Used:

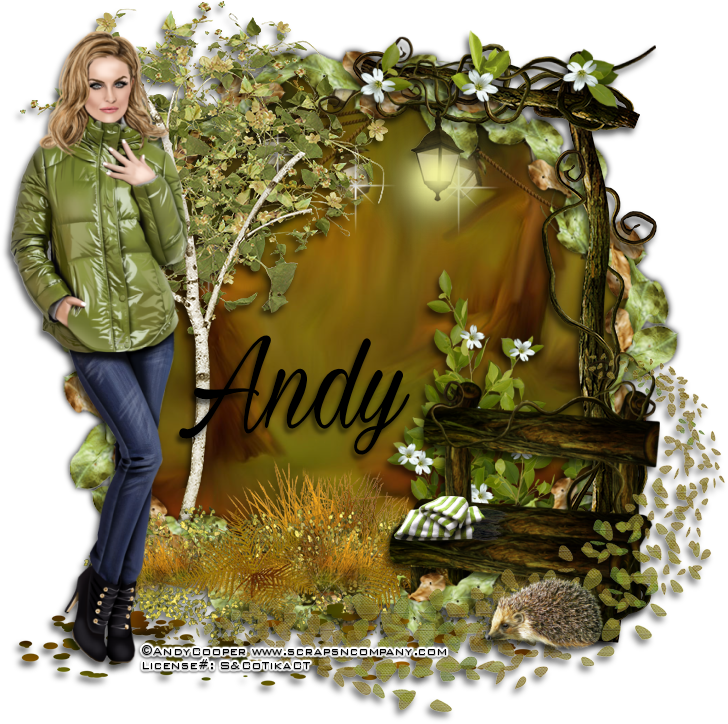
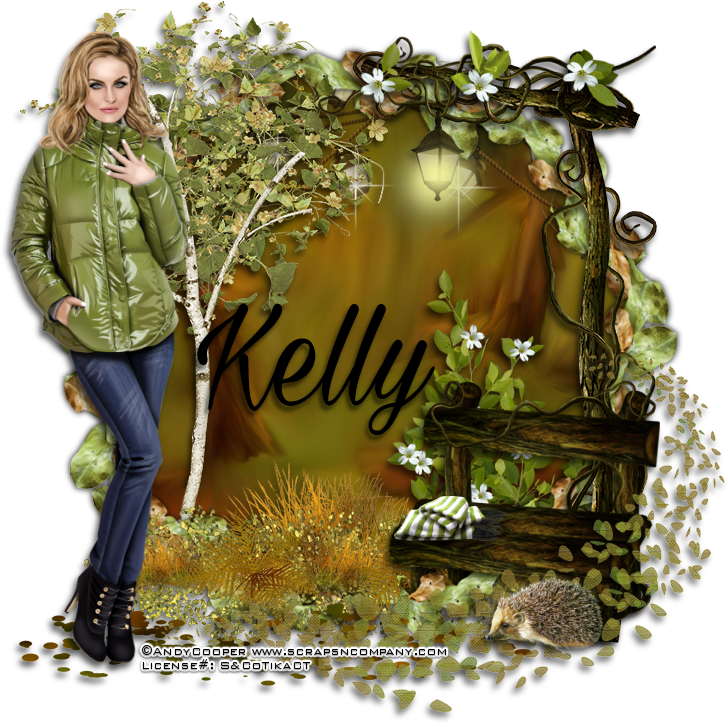
Tube by Andy Cooper. It is called Green Jacket and you can get it at http://scrapsncompany.com/index.php?main_page=product_info&cPath=113_304&products_id=14143

Matching scrap kit by Kizzed by Kels. It is called Green Jacket also and you can get it at http://scrapsncompany.com/index.php?main_page=product_info&products_id=14144

Sparkle picture tube of your choice. You can get some at http://www.hypergurl.com/sparklestubes.html

Font of your choice. I am using Milasian Circa. You can get it at http://www.fontspace.com/m%C3%A5ns-greb%C3%A4ck/milasian-circa-personal

Plugins:
NONE

Let's Begin:
Open element 118 and shift+D to duplicate.
Close the original.
Re-size by 105% 2x.
Make your canvas large enough to work with.
Using your magic wand select the inside of the frame.
Selections modify and expand by 15.
Layers new raster layer.
Drag this new layer under the frame.
Open paper 37 and copy and paste into the selection.
Selections select none.
Add a drop shadow to the frame.
Using your sparkle picture tube place a sparkle on each of the hanging lights on the paper.
Open your full size tube and copy and paste as a new layer.
Re-size to match the size of your frame/tag.
Place where you want and add a drop shadow to the tube.
Now lets add some elements.
Re-size each element as you need to to fit within your tag.
I will list the elements I used and placement is completely up to you.
Use my tag for reference if you want your tag to look just like mine.
Elements used:
1
21
23
33
46
59
70
75
103
106
Add your name.
Add your copyright and licensing information.
Crop and save.


Wednesday, October 7, 2015

Falling Leaves


Falling Leaves
written 10/07/2015

This tutorial is meant purely as a guide. You do not have to follow it to the letter and you can make your tag unique by using different tubes and even a different scrap kit. If you want your tag to look just like mine then use the same supplies that I have used. Also use my tag for reference on where to place items.

Supplies Used:

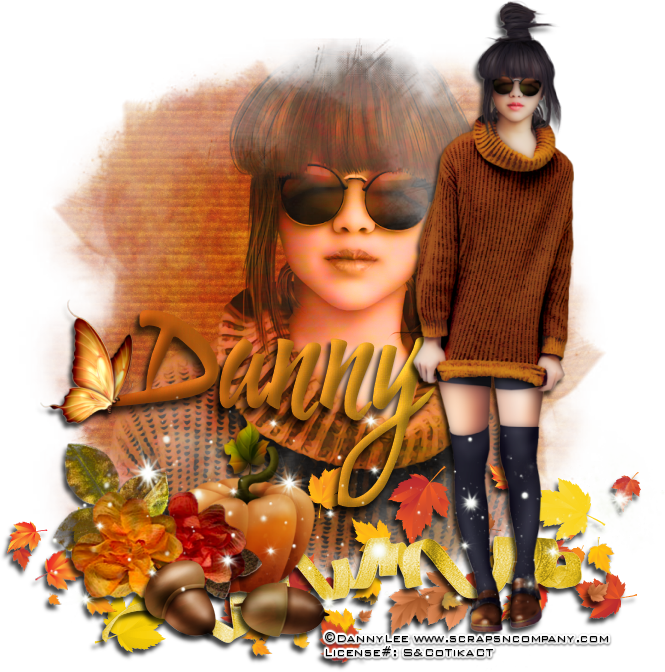
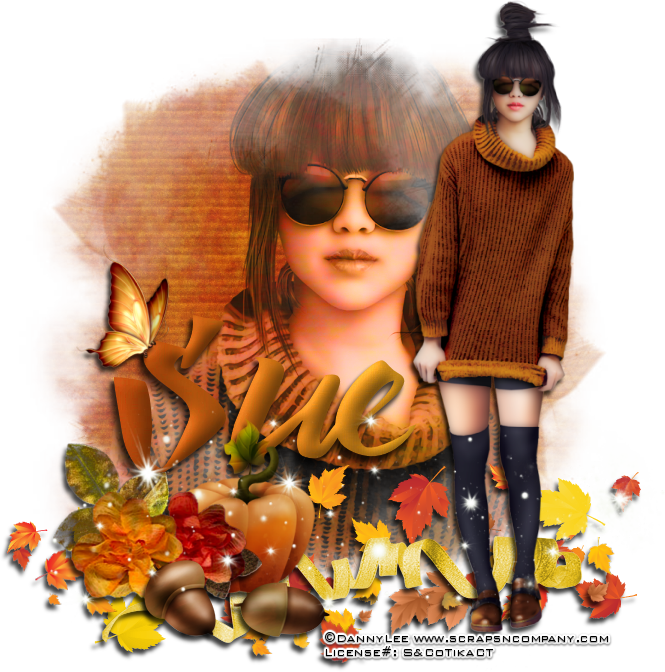
Tube by Danny Lee. It is called Dry Leave. You can get it at http://scrapsncompany.com/index.php?main_page=product_info&cPath=113_132_219&products_id=14350

Matching Scrap Kit by Designz By Sue. It is called Dry Leaves. You can get it at http://scrapsncompany.com/index.php?main_page=product_info&cPath=112_250&products_id=14349

Mask of your choice. I am using mask #54 by Millies PSP Madness. You can get her masks at http://milliespspmadness.blogspot.com/?zx=a494020e1b0eb310

Font of your choice. I am using Handletter which is a freebie you can get at http://dealjumbo.com/downloads/handletter-free-script-font/

Plugins:
Xero Porcelain

Let's Begin:
Open paper 18 from the kit and shift+D to duplicate.
Close the original.
Promote background layer to a raster layer by right clicking on the layer in the layer palette
Re-size the paper layer by 75%.
Open the half tube/closeup and copy and paste as a new layer on top of the paper.
It is ok if the tube is larger than the paper for now.
Apply the Xero Porcelain plugin using the default settings.
Crop around the side of your paper.
This will get rid of the excess tube.
Change the properties of the tube layer to luminance legacy.
Merge the 2 layers together.
Make your canvas large again to give you plenty of room to work with.
Apply the mask of your choice.
Delete the mask layer and merge the group.
Open your full size tube and copy and paste as a new layer.
Position where you want on the tag.
Apply the Xero Porcelain plugin using the default settings.
Add a drop shadow.
Now lets dress this tag up with some of the great elements from this kit.
I will list the elements I used; placement is entirely up to you.
Re-size the elements as you need so that they fit within the size of your tag.
Elements used:
001
005
012
014
015
016
027
029
Add a drop shadow to each of the elements.
Add your name.
Add your copyright and licensing information.
Crop and save.