Tuesday, December 15, 2015

Leave Me Milk & Cookies


Leave Me Cookies & Milk
written 12/15/2015

This tutorial is meant purely as a guide. Feel free to make your tag unique by using your own choice of tube and scrap kit. If you want your tag to look just like mine then use the same supplies that I have used.

Supplies Used:


Font of your choice. I am using Fabulous. You can download it at http://www.fontriver.com/font/fabulous/

Plugins:
Eye Candy 5 Nature : Snowdrift

Let's Begin:
Open element 1 and shift+D to duplicate.
Close the original.
Re-size if desired.
Make your canvas large enough to work with.
Select the inside of the frame with your magic wand.
Selections modify and expand by 6.
Open paper 6 and copy and paste as a new layer.
Drag under the frame.
Selections invert and hit delete.
Selections invert again and modify contract by 5.
Open your tube and copy and paste as a new layer.
Re-size.
Position within the selected part of the frame.
Erase any bits you do not want hanging out.
Selection select none.
Add a drop shadow to your tube and your frame.
Open element 41 and copy and paste as a new layer.
Drag to the bottom.
Move so it is more to the top and left.
Add a drop shadow.
Open element 66 and copy and paste as a new layer and re-size so it fits across the bottom of the frame in front of your tube.
Erase any bits you want as I erased to make it appear his arms were in front of the snow.
Open element 68 and copy and paste as a new layer.
Re-size so it fits nicely along the right side of the frame.
Drag under y our tube layer.
Add a drop shadow.
Open element 63 and copy and paste as a new layer.
Re-size and move to the bottom right near the light pole.
Add a drop shadow.
Open element 59 and copy and paste as a new layer.
Move near the bottom of the frame but above the cookies and milk.
Open element 44 and copy and paste as a new layer.
Re-size and move between the cookies and the light pole.
Add a drop shadow.
Open element 4 and copy and paste as a new layer.
Move to the far right next to the light pole.
Add a drop shadow.
Add your name.
Apply an inner bevel or glass setting of your choice.
Add the eye candy 5 nature snow drift plugin to your name.
Add a drop shadow.
Crop and save.


Monochrome Christmas


Monochrome Christmas
written 12/15/2015

This tutorial is meant purely as a guide. Feel free to make your tag unique by using your own choice of tube and scrap kit. If you want your tag to look just like mine then use the same supplies as I have.

Supplies Used:

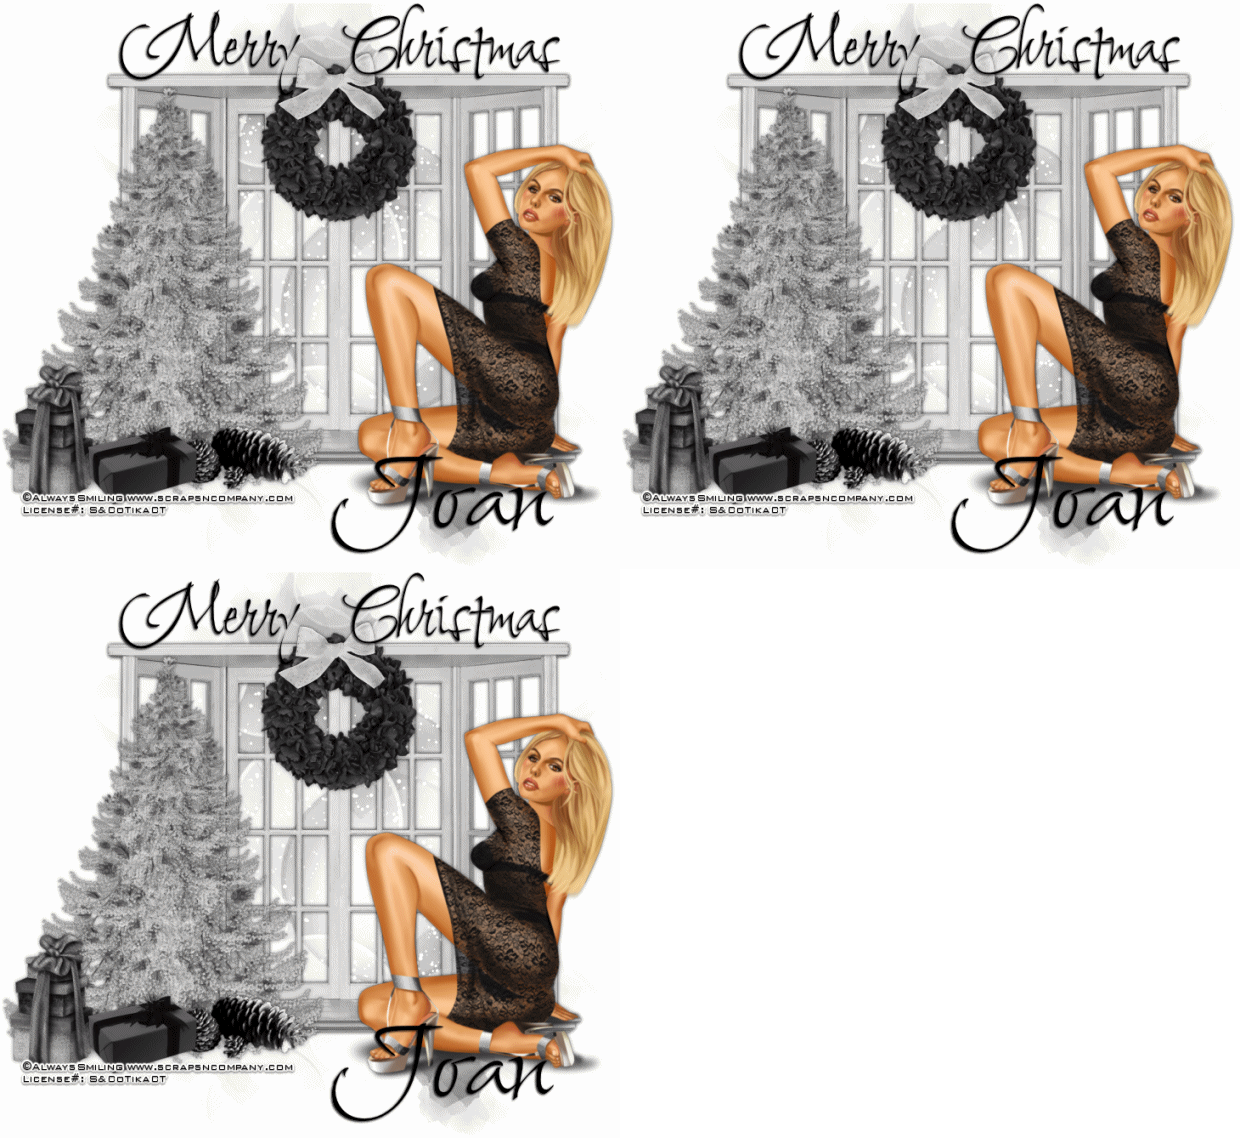
Tube is called Kylie by Always Smiling. You can purchase it at http://scrapsncompany.com/index.php?main_page=product_info&cPath=113_568&products_id=16199

Scrap kit is called Black and White by Designs By Joan. You can purchase it at http://scrapsncompany.com/index.php?main_page=product_info&cPath=112_115_170&products_id=6523

Mask of your choice. I am using mask #19 from horseplay pasture designs. You can get it at http://www.horseplayspasture.blogspot.com/search/label/Masks

Font of your choice. I am using Shalimar Swash. It is a PTU font so choose whatever you want to use.

Plugins:
VanDerLee Snowscape You can download it at http://www.vanderlee.com/plugins_snowscape.html

Let's Begin:
Open a blank canvas that is large enough to give you plenty of room to work with.
Open paper 4 and copy and paste as a new layer.
Apply the mask of your choice.
Delete the mask layer and merge the group.
Open element 40 and copy and paste as a new layer.
Center within the mask area.
Add a slight drop shadow.
Open element 35 and re-size.
Copy and paste as a new layer and move to the far left side.
Add a slight drop shadow.
Open your tube and copy and paste as a new layer.
Re-size and move to the far right side.
Add a drop shadow.
Open element 5 and re-size.
Copy and paste as a new layer and move to the top center of the window.
Add a drop shadow.
Open element 24 and re-size.
Copy and paste as a new layer and move to the lower far left in front of the tree at the bottom.
Open element 29 and re-size.
Copy and paste as a new layer and move to the bottom just right of the first gifts.
Open element 32 and re-size.
Copy and paste as a new layer and move to the top center of the wreath.
Open element 44 and re-size.
Copy and paste as a new layer and move to the bottom of the tree near the gifts.
Add your name.
Add your copyright and licensing information.
Now merge together all the layers except the mask layer.
Duplicate the mask layer until there are 3 of them.
On the bottom layer apply the Vanderlee snowflakes plugin using the basic white settings.
On the second layer apply the plugin again and hit random seed.
Repeat again on the top layer.
Close off the top 2 layers of the mask and edit copy merged and paste into animation shop.
Back to psp and hide the bottom mask layer and unhide the middle layer.
Edit copy merged and in animation shop paste after current frame.
Repeat with the top layer.
View your animated tag.
Save.
 

Sunday, December 13, 2015

Holiday Cheer


Holiday Cheer
written 12/01/2015

This tutorial is meant purely as a guide. Feel free to make your tag unique by using your own choice of tube and scrap kit. If you want your tag to look just like mine then use the same supplies that I have used.

Supplies Used:

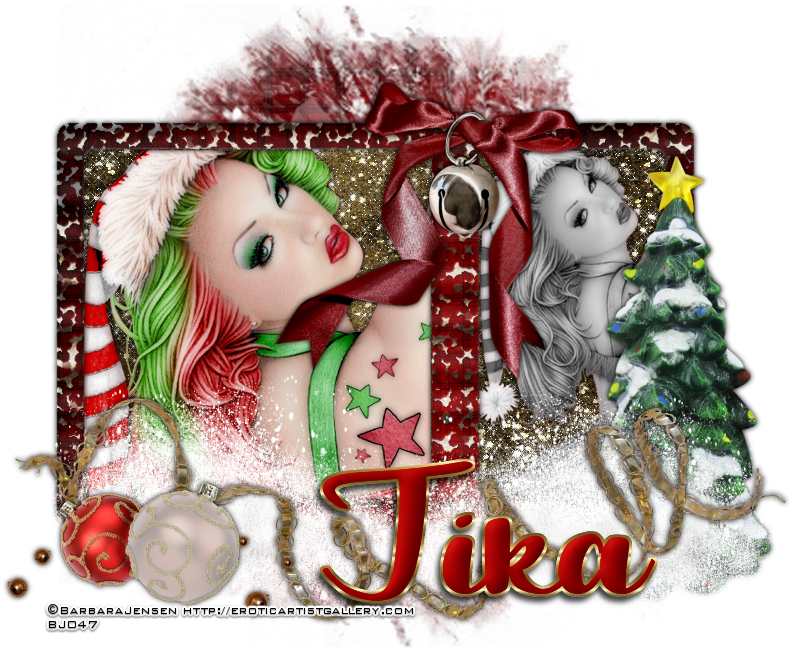
Tube by Barbara Jensen. I am using the tube called In Fine Feather Holiday Edition. You can purchase this tube at http://barbarajensentubes.com/

Scrap Kit is a freebie Sampler by Gothic Inspirations. It is called Holly and you can download it at http://gothicinspirations.blogspot.com/2014/12/new-ptu-kit-holly.html Be sure to check out the full sized kit in her stores.


Font of your choice. I am using Geuceu. It is a PTU font so use whatever you choose.

Plugins:
Alien Skin Xenofex 2 Constellation
Xero Porcelain

Let's Begin:
Open frame 1 from the kit and shift+D to duplicate.
Close the original.
Re-size if you choose.
Make your canvas large enough to work with.
Open paper 4 and copy and paste as a new layer.
Drag under the frame.
Apply the mask.
Delete the mask layer and merge the group.
Make your frame layer active and using your magic wand select the inside of both sides of the frame.
Selections modify and expand by 3
Layers new raster layer and drag under the frame.
Open paper 5 and copy and paste into selection.
Selections select none.
Using Xenofex 2 Constellation add some sparkle to the paper layer using whatever settings you like.
Ok make your frame layer active again and select just the smaller right side part of the frame.
Selections modify and expand by 1.
Open your tube and copy and paste as a new layer within the selected area.
Position where you want and selections invert and hit delete.
Selections select none.
Adjust hue and saturation colorize and set both values to 0.
Apply the Xero Porcelain plugin using the default settings.
Add a drop shadow.
Using your magic wand select the large part of the frame.
Copy and paste your tube again and position.
Selections invert and hit delete.
Selections select none.
Apply Xero Porcelain again.
Add a drop shadow.
Open bow2 from the kit.
Copy and paste as a new layer and place at the top in the area between the 2 sections of the frame.
Re-size as needed.
Add a drop shadow.
Open bell from the kit and copy and paste as a new layer.
Place so it is hanging from the center of the bow.
Re-size as needed and erase any bits you want.
Add a drop shadow.
Open drift from the kit and copy and paste as a new layer.
Place in the bottom left corner of the tag.
Duplicate and image flip horizontal the duplicate.
Move this one to the far right bottom corner.
Merge the 2 together.
Open ornaments from the kit and copy and paste as a new layer and move to the bottom left corner in the drifting snow.
Re-size.
Add a drop shadow.
Open ribbon 1 from the kit and copy and paste as a new layer.
Move under the ornaments.
Place along the bottom of the tag in front of the snow.
Add a drop shadow.
Open tree and copy and paste as a new layer.
Drag under the snow.
Move to the far right side of the frame.
Add a drop shadow.
Add your name.
Add your copyright and licensing information.
Crop and save.


Sunday, December 6, 2015

Affair in the City


Affair in the City
written 12/6/2015

This tutorial is purely meant as a guide. Feel free to make your tag unique by using your own choice of tube and scrap kit. If you want your tag to look just like mine then use the same supplies that I have used.

Supplies Used:
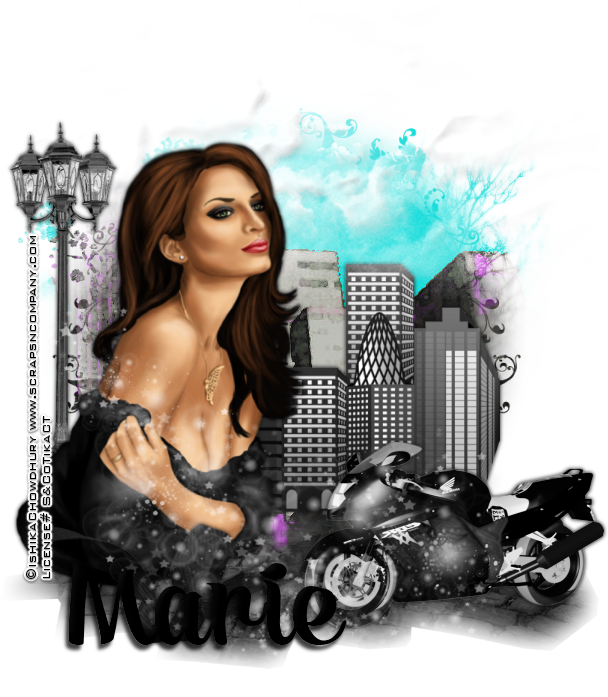
Tube by Ishika Chowdhury. It is part of the Madness Collab at Scraps and Company. You can purchase the collab or get it free with a $10.50 purchase. You can find the collab at http://scrapsncompany.com/index.php?main_page=product_info&cPath=144&products_id=15830

The matching scrap kit is by Mariel Designs and is called Rock City. It is also part of the collab.

Mask of your choice. I am using mask #53 from Moonbeams and Spiderwebs. You can get it at http://moonbeamsandspiderwebs.blogspot.com/

Font of your choice. I am using Anggie. This is a PTU font so use whatever font you choose.

Plugins:
NONE

Let's Begin:
Open paper 3 and shift+D to duplicate.
Close the original.
Promote the background layer to a raster layer.
Make your canvas large enough to work with.
Apply your mask to the paper layer.
Delete the mask layer and merge the group.
Open your tube and copy and paste as a new layer.
Re-size as needed.
Position on your tag to the far left side.
Add a drop shadow.
Open element 43 and copy and paste as a new layer and drag to the bottom.
Move down so it is peeking out of the bottom of the tag.
Open element 48 and copy and paste as a new layer.
Drag behind your tube and move to the lower part of the masked area.
Re-size as needed.
Add a drop shadow.
Open element 49 and copy and paste as a new layer.
Move down below your tube.
Move to the far left side of the tag.
Add a drop shadow.
Open element 51 and copy and paste as a new layer.
Drag under the light post layer.
Move to the top part of the tag.
Open element 31 and copy and paste as a new layer.
Re-size by 50%.
Image flip horizontal.
Move to the far right side at the bottom in the pavement.
Add a drop shadow.
Open element 34 and copy and paste as a new layer.
Move to the bottom part of the tag.
Lower the opacity of this layer to 60.
Open element 56 and copy and paste as a new layer.
Drag down under the bike.
Place along the bottom of the tag.
Add a drop shadow.
Add your name.
Add your license and copyright information.


Wednesday, December 2, 2015

Snow Pink


Snow Pink
written 12/2/2015

This tutorial is meant purely as a guide. Feel free to make your tag unique by using your own choice of tube and scrap kit. If you want your tag to look just like mine then use the same supplies I have used.

Supplies Used:

Tube is an exclusive commission by Chris Pastel for Scraps n Company store. You can purchase this tube at http://scrapsncompany.com/index.php?main_page=product_info&cPath=305&products_id=15802

Matching scrap kit is by FWTags. You can purchase it at http://scrapsncompany.com/index.php?main_page=product_info&products_id=15718

Animation is by Scrappy Bit of Fun. You can get it at http://scrappybitoffun.blogspot.ca/2011/11/animations-2-3.html

Font of your choice. I am using Bellanche. This is a PTU font so use whatever font you would like.

Plugins:
None

Let's Begin:
Open frame 2 from the kit.
Shift+D to duplicate. Close the original.
Re-size.
Make your canvas large enough to give you plenty of room to work with.
Using your magic wand select the inside of the frame.
Selections modify and expand by 4.
Open paper 1.
Copy and paste as a new layer.
Drag under the frame.
Selections invert and hit delete.
Selections select none.
Open element 27.
Copy and paste as a new layer and drag to the bottom.
Move to the bottom of the frame so it is peeking out of the bottom and the sides.
Duplicate.
Image flip vertical.
Move this copy to the top.
Merge these 2 layers together.
Open your tube and copy and paste as a new layer at the top.
Re-size as needed.
Place where you want on your tag.
Open element 60.
Copy and paste as a new layer and drag under your tube.
Re-size as needed.
Image flip horizontal.
Place behind your tube so it appears she is sitting on the end of the sleigh.
Open element 6.
Copy and paste as a new layer and drag under your tube but on top of the sleigh.
Re-size if you wish.
Move to the bottom of the tag so it looks like the sleigh is behind it in the snow and your tube is standing in it.
Duplicate and move the duplicate under the sleigh.
Move it up and over to the left a bit.
Open element 47 and copy and paste as a new layer.
Drag under your sleigh.
Re-size as needed.
Move to the far left of the frame.
Open element 73 and copy and paste as a new layer.
Re-size as needed.
Place in the sleigh. I erased bits to make it appear to be sitting inside of the sleigh.
Open element 63 copy and paste as a new layer.
Re-size as needed and place in the sleigh with the gift.
Open element 59 and repeat the above steps.
Open element 51 copy and paste as a new layer.
Place in the snow next to your tube.
Re-size as needed.
Open element 44 and repeat the above steps.
Open element 43 and copy and paste as a new layer.
Place so it is hanging from the tree.
Re-size as needed.
Open element 28 and repeat above steps.
Open element 25 and repeat above steps.
Open element 24 and copy and paste as a new layer.
Re-size as needed and place at the top of the tree.
Open element 30 and copy and paste as a new layer.
Move to the bottom of the tag.
Open element 42 and copy and paste as a new layer and drag down under your frame.
Place in the top area of the framed area where its kind of a blank space in your paper layer.
Re-size as needed.
I duplicated and re-sized this layer several times and placed them randomly to fill in the empty space.
Add your name.
Add your copyright and licensing information.
Crop.
Layers new raster layer and fill with white.
Move to the very bottom.
Lets take this into animation shop and add the cute lil animation.
Copy your tag and open animation shop and right click and paste as a new animation.
Open your animation and select all of the frames.
Take note of the number of frames in the animation.
Duplicate the frames of your tag to match the frames in your animation.
Select all of the frames in your tag.
Grab frame 1 of the animation and drag it onto frame 1 of your tag.
Place where you want.
This might take some undoing to get it right.
Once you are happy view your animated tag.
Re-size if needed/wanted.
Save.