Tuesday, May 24, 2016

5th Avenue Darling


5th Avenue Darling
Written on 5/24/2016
This tutorial is meant purely as a guide. Feel free to make your tag unique by using your own choice of tube and scrap kit. If you want your tag to look just like mine then use the same supplies I have used. This tutorial assumes you have a knowledge of paint shop pro. Any resemblance to any other tag or tutorial is purely coincidental.
Supplies Used:
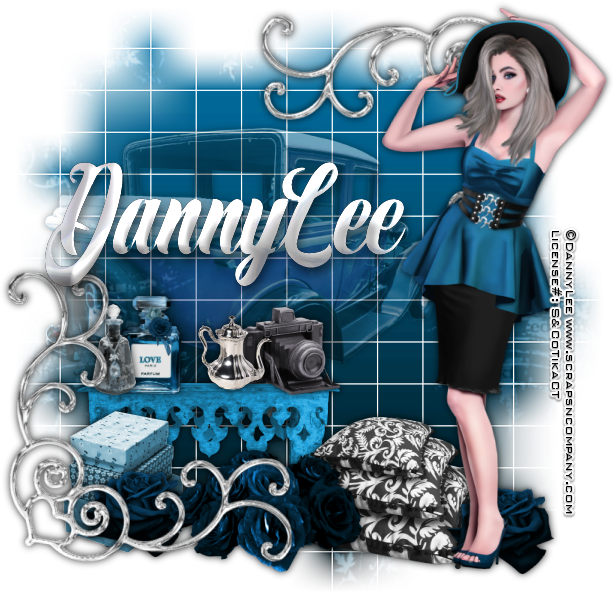
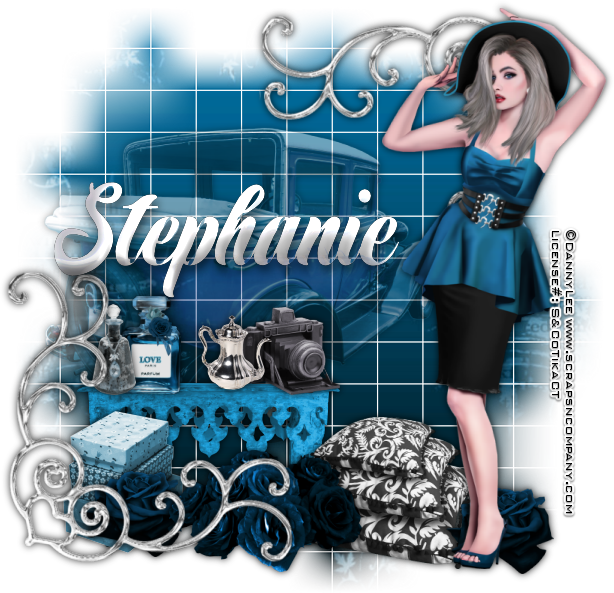
Tube is by Danny Lee and is called Madame Blue Goth. You can purchase her at http://scrapsncompany.com/index.php?main_page=product_info&cPath=113_132_219&products_id=19793
Matching scrap kit is by Lil Mz Brainstorms. It is called Madame Blue. You can purchase it at http://scrapsncompany.com/index.php?main_page=product_info&products_id=19823
Mask of your choice. I am using mask #84 by Weescotslass Creations. You can get her masks at http://weescotslasscreations.blogspot.com/2009/04/masks.html
Font of your choice. I am using Maribelia Evolutions. This is a PTU font.
Plugins:
NONE
Drop shadow used throughout:
0 0 85 11.00
Let’s Begin:
Open paper 5 and shift+D to duplicate. Close the original. Re-size if you wish. Promote the background layer to a raster layer. Make your canvas large enough to work with. Apply the mask of your choice. Delete the mask layer and merge the group.
Open element 12 and re-size so it is proportionate to your mask layer. Copy and paste as a new layer and place in the top right corner kinda overlapping the mask but also outside of it. Duplicate and image flip horizontal and then image flip vertical and move this copy to the bottom left corner. Merge these 2 layers and add a drop shadow.
Open element 51 and copy and paste as a new layer. Re-size so it fits within the mask area. You want to place it more to the left and near the top. Lower the opacity to 40. Add a drop shadow.
Open your tube and copy and paste as a new layer. Re-size so it is proportionate with your tag. Move to the far right side. Add a drop shadow.
Open element 46 and copy and paste as a new layer. Re-size. Move to the bottom left corner and drag under the silver corner elements. Add a drop shadow.
Copy and paste the following elements and re-size to fit on the table:
10, 20, 86, 90
Once you are done add a drop shadow to each layer and if you want merge them all together if you want to help keep your layers tidy.
Open element 88 and re-size and copy and paste as a new layer. Move to the bottom between the table and your tube. Add a drop shadow.
Open element 78 and re-size. Copy and paste as a new layer and place in the bottom left corner in front of the table. Add a drop shadow.
Open element 3 and re-size. Copy and paste as a new layer and place in the bottom right corner behind your tube. Duplicate and move this copy over to the left corner in front of the boxes. Merge together and add a drop shadow.
Open element 21 and re-size. Copy and paste as a new layer and move to the bottom center of your tag. Add a drop shadow.
Add your name.
Add your copyright and licensing information.
Crop and save. 


Eternally Yours


Eternally Yours
Written 5/24/2016
This tutorial is meant purely as a guide. Feel free to make your tag unique by using your own choice of tube and scrap kit. If you want your tag to look just like mine then use the same supplies I have used. This tutorial assumes you have a knowledge of paint shop pro. Any resemblance to any other tutorial or tag is purely coincidental.
Supplies Used:
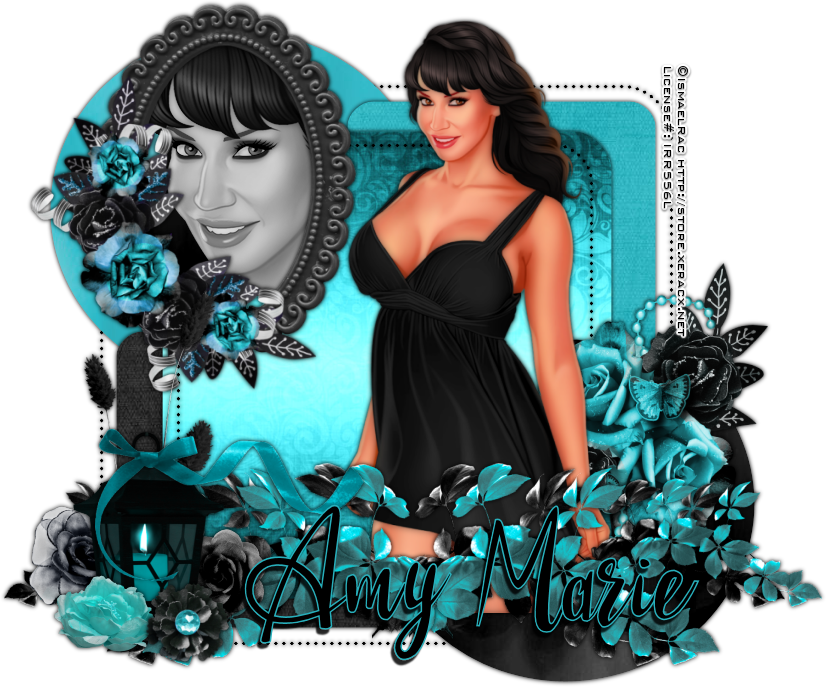
Tube is by Ismael Rac. It is called Beautiful BBHD. You can purchase her at http://store.xeracx.net/
Scrap kit is called Singing The Blues by Amy Marie. You can purchase this kit at http://amymarieskits.com/store/
Tag template #1 by Rachel Designs. You can download this at https://racheldesignsblog.wordpress.com/2016/05/04/template-1/
Font of your choice. I am using Twister Script. This is a PTU Font.
Plugins:
Xero Porcelain
Drop Shadow used throughout:
0 0 100 6.50 black
Let’s Begin:
Open the tag template and shift+D to duplicate. Close the original. Delete the following layers – background and credits. Make your canvas large enough to work with. Fill each of the layers of the template with papers from the kit. I filled the dotted square layers with the color black but this is up to you. Once you are done add a drop shadow to each of the layers.
Open your tube and copy and paste as a new layer. Re-size so she is slightly larger than the tag template. Apply the Xero Porcelain plugin using the default settings. Add a drop shadow.
Open element 44 and re-size so it is proportionate to your tag. Copy and paste as a new layer and place in the upper left corner. Using your magic wand select the inside of the frame. Selections modify and expand by 9. Open paper 9 and copy and paste as a new layer and drag under the frame. Selections invert and hit delete. Selections invert again. Open your tube and again copy and paste as a new layer. Drag under the frame layer. Position so her face is in the frame. Selections invert and hit delete. Selections select none. Adjust hue and saturation colorize and set both values to 0. Apply the Xero Porcelain plugin again using the default settings. Add a drop shadow to the frame layer. Merge these 3 layers together.
Now I will list the elements I used. Placement is completely up to you. If you want your tag to look like mine then use my tag for reference. Feel free to use any other elements that I have not used. This will make your tag unique to you. Once you are done add a drop shadow to each of the elements.
Elements I used:
17
18
20
30
34
47
48
74
79
Add your name.
Add your copyright and licensing information.
Crop and save.


On The Range


On the Range
Written 5/24/2016
This tutorial is meant purely as a guide. Feel free to make your tag unique by using your own choice of tube and scrap kit. If you want your tag to look just like mine then use the same supplies I have used. This tutorial assumes you have a knowledge of paint shop pro. Any resemblance to any other tag or tutorial is purely coincidental.
Supplies Used:
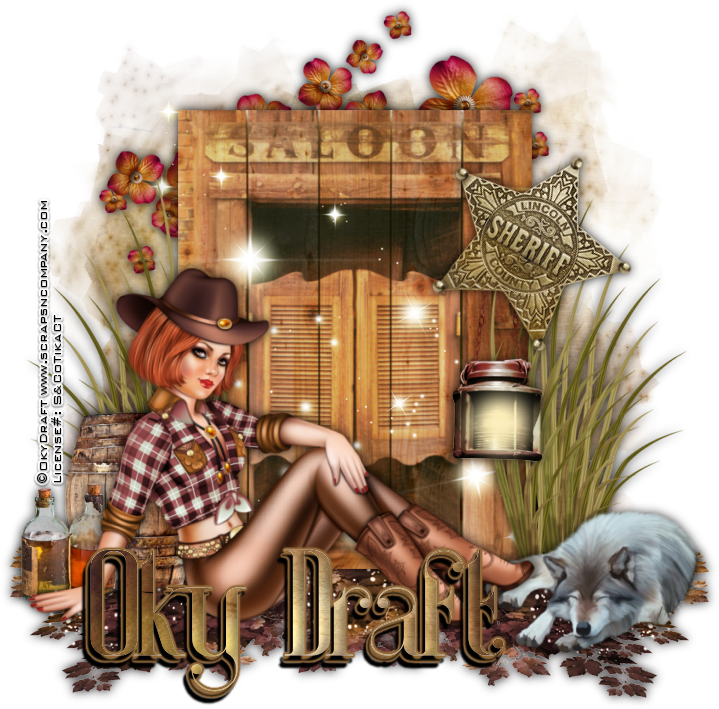
Tube is by Oky Draft. It is called Vaquerita 1 and you can purchase her at http://scrapsncompany.com/index.php?main_page=product_info&cPath=423&products_id=19916
Matching scrap kit is by Rieneke Designs and is also called Vaquerita 1 and can be purchased at http://scrapsncompany.com/index.php?main_page=product_info&products_id=19924&zenid=vgh9s05g50suodg37qtvf3fr60
Mask of your choice. I am using vix big mask 5 from this set that can be downloaded at http://vixpsp.blogspot.com/2011/03/new-masks-for-2011-vix-big-set-1.html
Font of your choice. I am using Amira Beauty. This is a PTU font.
Plugins:
NONE
Drop shadow used throughout:
0 0 85 15.00 black
Let’s Begin:
Open paper 9 and shift+D to duplicate. Close the original. Promote your background layer to a raster layer. Re-size if you wish. Make your canvas large enough to work with. Apply the mask of your choice. Delete the mask layer and merge the group.
Open element 9 and re-size by 85% and then again by 90%. Copy and paste as a new layer and place in the center of the mask. Add a drop shadow.
Open element 67 and copy and paste as a new layer. Drag under the saloon. Move to the bottom left so it is peeking out of the bottom and will give enough room for your tube to sit on. Duplicate. Image flip horizontal this copy. Move to the far right side. Merge these 2 layers together. Add a drop shadow.
Open element 46 and re-size by 75%. Copy and paste as a new layer and place on the far right side of the saloon. Duplicate. Image flip horizontal this copy and move to the far left side. Merge these 2 layers together and add a drop shadow.
At this time lets get your tube added so you can see how you want to position the remaining elements that you add. Open your tube and copy and paste as a new layer. Re-size as need to make her fit nicely. Move to the bottom of the tag to sit on the leaves. I placed mine more to the left side but this is completely up to you and whatever tube you choose to use. Add a drop shadow to your tube once you are done.
Now lets add some more of the awesome elements from this great kit. I will list the elements I use and placement will be up to you depending on the tube you use I suppose. Also feel free to use elements I haven’t used. This is where you get creative and make your tag unique. Once you are done add a drop shadow to all the elements.
Elements I used:
6
10
29
33
37
51
66
Add your name. 

Add your copyright and licensing information.

Crop and save.

Friday, May 20, 2016

Love Remembered


Love Remembered
Written 5/20/2016
This tutorial is meant purely as a guide. Feel free to make your tag unique by using your own choice of tube and scrap kit. If you want your tag to look just like mine then use the same supplies I have used. This tutorial assumes you have a knowledge of paint shop pro. Any resemblance to any other tag or tutorial is purely coincidental.
Supplies Used:
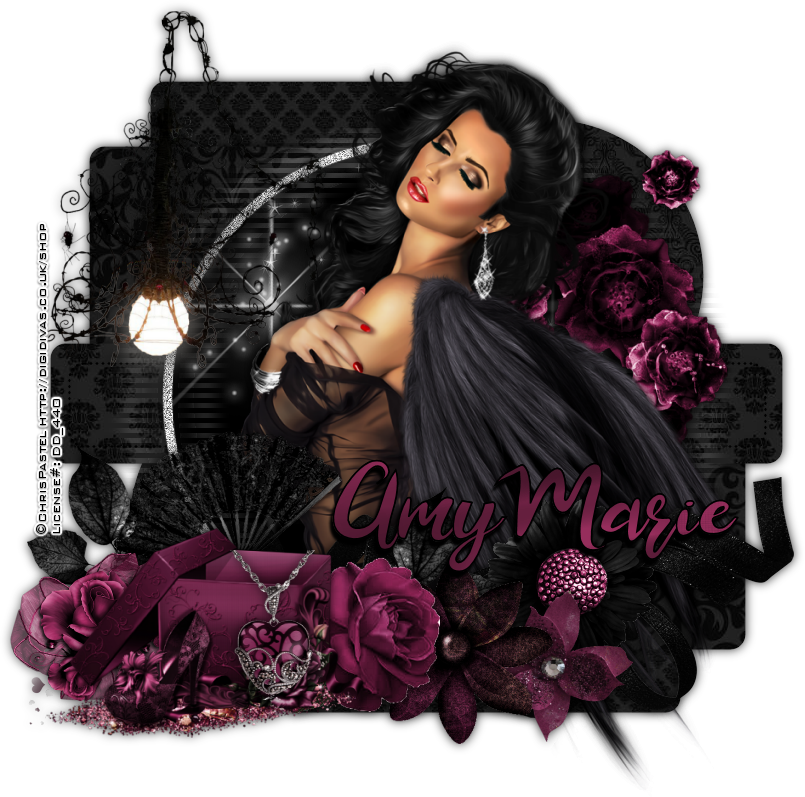
The tube is called Callie by Chris Pastel You can purchase this tube at http://digidivas.co.uk/shop/
Scrap kit is called Dark Love by Amy Marie and you can purchase this kit at http://amymarieskits.com/store/
Tag template by Rachel Designs. I am using tag template #9 and you can download it at https://racheldesignsblog.wordpress.com/2016/05/14/tag-template-9/
Brushes of your choice or sparkles of your choice. You can get some awesome brushes at http://deviantart.com
Font of your choice I am using Lustinmal . This is a PTU font.
Plugins:
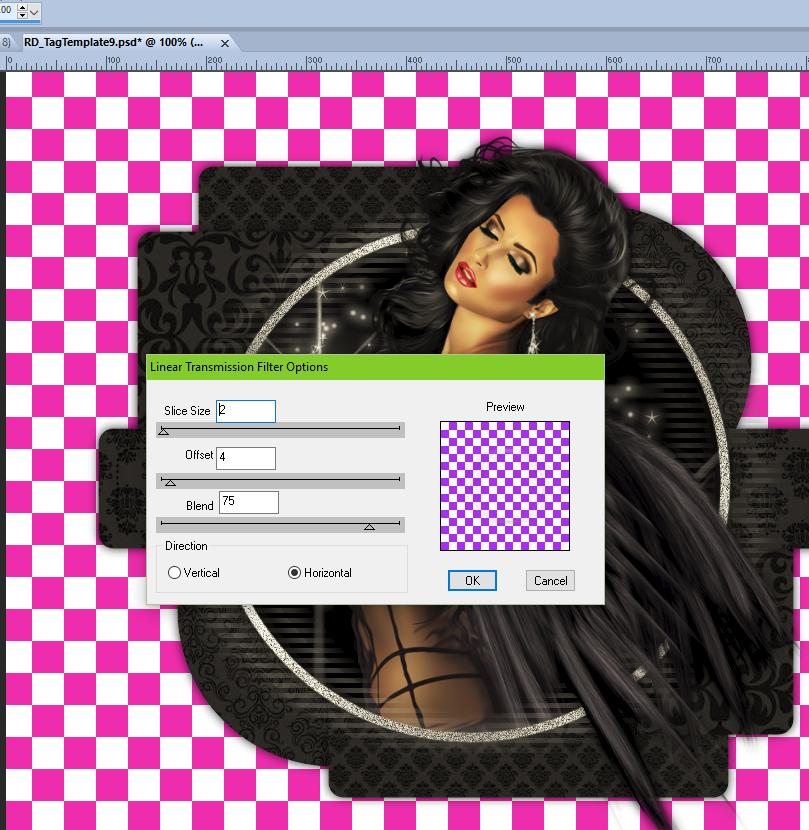
DSB Flux Linear Transmission

Drop shadow used throughout:
0 0 80 15.00 black
Let’s Begin:
Open the tag template and shift+D to duplicate. Close the original.
Remove the following layers:
Background, Raster 1
Merge the layers that have 2 of the same shape together into 1 layer each so for example merge together layers 1 & 2 and so on until you are done. This will help minimize the number of layers you are working with. Once you are done merging then fill each layer with a paper from the kit. The choice of papers you use is completely up to you. Delete all of the original layers as you wont need them any longer.
Flood fill the center circle layer with solid black. Add some sparkles or sparkle brushes of your choice.
Open your tube and copy and paste as a new layer and position with the framed circle area. Using your eraser tool erase any bits hanging out of the frame that you do not want.
Add a drop shadow to all layers.
On the layer 10 colorize to match your tube. Duplicate. On the bottom copy go to adjust blur Gaussian blur at 10.00. Apply the DSB Flux Linear Transmission with the following settings: 

Now lets dress it up with some of the elements from the kit. Feel free to use elements I didn’t use to make your tag unique. Placement of the elements is completely up to you. If you want your tag to look just like mine then use my tag for reference on the placement.
Elements I used:
2
3
19
22
26
30
50
58
60
108
114
Add a drop shadow to all elements.
Add your name.
Add your copyright and licensing information.
Crop and save. 

Wednesday, May 18, 2016

Summer Splash


Summer Splash
Written 5/18/2016
This tutorial is meant purely as a guide. Feel free to use your own choice of tube and scrap kit to make your tag unique. If you want your tag to look just like mine then use the same supplies that I have used. This tutorial assumes you have a knowledge of paint shop pro. Any resemblance to any other tag or tutorial is completely coincidental.
Supplies Used:
Tube of choice. I am using the tube Laura by Chris Pastel. You can purchase this tube at http://digidivas.co.uk/shop/
Scrap Kit is by Amy Marie. It is called Lilac Waves. You can purchase the kit at http://amymarieskits.com/store/
Font of your choice. I am using Autumn Flower. This is a PTU font.
Plugins:
NONE
Drop shadow used throughout:
0 0 70 16.00 black

Let’s Begin:
Open element 82 and shift+D to duplicate. Close the original. Make your canvas large enough to work with. Using your  magic wand select the inside of the frame and go to selections modify and expand by 3. Layers new raster layer and drag under the frame. Open paper 11 and copy and paste into selection.
LEAVE SELECTED!!!
Open element 91 and copy and paste as a new layer. Position within the selected framed area down in the lower left corner area. Selections invert and hit delete. Selections select none.
Add a drop shadow to the dock and the frame.
Open element 33. Re-size by 75%. Copy and paste as a new layer, Place at the top of the frame. Drag to the bottom and position so the little circles are peeking out from the top behind the frame. Duplicate. Image flip vertical. Move this down to the bottom. Duplicate again and image rotate to the right 90 degrees and move to the right side. Duplicate and image flip horizontal and move to the left side. Add a drop shadow to each one and then merge the 4 together.
Open element 90 and re-size by 110% 2x. Drag to the bottom. Add a drop shadow.
Open element 108 and copy and paste as a new layer. Place in the top left corner. Add a slight drop shadow.
Open element 107 and re-size by 75%. Copy and paste as a new layer and place in front of the sun. Add a drop shadow.
Open element 18 and re-size by 60%. Copy and paste as a new layer. Drag down to on top of the frame. Place anywhere on the frame. Duplicate and move to somewhere else on the frame. Add a drop shadow to both.
Open element 22 and re-size so it will fit nicely on the frame. Copy and paste as a new layer and place near the bottom of your tube. Duplicate and image flip horizontal and move to somewhere else on the frame. Add a drop shadow to both.
Open element 2 and copy and paste as a new layer and place near the bottom of your tube and in front of the tube. Add a drop shadow.
Open element 36 and re-size by 75%. Image flip horizontal. Copy and paste as a new layer. Drag under the tube and move to the far right of the tube at the bottom of the tube. Add a drop shadow.
Open element 77 and re-size by 75%. Image flip horizontal and copy and paste as a new layer. Move to the far left of the frame. Add a drop shadow.
Open element 100 and copy and paste as a new layer. Place on the far left to fill in some of the gap. Add a drop shadow.
Open element 85 and re-size. Copy and paste as a new layer. Place at the bottom of the frame. Add a drop shadow.
Open element 59 and re-size by 50%. Copy and paste as a new layer and place within the frame area.
Open element 12. Copy and paste as a new layer and place at the bottom of the tag. Add a drop shadow.
Add your name.
Add your copyright and licensing information.
Crop and save. 
Tuesday, May 17, 2016

Avast! Me Hearty!


Avast! Me Hearty!
Written 5/17/2016
This tutorial is meant purely as a guide. Feel free to use your own choice of tube and scrap kit to make your tag unique. If you want your tag to look just like mine then use the same supplies I have used. This tutorial assumes you have knowledge of paint shop pro. Any resemblance to any other tag or tutorial is purely coincidental.
Supplies Used:
Tube is a commission by Lady Mishka for Scraps N Company called Pirate Joey. You can purchase her at http://scrapsncompany.com/index.php?main_page=product_info&cPath=490_554&products_id=19815
Scrap kit is an awesome kit by Bibi’s Collection. It is called Be My Pirate and you can purchase it at http://scrapsncompany.com/index.php?main_page=product_info&products_id=19814
Mask of your choice. I am using mask 1 from Vix first set of big masks. You can download them at http://vixpsp.blogspot.com/2011/03/new-masks-for-2011-vix-big-set-1.html
Font of your choice. I am using Zombis Nigth. This is a PTU font.
Plugins:
NONE
Drop shadow used throughout:
0 0 50 12.00 black
Let’s Begin:
Open paper 6 and shift+D to duplicate. Close the original. Promote the background layer to a raster layer. Re-size if you wish. Make your canvas large enough to give you plenty of room to work with. Apply the mask of your choice. Delete the mask layer and merge the group.
Open element 74 and re-size by 75%. Copy and paste as a new layer and place going from top middle to bottom right. Add a sharp drop shadow to give it a 3D look.
Open element 137 and re-size by 50%. Copy and paste as a new layer and move to the bottom of the mask area. Add a drop shadow.
Open element 114 and re-size by 50% and then again by 65%. Copy and paste as a new layer and drag under the sand layer. Move to the far left so the front of the boat is hidden by some of the sand. Image flip horizontal. Add a drop shadow.
Open element 116 and re-size by 50%. Copy and paste as a new layer and drag under the sand layer. Move to the bottom along the bottom of the boat but above the sand. Image flip horizontal.
Open your tube and copy and paste as a new layer. Re-size. Move to the far right side. Add a drop shadow.
Now lets dress it up with some of the elements from this kit. I will list the elements I used. Feel free to use any elements that I have not used if you wish. Placement is completely up to you. If you want your tag to look like mine then use my tag for reference.
Elements used:
6
19
30
33
61
97
142
Add your name.
Add your copyright and licensing information,
Crop and save.


Femininity


Femininity
Written 5/17/2016
This tutorial is meant purely as a guide. Feel free to make your tag unique by using your own choice of tube and scrap kit. If you want your tag to look just like mine then use the same supplies I have used. This tutorial assumes you have knowledge of paint shop pro. Any resemblance to any other tag or tutorial is purely coincidental.
Supplies Used:
Tube called Candy by Fiodorova Maria. You can purchase it at http://picsfordesign.com
Scrap kit is called Melissa by Amy Marie. You can purchase it at http://amymarieskits.com/store/
Mask of your choice. I am using mask #8 by shirly squirrely that was in the Here 2 Help Collab for Mirella. If you don’t have this mask or the collab simply choose another mask.
Font of your choice. I am using Mofishine. This is a PTU font.
Plugins:
Penta Dot and Cross

Drop shadow used throughout:
0 0 50 12.00 black

Lets Begin:
Open element 102 and shift+D to duplicate. Close the original. Re-size if you wish. Make your canvas large enough to work with.
Open paper 17 and copy and paste as a new layer and drag under the frame. Apply the mask of your choice. Delete the mask layer and merge the group.
Using your magic wand select the inside of the frame. Selections modify and expand by 4. Open paper 14 and copy and paste as a new layer. Drag under the frame. Selections invert and hit delete. Selections invert again. Open your tube and copy and paste as a new layer. Drag under the frame. Position so her face is within the selected framed area. Selections invert and hit delete. Selections select none.
Duplicate the tube. On the top layer go to adjust blur Gaussian blur and blur at 10. Lower the opacity of this layer to 67. On the bottom layer apply the penta dot and cross filter changing the top value to 50. Add a drop shadow to this layer and to the frame.
Open  your tube again and copy and paste as a new layer. Re-size until it is just slightly smaller than the frame. Move to the far right side and add a drop shadow.
Now lets dress this tag up with some of the elements from this great kit. I will list the elements I used. Feel free to use elements I haven’t used. Placement of the elements is completely up to you. If you want your tag to look just like mine then use my tag for reference on the placement. When you are done placing your elements add a drop shadow to each of them.
Elements Used:
2
4
10
21
27
28
33
54
56
60
70
Add your name.
Add your copyright and licensing information.
Crop and save. 
Saturday, May 14, 2016

Magical Garden


Magical Garden
Written 5/14/2016
This tutorial is meant purely as a guide. Feel free to make your tag unique by using your own choice of tube and scrap kit. If you want your tag to look like mine then use the same supplies I have used. This tutorial assumes you have knowledge of paint shop pro. Any resemblance to any other tag or tutorial is purely coincidental.
Supplies Used:
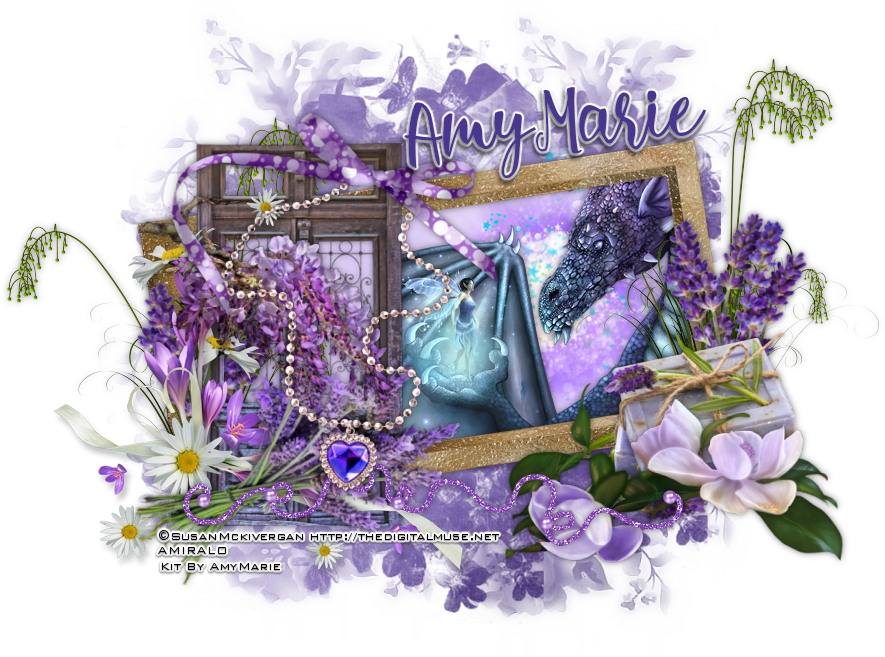
Tube by Susan McKivergan. I purchased this tube when she was at AMI. AMI is no longer in business and I am not sure where to purchase or if you can even still purchase her work in psp tube format.
Scrap kit is by Amy Marie. It is called Lavender Garden. You can purchase Amy’s amazing kits at http://amymarieskits.com/store/
Mask of your choice. I am using mask #3 from set 115 by Rachel’s Designs. You can download the mask from https://racheldesignsblog.wordpress.com/2016/05/07/mask-set-115/
Font of your choice. I am using lovelight. This is a PTU font.
Plugins:
NONE
Drop shadow used throughout:
0 0 50 10.00 black

Let’s Begin:
Open element 34 from the kit and shift+D to duplicate. Close the original. Make your canvas large enough to work with.
Open paper 11 and copy and paste as a new layer. Drag under the frame. Apply the mask of your choice. Delete the mask layer and merge the group.
Make the frame layer active and using your magic wand select the inside of the frame. Selections modify and expand by 3. Open paper 2 and copy and paste as a new layer. Drag under the frame. Selections invert hit delete to clear the excess paper. Selections invert again.
Open your tube and copy and paste as a new layer. Drag under the frame and position within the frame. Selections invert and hit delete to clear the excess tube. Selections select none. Add a drop shadow to the tube and the frame layers.
Lets dress this tag up with some of the awesome elements from the kit. I will list the elements I used and you can choose to use the same or use others. Placement of the elements is also up to you and will probably depend largely on the tube you use. If you want your tag to look just like mine then use my tag for reference.
Elements Used:
16
24
25
41
57
74
79
92
93
101 (I used this to help cover the fact my tube was cut off and did not fill the frame)
117
118
Add your name.
Add your copyright and licensing information.
Crop and save. 

Tuesday, May 10, 2016

Our Love Is Timeless


Our Love Is Timeless
Written 5/10/2016
This tutorial is meant purely as a guide. Feel free to make your tag unique by using your own choice of tube and scrap kit. If you want your tag to look just like mine then use the same supplies I have used. This tutorial assumes you have knowledge of paint shop pro. Any resemblance to any other tag or tutorial is purely coincidental.
Supplies Used:
Tube is called Bunch of Roses and it is by Very Many. You can purchase her at http://verymanytubes.com/
Scrap kit is called Timeless and it is by Amy Marie. You can purchase it at http://amymarieskits.com/store/
Mask of your choice. I am using one by Moonbeams and Spiderwebs. It is mask #81 and can be downloaded at http://moonbeamsandspiderwebs.blogspot.com/2015/10/mask-81.html
Font of your choice. I am using Calligraphy. This is a PTU font.
Plugins:
None
Drop shadow used throughout:
0 0 65 15.00 black

Let’s Begin:
Open paper 4 and shift+D to duplicate. Close the original. Promote the background layer to a raster layer. Apply the mask of your choice. Delete the mask layer and merge the group. Add a drop shadow the mask layer. I chose to use the same color that was in the mask for the drop shadow but that is completely up to you.
Open  your tube and re-size as needed. Copy and paste as a new layer. Move to the far right side of the mask layer and add a drop shadow.
Open element 5 and copy and paste as a new layer. Drag under your tube layer. Place to the left and upward of your tube. Add a drop shadow.
Open element 13 and re-size by 75%. Copy and paste as a new layer and drag under your tube. Move to the bottom so it is behind your tube but showing to the left side. Add a drop shadow.
Open element 11 and re-size by 75% 2x. Copy and paste as a new layer and drag under your tube but on top of your books. Place to the very far left in front of the books layer. Add a drop shadow.
Open element 14 and re-size by 75% 3x. Image flip horizontal. Copy and paste as a new layer and drag under the books layer. Move to the far left near the top behind the books and the cup. Add a drop shadow. Duplicate and move this duplicate down just a bit.
Open element 45 and re-size by 75%. Drag down under the books but on top of the leaves. Move to the right of the cup and peeking out from behind the books. Add a drop shadow.
Add your name.
Add your copyright and licensing information.
Crop and save. 

I Will Fight For Her


I Will Fight For Her
Written 5/10/2016
This tutorial is meant purely as a guide. Make your tag unique by using your own choice of tube and scrap kit. If you want your tag to look just like mine then use the same supplies that I have used. This tutorial assumes you have a knowledge of paint shop pro. Any resemblance to any other tag or tutorial is purely coincidental.
Supplies Used:
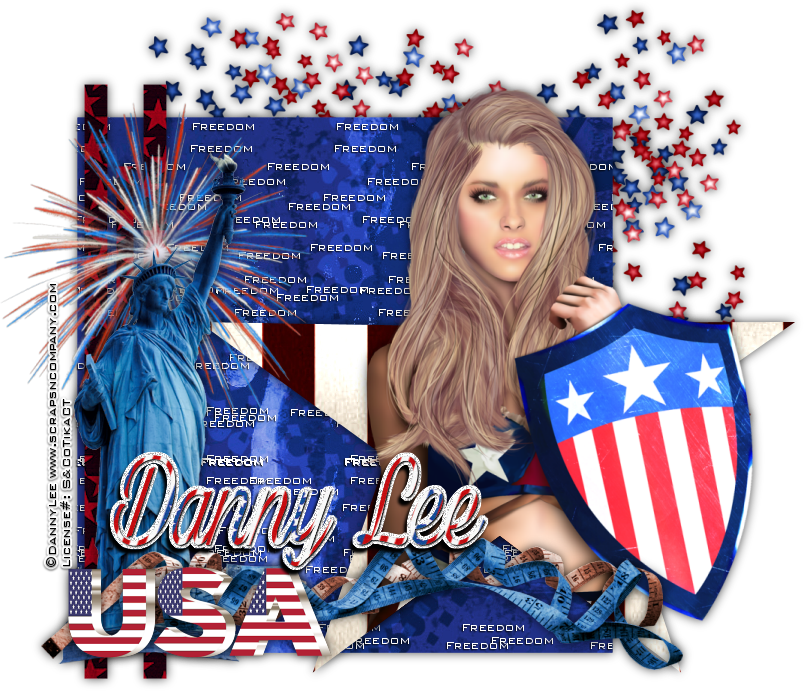
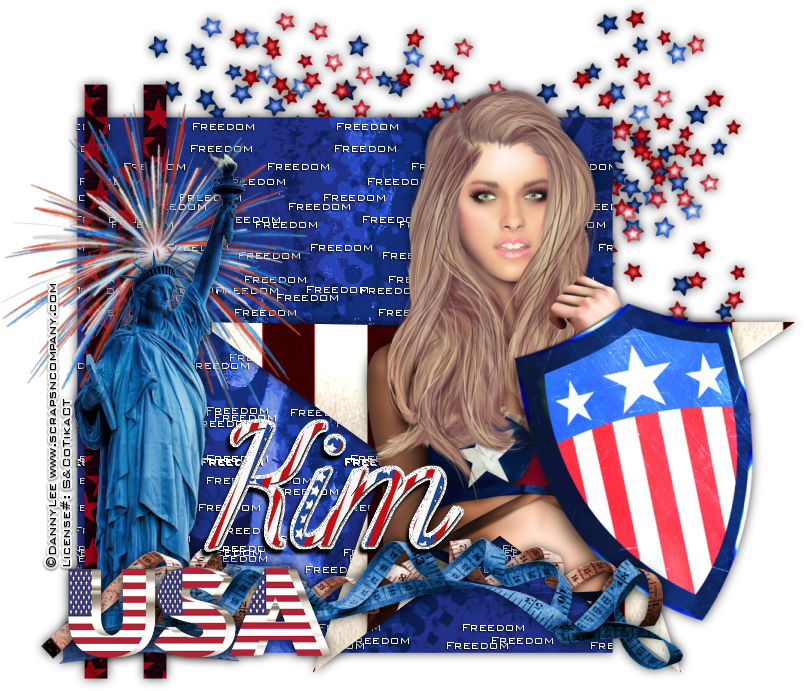
Tube is called Patriotic Warrior and is by Danny Lee. You can purchase it at http://scrapsncompany.com/index.php?main_page=product_info&cPath=113_132_219&products_id=18883
The matching scrap kit is also called Patriotic Warrior and is by Chili Designz. You can purchase it at http://scrapsncompany.com/index.php?main_page=product_info&products_id=18954
The tag template is by me and can be download at https://app.box.com/s/f0k8lials41ziakd6ii7c9xyea1h5rwi
Font of your choice. I am  using White Larch. You can download it at http://www.fontspace.com/m%C3%A5ns-greb%C3%A4ck/white-larch-personal-use-only
Plugins:
NONE
Drop shadow used throughout:
0 0 70 15.00 black

Let’s Begin:
Open the tag template and delete the creators info layer.
Make your canvas large enough to work with.
Make the black square layer active and go to selections select all float and defloat. Open paper 4 and copy and paste as a new layer. Selections invert and hit delete. Selections select none. Delete the original black square layer.
Make the white pixel words layer active. Add a drop shadow to this layer of 1 -1 100 2.00 black
Make the grey star layer active and selections select all float and defloat. Open paper 13 and copy and paste as a new layer. Selection invert and hit delete. Selections invert again. Open your tube and copy and paste the closeup of the tube as a new layer. Re-size as needed. Place so she is within the selected star area. Selections invert and using your eraser tool erase only the bits of the tube hanging out the bottom of the star. You want her to look like she is popping out of the star so her head and the shield should not be erased. Selections select none. Delete the original grey star layer.
Make the stripes layer active and selections select all float and defloat. Open paper 9 and copy and paste as a new layer. Selections invert and hit delete. Selections select none. Delete the original stripes layer.
Add a drop shadow to all the layers this far except the pixel words as you should have already drop shadowed those.
Open stars4 element from the kit and re-size by 85%. Copy and paste as a new layer and place to the top right of the tag. Drag to the bottom. Add a drop shadow.
Repeat the above steps using the stars3 element but re-size this one by 75% and place so it can be seen between the blue stars.
Open the statue element and re-size by 75%. Image flip horizontal. Copy and paste as a new layer and place on the bottom left in front of the stripes layers. Add a drop shadow.
Open ribbon and re-size by 75%. Copy and paste as a new layer along the bottom of the tag. Add a drop shadow.
Repeat with ribbon2.
Open fireworks and re-size by 75% 2x. Copy and paste as a new layer and drag under the head of the statue.
Open the wordart and re-size by 50%. Copy and paste as a new layer and place in the bottom left corner. Add a drop shadow.
Add your name.
Add your copyright and licensing information.
Crop and save.
Saturday, May 7, 2016

Fairy Beautiful


Fairy Beautiful
Written 5/5/2016
This tutorial is meant purely as a guide. Feel free to make your tag unique by using your own choice of tube and scrap kit. If you want your tag to look just like mine then use the same supplies I have used. This tutorial assumes you have knowledge of paint shop pro. Any resemblance to any other tag or tutorial is purely coincidental.
Supplies Used:
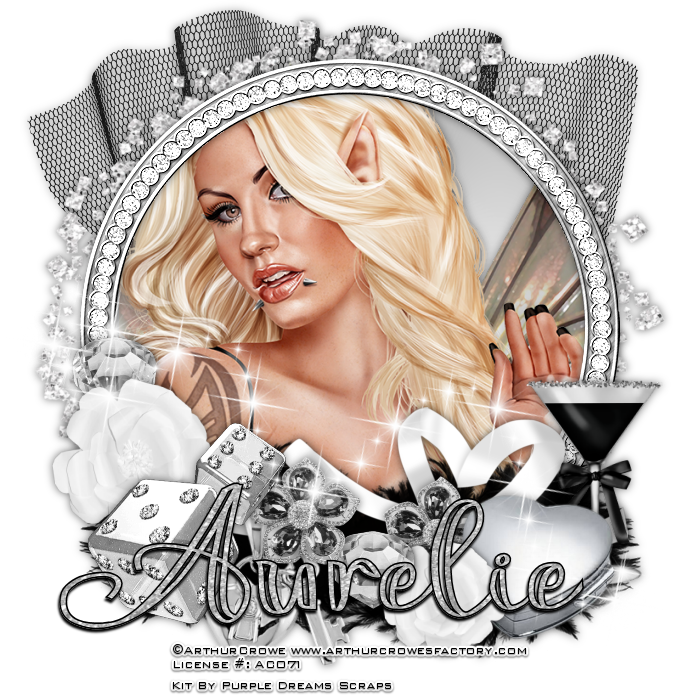
Tube is called Blonde Fairy by Arthur Crowe. You can purchase her at http://arthurcrowesfactory.com/store/index.php?route=common/home
Scrap kit is by Purple Dreams Scraps. It is called Black and White and can be purchased at http://picsfordesign.com
Font of your choice. I am using Aysheea. This is a PTU font.
Plugins:
NONE
Drop shadow used throughout:
0 0 55 13.00 black

Let’s Begin:
Open element 49 and shift+D to duplicate. Close the original. Make your canvas large enough to work with.
Using your magic wand select the inside of the frame. Selections modify and expand by 5.
Open paper 11 and copy and paste as a new layer. Drag under the frame. Selections invert and hit delete.
LEAVE SELECTED!!
Selections invert again. Open your tube and copy and paste as a new layer. Position within the selected frame area. Selections invert and hit delete. Selections select none.
Add a drop shadow to both the tube and the frame layers.
Open element 45 and re-size by 90%. Copy and paste as a new layer. Drag to the bottom. Position around the frame. Add a drop shadow.
Open element 34 and copy and paste as a new layer. Drag to the bottom. Position at the top of the frame. Add a drop shadow.
Open element 3 and copy and paste as a new layer. Move to the bottom of your tag along the bottom of the frame. Add a drop shadow.
Open element 9 and re-size by 50% and then again by 75%. Copy and paste as a new layer. Place at the bottom of your tag and to the left of the feathers. Add a drop shadow. Duplicate. Re-size this copy by 75%. Move to the bottom and to the right.
Open element 12 and re-size by 75% 2x. Copy and paste as a new layer. Drag under the smaller of the 2 flowers. Move to the right of that flower. Add a drop shadow.
Open element 15 and re-size by 50%. Copy and paste as a new layer and drag under the larger of the 2 flowers. Place on the far left above the flower. Duplicate. Move this copy down and to the right in front of the smaller of the 2 flowers. Add a drop shadow to both.
Open element 16 and re-size by 50%. Copy and paste as a new layer. Place to the left. Add a drop shadow.
Open element 23 and image flip horizontal. Copy and paste as a new layer. Drag down to just above the feathers. Add a drop shadow.
Open element 26 and re-size by 75%. Copy and paste as a new layer and place to the far right. Add a drop shadow.
Open element 31 and re-size by 50% and then again by 75%. Copy and paste as a new layer and place near the bottom and to the left. Add a drop shadow.
Open element 69 and re-size by 50%. Copy and paste as a new layer. Duplicate and place this one where you wish. Add a drop shadow to both.
Add your  name.
Open element 1 and copy and paste as a new layer.
Add your copyright and licensing information.
Crop and save.
Thursday, May 5, 2016

Eyes Of A Child


Eyes Of A Child
Written 5/5/2016
This tutorial is meant purely as a guide. Feel free to make your tag unique by using your own choice of tube and scrap kit. If you want your tag to look just like mine then use the same supplies I have used. This tutorial assumes you have a knowledge of paint shop pro. Any resemblance to any other tag or tutorial is purely coincidental.

Supplies Used:
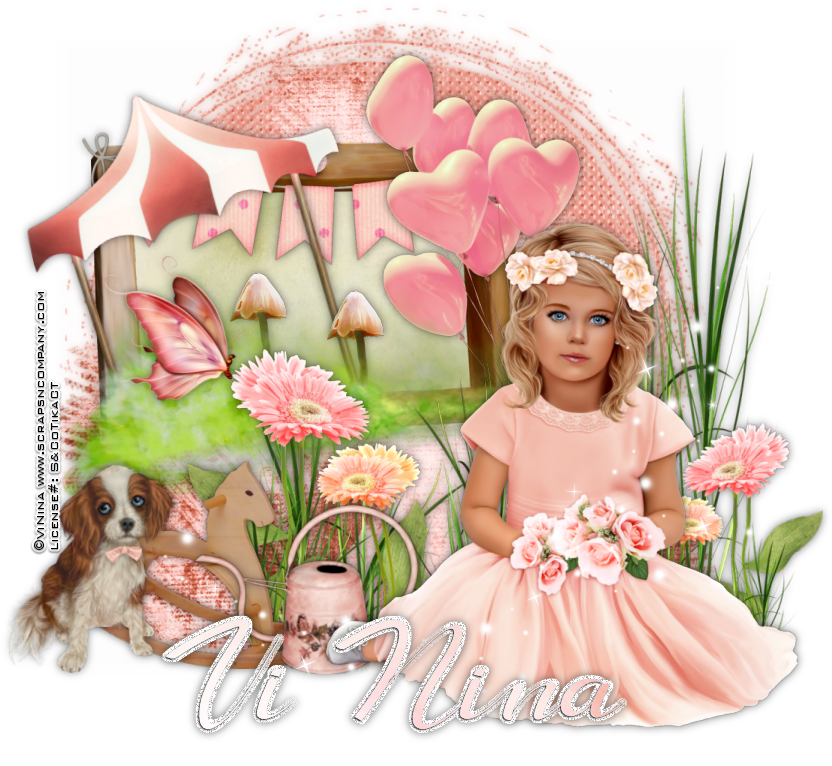
Tube by Vi Nina. She is called Rosie and you can purchase her at http://scrapsncompany.com/index.php?main_page=product_info&cPath=113_294&products_id=19405
The beautiful matching scrap kit is by Bibi’s Collection. It is called Mama. You can purchase it at http://scrapsncompany.com/index.php?main_page=product_info&products_id=19370
Font of your choice. I am using LongShine Script. This is a PTU font.
Plugins:
NONE
Drop shadow used throughout:
0 0 55 13.00 black

Let’s Begin:
Open element 118 and shift+D to duplicate. Close the original.
We are going to use this as the base of the tag so if you want to re-size then feel free.
Make your canvas large enough to work with.
I like to get my tube on the canvas/tag then I can build around it so at this time open your tube and copy and paste as a new layer. Re-size as needed. Place in the lower right corner. Add a drop shadow to the tube and the background piece. I changed the color of the drop shadow on the background to the darker color in the actual piece because the black didn’t look good but this is completely up to you.
Now let’s begin to build our tag using the awesome elements in this kit.
Open element 98 and copy and paste as a new layer. Re-size so it is slightly smaller than your tube. Drag this layer under the tube layer and place to the left and up a bit of the tube.
Using your magic wand select the inside of the frame and go to selections modify and expand by 3.
Open paper 10 and copy and paste as a new layer. Drag under the frame. Selections invert and hit delete. Selections select none.
Open element 105 and image flip horizontal. This way it will be leaning to the left instead of the right. Copy and paste as a new layer. Re-size so it is just slightly larger than the frame. You want it hanging out of the frame and to give it a 3D type of look as if it is popping out of the frame. I used my “pick” tool and tilted it to the left a little more but this is completely up to you. You could also use the image free rotate within psp if you choose. If you do use the second method do not forget to sharpen. Erase any bits hanging out of the frame that you do not want. Once you are happy then add a drop shadow.
Open element 59 and re-size so it fits nicely from one side of the frame to the other. Copy and paste as a new layer and place at the top of the frame and drag under the tent and balloons layers. Add a drop shadow.
Open element 42 and re-size. Copy and paste as a new layer and drag under your tube layer. Place so it is at the top left of your tube and coming out in front of the right side of the frame. Add a drop shadow.
Open element 77 and re-size so it is about the same size as the frame across the bottom. Copy and paste as a new layer. Use either your “pick” tool or image free rotate method and rotate to the left so it lines up with the bottom of the frame. Place along the bottom of the frame. Add a drop shadow.
Open element 78 and copy and re-size so it is small enough to fit within the frame. Copy and paste as a new layer. Drag under the grass. I duplicated this layer so I had 2 and just placed them within the frame area near the tent. Add a drop shadow when done.
Open element 72 and re-size so it is just larger than your tube. Copy and paste as a new layer and drag under your tube. Place behind your tube so it appears she is sitting in the grass. Add a drop shadow.
Open element 61 and re-size. Copy and paste as a new layer. Place on the bottom far left. Drag behind your tube. Add a drop shadow.
Open element 37 and re-size. Copy and paste as a new layer. Drag under your tube and place to the bottom left of the tube between the tube and rocking horse. Add a drop shadow.
Open element 28 and image flip horizontal so it is facing to the right. Re-size and then copy and paste as a new layer. Place so it is near the largest flower to the left of your tube. Add a drop shadow.
Open element 7 and re-size. Copy and paste as a new layer. Place to the far left of the rocking horse. Add a drop shadow.
Open element 117 and copy and paste as a new layer at the top. Place to the far right so it crosses over your tube.
Add your name.
Add your copyright and licensing information.
Crop and save.