Friday, July 22, 2016

Beware Of Pirates


Beware Of Pirates
Written 7/22/2016
This tutorial is meant purely as a guide. Feel free to use your own choice of tube or scrap kit to make your tag unique. If you want your tag to look just like mine them use the same supplies I have used. This tutorial assumes you have a knowledge of paint shop pro. Any resemblance to any other tag or tutorial is completely coincidental.

Supplies Used:
Tube of your choice. I am using one by Very Many Tubes. You can purchase this tube at http://verymanytubes.com/
The awesome scrap kit is by Amy Marie’s Kits. You can purchase it athttp://amymarieskits.com/store/
Font of your choice. I am using Anchor Steam NF. You can download it at http://www.fontspace.com/nicks-fonts/anchor-steam-nf
Plugins:
NONE
Drop shadow used throughout:
0 0 60 6.50 black

Let's Begin:
Open a new blank canvas that is going to give you plenty of room to work with. You can always crop and re-size when we are done.
Open paper 4 and set it as your background color. Turn off your foreground color.  Using your preset elipse shape tool draw out a fairly large oval in the center of your canvas. Once you are happy convert to a raster layer.
Selection select all float and defloat. Open the close up of your tube or if your tube does not have a close up just your tube will do and copy and paste as a new layer. Position her face within the selected area. Once happy selections invert and hit delete. Leave selected.
Layers new raster layer and drag under the background shape layer. Selections invert again. Selections modify and expand by 5. Flood fill your layer with a color or gradient of your choice. Adjust add remove noise and add noise at 100. Selections select none. Make the tube layer active and go to adjust hue and saturation colorize and set both values to 0. Lower the opacity of this layer to 40. Merge down to the background layer. Add a drop shadow to the bottom noise layer. Merge all layers together.
Open your tube and copy and paste as a new layer and move to the far right side. Add a drop shadow.
Now let’s dress the tag up with elements from the kit. I will list the elements I used. Feel free to use other elements to make your tag unique. Placement of the elements is completely up to you. If you want your tag to look just like mine then use my tag for reference.
Elements I used:
12
18
27
38
39
71
72
80
128
Add your name.
Add your copyright and licensing information.
Crop and and save.


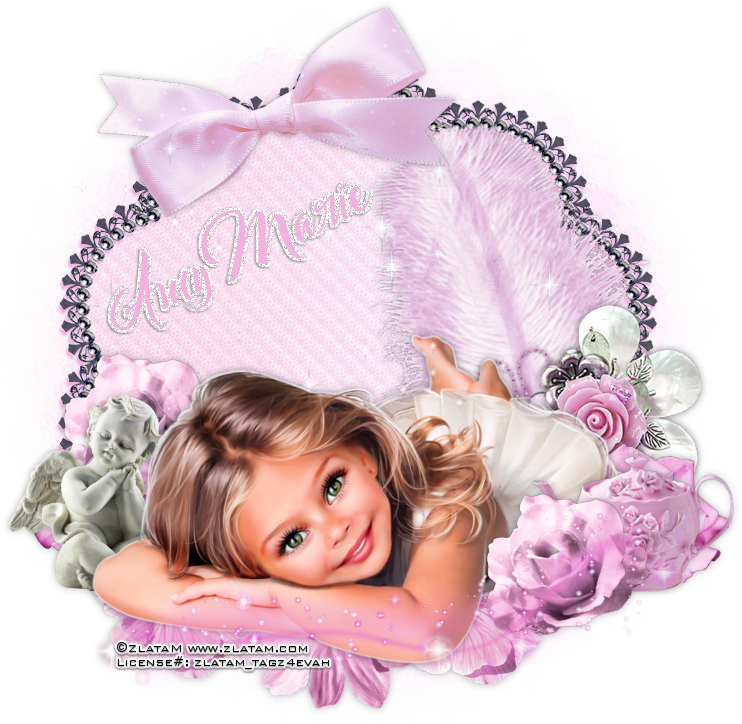
Sweet Innocence


Sweet Innocence
Written 7/22/2016
This tutorial is meant purely as a guide. Feel free to use your own choice of tube or scrap kit to make your tag unique. If you want your tag to look just like mine them use the same supplies I have used. This tutorial assumes you have a knowledge of paint shop pro. Any resemblance to any other tag or tutorial is completely coincidental.

Supplies Used:
Tube of your choice. I am using the work of Zlata M. This tube is called Angi and you can purchase her at http://zlatam.com/node/354
The scrap kit is called Megan by Amy Marie. You can purchase this kit at http://amymarieskits.com/store/
Mask of your choice. I am using mask #451 by Vix. You can download her masks at http://www.freewebs.com/vixpsp/
Font of your choice. I am  using Bareken. This is a PTU font.
Plugins:
NONE
Drop shadow used throughout:
0 0 65 11.50 medium grey

Let's Begin:
Open element 84 and shift+D to duplicate. Close the original. Make your canvas large enough to give you plenty of room to work and create with. You can crop and re-size when we are all done.
Open paper 18 and copy and paste as a new layer and drag under the element. Apply the mask of your choice. Delete the mask layer and merge the group. Add a drop shadow to the element but be careful on the color you choose as it will make the lace in the element too dark. I used a pink from the paper I used.
Open your tube and copy and paste as a new layer. Re-size if you need to. Position center bottom of the element. Add a drop shadow.
Now let’s dress the tag up with elements from the kit. I will list the elements I used. Feel free to use other elements to make your tag unique. Placement of the elements is completely up to you. If you want your tag to look just like mine then use my tag for reference.
Elements I used:
4
13
20
23
26
34
37
40
103
Add a drop shadow to each element.
Add your name.
Add your copyright and licensing information.
Crop and save. 


Wednesday, July 20, 2016

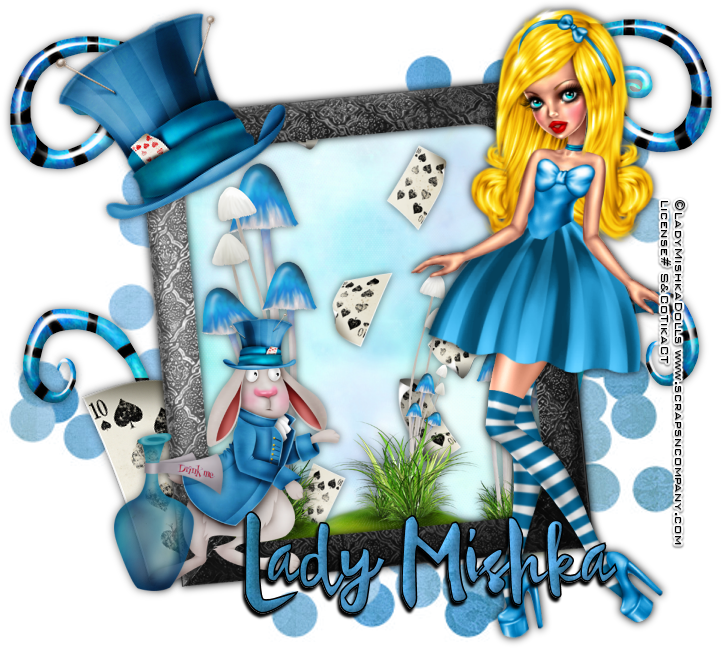
Down The Rabbit Hole #2


Down the Rabbit Hole
Written 7/19/2016
This tutorial is meant purely as a guide. Feel free to use your own choice of tube or scrap kit to make your tag unique. If you want your tag to look just like mine them use the same supplies I have used. This tutorial assumes you have a knowledge of paint shop pro. Any resemblance to any other tag or tutorial is completely coincidental.

Supplies Used:
Tube of your choice. I am using a store exclusive for Scraps N Company by Lady Mishka. It is called Cute Alice 6. You can purchase this tube at http://scrapsncompany.com/index.php?main_page=product_info&cPath=490_554&products_id=20749
Scrap Kit is called Cute Alice 6 and is by Rieneke Designs. You can purchase it at http://scrapsncompany.com/index.php?main_page=product_info&products_id=20802
Mask of your choice. I am using mask #178 by Vix. You can get her masks at http://www.freewebs.com/vixpsp/
Font of your choice. I am using Doodlesack. This is a PTU font.
Plugins:
NONE
Drop shadow used throughout:
0 0 100 12.50 black

Let's Begin:
Open element 60 and shift+D to duplicate. Close the original. Re-size the frame by 85%. Make your canvas large enough to work with.
Open paper 8 and copy and paste as a new layer. Move to the bottom of the layer palette. Apply the mask of your choice. Delete the mask layer and merge the group.
Using your magic wand select the inside of the frame and go to selections modify and expand by 5. Layers new raster layer and drag under the frame layer. Open paper 2 and copy and paste into selection. Selections select none. Add a drop shadow to the frame.
Open your tube and copy and paste as a new layer. Move to the right side of the frame. Re-size by 75%. Add a drop shadow to the tube.
Now let’s dress the tag up with elements from the kit. I will list the elements I used. Feel free to use other elements to make your tag unique. Placement of the elements is completely up to you. If you want your tag to look just like mine then use my tag for reference.
Elements I used:
1
3
8
15
34
47
49
Add your name.
Add your copyright and licensing information.

Crop and save.


Tuesday, July 19, 2016

Blue Without You


Blue Without You
Written 7/19/2016
This tutorial is meant purely as a guide. Feel free to use your own choice of tube or scrap kit to make your tag unique. If you want your tag to look just like mine them use the same supplies I have used. This tutorial assumes you have a knowledge of paint shop pro. Any resemblance to any other tag or tutorial is completely coincidental.

Supplies Used:
Tube of your choice. I am using the work of Carlos Cartagena. I purchased this tube when he was licensed with MPT when they were open. I am not sure where to purchase his images now.
Scrap Kit is called Girly Patty by Amy Marie’s Kits. You can purchase this kit at http://amymarieskits.com/store/
Tag template of your choice. I am using template #7 from Simple Expressions. You can download this template at http://simpleexpressions58.blogspot.ca/2016/02/setemplate07.html
Font of your choice. I am using Long Shine Script. This is a PTU font.
Plugins:
NONE
Drop shadow used throughout:
0 0 85 11.00 black

Let's Begin:
Open the tag template and shift+D to duplicate. Close the original so you can use it again if you ever want to. Remove the following layers from the template; credit, image trim, image shadow and white background. Make your canvas large enough to work with.  Now starting at the bottom of the template fill the layers with papers from the kit or colors/gradients of your choice.
Once you get them all filled open your tube and copy and paste as a new layer and place in the large frame and the smaller frame that is up to the top right. The tube on the top right change the layer properties to luminance legacy.
Add a drop shadow to all layers.
Now let’s dress the tag up with elements from the kit. I will list the elements I used. Feel free to use other elements to make your tag unique. Placement of the elements is completely up to you. If you want your tag to look just like mine then use my tag for reference.
Elements I used:
14
20
50
61
63
71
74
77
78
84
85
88
89
94
Add your name.
Add your copyright and licensing information.

Crop and save.

Wednesday, July 13, 2016

It's Been Awhile


It’s Been Awhile
Written 7/13/2016
This tutorial is meant purely as a guide. Feel free to use your own choice of tube or scrap kit to make your tag unique. If you want your tag to look just like mine them use the same supplies I have used. This tutorial assumes you have a knowledge of paint shop pro. Any resemblance to any other tag or tutorial is completely coincidental.

Supplies Used:
Tube of your choice. I am using one by Stan Dudin. You can purchase her at http://picsfordesign.com
Beautiful scrap kit called Blue Jean Patty by Amy Marie’s Kits. You can purchase this kit at http://amymarieskits.com/store/
Font of your choice. I am using Biancca. This is a PTU Font.
Plugins:
Xero Porcelain
Drop shadow used throughout:
0 0 85 11.00 black

Let's Begin:
Open element 79 and shift+D to duplicate. Close the original. Image free rotate to the left 90 degrees. Using your magic wand select the inside of the frame. Selections modify and expand by 2. Layers new raster layer and drag under the frame. Flood fill with a gradient of your choice. I made my own by using a darker color and lighter color from the kit. Open your tube and copy and paste as a new layer under the frame. Position just her face within the framed area. Selections invert and hit delete. Selections select none. Apply the Xero Porcelain filter using the default settings. Change the properties of the layer to Luminance Legacy. Add a drop shadow to the tube. Merge the tube and paper layer together. Apply the Penta.com Dot and Cross filter but change the top value to 35. Add a drop shadow to the frame. Merge all of these layers together.
Open your tube and copy and paste as a new layer. Re-size as needed. Place so it is opposite of the tube in the frame. So in my case I image flipped horizontal. Add a drop shadow to the tube once you have her in place.
Now let’s dress the tag up with elements from the kit. I will list the elements I used. Feel free to use other elements to make your tag unique. Placement of the elements is completely up to you. If you want your tag to look just like mine then use my tag for reference.
Elements I used:
1
11
14
16
18
21
28
29
34
57
75
85
89
90
91
97
98
Using one of the papers from the kit as your fill add your name.
Add your copyright and licensing information.
Crop and save. 

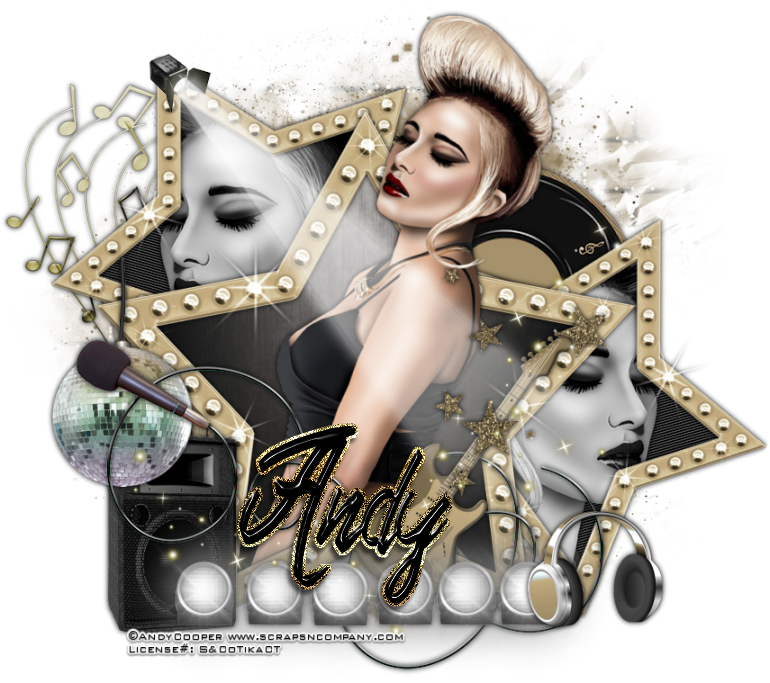
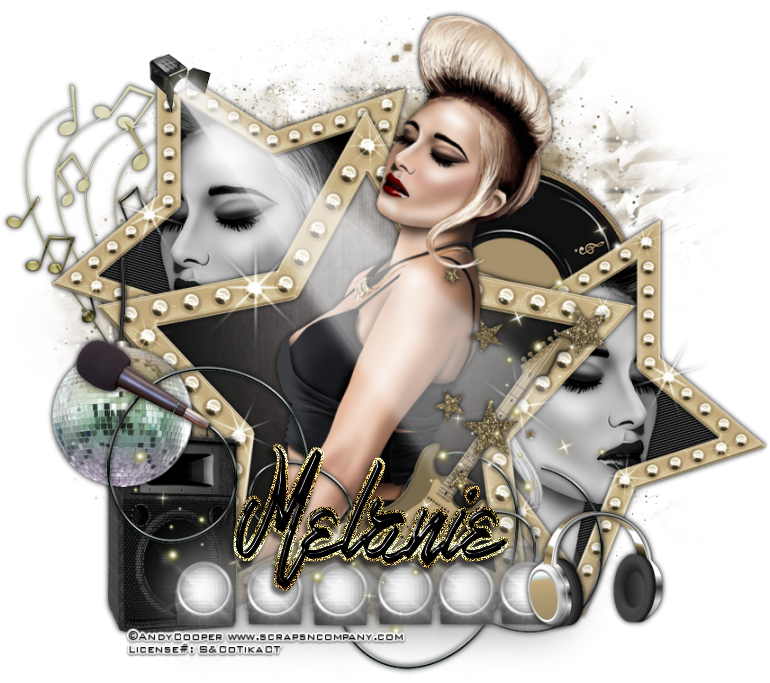
The Spotlight


The Spotlight
Written 7/13/2016
This tutorial is meant purely as a guide. Feel free to use your own choice of tube or scrap kit to make your tag unique. If you want your tag to look just like mine them use the same supplies I have used. This tutorial assumes you have a knowledge of paint shop pro. Any resemblance to any other tag or tutorial is completely coincidental.

Supplies Used:
Tube of your choice. Preferably one with a close-up. I am using the work of Andy Cooper. It is called Guitar Gold.  You can purchase this tube at  http://scrapsncompany.com/index.php?main_page=product_info&cPath=113_652_304&products_id=20394
Scrap Kit is called Guitar Gold by Blissful Designs. You can purchase this kit at http://scrapsncompany.com/index.php?main_page=product_info&products_id=20393
Mask of your choice. I am using mask #2 from set 121 by Rachel Designs. You can download it at https://racheldesignsblog.wordpress.com/2016/07/03/mask-set-121/
Font of your choice. I am using Love Rock. You can download it at http://www.fontspace.com/jonathan-s-harris/love-rock

Plugins:
Penta.com Jeans
Xero Greyscaler
Xero Porcelain
Drop shadow used throughout:
0 0 100 8.50 black

Let's Begin:
Open element 58 and shift+D to duplicate. Close the original. Make your canvas large enough to work with. Copy the star layer and paste as a new image. Re-size by 75%. Using your magic wand select the inside of the star and selections modify and expand by 10. Layers new raster layer and drag under the frame. Flood fill with black. Apply the penta.com jeans filter changing the top value to 75. Open your tube and copy and paste as a new layer and position within the framed area. Selections invert and hit delete. Selections select none. Apply the Xero Greyscaler filter using the default settings. Apply the Xero porcelain filter using the default settings. Add a drop shadow to the tube and the frame. Merge all of these layers together. Copy this image and paste it as a new layer on your working tag canvas. Image free rotate to the left 29 degrees. Adjust sharpen. Move to the top left behind the main star. Duplicate and image flip horizontal and move this to the right side. Move the one on the right side down to the lower part of the star.
Make the main middle large star layer active and using your magic wand select the inside of the frame. Selections modify and expand by 10. Layers new raster layer and drag under this main star. Open paper 2 and copy and paste into selection. Leave Selected!!! Open your tube and copy and paste as a new layer. Position within the framed area how you want. Erase any bits hanging out with your eraser tool. Add a drop shadow to both the tube and the main star.
Open paper 7 and copy and paste as a new layer. Drag to the bottom. Apply the mask of your choice. Delete the mask layer and merge the group.
Now let’s dress the tag up with elements from the kit. I will list the elements I used. Feel free to use other elements to make your tag unique. Placement of the elements is completely up to you. If you want your tag to look just like mine then use my tag for reference.
Elements I used:
10
46
47
51
52
53
59
61
65
74
79
Add a drop shadow to each of the elements.
Add your name.
Add your copyright and licensing information and crop and save.


Tuesday, July 12, 2016

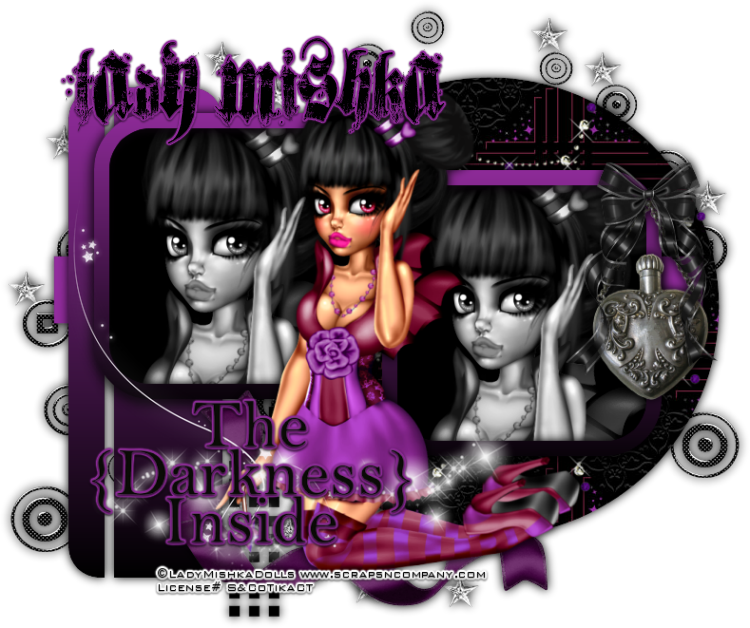
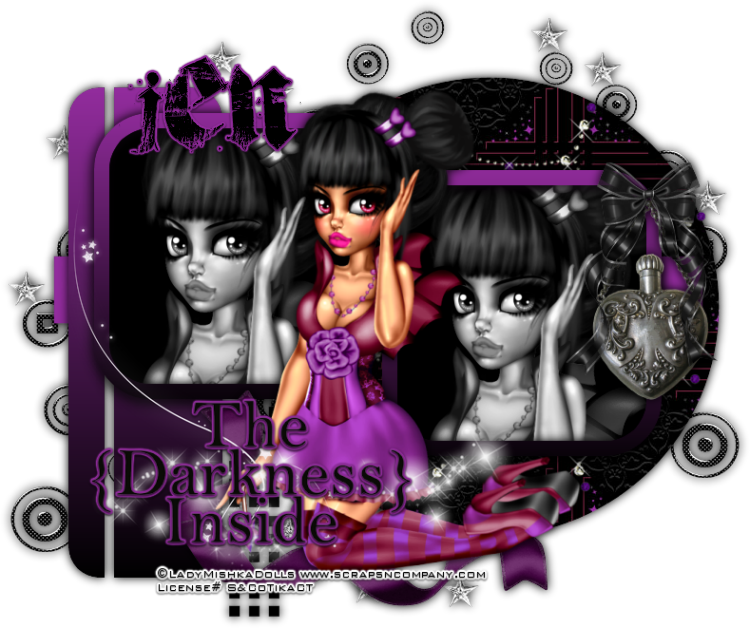
The Darkness Inside


The Darkness Inside
Written 7/12/2016
This tutorial is meant purely as a guide. Feel free to use your own choice of tube or scrap kit to make your tag unique. If you want your tag to look just like mine them use the same supplies I have used. This tutorial assumes you have a knowledge of paint shop pro. Any resemblance to any other tag or tutorial is completely coincidental.

Supplies Used:
Tube of your choice. I am using a Scraps N Company store exclusive tube by Lady Mishka called Gothic Beauty Love. You can purchase her at http://scrapsncompany.com/index.php?main_page=product_info&cPath=490_554&products_id=20730
The scrap kit is called Goth Love by Jens Sweet Temptations. You can purchase the kit at http://scrapsncompany.com/index.php?main_page=product_info&products_id=20743
Tag Template by Scraps Of Enchantment. You can download it at http://scrapsofenchantment.blogspot.ca/2015/12/template-137.html?zx=c1e42b2654db3653
Font of your choice. I am using hardcorium. You can download it at http://www.fontspace.com/last-soundtrack/hardcorium
Plugins:
NONE
Drop shadow used throughout:
0 0 100 15.00 Black

Let's Begin:
Open the tag template and shift+D to duplicate. Close the original. Delete the info layer and the background layer. Make your canvas large enough to work with. Fill each of the layers of the template with papers and colors of your choice. Once you are done add a drop shadow to each layer.
Select the inside of each of the frame areas on the template and copy and paste your tube inside. Position how you want. Selections invert and hit delete. Selections select none. Adjust hue and saturation colorize both and change the values to 8. Merge all of the layers of the frames together.
Open your tube again and copy and paste as a new layer and position in the middle of the template. Add a drop shadow.
Now let’s dress the tag up with elements from the kit. I will list the elements I used. Feel free to use other elements to make your tag unique. Placement of the elements is completely up to you. If you want your tag to look just like mine then use my tag for reference.
Elements I used:
8
9(I flipped it vertical and moved to the left)
21
28
29
36
41
47
61
Add your name.
Add your copyright and licensing information.
Crop and save.


Crown Jewel


Crown Jewel
Written 7/12/2016
This tutorial is meant purely as a guide. Feel free to use your own choice of tube or scrap kit to make your tag unique. If you want your tag to look just like mine them use the same supplies I have used. This tutorial assumes you have a knowledge of paint shop pro. Any resemblance to any other tag or tutorial is completely coincidental.

Supplies Used:
Tube of your choice. Preferably one with a close-up in it. I am using the work of Very Many Art. This tube is called Princess. You can purchase her at http://verymanytubes.com/
Scrap Kit is called Jewel by Amy Marie’s Kits. You can purchase this kit at http://amymarieskits.com/store/
Mask of your choice. I am using mask #298 by Insatiable Dreams. You can get her masks at http://insatiabledreams.net
Font of your choice. I am using The Heart Of Everything. You can download it at http://www.fontspace.com/mistis-fonts/the-heart-of-everything-demo

Plugins:
NONE
Drop shadow used throughout:
0 0 85 11.00 Black

Let's Begin:
Open paper 24 and shift+D to duplicate. Close the original. Promote the background layer to a raster layer. Make your canvas large enough to work with. Re-size the paper layer if you wish. This will be the base of your tag. Apply the mask of your choice. Delete the mask layer and merge the group.
Open the close-up of your tube. Copy and paste as a new layer. Apply the mask again to your tube layer. Delete the mask layer and merge the group. Re-size if you need to. Move so the masked tube is in the center of the bottom mask layer. Change the properties of the tube layer to Luminance Legacy. Merge these 2 layers together. Add a drop shadow – I used 2 -2 85 3.00 Black.
Open your full tube and copy and paste as a new layer. Re-size as needed so she is just slightly bigger or close to the same size as the mask base. Position where you want her and add a drop shadow.
Open element 17 and copy and paste as a new layer. Place at the bottom of your tube so it is covering her legs and wraps around her. Erase any bits that cover your tube at the top. Add a drop shadow.
Open element 84 and re-size by 85%. Copy and paste as a new layer and drag under your tube. Move to the far right side so it is coming out from behind your tube. Add a drop shadow.
Use some of the jewels from the kit to dress up your tag along the bottom and right side. Re-size them and rotate them as you wish. Once you are done add a drop shadow to each of them.
Now we are going to place some text on a path. I am sure there are many ways to do this but I am going to explain how I do it. If you know of another way feel free to do it your way. What matters is the end result.
Using your pen tool; turn off your background color and set your foreground color to something you can see fairly easily on your tag. Set the pen tool to draw freehand and check create on vector. Width doesn’t matter as we will delete this layer once we have the text on. Draw a vector line of your choosing about the middle of your tag around the flowers, jewels and your tube. It doesn’t have to be perfect but you may have to try it a few times to get the shape how you want it. I usually have to do it a few times as my hand is not that steady with a mouse <lol> …. Now using the font of your choice set to floating type out some text on your vector path. Once you have it typed out promote your floating selection to a rather layer and selections select none. Delete the vector path layer it is no longer needed. Add a drop shadow to your text.
Add your name.
Add your copyright and licensing information.
Crop and save. 

Monday, July 11, 2016

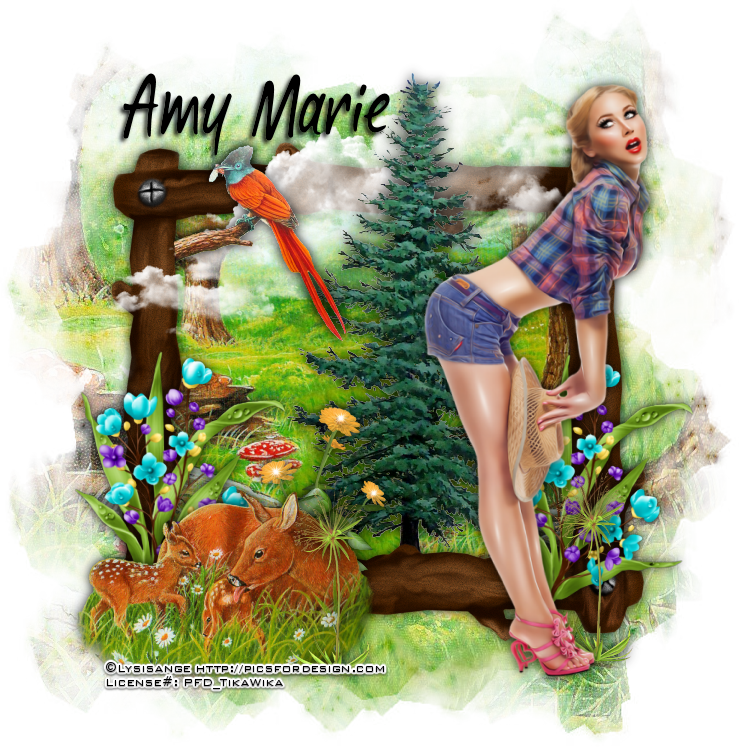
One With Nature


One With Nature
Written 7/11/2016
This tutorial is meant purely as a guide. Feel free to use your own choice of tube or scrap kit to make your tag unique. If you want your tag to look just like mine them use the same supplies I have used. This tutorial assumes you have a knowledge of paint shop pro. Any resemblance to any other tag or tutorial is completely coincidental.

Supplies Used:
Tube of your choice. I am using the artwork of Lysisange. You can purchase this tube at http://picsfordesign.com
Scrap kit is called The Great Outdoors by Amy Marie’s Kits. You can purchase this kit at http://amymarieskits.com/store/
Mask of your choice. I am using Vix big mask 05. You can get her big masks at http://vixpsp.blogspot.com/2011/03/new-masks-for-2011-vix-big-set-1.html
Font of your choice. I am using Aspire. This is a PTU version.
Plugins:
NONE
Drop shadow used throughout:
0 0 85 16.00 black

Let's Begin:
Open element 82 and shift+D to duplicate. Close the original. Make your canvas large enough to work with. Open paper 9 and copy and paste as a new layer. Drag under the frame. Apply the mask of your choice. Delete the mask layer and merge the group. Using your magic wand select the inside of the frame. Selections modify expand by 5. Layers new raster layer and drag under the frame but above the mask. Copy and paste your paper into the selection. Selections select none. Add a drop shadow to the frame.
Open your tube and re-size until she is just larger than the frame. Copy and paste as a new layer and move to the far right side. Add a drop shadow.
Open element 55 and copy and paste as a new layer. Position wherever you want within the frame area and erase any bits you do not want hanging out using your eraser tool. Add a drop shadow.
Open element 10 and copy and paste as a new layer. Drag under the tree but above the frame. Position so it is behind the top of the tree and over the side of the frame.
Open element 28 and re-size by 75%. Copy and paste as a new layer at the top. Move to the bottom left hand corner. Place in front of the frame but with some of mask showing around it. Add a drop shadow.
Open element 88 and re-size by 75% and then again by 85%. Copy and paste as a new layer and move to the far left side. Drag under the deer. Add a drop shadow. Duplicate and move this duplicate to the far right side drag under your tube.
Open element 64 and re-size by 50%. Copy and paste as a new layer and move under the deer. Place to the right of the first set of flowers. Add a drop shadow.
Open element 50 and re-size by 50%. Copy and paste as a new layer and place in front of the deer but to the right. Add a drop shadow. Duplicate and move this duplicate to the far right side and drag under your tube.
Open element 48 and re-size by 50%. Copy and paste as a new layer and move to the top left side of the frame. Add a drop shadow. I erased some bits to make it look like it was coming out of the frame.
Add your name.
Add your copyright and licensing information.
Crop and save. 


Wednesday, July 6, 2016

Sea Maiden


Sea Maiden
Written 7/6/2016
This tutorial is meant purely as a guide. Feel free to use your own choice of tube or scrap kit to make your tag unique. If you want your tag to look just like mine them use the same supplies I have used. This tutorial assumes you have a knowledge of paint shop pro. Any resemblance to any other tag or tutorial is completely coincidental.
Supplies Used:
Tube of your choice. I am using the work of Toriya. It is called My Sweet Mermaid. You can purchase it at http://scrapsncompany.com/index.php?main_page=product_info&cPath=113_320&products_id=20724
The matching scrap kit is called Sea Maiden and is by Disturbed Scraps. You can purchase it at http://scrapsncompany.com/index.php?main_page=product_info&products_id=20761
Mask of your choice. I am using mask #2 from set # 111 by Rachel Designs https://racheldesignsblog.wordpress.com/
Font of your choice. I am using Qaskin.  You can download it at http://www.fontspace.com/m%C3%A5ns-greb%C3%A4ck/qaskin-black-personal-use
Plugins:
NONE
Drop shadow used throughout:
0 0 85 15.00 color from your tag

Let's Begin:
Open paper 10 and shift+D to duplicate. Close the original. Promote the background layer to a raster layer. Make your canvas large enough to work with. Re-size as needed. This will be the base of your tag. Apply the mask of your choice. Delete the mask layer and merge the group.
Open your tube and re-size as needed. Copy and paste as a new layer and position on the masked area. Add a drop shadow.
Now let’s dress the tag up with elements from the kit. I will list the elements I used. Feel free to use other elements to make your tag unique. Placement of the elements is completely up to you. If you want your tag to look just like mine then use my tag for reference.
Elements I used:
10
11
20
24
45
52
53
65
73
Add your name.
Add your copyright and licensing information.
Crop and save.


Never Forget You


Never Forget You
Written 7/6/2016
This tutorial is meant purely as a guide. Feel free to use your own choice of tube or scrap kit to make your tag unique. If you want your tag to look just like mine them use the same supplies I have used. This tutorial assumes you have a knowledge of paint shop pro. Any resemblance to any other tag or tutorial is completely coincidental.
Supplies Used:
Tube of your choice. I am using the work of Misticheskaya. This tube is called Pattie. You can purchase it at http://picsfordesign.com
Scrap kit is called August Romance by Amy Marie’s Kits. You can purchase this kit at http://amymarieskits.com/store/
Mask of your choice. I am using mask #54 by Millies PSP Madness. You can download her masks at http://milliespspmadness.blogspot.com/?zx=fff75d4dd4792f95
Font of your choice. I am using Lovelia. It is a free font this week only and then will go PTU after that. You can get it at htpps://fontbundles.net
Plugins:
Xero Mistifier
Drop shadow used throughout:
0 0 85 15.00 black

Let's Begin:
Open paper 16 from the kit. Shift+D to duplicate. Close the original. Promote the background layer to a raster layer. Make your canvas large enough to work with. Re-size the paper if you wish. Apply the mask of your choice. Delete the mask layer and merge the group.
Open element 77 and re-size by 75%. Using your magic wand select the inside of the frame. Selections modify and expand by 2. Open your tube and copy and paste as a new layer. Drag under the frame. Position her face within the frame. Selections invert and hit delete. Selections select none. Colorize the tube to match your tag and the other colors your using. Apply the Misitifier plugin using the settings of your choice. This plugin makes every tube look different so you need to play with the settings based on the tube you are using. Add a drop shadow to the frame. Merge the frame and the tube together. Place this in the top left corner of the mask area.
Open your tube again and copy and paste as a new layer and place on your tag. Re-size as needed. Add a drop shadow.
Now let’s dress the tag up with elements from the kit. I will list the elements I used. Feel free to use other elements to make your tag unique. Placement of the elements is completely up to you. If you want your tag to look just like mine then use my tag for reference.
Elements I used:
12
18
20
24
29
34
36
38
39
44
50
56
65
108
109
Add your name.
Add your copyright and licensing information.
Crop and save.

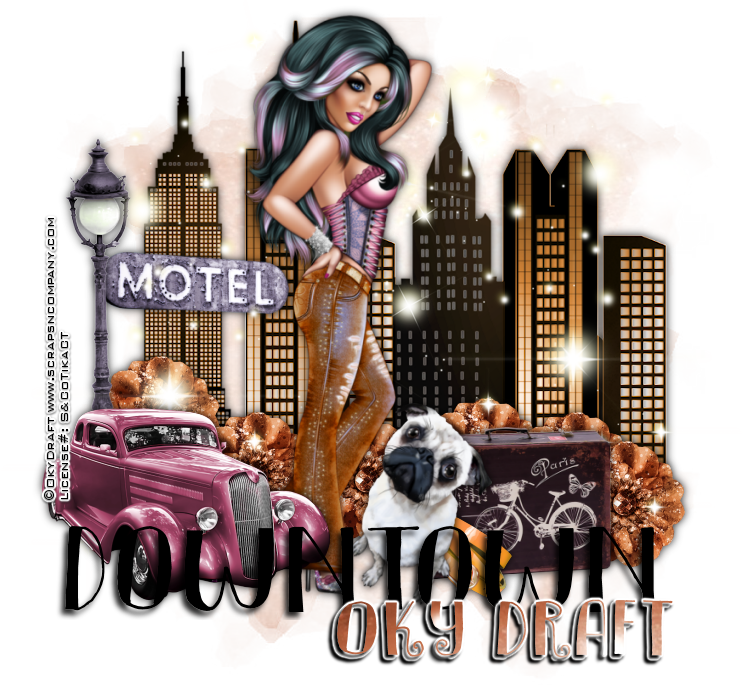
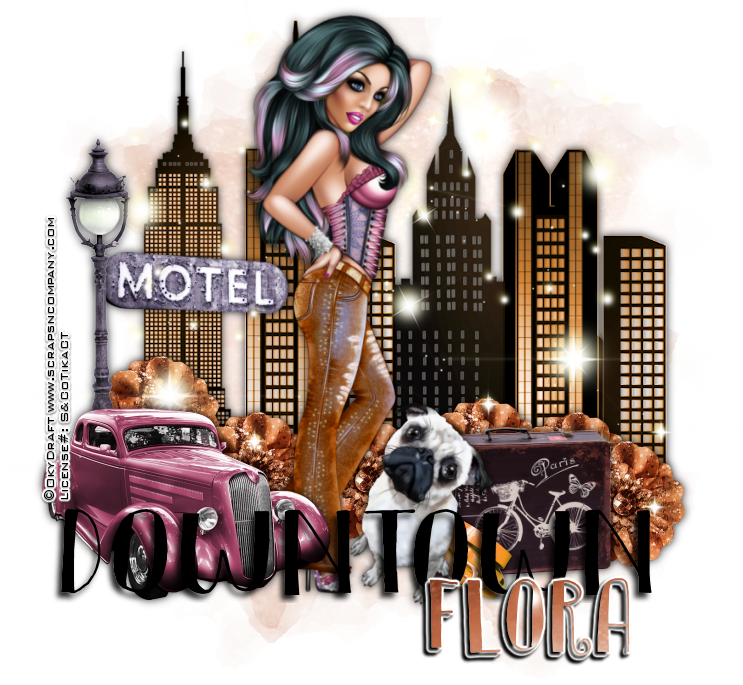
Downtown


Downtown
Written 7/6/2016
This tutorial is meant purely as a guide. Feel free to use your own choice of tube or scrap kit to make your tag unique. If you want your tag to look just like mine them use the same supplies I have used. This tutorial assumes you have a knowledge of paint shop pro. Any resemblance to any other tag or tutorial is completely coincidental.
Supplies Used:
Tube of your choice. I am using the work of Oky Draft. This tube is an exclusive commission for Scraps N Company. You can purchase this tube at http://scrapsncompany.com/index.php?main_page=product_info&cPath=658_423&products_id=20707
Matching scrap kit is by Mysterfeerie Creation. You can purchase this kit at http://scrapsncompany.com/index.php?main_page=product_info&products_id=20818
Mask of your Choice. I am using mask #19 by Horseplays Pasture Designs. You can get her mask at http://horseplayspasturedesigns.blogspot.com.au/
Font of your choice. I am using DK Innuendo. You can download it at http://www.dafont.com/dk-innuendo.font
Plugins:
NONE
Drop shadow used throughout:
0 0 75 13.50 black

Let's Begin:
Open paper 2 and shift+D to duplicate. Close the original. Promote the background layer to a raster layer. Make your canvas large enough to work with. Re-size the paper if you want to. Apply the mask of your choice. Delete the mask layer and merge the group.
Open element 57 and copy and paste as a new layer. Place the buildings in the center of the mask. Add a drop shadow.
Open element 37 and re-size by 85% and copy and paste as a new layer and place at the far left side of the buildings. Add a drop shadow.
Open element 80 and copy and paste as a new layer and place on the far left side of the buildings. Duplicate and image flip horizontal and move to the far right side of the buildings.
Open element 47 and re-size by 50%. Image flip horizontal. Copy and paste as a new layer and place on the far left in front of the light pole. Add a drop shadow.
Open your tube and re-size so she is slightly larger than the buildings. Image flip horizontal if you wish. Copy and paste as a new layer and drag under the car layer. Move to the far left but to the right of the car and tuck her under the front end. Add a drop shadow.
Open element 70 and copy and paste as a new layer. Re-size and place at the feet of the tube. Add a drop shadow.
Now let’s dress the tag up with elements from the kit. I will list the elements I used. Feel free to use other elements to make your tag unique. Placement of the elements is completely up to you. If you want your tag to look just like mine then use my tag for reference.
Elements I used:
22
24
29
56(duplicated a few times and placed all along the bottom of the tag)
Add your name.
Add your copyright and licensing information.
Crop and save.


Gypsy Soul


Gypsy Soul
Written 7/4/2016
This tutorial is meant purely as a guide. Feel free to use your own choice of tube or scrap kit to make your tag unique. If you want your tag to look just like mine them use the same supplies I have used. This tutorial assumes you have a knowledge of paint shop pro. Any resemblance to any other tag or tutorial is completely coincidental.
Supplies Used:
Tube of your choice. I am using the work of Sara Butcher. I purchased this tube at CILM when they were in business. But you can now purchase her work at http://cdoestore.com
The stunning scrap kit is Magical Nights by Amy Marie’s Kits. You can purchase this kit at http://amymarieskits.com/store/
Mask of your choice. I am using mask #8 by Gems Taggin Scraps. You can get her masks at http://gemstagginscraps.blogspot.com/
Font of your choice. I am using Magnolia Sky. You can download it at http://www.dafont.com/magnolia-sky.font
Plugins:
Drop shadow used throughout:
0 0 75 12.50 black

Let's Begin:
Open element 77 from the kit. This is going to be the base of your tag. Shift+D to duplicate. Close the original. Make your canvas large enough to work with. Using your magic wand select the inside of the frame. Layers new raster layer and drag under the frame.  Selections modify and expand by 3. Open the paper of your choice from the kit; I used paper 10 and copy and paste into selection. Selections select none.
Copy and paste the paper again as a new layer and drag to the very bottom. Apply the mask of your choice and delete the mask layer and merge the group.
Make your frame layer active and using the magic wand select the inside of your frame again. Selections modify and expand by 1. Open your tube and copy and paste as a new layer. Position within the selected frame area and then use your eraser tool and erase any bits you do not want hanging out of the frame. Selections select none.
Add a drop shadow to both the tube and the frame.
Open element 35 and re-size by 85%. Copy and paste as a new layer. Drag under your tube. Place at the top of the frame behind the head of your tube.
Open element 12 and re-size by 50% and copy and paste as a new layer and place in the top left corner of the frame. Add a drop shadow.
Open element 44 and copy and paste as a new layer and place in front of the moon but you still want to be able to see the moon at the top and the stars and sparkles through the clouds.
Open element 80 and re-size by 50% and then again by 75%. Copy and paste as a new layer and place in the bottom left hand corner of the frame. Add a drop shadow. Duplicate and image flip horizontal. Re-size this duplicate by 75% and move over in front of the tube.
Do the same with element 79.
Open element 81 and re-size by 75%. Image free rotate to the left 90 degrees. Copy and paste as a new layer and place on the far right hand side bottom corner of the frame. Add a drop shadow.
Open element 86 and re-size by 65%. Copy and paste as a new layer and move to the bottom left corner of the frame. Drag under the mushrooms. Add a drop shadow.
Open element 82 and re-size by 50%. Copy and paste as a new layer and move under the mushrooms. Place to the right of the mushrooms on the right hand side. Add a drop shadow.
Open element 87 and re-size by 50% and then again by 75% 2x. Copy and paste as a new layer and place in front of the mushrooms on the far left side. Add a drop shadow.
Open element 83 and re-size by 50%. Copy and paste as a new layer and place over the flowers.
Add some text along the top if you wish.
Add your name.
Add your copyright and licensing information.
Crop and save.