Monday, January 29, 2024

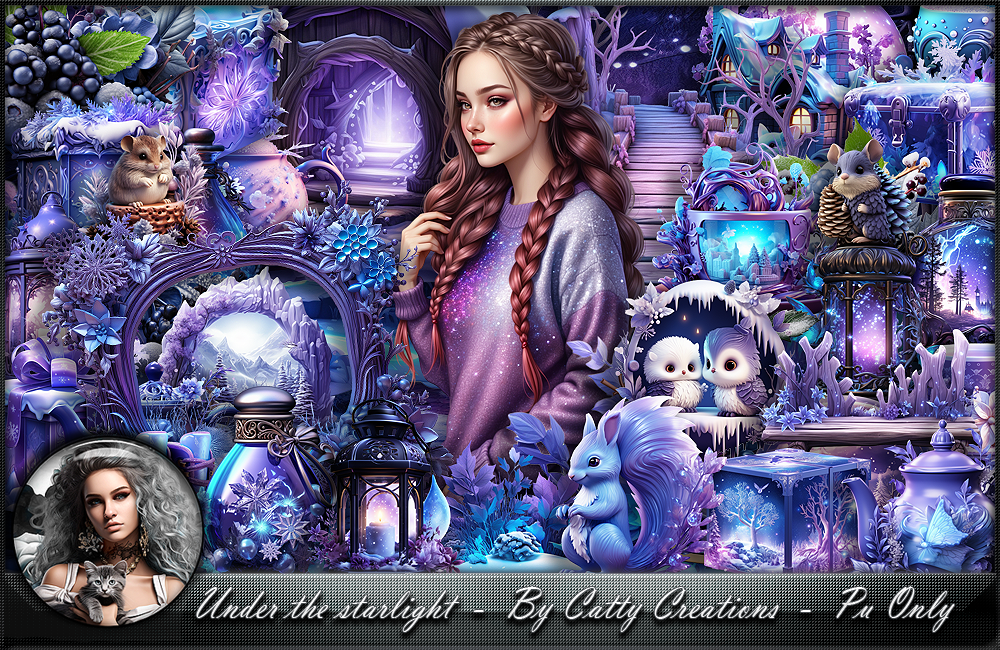
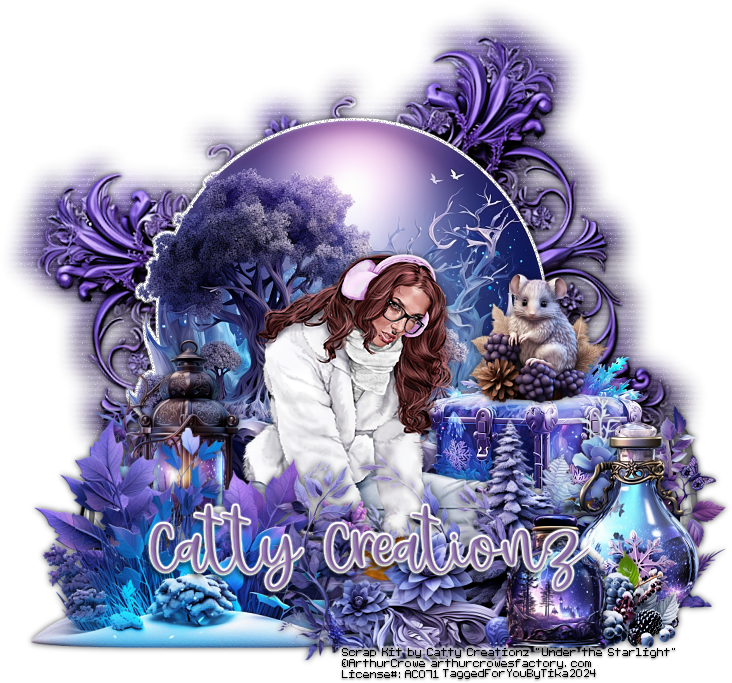
Magical Ice Set Crowe FTU


Magical Ice

Written 1/29/2024
This tutorial is meant purely as a guide. Feel free to use your own choice of tube or scrap kit to make your tag unique.
If you want your tag to look just like mine, then use the same supplies I have used. This tutorial assumes you have knowledge
of paint shop pro. Any resemblance to any other tag or tutorial is completely coincidental. 

Supplies Used:

Tube is by Arthur Crowe. He is no longer selling. You must have a license to use his artwork.

Scrap kit is by Catty Creationz. It is called Under The Starlight and you can find it on her blog https://cattycreationsdezines.blogspot.com/

Font of your choice. I am using Lightshot

Plugins: (plugins are most generally optional)

Photo Effex Scanlines 

Let's Begin:

Open a new canvas that will give you plenty of room to work with. I usually use 900x900 and then crop and resize when I am all finished.

Open frame 4 and copy and paste as a new layer on to your blank canvas. Resize to your liking. This going to be part of your background base and not an actual frame that is a focal point so you don’t want it too large.

Using your magic wand select the inside of the frame and go to selections modify and expand by 10.

Layers new raster layer and drag under the frame layer.

Open any of the papers of your choice from the kit and copy and paste into selection. Selections select none.

Add a drop shadow of your choice to your frame and then merge visible.

Image rotate free rotate to the left 20 degrees.

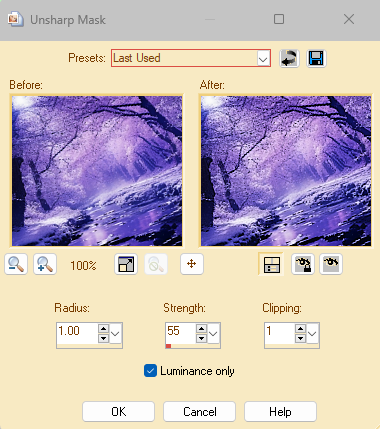
Adjust sharpeness unsharp mask. I use the following settings:

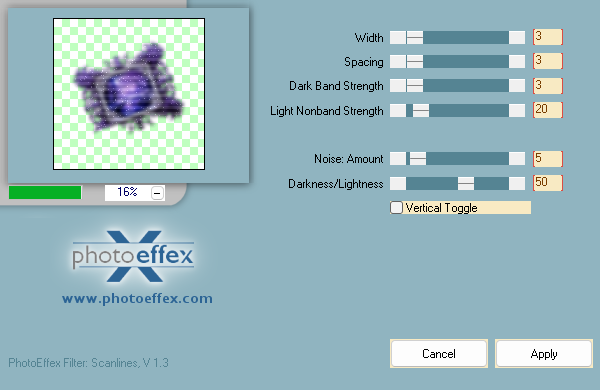
Duplicate. On the bottom original layer go to adjust blur gaussian blur and blur by 10. Then apply Photo Effex Scanlines with the following settings:

Open element 7.
Copy and paste as a new layer and resize to your liking. You want it small enough to be the focal point in the center and also to see the first framed image behind it. Don’t forget to sharpen when you resize.
Selections select all float defloat selections modify and expand by 3.
Layers new raster layer.
Drag under this layer.
Flood fill with white.
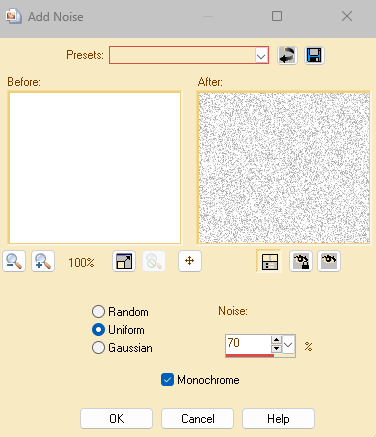
Adjust add noise using the following settings:
Selections select none.
Make your top layer active and merge down.
Add a drop shadow of your choice to this layer.
At this time I like to add my tube so I can build the rest of the tag around it.
Copy and paste your tube as a new layer. Position where you choose. Mine is nearly center within the tag.
Add a drop shadow of your choice to your tube. 

Now let’s dress the tag up with elements from the kit. I will list the elements I used. Feel free to use other elements to make your tag unique. Placement of the elements is completely up to you. If you want your tag to look just like mine, then use my tag for reference.

Elements I used:

5
8
16
20
25
32
47
51
59
65
Add your name and copyright information. Make sure you include your license # and any credits that need to be on your tag.
Crop and resize if you would like.
I made mine a 3 piece forum set and you can do that very easily on your own.
Thanks for trying my tutorial.

Monday, January 1, 2024

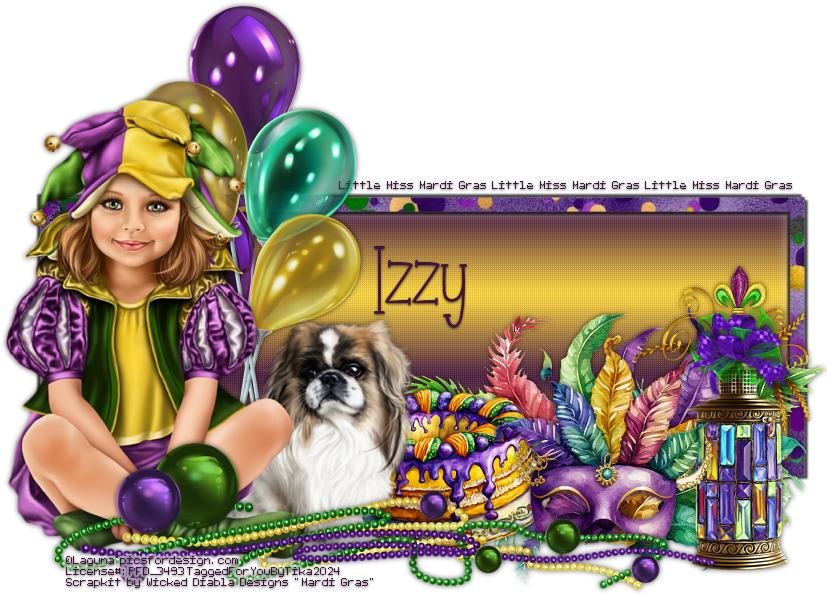
Little Miss Mardi Gras


Little Miss Mardi Gras

Written on 1/1/2024.

This tutorial is meant purely as a guide. Feel free to use your own choice of tube or scrap kit to make your tag unique.

If you want your tag to look just like mine, then use the same supplies I have used. This tutorial assumes you have some knowledge

of paint shop pro. Any resemblance to any other tag or tutorial is completely coincidental.


Supplies Used:

Tube is by Laguna and can purchased at Pics for Design. https://picsfordesign.com/catalogue/id_134275_girl_with_pekingese.pix

You must have a license to use this image.

--

Scrap kit is by Wicked Diabla Designs. You can purchase this kit at her store. https://wickeddiabladesigns.com/index.php?main_page=product_info&cPath=3_16_73&products_id=3708


Font of your choice. I am using Black Palkons


Plugins: (plugins are most generally optional)

Penta Color Dot


Let's Begin:

Open a blank canvas that will give you plenty of room to work with. I use 900x900 and then crop and resize when I am done.

Open a paper of your choice from the kit. I am using paper #5. Set this as your foreground color. Turn off your background color.

Using your rectangle preset shape tool with the width set to 15 draw out a rectangle to the size you would like.

Now lets create a gradient with 2 colors from our tube or paper I am using purple and yellow. Create a gradient out of the 2 colors and set it as either your foreground or background color. In this case it does not matter.  If you don’t want to do this or are not sure how then use any gradient of your choice. Using your magic wand select the inside of your frame. Selections modify and expand by 5. You should already have an empty layer under frame so floodfill this layer with your gradient. Selections select none. Duplicate the gradient layer. Adjust Blur Gaussian blur set to 7.00. Change the property layers of this top gradient layer to screen. Using the penta color dot filter apply this filter with whatever settings you choose. I like mine fairly light so I set my top value to 29.

Merge your 2 gradient layers together.

Open  your tube and copy and paste as a new layer.

Resize to a size you are happy with. I left mine just slightly larger than the rectangle layer.

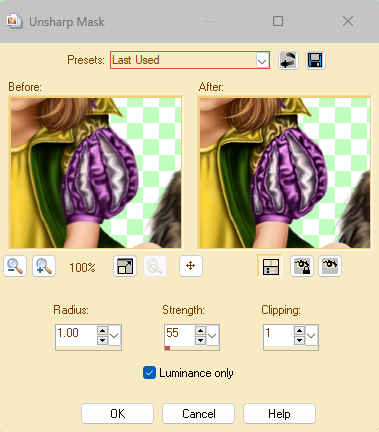
Remember once you resize we will want to sharpen it so go to Adjust Sharpen Unsharp Mask with the following settings:


Move your tube to wherever you would like it placed on your tag. Mine is to the far right side.

Now let’s dress the tag up with elements from the kit. I will list the elements I used. Feel free to use other elements to make your tag unique. Placement of the elements is completely up to you. If you want your tag to look just like mine, then use my tag for reference.

Elements I used:

24

27

31

32

40

57

Now I did turn mine into a 3 piece forum set. You can do this also. Its very simple. Take the elements you used on the tag and even other ones from the kit if you want to and make a smaller banner. Then of course an avatar.

Add your copyright and licensing information. Crop and resize as you would like.

Thanks for trying my tutorial. 


Happy New Year - Welcome 2024

 Hiya everyone!!!! 

I hope the holiday season was so very good to all of you and you were blessed more than you could even imagine! 

I have made a commitment to myself as far as PSP goes this coming year. 

I am going to utilize my blog much much more. 

I plan on firstly creating more "extras" tags as I know many people like to snag them and use them. 

I will also be writing many more tutorials. I want to say 1 a month at least but hopefully more. There are not many tutorial writers out there writing with current tubes and kits so I am hoping to contribute to that part of the PSP community. 

May you be blessed in the coming year!!!! 

Monday, July 3, 2023

Felice Perfect Makeup Set

 💅NEW CT tag set for Wicked Diabla Designs 💅


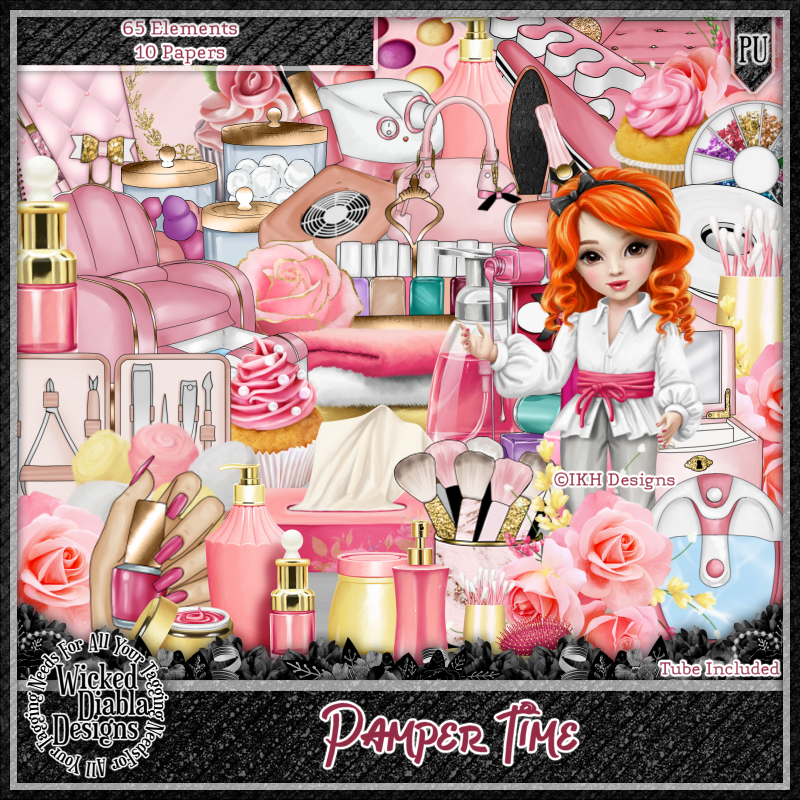
Scrap kit is by Wicked Diabla Designs. It is called Pamper Time and can be purchased at https://wickeddiabladesigns.com/index.php?main_page=product_info&cPath=3_16_73&products_id=4399
This kit is so cute! It is full of so many beauty themed elements. So many fun tags you could create with this kit.

Tube is by Stella Felice and can be purchased at http://picsfordesign.com


Tuesday, May 30, 2023

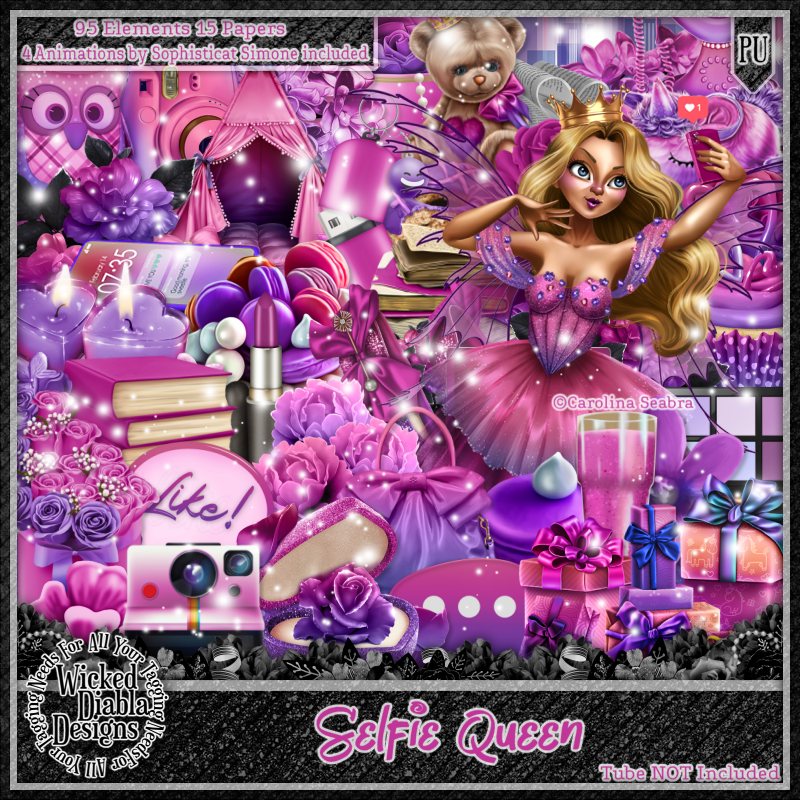
Selfie Queen Set ZlataM

 🤩NEW CT tag set for Wicked Diabla Designs 🤩

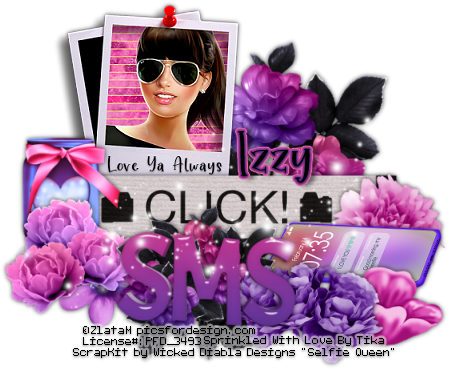
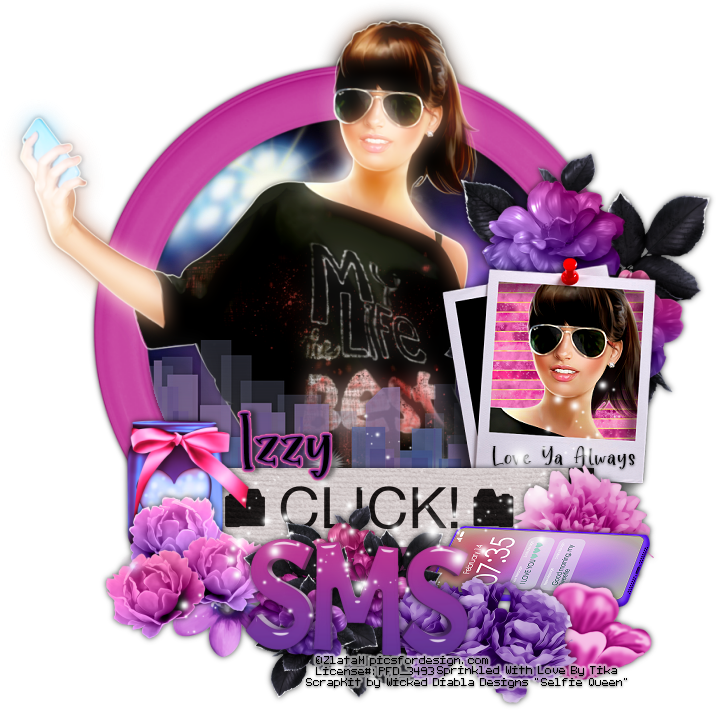
Scrap Kit is by Wicked Diabla Designs and is called "Selfie Queen"
This is an awesome bright and colorful set. There are so many great elements. Elements for fun and carefree type tags/layouts and also some pretty elements to add that feminine touch to your creation.

The tube I used is by ZlataM and you can purchase it at www.picsfordesign.com


Wednesday, May 17, 2023

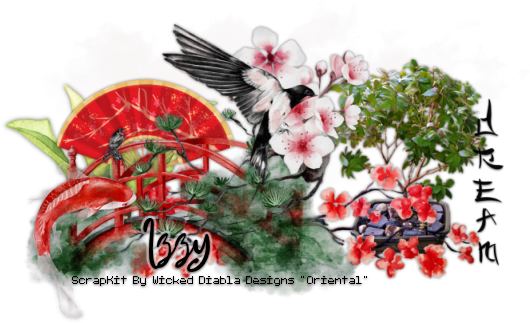
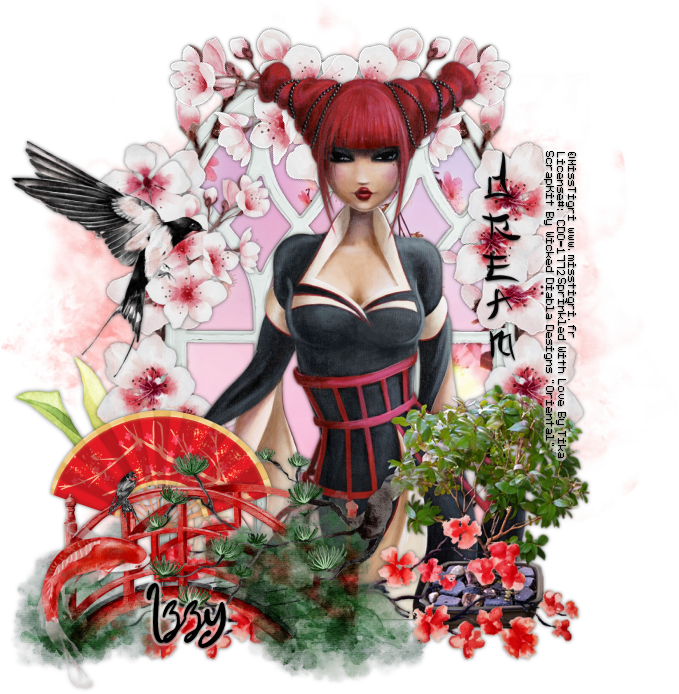
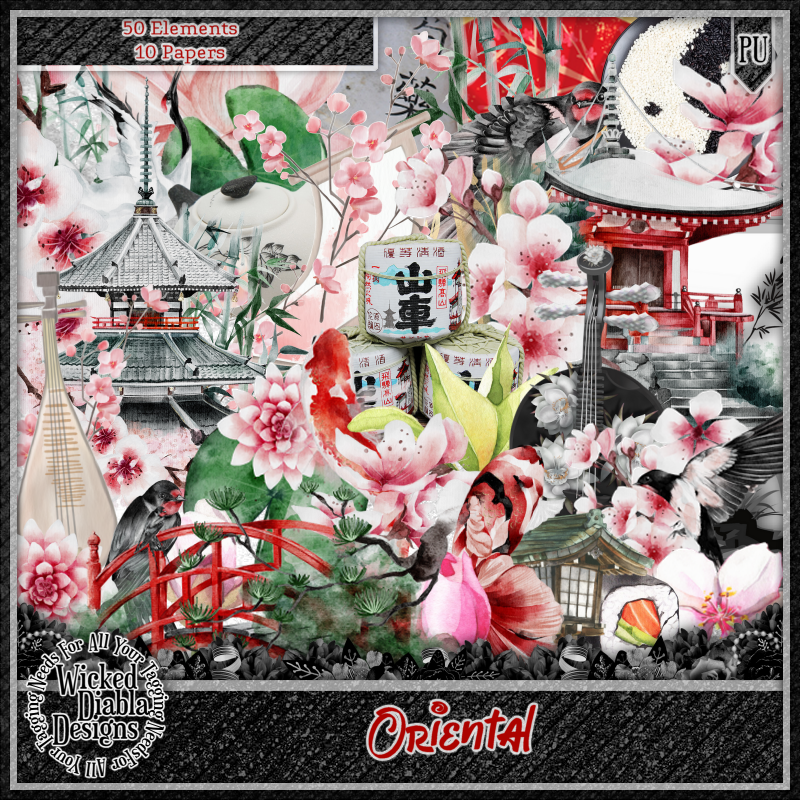
Oriental Life Set Misstigri


 NEW CT tag set for Wicked Diabla Designs


The scrap kit is by Wicked Diabla Designs and it is called Oriental. You can purchase it at https://wickeddiabladesigns.com/index.php?main_page=product_info&cPath=3_16_73&products_id=4195
This kit is so full of amazing and beautiful elements and papers! There is so many pretty things in this kit I couldn't decide what to use. I wanted to use it all!!!

The tube I am using is by Misstigri and can be purchased at www.cdoestore.com

Tuesday, May 9, 2023

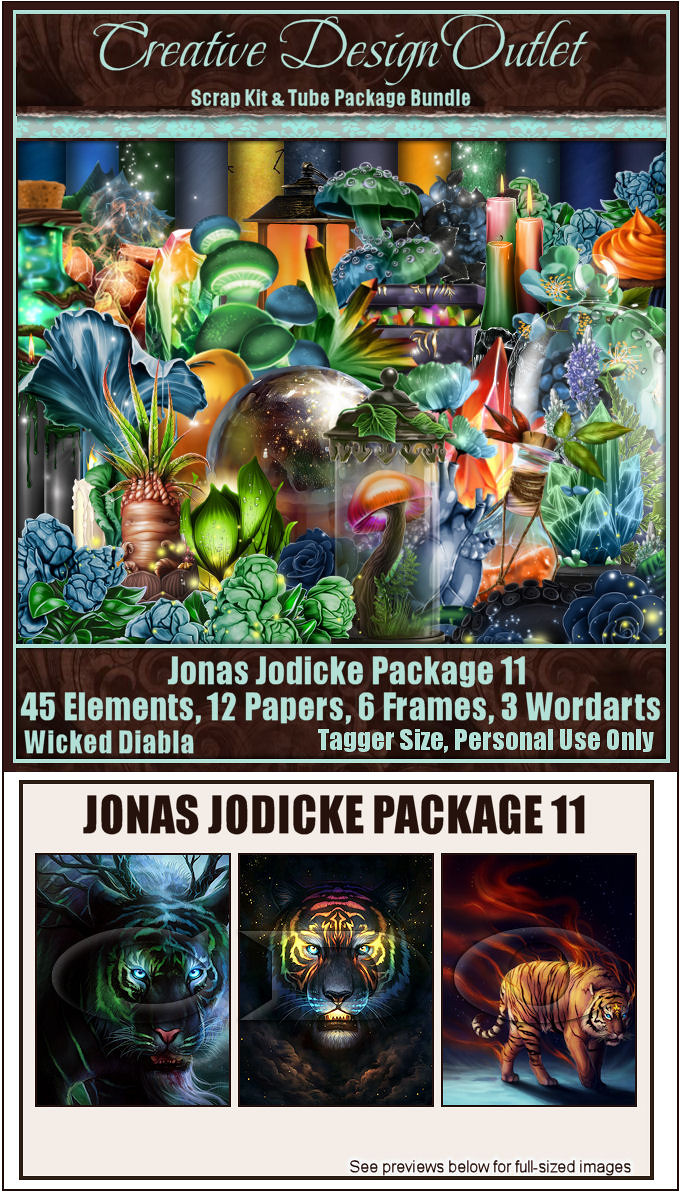
Only Limit


 🐯NEW CT tag for Wicked Diabla Designs🐯

This scrap kit is part of a bundle package at CDO. You can purchase this bundle here at https://www.cdoestore.com/product-p/scrapwd_jonasjodicke-11.htm
The elements in this kit are perfect for the beautiful Jonas Jodicke tubes that they match. The elements are stunningly beautiful!! I am tempted to make a tag with each tube and all the different color combinations. You can't go wrong with this lovely bundle!
You can find the tube package by Jonas Jodicke here at https://www.cdoestore.com/product-p/jonasjodicke-package-11.htm If you prefer to purchase the tubes seperately. 

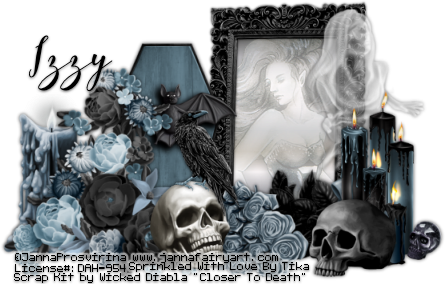
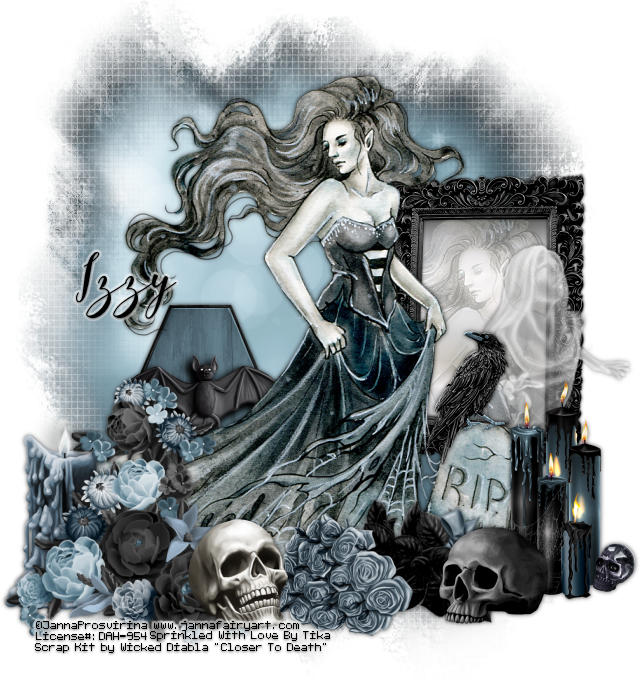
Closer To Death


💀
NEW CT tag set for Wicked Diabla Designs 
💀


Scrap Kit is Closer To Death by Wicked Diabla Designs and can be purchased at https://wickeddiabladesigns.com/index.php...
This kit is a stunningly beautiful kit with so many gorgeous elements. Definitely a great dark/goth kit but you could also do a pretty romantic type thing with the elements also.

Tube I used is by Janna Prosvirina and can be purchased at https://digitalartheaven.com/store/

Thursday, April 27, 2023

Monday, April 24, 2023

New CT Tag for Wicked Diabla Desings - Dream It


🛻NEW CT tag for Wicked Diabla Designs 🛻

This kit is an Inspired By Kit which can be purchased at CDO https://www.cdoestore.com/product-p/scrapwd_ib-sybileart-56-2.htm
This kit was so fun to work with and it has some great elements. You can easily do a summery type tag or a romantic tag or even a wedding tag with these elements.

The tube I used is by Sin which I purchased when CILM was open.

Tuesday, April 11, 2023

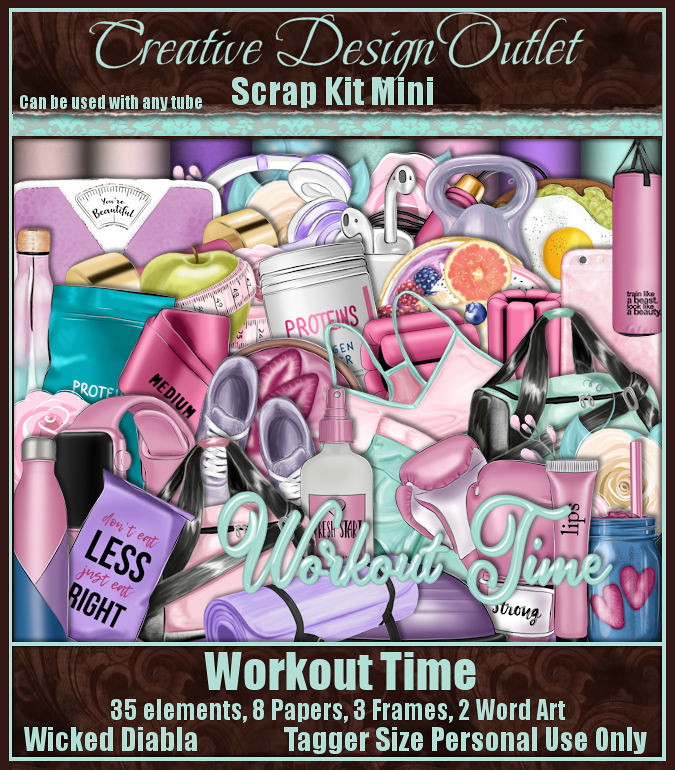
New CT Tag for Wicked Diabla Designs - Workout Time


 🏋️‍♀️New CT tag for Wicked Diabla Designs 🏋️‍♀️

This fun little work out tag was made using the mini kit called Workout Time by Wicked Diabla Designs. You can purchase this kit at CDO by clicking this link https://www.cdoestore.com/product-p/scrapwd_workouttime-mini.htm

This kit is full of fun little work out elements and beautiful papers!! The colors of this are to die for!!!
You can create some fun little tags/sets with this kit.

The tube I am using is from The Paper Shelter and can be purchased by clicking this link https://www.thepapershelter.com/index.php?main_page=product_info&cPath=3_28&products_id=748

Tuesday, March 14, 2023

*NEW* CT tag for Wicked Diabla Designs - Vino


🍷🍷NEW CT tag for Wicked Diabla Designs 🍷🍷

This little mini kit can be purchased at CDO. You can find the kit at https://www.cdoestore.com/product-p/scrapwd_ib-amybrown-22-3.htm
This kit is full of the cute cute wine themed elements! So much fun for making great tags!

The tube I used is by Henning Ludvigsen. This is an old tube and I purchased it from The PSP Project while they were still open.


Thursday, January 19, 2023

New CT Tag for Wicked Diabla Designs - Tom

New CT Tag for Wicked Diabla Designs

Scrap kit is by Wicked Diabla Designs. It is called "Tom".

This kit is absolutely adorable. So many fun fun elements to create gorgeous and cute Valentines tags or any other type of romantic type tags. The elements and colors are so vibrant and fun!
You can purchase this kit at https://wickeddiabladesigns.com/index.php...
The kit is $1.00 right now!!! You can't beat that deal! Go snag it while you can get it at a great price!!!

The tube I used is by ViNina. It is also called "Tom"
You can get this tube at https://vininatubes.com/


Sunday, January 8, 2023

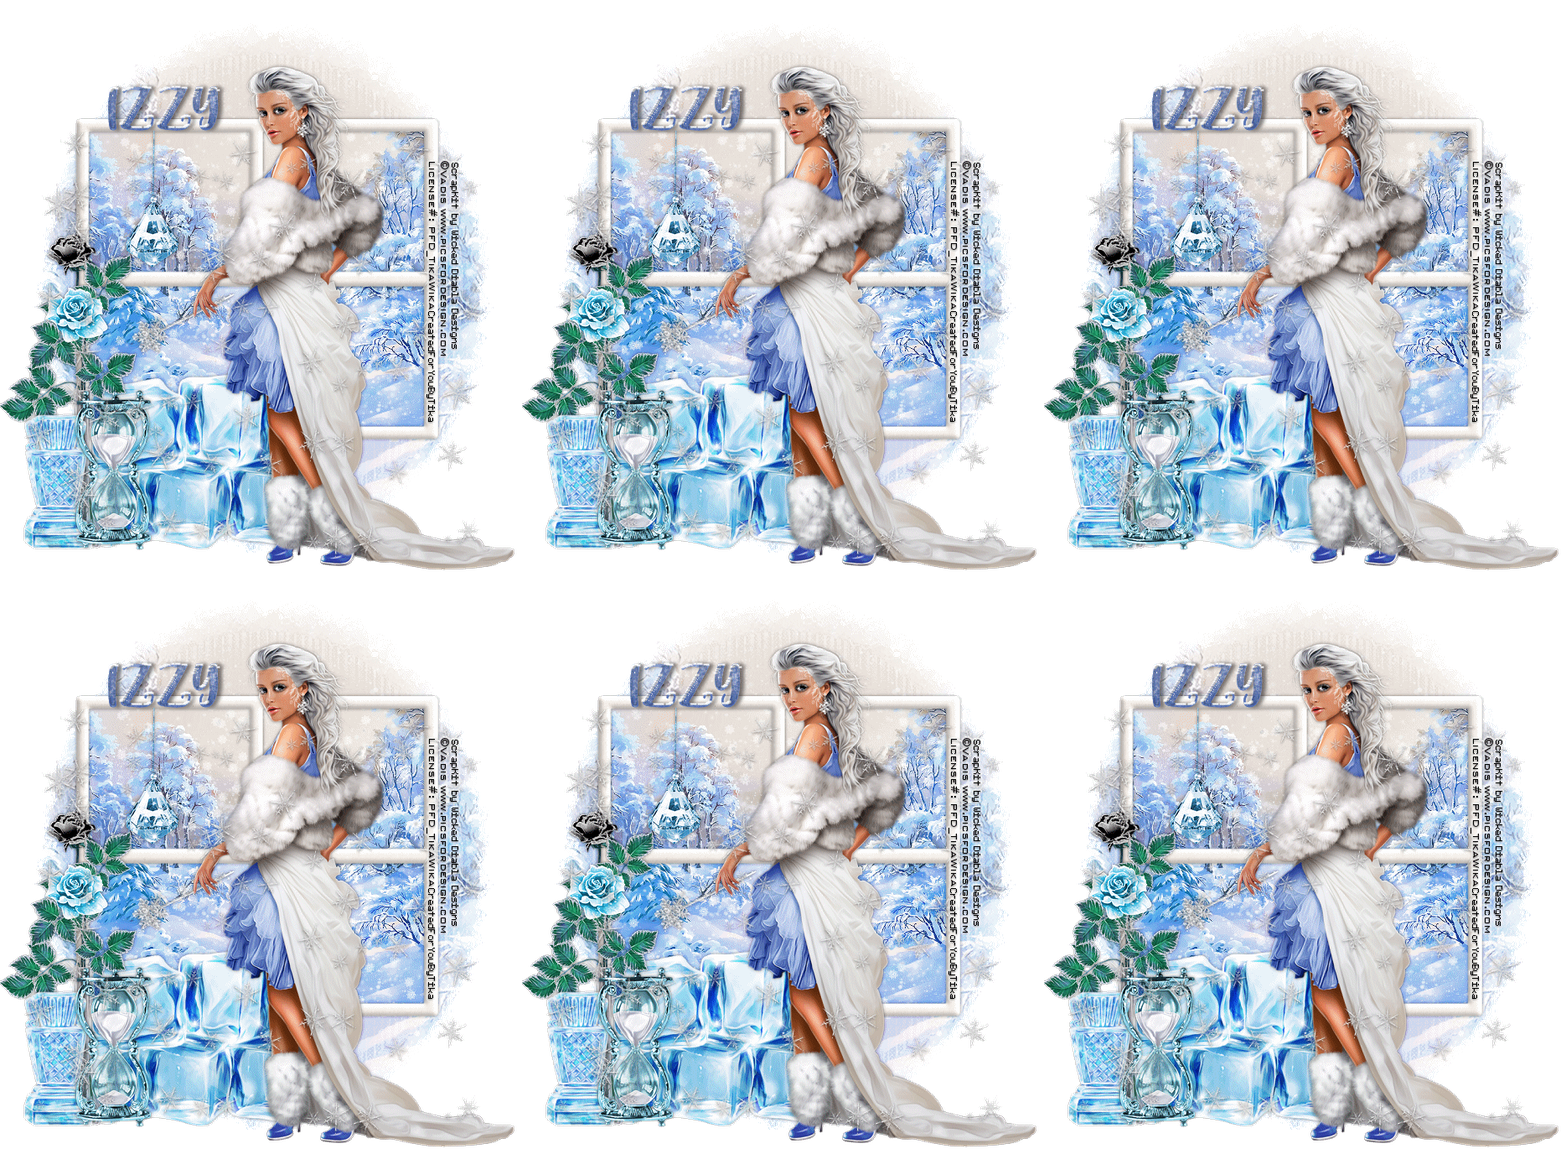
Winters Chill


Winters Chill

Written 1/5/2023

This tutorial is meant purely as a guide. Feel free to use your own choice of tube or scrap kit to make your tag unique.

If you want your tag to look just like mine, then use the same supplies I have used. This tutorial assumes you have a knowledge

of paint shop pro. Any resemblance to any other tag or tutorial is completely coincidental.


Supplies Used:

Tube of your choice. I am using a tube by Vadis. You can purchase this tube at http://picsfordesign.com

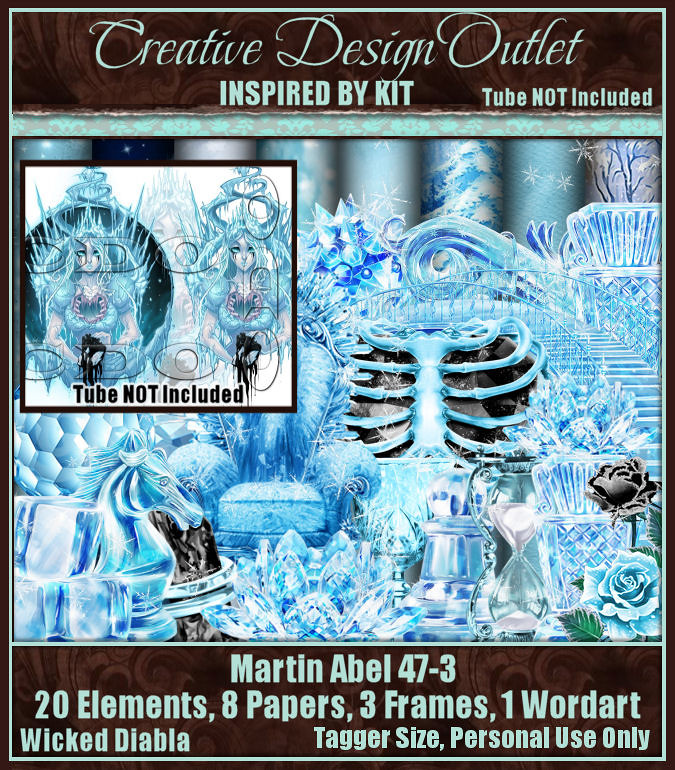
Scrap Kit is by Wicked Diabla Designs. It is called ScrapWD_IB-MartinAbel-47-3. You can purchase this kit at www.cdoestore.com


Mask of your choice. I am using a great mask by Vix. I mean who doesn’t love Vix  masks right?? This is her MaskHalloween2012-8NotHallow mask. You can find her awesome masks at https://vixpsp.blogspot.com/

Font of your choice. I am using Baby Girl Display.

Animation of your choice. I am using a heavy snowfall animation by Simone at Scrappy Bit Of Fun. It is part of her Winter Season 2020 animation pack. You can find all of her awesome animations at http://scrappybitoffun.blogspot.ca

Plugins: (plugins are most generally optional)

NONE


Let's Begin:

Open a blank canvas large enough to give you plenty of room to work with. You can crop and resize your tag when you are done if you wish.

Flood fill the canvas with white. I like to do this because it allows me to see everyone on the canvas as I am creating my tag. I delete this layer when I am all done.

Open frame 2 from the kit and copy and paste as a new layer on what we will call your working canvas from here on out. Resize the frame so that is the size you wish. This will be your backdrop for your tag.

Using your magic wand select the inside of the 4 sections of the window frame. Selections modify expand and expand by 5.

Layers new raster layer and drag under  your frame.

Open paper 1 from the kit and copy and paste into selection. Selections select none.

You should still have this paper in your clipboard so go ahead and paste it again and drag to the bottom. Resize if you wish.

Apply your mask. Delete the mask layer and merge the group.

Open your tube and copy and paste as a new layer. Resize the tube to  your liking. Position in front of the window frame where you like. Mine is not quite center but almost.

Now let’s dress the tag up with elements from the kit. I will list the elements I used. Feel free to use other elements to make your tag unique. Placement of the elements is completely up to you. If you want your tag to look just like mine, then use my tag for reference.

Elements I used:

2

4

6

9

19

22

Add your name. Add your copyright and licensing information.

Crop and resize if you wish.

Now lets get ready to animate.

Open animation shop and then open the animation you are going to use.

Resize if you need to.

Select all frames. Take note of the amount of frames in the animation.

Now back to psp delete the white layer.

Merge together all of the layers EXCEPT the mask layer and the paper layer that fills the window frame.

Now you should have 3 layers.

Hide the layer that you just created merging all of the elements and tube together.

Edit copy merged.

Open animation shop and right click and paste as a new animation.

This should be your mask layer and the paper layer.

Duplicate the frames to match the amount of frames in your animation.

Select all frames in your tag.

Grab frame #1 from the animation and drag it onto frame #1 of the tag. Do not let go until you get it into place where you want it. If you accidentally misplace it you can undo and do the same steps over again until you get it right where you want it.

Once that is all in place go back to psp and copy the layer with your tube and all of the elements on it.

Back to animation shop. Right click and paste as a new animation. Duplicate to match the amount of frames in your animated tag. Select all frames.

Again drag frame #1 onto frame #1 of the animated tag.

Once that is all in place then view your animation to make sure you are happy with everything.

Optimize your tag and save.

Thanks for trying my tutorial.

♥♥♥