Showing posts with label 4th of July. Show all posts

Monday, June 27, 2016

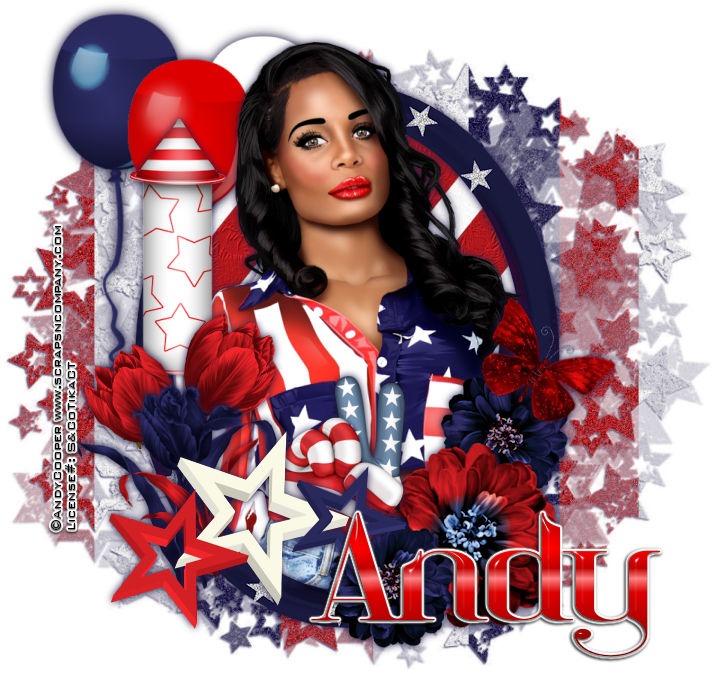
All American


All American
Written 6/27/2016
This tutorial is meant purely as a guide. Feel free to use your own choice of tube or scrap kit to make your tag unique. If you want your tag to look just like mine them use the same supplies I have used. This tutorial assumes you have a knowledge of paint shop pro. Any resemblance to any other tag or tutorial is completely coincidental.
Supplies Used:
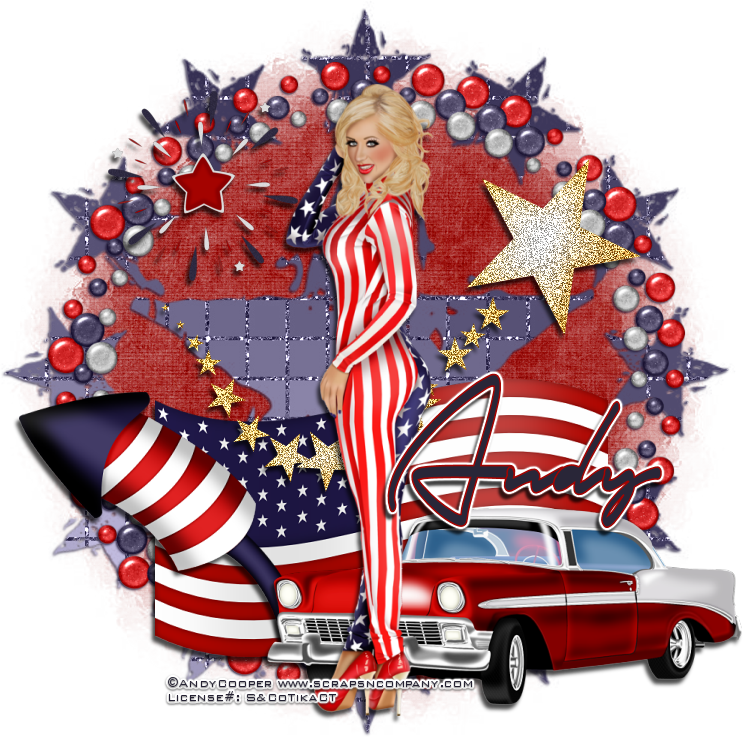
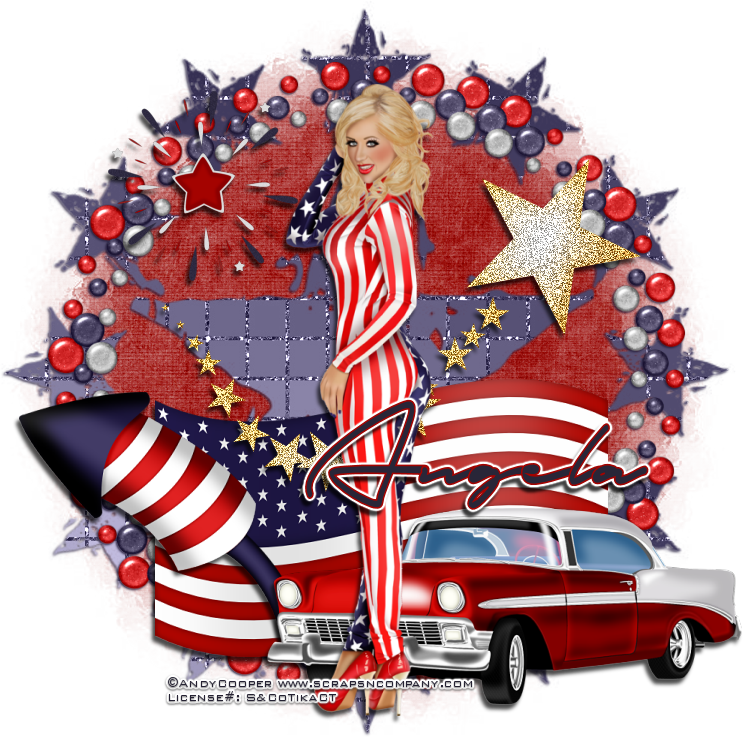
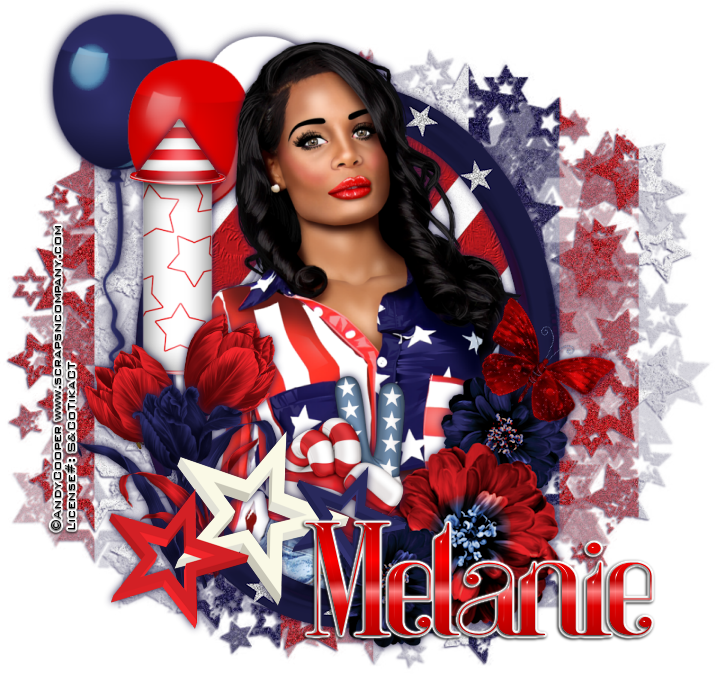
Tube of your choice. I am using the artwork of Andy Cooper. This tube is called American Short and you can purchase her at http://scrapsncompany.com/index.php?main_page=product_info&cPath=113_652_304&products_id=20699
Fun matching scrap kit is also called American Short and is by Blissful Designs. You can purchase this kit at http://scrapsncompany.com/index.php?main_page=product_info&products_id=20703
Mask of your choice. I am using patriotic mask 1 by Dangerously Delicious Designs. You can get the mask at http://dangerouslydeliciousdesignz.blogspot.ca/2014/06/patriotic-masks.html
Font of your choice. I am using Amira Beauty. This is a PTU font.
Plugins:
NONE
Drop shadow used throughout:
0 0 100 11.50 black or dark blue

Let's Begin:
Open element 58 and shift+D to duplicate. Close the original. Make your canvas large enough to give you plenty of room to work with. Open paper 10 and copy and paste as a new layer. Drag under the frame. Apply the mask of your choice. Delete the mask layer and merge the group. I added a slight drop shadow using the following settings : 1 -1 100 2.00 dark blue to the mask layer to help it stand out a bit. Using your magic wand and select the inside of the frame. Selections modify and expand by 3. Layers new raster layer and drag under the frame. Open paper 12 and copy and paste into selection. Leave selected. Open your tube and copy and paste as a new layer. Re-size as needed. Position within the frame and erase any bits that you do not want hanging outside of the frame. Add a drop shadow to both the tube and the frame.
Now let’s dress the tag up with elements from the kit. I will list the elements I used. Feel free to use other elements to make your tag unique. Placement of the elements is completely up to you. If you want your tag to look just like mine then use my tag for reference.
Elements I used:
4
20
22
23
54
73

84
Add your name. 
Add your copyright and licensing information. 
Crop and save. 

Tuesday, May 10, 2016

I Will Fight For Her


I Will Fight For Her
Written 5/10/2016
This tutorial is meant purely as a guide. Make your tag unique by using your own choice of tube and scrap kit. If you want your tag to look just like mine then use the same supplies that I have used. This tutorial assumes you have a knowledge of paint shop pro. Any resemblance to any other tag or tutorial is purely coincidental.
Supplies Used:
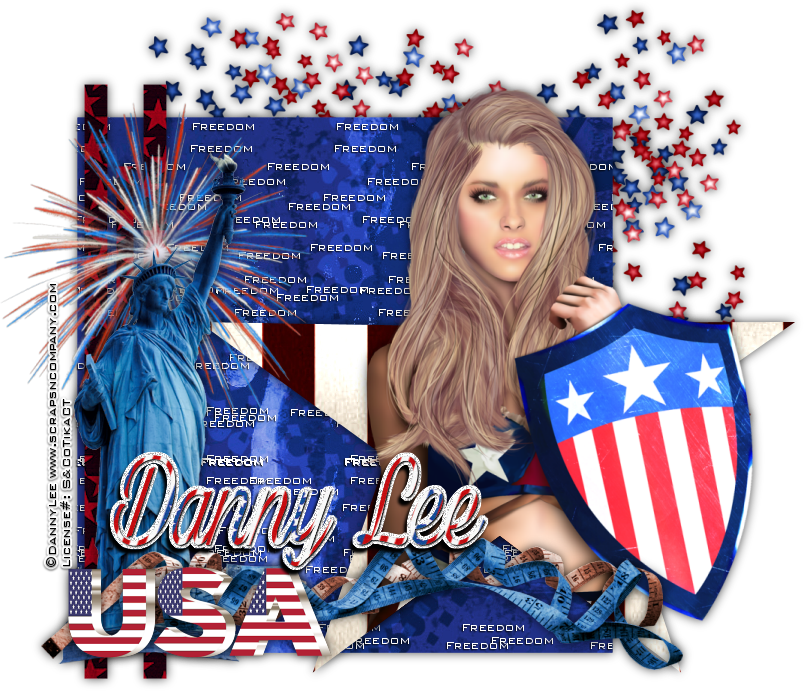
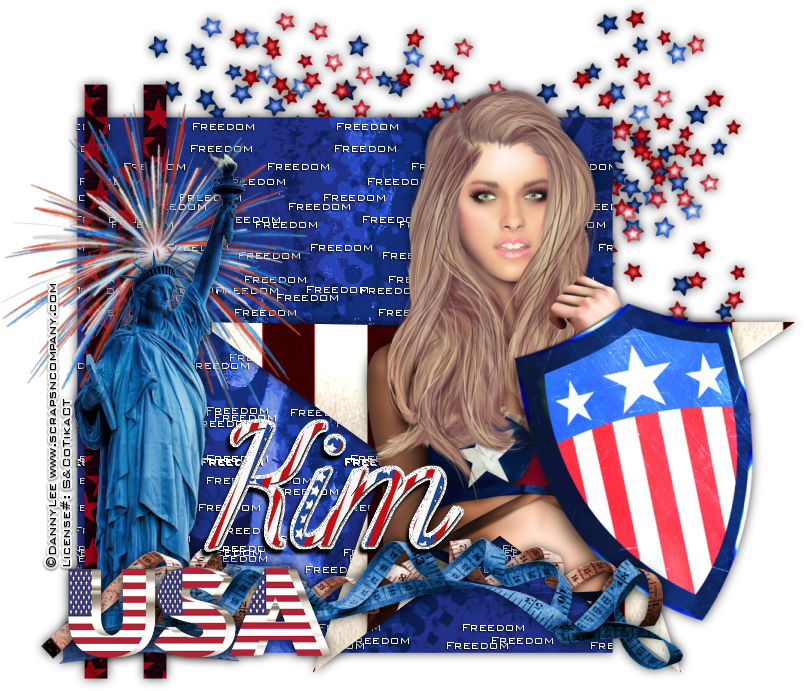
Tube is called Patriotic Warrior and is by Danny Lee. You can purchase it at http://scrapsncompany.com/index.php?main_page=product_info&cPath=113_132_219&products_id=18883
The matching scrap kit is also called Patriotic Warrior and is by Chili Designz. You can purchase it at http://scrapsncompany.com/index.php?main_page=product_info&products_id=18954
The tag template is by me and can be download at https://app.box.com/s/f0k8lials41ziakd6ii7c9xyea1h5rwi
Font of your choice. I am  using White Larch. You can download it at http://www.fontspace.com/m%C3%A5ns-greb%C3%A4ck/white-larch-personal-use-only
Plugins:
NONE
Drop shadow used throughout:
0 0 70 15.00 black

Let’s Begin:
Open the tag template and delete the creators info layer.
Make your canvas large enough to work with.
Make the black square layer active and go to selections select all float and defloat. Open paper 4 and copy and paste as a new layer. Selections invert and hit delete. Selections select none. Delete the original black square layer.
Make the white pixel words layer active. Add a drop shadow to this layer of 1 -1 100 2.00 black
Make the grey star layer active and selections select all float and defloat. Open paper 13 and copy and paste as a new layer. Selection invert and hit delete. Selections invert again. Open your tube and copy and paste the closeup of the tube as a new layer. Re-size as needed. Place so she is within the selected star area. Selections invert and using your eraser tool erase only the bits of the tube hanging out the bottom of the star. You want her to look like she is popping out of the star so her head and the shield should not be erased. Selections select none. Delete the original grey star layer.
Make the stripes layer active and selections select all float and defloat. Open paper 9 and copy and paste as a new layer. Selections invert and hit delete. Selections select none. Delete the original stripes layer.
Add a drop shadow to all the layers this far except the pixel words as you should have already drop shadowed those.
Open stars4 element from the kit and re-size by 85%. Copy and paste as a new layer and place to the top right of the tag. Drag to the bottom. Add a drop shadow.
Repeat the above steps using the stars3 element but re-size this one by 75% and place so it can be seen between the blue stars.
Open the statue element and re-size by 75%. Image flip horizontal. Copy and paste as a new layer and place on the bottom left in front of the stripes layers. Add a drop shadow.
Open ribbon and re-size by 75%. Copy and paste as a new layer along the bottom of the tag. Add a drop shadow.
Repeat with ribbon2.
Open fireworks and re-size by 75% 2x. Copy and paste as a new layer and drag under the head of the statue.
Open the wordart and re-size by 50%. Copy and paste as a new layer and place in the bottom left corner. Add a drop shadow.
Add your name.
Add your copyright and licensing information.
Crop and save.

Tuesday, June 16, 2015

Patriotism


Patriotism
written 6/16/2015

Supplies Needed:


Mask of your choice. I am actually using 2 masks. Both masks are by Vix and you can get it them at http://www.freewebs.com/vixpsp/

Font of your choice. I am using Autograph. You can get it at http://www.fontspace.com/m%C3%A5ns-greb%C3%A4ck/autograf-personal-use-only

Plugins:
NONE

Let's Begin:
Open element 17 and shift+D to duplicate.
Close the original.
Re-size by 85%.
Make your canvas large enough to work with.
Open paper 8 and copy and paste as a new layer.
Drag under the frame element.
Apply your first circular mask.
Delete the mask layer and merge the group.
Open paper 3 and repeat the same steps as above.
Add a slight drop shadow to the top star mask.
Add a drop shadow to the frame element.
Open your tube and copy and paste as a new layer at the top.
Re-size and add a drop shadow.
I will list the elements that I used.
Placement is completely up to you.
If you want your tag to look just like mine then use my tag for reference.
Elements I used:
18
26
39
59
68
Add your name.
Add your copyright and licensing information.
Crop and save.