Showing posts with label Valentines Day. Show all posts

Thursday, January 19, 2023

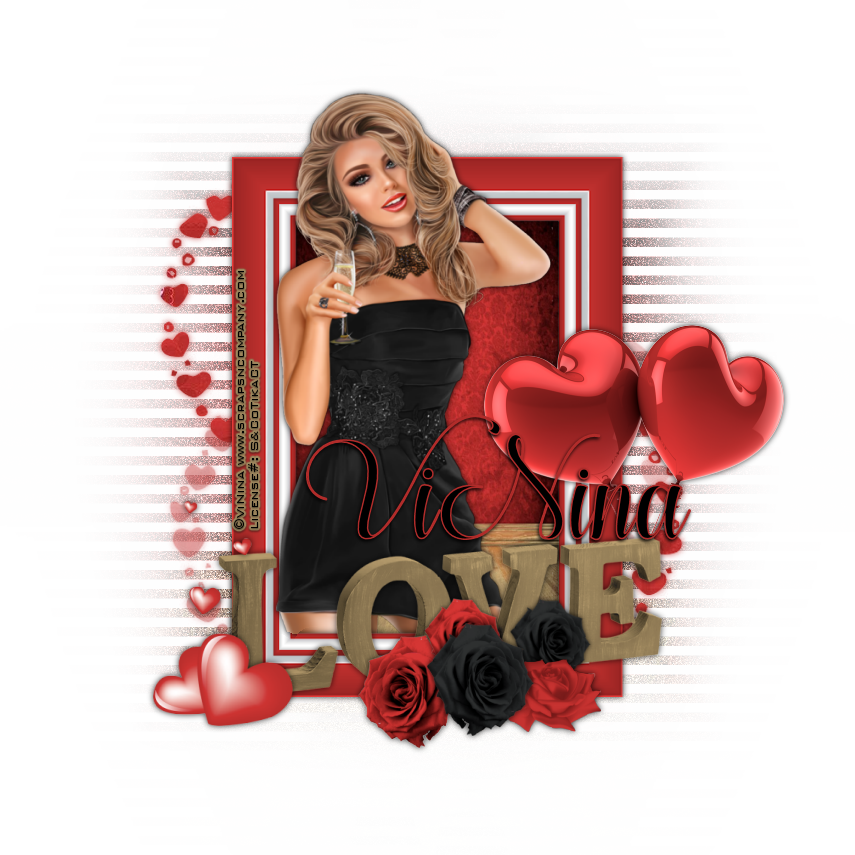
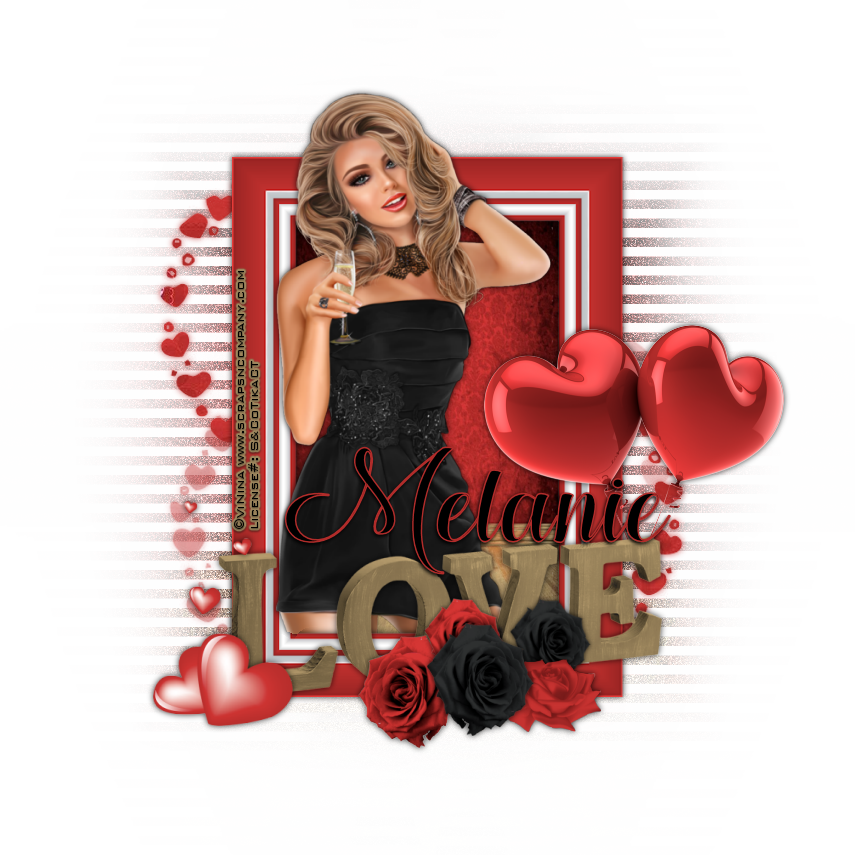
New CT Tag for Wicked Diabla Designs - Tom

New CT Tag for Wicked Diabla Designs

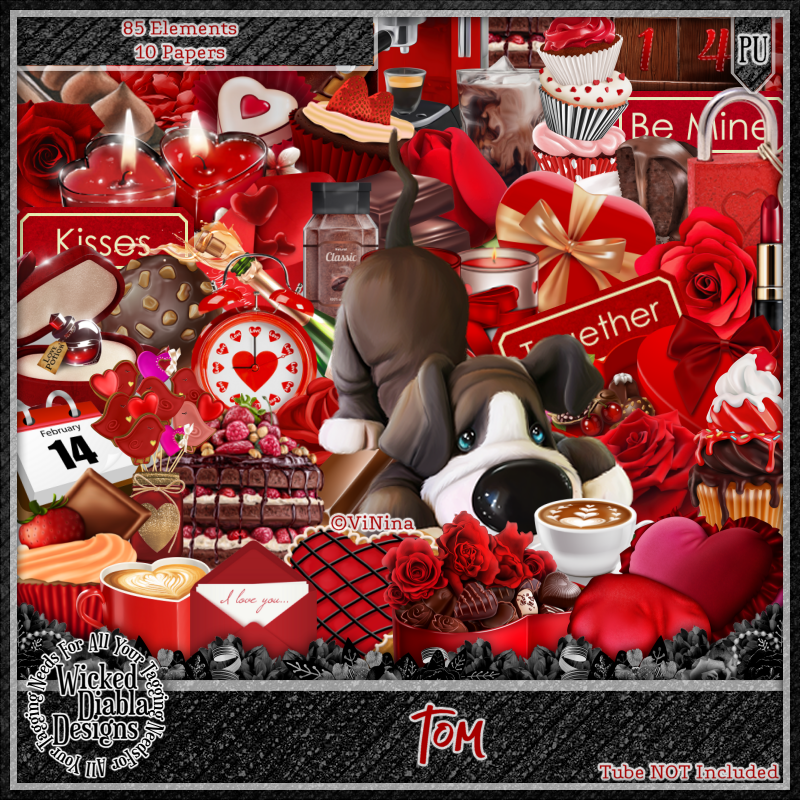
Scrap kit is by Wicked Diabla Designs. It is called "Tom".

This kit is absolutely adorable. So many fun fun elements to create gorgeous and cute Valentines tags or any other type of romantic type tags. The elements and colors are so vibrant and fun!
You can purchase this kit at https://wickeddiabladesigns.com/index.php...
The kit is $1.00 right now!!! You can't beat that deal! Go snag it while you can get it at a great price!!!

The tube I used is by ViNina. It is also called "Tom"
You can get this tube at https://vininatubes.com/


Wednesday, February 15, 2017

Shot Through The Heart


Shot Through The Heart
Written 2/14/2017
This tutorial is meant purely as a guide. Feel free to use your own choice of tube or scrap kit to make your tag unique.
If you want your tag to look just like mine, then use the same supplies I have used. This tutorial assumes you have a knowledge
of paint shop pro. Any resemblance to any other tag or tutorial is completely coincidental.

Supplies Used:

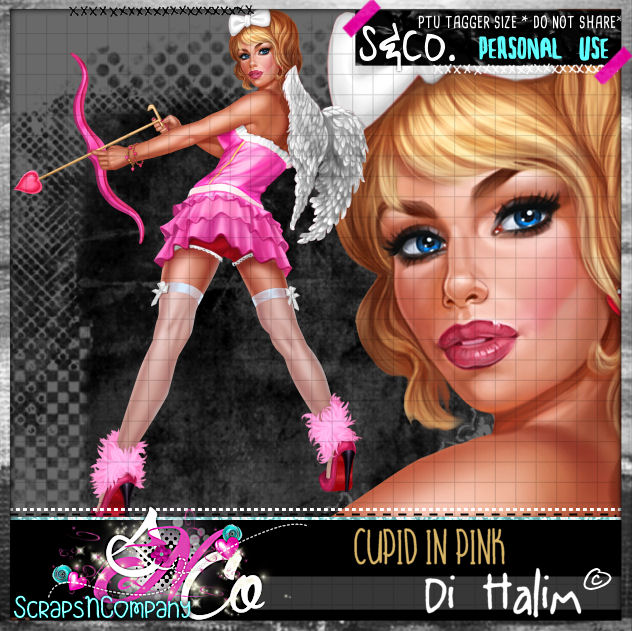
Tube of your choice. I am using the work of Di Halim. This tube is called Cupid in Pink and you can purchase her at http://scrapsncompany.com/index.php?main_page=product_info&cPath=113_133_166&products_id=25991
Scrap Kit is by Bibi’s Collection. It is called Cupid In Pink. You can purchase it at http://scrapsncompany.com/index.php?main_page=product_info&products_id=26002

Mask of your choice. I am using one by a member at my forum. This mask was made by Bev. You can find our forum at http://thetaggerslounge.forumotion.com/ Come join us and check out all the goodies and fun!!

Font of your choice. I am using Guarddilla Typeface. This is a PTU font.
Animation is by Divine Intentionz. You can get it at http://divineintentionz.blogspot.com/

Plugins:
NONE

Let's Begin:
Open paper 8 from the kit. Shift+D to duplicate. Close the original. Re-size as needed/wanted. Promote the background layer to a raster layer. Apply the mask of your choice. Delete the mask layer and merge the group. I added a slight drop shadow to the mask layer to help it stand out just a bit more but this is completely up to you.

Open your tube and copy and paste as a new layer. Re-size until she is just slightly larger than the mask layer. Add a drop shadow.

Now let’s dress the tag up with elements from the kit. I will list the elements I used. Feel free to use other elements to make your tag unique. Placement of the elements is completely up to you. If you want your tag to look just like mine, then use my tag for reference.

Elements I used:
8
29
37
39
42
76
121
Add your Name.

Add your copyright and licensing information.

Let’s Get ready to add the animation:

Crop your tag.

Merge all the layers together except the mask layer.

Layers new raster layer and move to the bottom.
Flood fill with white.

Copy the white background and the mask layer to animation shop.
Duplicate the number of frames to match the number of frames in  your animation. In my case its 20.

Drag the first frame of your animation onto the first frame of your tag. Once happy with the placement go back to psp and copy the rest of your tag. Bring into animation shop. Duplicate and drag to the animated tag. Once you are done view your completed animated tag. If you are happy optimize and save.
♥♥♥

Saturday, February 4, 2017

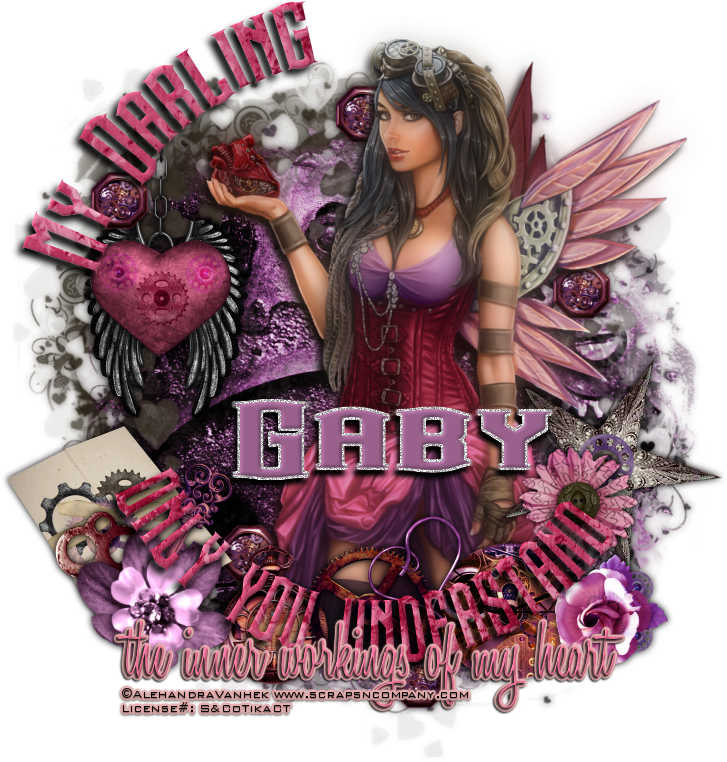
Inner Workings of my Heart


Inner Workings of my Heart
Written 2/4/2017
This tutorial is meant purely as a guide. Feel free to use your own choice of tube or scrap kit to make your tag unique. If you want your tag to look just like mine them use the same supplies I have used. This tutorial assumes you have a knowledge of paint shop pro. Any resemblance to any other tag or tutorial is completely coincidental.

Supplies Used:
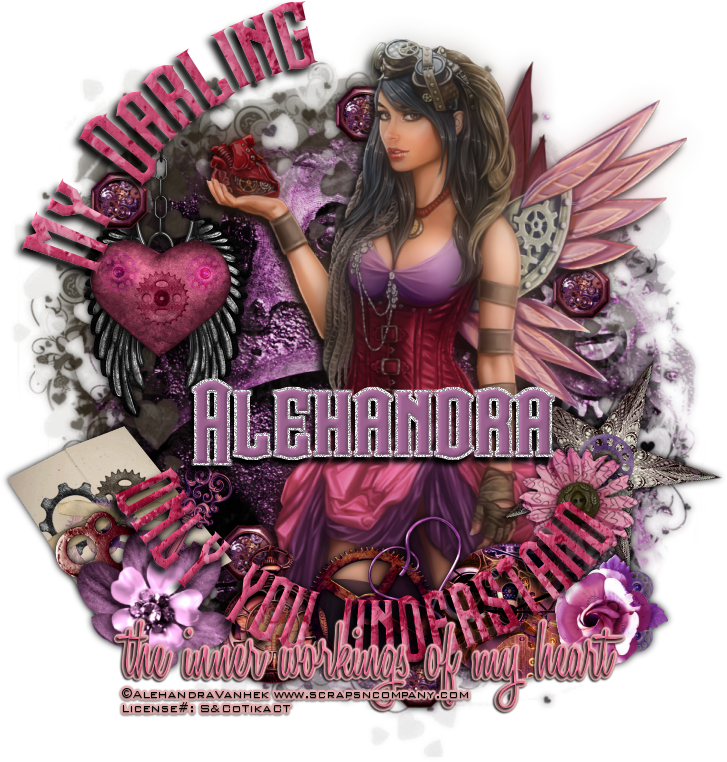
Tube is by Alehandra Vanhek. She is called Mechanical Heart. You can purchase her at http://scrapsncompany.com/index.php?main_page=product_info&cPath=113_499&products_id=25672
The scrap kit is by Disturbed Scraps. It is called Mechanical Hearts. You can purchase it at http://scrapsncompany.com/index.php?main_page=product_info&products_id=25761
Mask of your choice. I am using one by Kisses and Dreams. You can get it at http://kissesndreams.blogspot.ca/2015/01/freebie-heart-mask.html
Font of your choice. I am using Steamwreck which you can download at http://www.fontspace.com/pixel-sagas/steamwreck
Plugins:
NONE
Let's Begin:
Open paper 3 and shift+D to duplicate. Close the original. Promote the background layer to a raster layer. Apply the mask. Delete the mask layer and merge the group. Add a drop shadow of 0 0 100 11.50 and the dark color from the paper. Open paper 14 and repeat but when adding your drop shadow use a purple from the paper. Move this mask down and to the right a bit.

Open your tube and copy and paste as a new layer. Re-size as needed so she is just larger than the mask layers. Move to the right side more so than the left. Duplicate the tube layer. On the top copy go to adjust blur Gaussian blur and apply a blur of 11. Lower the opacity of this layer to 45. Add a drop shadow to the bottom tube layer of 6 -5 100 10.50 black.

Now we are going to put some text on a path. Using your elipse preset shape. Set your foreground color to whatever color you like. It doesn’t matter as we will delete this layer anyhow. Turn off the background color. Set the width of the elipse shape to 1.00. Draw out a circle around the outside edges of the mask layer. 

Now select the font you want to use and the color or I used paper 7 for mine. Place your text tool up on the elipse shape until you get the A with the line under it and then begin typing whatever it is you want. I placed part of my text around the top left side and then I wanted some along the bottom so I flipped my elipse shape vertical. This will turn the text right side up. And placed the rest of my text along the bottom. Promote your text layers to a raster layer. Add a drop shadow. Delete the elipse shape layer when you are done.

Now let’s dress the tag up with elements from the kit. I will list the elements I used. Feel free to use other elements to make your tag unique. Placement of the elements is completely up to you. If you want your tag to look just like mine then use my tag for reference.
Elements I used:
1
3
6
9
10
15
19
22
28
37
42
49
59
Add your name.

Add your copyright and licensing information.

Crop and re-size if you wish.

Save your tag.
♥♥♥


Sunday, January 29, 2017

Chocolate Sweetie


Chocolate Sweetie
Written 1/18/2017
This tutorial is meant purely as a guide. Feel free to use your own choice of tube or scrap kit to make your tag unique. If you want your tag to look just like mine them use the same supplies I have used. This tutorial assumes you have a knowledge of paint shop pro. Any resemblance to any other tag or tutorial is completely coincidental.

Supplies Used:
Tube of your choice. Preferably one with a close up but if not I will show you how to make it work without a close-up. I am using a tube by Very Many Tubes called Elsie. You can purchase this tube at http://verymanytubes.com/
I am using a freebie scrap kit by Gina’s Gems Scraps. It is called Chocolate Cherries Add On. You can get it at http://ginasgemsscraps.blogspot.ca/2012/05/chocolate-cherries-free-add-on.html
Mask of your choice. I am using mask# 351 by Insatiable Dreams. You can find her masks at http://insatiabledreams.net
Font of your choice. I am using 2Peas Fragile. This is a PTU font.
Plugins:
NONE
Drop shadow used throughout:
0 0 55 12.00 black

Let's Begin:
Open paper 9 from the kit. Shift+D to duplicate. Close the original. Re-size if you wish. Promote your background layer to a raster layer. Apply the mask of your choice. Delete the mask layer and merge the group. Make your canvas large enough to give you plenty of room to work with. You will be able to crop and/or re-size when you are finished.
Open paper 4 from the kit and copy and paste as a new layer. Apply the same mask again. Delete the mask layer and merge the group. Re-size this mask by 80%. Move down and to the right a little bit. Selections select all float and defloat. Now open the close-up of your tube and copy and paste as a new layer. Position in the selected area. Selections invert and hit delete. Selections select none. **If you do not have a close up then use your tube and once you copy and paste as a new layer you can re-size greater than 100% to help it fill the selected area** Adjust hue and saturation colorize and set both values to 0. Add a drop shadow.
Open  your tube and copy and paste as a new layer. Re-size as needed. Position in the center of the masks near the bottom. Not all the way to the bottom. Add a drop shadow to your tube.
Open the GGS-CandyWrappers from the kit and copy and paste as a new layer. Re-size until appropriate with the tube that you used. Place over to the far right. Add a drop shadow.
Open GGS_Tree from the kit and copy and paste as a new layer. Again re-size until appropriate with your tube and tag. Move behind your tube and to the far left. Mine is just above her shoulders. Add a drop shadow.
Open GGS_TornHeart from the kit and copy and paste as a new layer. Again re-size. Image free rotate to the right 24 degrees. Adjust sharpness sharpen. Move to the bottom right slightly in front of the candy wrappers to the right of them. Add a drop shadow.
Open GGS_Hot air balloon from the kit. Copy and paste as a new layer. Again re-size. Place near the top of the tree on the right side of the trunk. Add a drop shadow.
Open GGS_Cupcake with cherries from the kit. Copy and paste as a new layer. Again Re-size. Move to the bottom in front of the candy wrappers but to the left slightly overlapping. Add a drop shadow.
Open GGS_Heart cherries from the kit. Copy and paste as a new layer. Again re-size. Place along the bottom with the other elements. Mine is over near her hand. Add a drop shadow.
Open GGS_Hortensia flower from the kit and copy and paste as a new layer. Again re-size. I placed 2 of these on my tag. One is behind her legs at the far right and its larger. I then duplicated it and re-sized this duplicate and placed it along the bottom behind the cupcake with cherries. Add a drop shadow to both of them.
Open GGS_cupcake. Copy and paste as a new layer. Again re-size. Place along the bottom with the other elements. Mine is over behind the heart cherries but to the right of them. Add a drop shadow.
Open GSS_Rolled bloomie from the kit. Copy and paste as a new layer. Again re-size. Move to the bottom with the other elements mine is between the 2 cupcakes. Add a drop shadow.
Now that you have most everything placed we are going to add a ribbon/bow to the tag that will take a little work. Open the GGS_Satin Bow wrap from the kit. Copy and paste as a new layer and drag down to just above your tube in your layer palette. Now re-size so it is just longer/larger than your tube on both sides. Now lower the opacity of the ribbon so you can see your tube through it. Using your eraser set on a size that is comfortable for you and zoom in if you need to but erase any bits of the ribbon that are NOT on your tube just at the sides. Be careful to not erase any of the bow. You can keep raising the opacity to check your work if you need to. Once you are done and happy add a drop shadow.
Add your name to your tag.
Add your copyright and licensing information.
Crop and Re-size if you wish.
Save your tag.
♥♥♥


Monday, January 23, 2017

Masked Lover


Masked Lover
Written 1/23/2017
This tutorial is meant purely as a guide. Feel free to use your own choice of tube or scrap kit to make your tag unique. If you want your tag to look just like mine them use the same supplies I have used. This tutorial assumes you have a knowledge of paint shop pro. Any resemblance to any other tag or tutorial is completely coincidental.
Supplies Used:
Tube of your choice. I am using one by Alehandra Vanhek. You can purchase this tube at http://scrapsncompany.com/index.php?main_page=product_info&cPath=113_499&products_id=25417
Scrap Kit by Jens Sweet Temptations. You can get this kit at http://scrapsncompany.com/index.php?main_page=product_info&cPath=112_655&products_id=25442
Font of your choice. I am using Shingitalis Typeface. This is a PTU font.
Plugins:
NONE
Drop shadow used throughout:
0 0 85 11.00 black

Let's Begin:
Open the tag template and shift+D to duplicate. Close the original. Delete the following layers from the template: Raster 2 and Raster 1. Make your canvas large enough to give you plenty of room to work with.
Merge together Heart Right and Heart Left layers. Selections select all float and de-float. Open paper 7 and copy and paste as a new layer. Selections invert and hit delete. Selections invert again. Selections modify and expand by 3. Layers new raster layer and flood fill with black. Adjust add/remove noise. Add noise at 90%. Monochrome and uniform checked. Drag this layer under the hearts. Selections select none. Delete the original heart layer. Add a drop shadow to the black noise layer. If you like to keep your layer palette organized like I do then go ahead and merge these 2 layers together at this time.
Repeat the above steps with rectangle top right and rectangle bottom left layers only flood fill your new layer with a gradient made with 2 colors from your tube with the gradient angle set to 45 and repeats on 4.
Repeat the above steps with the circle top right and circle bottom left layers using the same gradient as you did on the rectangle layer.
Make the oval layer active and selections select all float and de-float. Open paper 8 and copy and paste as a new layer and selections invert and hit delete. Selections invert again and selections modify and expand by 3. Flood fill with black. Add noise as you did before. Selections select none. Drag under the oval layer. Add a drop shadow and merge the 2 layers.
Make the square layer active. Selections select all float and de-float. Layers new raster layer. Flood fill with black. Effects texture effects weave and use the following settings:
Gap size – 2
Width – 10
Opacity – 1
Weave color – complimentary color from your gradient
Gap color – same as above
Fill gaps – checked
Delete the original square layer.
Open  your tube and copy and paste as a new layer. Re-size as needed. Position within the selected part of the framed area. Selections invert and use your eraser tool to erase any bits you do not want hanging out of the frame and feel free to leave some bits hanging out like I did. Selections select none. Duplicate the tube. On the top copy adjust blur Gaussian blur and set it to 5.00. Change the properties of this layer to Overlay. Add a drop shadow to the bottom copy.
Make the frame layer active and selections select all float and de-float. Layers new raster layer. Flood fill with black and add noise as you had to the other layers. Selections select none. Delete the original frame layer. Add a drop shadow.
Now let’s dress the tag up with elements from the kit. I will list the elements I used. Feel free to use other elements to make your tag unique. Placement of the elements is completely up to you. If you want your tag to look just like mine then use my tag for reference.
Elements I used:
3
5
6
9
46
48
52
62
65
Add your name.
Add your copyright and licensing information.
Crop and re-size if you wish.
Save your tag.

♥♥♥


Love Shot


Love Shot
Written 1/23/2017
This tutorial is meant purely as a guide. Feel free to use your own choice of tube or scrap kit to make your tag unique. If you want your tag to look just like mine them use the same supplies I have used. This tutorial assumes you have a knowledge of paint shop pro. Any resemblance to any other tag or tutorial is completely coincidental.
Supplies Used:
Tube if your choice. I am using a cute lil tube by Paci Peroni. This adorable lil guy is an exclusive for Scraps N Company and is part of the Perfect Love Collab that you can get at Scraps N Company for free by spending $13.50 in store. There are tons of goodies in this collab and well worth the money spent.
The kit is by Jens Sweet Temptations and is also part of the above collab. This kit is jam packed with lots of amazing elements!!!
Template by Flaminsal. I am using template #4 from this page http://firedbyflamin.blogspot.co.uk/2014/02/tag-haven-blog-train-cupids-arrow.html
Font of your choice. I am using 2 Peas Silly. This is a PTU font.
Plugins:
NONE
Drop shadow used throughout:
2 2 60 5.50 black

Let's Begin:
Open the tag template and shift+D to duplicate and then close the original. This is so you can use it again if you wish. Now delete the following layers from the template: credits, hearts 2, hearts 1 and background. Make your canvas large enough to work with.
Merge together the Purple Rect 2 and Purple Rect 1. Selections select all float and defloat. Open paper 6 from the kit and copy and paste as a new layer. Selections invert and hit delete. Selections select none. Delete the original layer that the rectangles are on. Add a drop shadow to this new layer.
Make the circle layer active and selections select all float and defloat. Layers new raster layer. Make a gradient using 2 colors from your tube. Set the angle to 45 and repeats 4. Flood fill your new layer with this gradient. Selections select none. Delete the original circle layer. Add a drop shadow to your new circle layer.
Make the dotted circle layer active and add noise at 55%.  Add your favorite inner bevel. Add a drop shadow to this layer.
Merge together the top and bottom pink stripe layers. Selections select all float and defloat. Open paper 5 and copy and paste as a new layer. Selections invert and hit delete. Selections select none. Delete the original stripe layer. Add a drop shadow to this new layer.
Make the rectangle layer active. Selections select all float and defloat. Open paper 7 and copy and paste as a new layer. Selections invert and hit delete. Selections select none. Delete the original layer. Add a drop shadow to this new layer.
Open your tube and copy and paste as a new layer. Re-size until just slightly smaller than the circle part of the tag template. Place so he is centered in the tag template. Add a drop shadow.
Open element 27 and copy and paste as a new layer. Place so it is at the top of the tag slightly higher than the circle in the template. Layers arrange send to bottom. Add a drop shadow. Duplicate and move this duplicate to the bottom so it is just slightly below the circle in the template. If you like to keep your layers organized like I do go ahead and merge these 2 layers together.
Repeat the above steps with element 34 but make sure this one is on top of the last one.
Now let’s dress the tag up with elements from the kit. I will list the elements I used. Feel free to use other elements to make your tag unique. Placement of the elements is completely up to you. If you want your tag to look just like mine then use my tag for reference.
Elements I used:
13
14
22
23
25
32
38
Add your name or any other text to the papers in the envelopes.
Add your license and copyright information.
Crop and Re-size if you wish.
Save your tag.
♥♥♥


Wednesday, January 18, 2017

Time For Love


Time For Love
Written 1/18/2017
This tutorial is meant purely as a guide. Feel free to use your own choice of tube or scrap kit to make your tag unique. If you want your tag to look just like mine them use the same supplies I have used. This tutorial assumes you have a knowledge of paint shop pro. Any resemblance to any other tag or tutorial is completely coincidental.

Supplies Used:
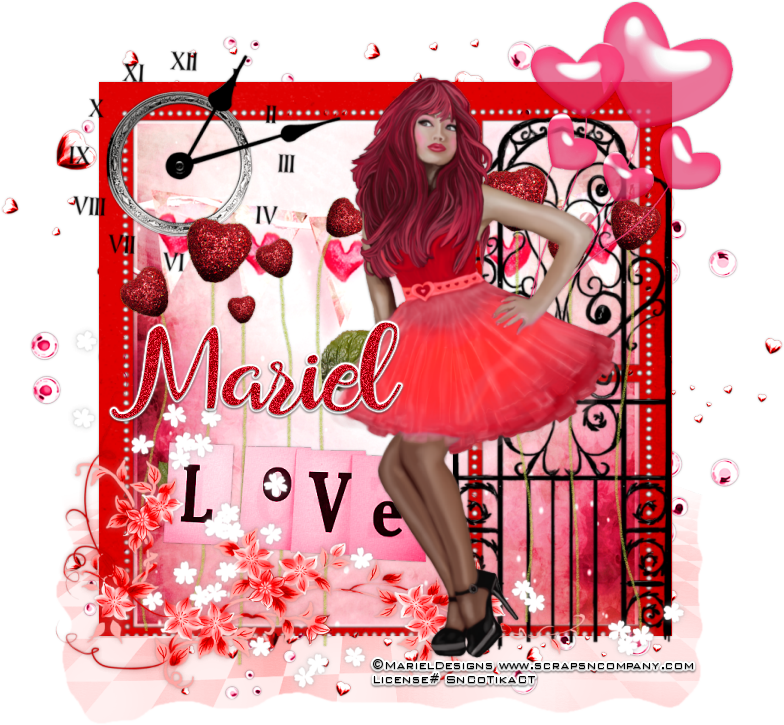
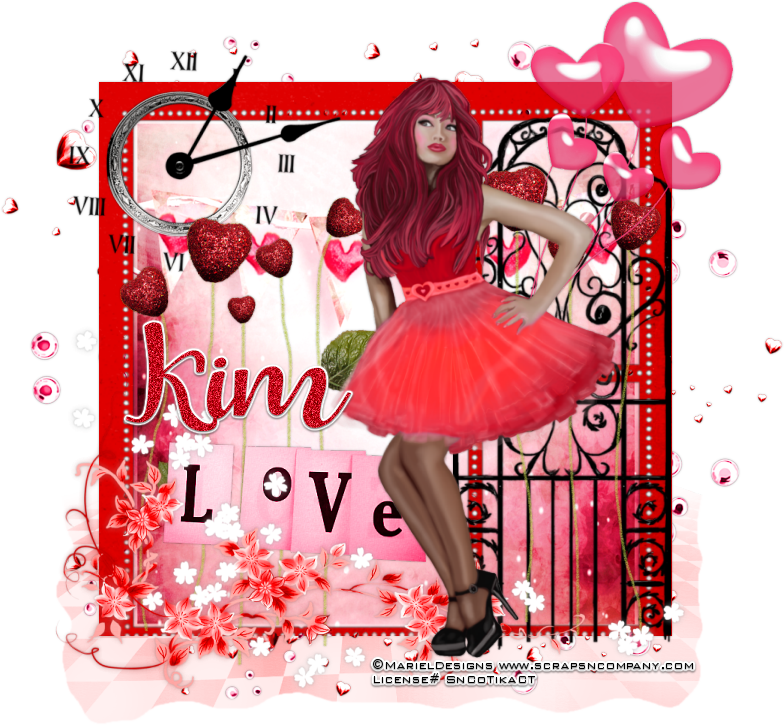
Tube of your choice. I am using a tube by Mariel Designs called Perfect Love. She was created for the Perfect Love Collab at Scraps N Company. You can get this entire collab free with your $13.50 purchase. Check out the collab at http://scrapsncompany.com/index.php?main_page=product_info&cPath=587_144&products_id=25373
The scrap kit I used is also called Perfect Love and is by Chili Designz. This kit is also part of the awesome collab.
Font of your choice. I am using Saldina. This is a PTU font.
Plugins:
NONE
Drop shadow used throughout:
0 0 30 3.00 black

Let's Begin:
Open frame 2 from the kit. Shift+D to duplicate. Close the original. Re-size if you wish. Make your canvas large enough to work with. Using your magic wand select the inside of all sections of the frame. Selections modify and expand by 5. Layers new raster layer and drag under the frame. Open paper 1 and copy and paste into selection. Selections select none. Add a drop shadow to the frame.
Open your tube and copy and paste as a new layer. Re-size until she is just barely bigger than the frame. Move to where she is standing between the main part of the frame and the 2 smaller parts to the right. Add a drop shadow.
Open the floor element from the kit. Copy and paste as a new layer. Drag to the bottom. Move to the bottom of the frame as we are going to make the tube stand on it.  Re-size until it just slightly larger than the frame on both sides. Now if you notice there are some pretty sharp lines and angles and we want to get rid of those. There are 2 ways you can do this. Use your eraser tool and set your hardness down to about 25 and the opacity to about 4. The size to medium to large and just around the edge and erase some of the bits and get rid of the straightness. The second way is to use your freehand selection tool set to freehand and just draw around the edges in an imperfect manner. Selections invert and hit delete. You can use your eraser again to get rid of any sharpness or you can use your soften tool. Just check out the tools in psp they are pretty handy.

Now let’s dress the tag up with elements from the kit. I will list the elements I used. Feel free to use other elements to make your tag unique. Placement of the elements is completely up to you. If you want your tag to look just like mine then use my tag for reference.
Elements I used:
balloons
clock
corner2
deco
gate
Hearts2
Spill
Wa
Add your name.
Add your copyright and licensing information.
Crop and re-size as you wish.
Save your tag.
♥♥♥

Thursday, January 12, 2017

Cheers To Love


Cheers To Love
Written 1/11/2017
This tutorial is meant purely as a guide. Feel free to use your own choice of tube or scrap kit to make your tag unique. If you want your tag to look just like mine them use the same supplies I have used. This tutorial assumes you have a knowledge of paint shop pro. Any resemblance to any other tag or tutorial is completely coincidental.
Supplies Used:
Tube of your choice. I am using a tube by Vi Nina called Party Time. You can purchase the tube at http://scrapsncompany.com/index.php?main_page=product_info&cPath=113_294&products_id=25111
The beautiful scrap kit is by Blissful Designs and is called Cassandra In Red. You can purchase the kit at http://scrapsncompany.com/index.php?main_page=product_info&cPath=112_555&products_id=17216
Mask of your choice. I am using mask #236 by Vix. You can find her awesome masks at http://www.freewebs.com/vixpsp/ under goodies.
Font of your choice. I am using Hugs & Kisses. You can download it at http://www.fontspace.com/mistis-fonts/hugs-and-kisses-xoxo-demo
Plugins:
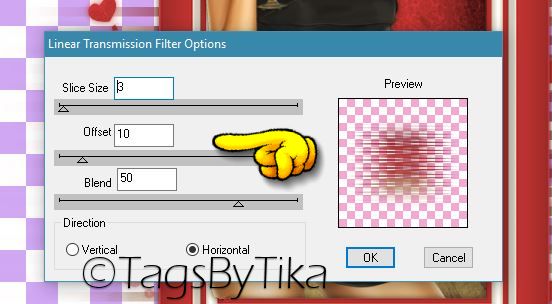
DSB Flux Linear Transmission
Drop shadow used throughout:
0 0 80 9.50 black

Let's Begin:
Open frame 8 from the kit and shift+D to duplicate. Close the original. Image rotate to the right or left by 90 degrees. Image canvas size and make your canvas large enough to give you plenty of room to work with. Using your magic wand select the inside of the frame. Selections modify expand by 12. Layers new raster layer and drag under the frame. Open paper 1 and copy and paste into selection.
Open your tube and copy and paste as a new layer. Re-size as needed. Place in the center of the frame. Selections invert and using your eraser tool erase any bits of the tube hanging outside of the frame that you do not want. Once you are happy selections select none.

Duplicate the background paper layer and go to adjust blur and Radial Blur at 50. Apply DSB Flux Linear Transmission using the following settings:


Adjust Add/Remove noise. Add noise at 100 Uniform and Monochrome.
Add a drop shadow to both the frame and your tube.
Open paper 7 and copy and paste as a new layer and drag to the bottom. Apply the mask of your choice. Delete the mask layer and merge the group.

Now let’s dress the tag up with elements from the kit. I will list the elements I used. Feel free to use other elements to make your tag unique. Placement of the elements is completely up to you. If you want your tag to look just like mine then use my tag for reference.
Elements I used:
2
34
42
58
62
71
Add a drop shadow to everything.
Add your name.
Add your copyright and licensing information.
Crop and save.
Thank you for trying my tutorial.

♥♥♥