Showing posts with label ViNina. Show all posts

Thursday, January 12, 2017

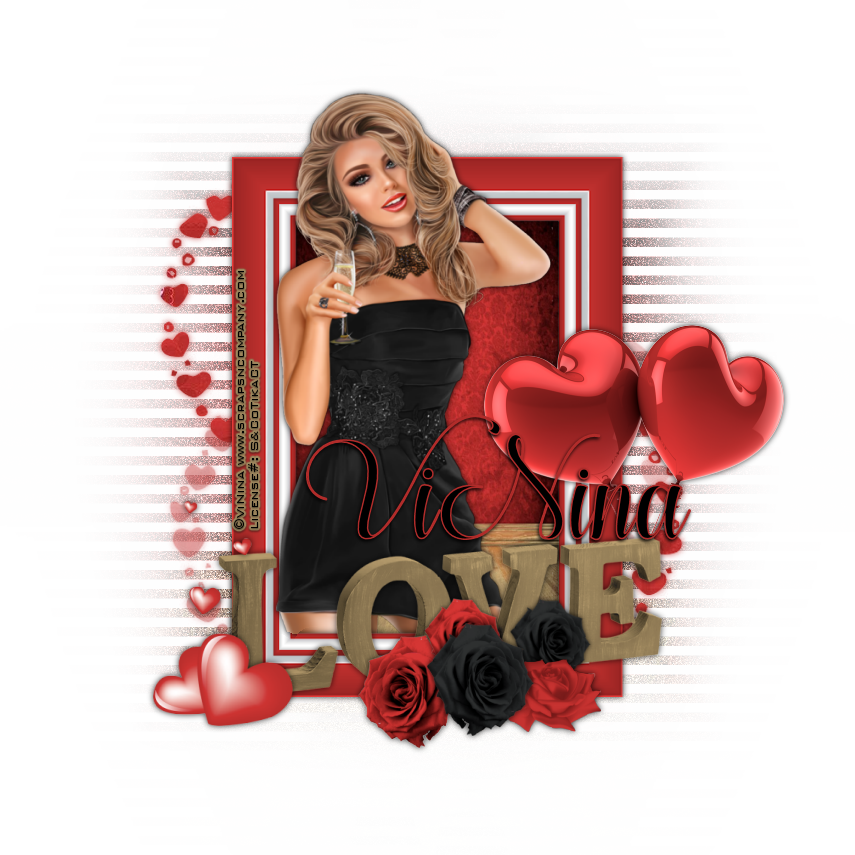
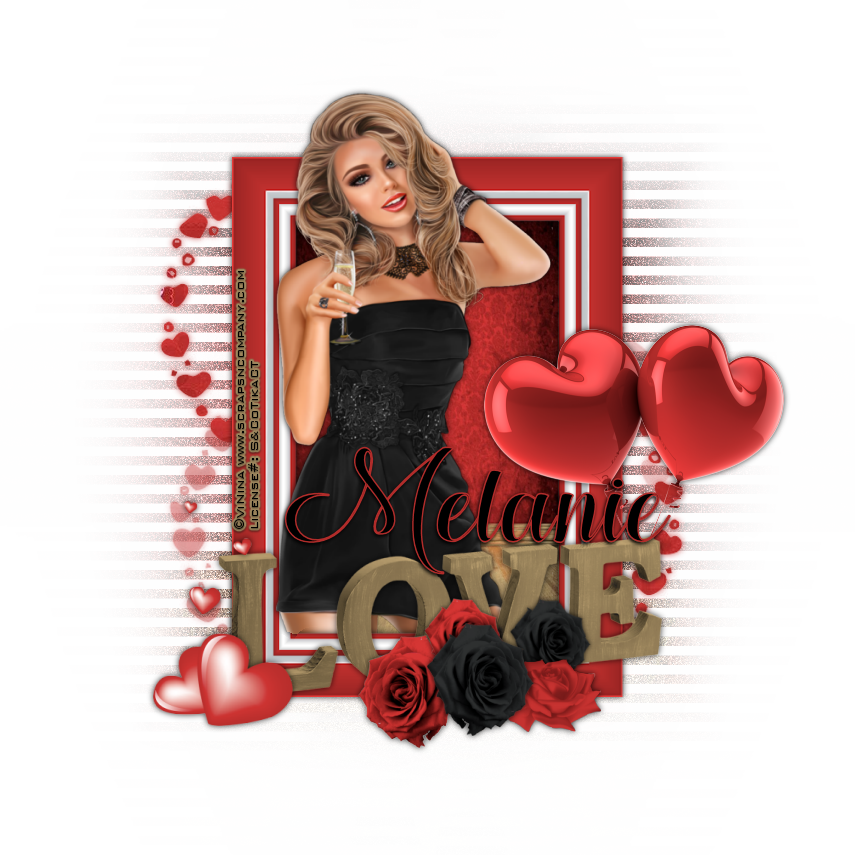
Cheers To Love


Cheers To Love
Written 1/11/2017
This tutorial is meant purely as a guide. Feel free to use your own choice of tube or scrap kit to make your tag unique. If you want your tag to look just like mine them use the same supplies I have used. This tutorial assumes you have a knowledge of paint shop pro. Any resemblance to any other tag or tutorial is completely coincidental.
Supplies Used:
Tube of your choice. I am using a tube by Vi Nina called Party Time. You can purchase the tube at http://scrapsncompany.com/index.php?main_page=product_info&cPath=113_294&products_id=25111
The beautiful scrap kit is by Blissful Designs and is called Cassandra In Red. You can purchase the kit at http://scrapsncompany.com/index.php?main_page=product_info&cPath=112_555&products_id=17216
Mask of your choice. I am using mask #236 by Vix. You can find her awesome masks at http://www.freewebs.com/vixpsp/ under goodies.
Font of your choice. I am using Hugs & Kisses. You can download it at http://www.fontspace.com/mistis-fonts/hugs-and-kisses-xoxo-demo
Plugins:
DSB Flux Linear Transmission
Drop shadow used throughout:
0 0 80 9.50 black

Let's Begin:
Open frame 8 from the kit and shift+D to duplicate. Close the original. Image rotate to the right or left by 90 degrees. Image canvas size and make your canvas large enough to give you plenty of room to work with. Using your magic wand select the inside of the frame. Selections modify expand by 12. Layers new raster layer and drag under the frame. Open paper 1 and copy and paste into selection.
Open your tube and copy and paste as a new layer. Re-size as needed. Place in the center of the frame. Selections invert and using your eraser tool erase any bits of the tube hanging outside of the frame that you do not want. Once you are happy selections select none.

Duplicate the background paper layer and go to adjust blur and Radial Blur at 50. Apply DSB Flux Linear Transmission using the following settings:
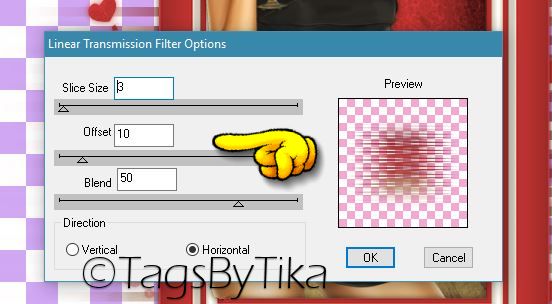


Adjust Add/Remove noise. Add noise at 100 Uniform and Monochrome.
Add a drop shadow to both the frame and your tube.
Open paper 7 and copy and paste as a new layer and drag to the bottom. Apply the mask of your choice. Delete the mask layer and merge the group.

Now let’s dress the tag up with elements from the kit. I will list the elements I used. Feel free to use other elements to make your tag unique. Placement of the elements is completely up to you. If you want your tag to look just like mine then use my tag for reference.
Elements I used:
2
34
42
58
62
71
Add a drop shadow to everything.
Add your name.
Add your copyright and licensing information.
Crop and save.
Thank you for trying my tutorial.

♥♥♥

Wednesday, November 9, 2016

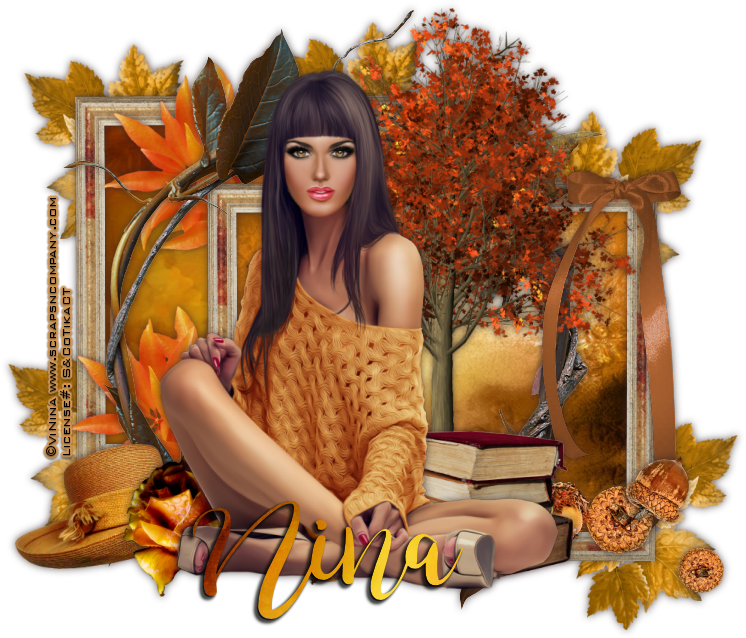
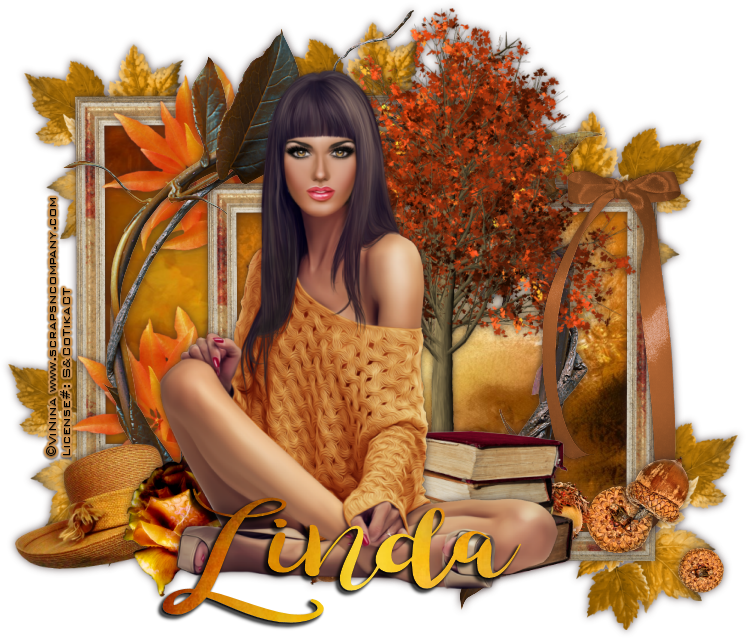
Beautiful Fall


Beautiful Fall
Written 11/8/2016
This tutorial is meant purely as a guide. Feel free to use your own choice of tube or scrap kit to make your tag unique. If you want your tag to look just like mine them use the same supplies I have used. This tutorial assumes you have a knowledge of paint shop pro. Any resemblance to any other tag or tutorial is completely coincidental.

Supplies Used:
Tube of your choice. I am using the work of ViNina. You can purchase this tube at http://scrapsncompany.com/index.php?main_page=product_info&cPath=113_294&products_id=23759
Scrap kit is called Fall Sweater by Tag Catz Designz. You can purchase it at http://scrapsncompany.com/index.php?main_page=product_info&products_id=23830
Font of your choice. I am using Brushgyo. You can download it at http://www.dafont.com/brushgyo.font
Plugins:
NONE
Drop shadow used throughout:
0 0 75 12.50 dark brown

Let's Begin:
Open element 70 and shift+D to duplicate. Close the original. Re-size by 75%. Make your canvas large enough to work with. Duplicate the frame layer. Hide the top one for now and lets work with the bottom one. Using your magic wand select the inside of the frame. Selections modify and expand by 3. Layers new raster layer and drag under the frame. Open a paper of your choice from the kit and copy and paste into selection. Selections select none. Add a drop shadow to the frame. Merge these 2 layers together.
Repeat the above steps with the second frame but use a different paper from the kit.
Once you are done you will have 2 layers. Position them so they are overlapping each other. Use my tag for reference if necessary.
Open element 3 and copy and paste as a new layer. Position in the center of the 2 framed images. Use my tag for reference if necessary. Add a drop shadow.
Open your tube and copy and paste as a new layer. Re-size as needed. Position in the center of the round frame. Add a drop shadow.
Now let’s dress the tag up with elements from the kit. I will list the elements I used. Feel free to use other elements to make your tag unique. Placement of the elements is completely up to you. If you want your tag to look just like mine then use my tag for reference.
Elements I used:
1
6
14
16
28
34
41
66
Add your name
Add your copyright and licensing information.

Crop and save.


Thursday, May 5, 2016

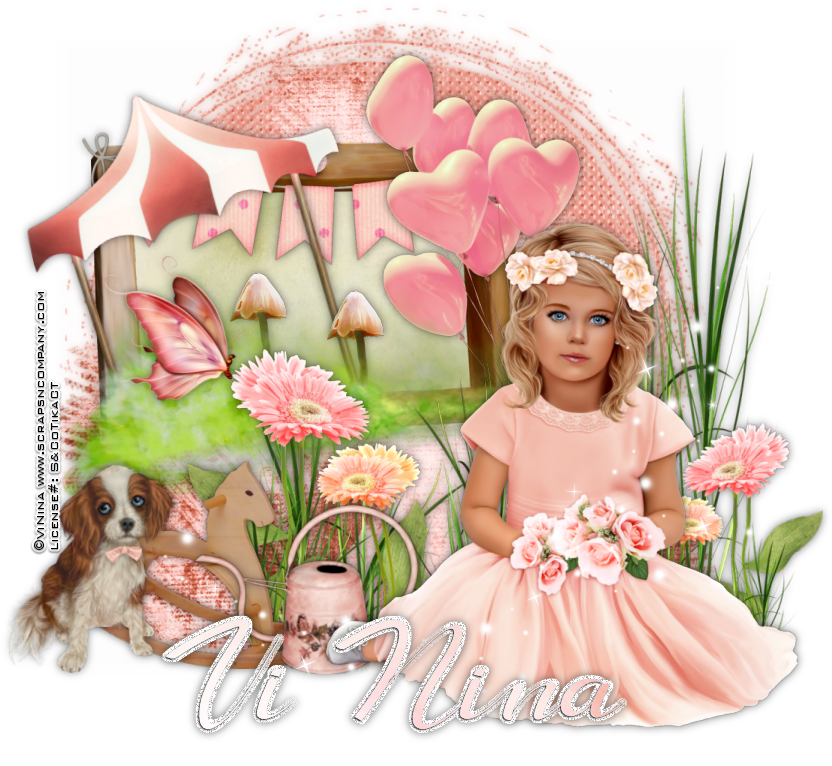
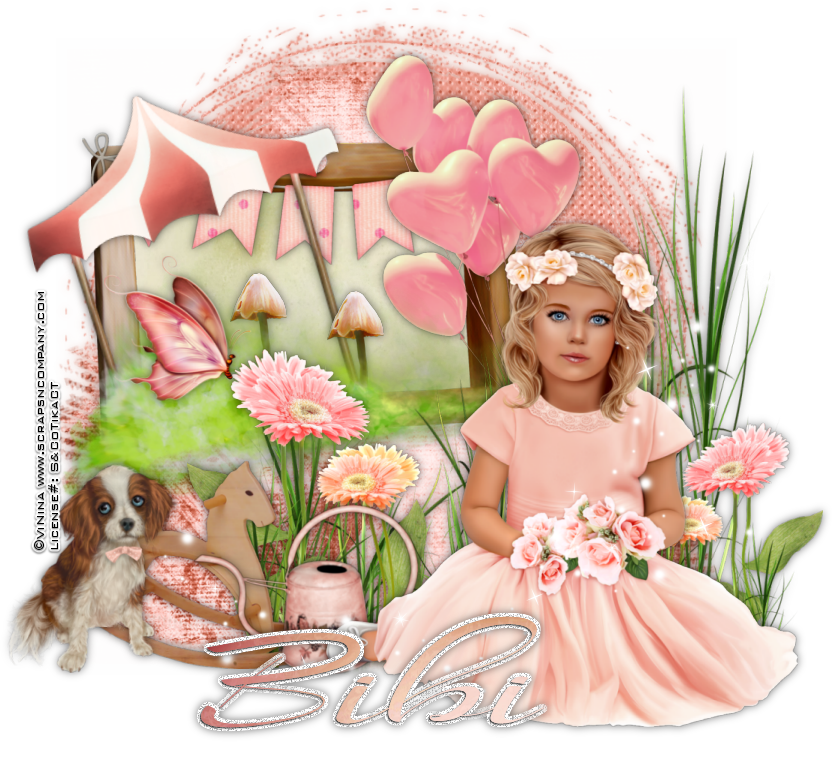
Eyes Of A Child


Eyes Of A Child
Written 5/5/2016
This tutorial is meant purely as a guide. Feel free to make your tag unique by using your own choice of tube and scrap kit. If you want your tag to look just like mine then use the same supplies I have used. This tutorial assumes you have a knowledge of paint shop pro. Any resemblance to any other tag or tutorial is purely coincidental.

Supplies Used:
Tube by Vi Nina. She is called Rosie and you can purchase her at http://scrapsncompany.com/index.php?main_page=product_info&cPath=113_294&products_id=19405
The beautiful matching scrap kit is by Bibi’s Collection. It is called Mama. You can purchase it at http://scrapsncompany.com/index.php?main_page=product_info&products_id=19370
Font of your choice. I am using LongShine Script. This is a PTU font.
Plugins:
NONE
Drop shadow used throughout:
0 0 55 13.00 black

Let’s Begin:
Open element 118 and shift+D to duplicate. Close the original.
We are going to use this as the base of the tag so if you want to re-size then feel free.
Make your canvas large enough to work with.
I like to get my tube on the canvas/tag then I can build around it so at this time open your tube and copy and paste as a new layer. Re-size as needed. Place in the lower right corner. Add a drop shadow to the tube and the background piece. I changed the color of the drop shadow on the background to the darker color in the actual piece because the black didn’t look good but this is completely up to you.
Now let’s begin to build our tag using the awesome elements in this kit.
Open element 98 and copy and paste as a new layer. Re-size so it is slightly smaller than your tube. Drag this layer under the tube layer and place to the left and up a bit of the tube.
Using your magic wand select the inside of the frame and go to selections modify and expand by 3.
Open paper 10 and copy and paste as a new layer. Drag under the frame. Selections invert and hit delete. Selections select none.
Open element 105 and image flip horizontal. This way it will be leaning to the left instead of the right. Copy and paste as a new layer. Re-size so it is just slightly larger than the frame. You want it hanging out of the frame and to give it a 3D type of look as if it is popping out of the frame. I used my “pick” tool and tilted it to the left a little more but this is completely up to you. You could also use the image free rotate within psp if you choose. If you do use the second method do not forget to sharpen. Erase any bits hanging out of the frame that you do not want. Once you are happy then add a drop shadow.
Open element 59 and re-size so it fits nicely from one side of the frame to the other. Copy and paste as a new layer and place at the top of the frame and drag under the tent and balloons layers. Add a drop shadow.
Open element 42 and re-size. Copy and paste as a new layer and drag under your tube layer. Place so it is at the top left of your tube and coming out in front of the right side of the frame. Add a drop shadow.
Open element 77 and re-size so it is about the same size as the frame across the bottom. Copy and paste as a new layer. Use either your “pick” tool or image free rotate method and rotate to the left so it lines up with the bottom of the frame. Place along the bottom of the frame. Add a drop shadow.
Open element 78 and copy and re-size so it is small enough to fit within the frame. Copy and paste as a new layer. Drag under the grass. I duplicated this layer so I had 2 and just placed them within the frame area near the tent. Add a drop shadow when done.
Open element 72 and re-size so it is just larger than your tube. Copy and paste as a new layer and drag under your tube. Place behind your tube so it appears she is sitting in the grass. Add a drop shadow.
Open element 61 and re-size. Copy and paste as a new layer. Place on the bottom far left. Drag behind your tube. Add a drop shadow.
Open element 37 and re-size. Copy and paste as a new layer. Drag under your tube and place to the bottom left of the tube between the tube and rocking horse. Add a drop shadow.
Open element 28 and image flip horizontal so it is facing to the right. Re-size and then copy and paste as a new layer. Place so it is near the largest flower to the left of your tube. Add a drop shadow.
Open element 7 and re-size. Copy and paste as a new layer. Place to the far left of the rocking horse. Add a drop shadow.
Open element 117 and copy and paste as a new layer at the top. Place to the far right so it crosses over your tube.
Add your name.
Add your copyright and licensing information.
Crop and save.

Saturday, March 19, 2016

Countryside Cutie


Countryside Cutie
written 3/19/2016

This tutorial is meant purely as a guide. Feel free to make your tag unique by using your own choice of tube and scrap kit. If you want your tag to look just like mine then use the same supplies that I have used. This tutorial assumes you have a knowledge of paint shop pro. Any resemblance to any other tag or tutorial is purely coincidental.

Supplies Used:


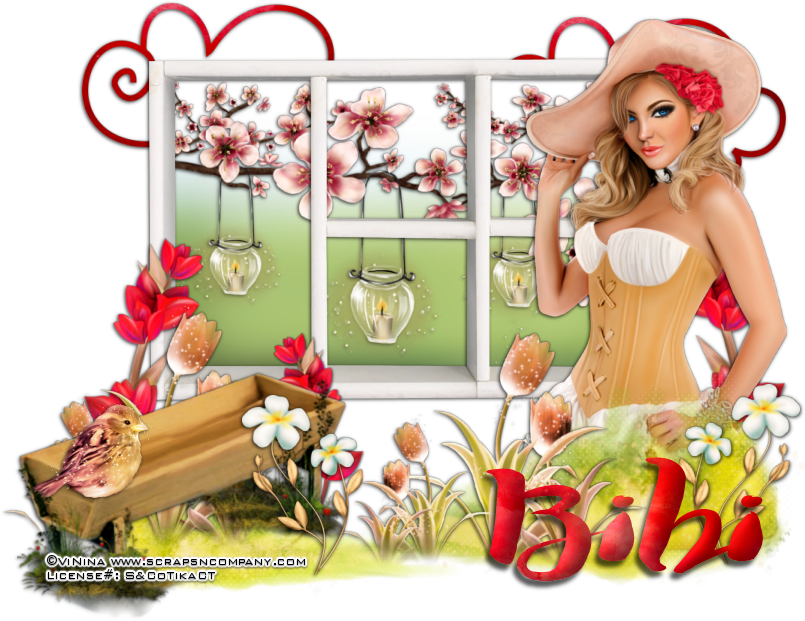
Beautiful matching scrap kit by Bibi's Collection. You can purchase it at http://scrapsncompany.com/index.php?main_page=product_info&products_id=18361

Font of your choice. I am using Swistblnk Duwhoers Brush.

Plugins:
NONE

Drop shadow used throughout
1 -1 75 5.00 black

Let's Begin:
Open element 8 and shift+D to duplicate.
Close the original.
Make your canvas large enough to work with.
Re-size this element if you wish but this will be the focal point of your tag.
Move the window element up to the top portion of your tag.
Using your magic wand select the inside of the window areas.
Selections modify and expand by 5.
Layers new raster layer and drag under the window.
Open paper 17 and copy and paste into selection.
Selections select none.
Add a drop shadow to the window.
Open element 42 and copy and paste as a new layer.
Drag under the window and then re-size so it will fit within the framed window area.
Add a drop shadow.
Open your tube and copy and paste as a new layer.
Place on the far right side of the window.
Re-size so she is just larger than the window.
Add a drop shadow.
Open element 133 and copy and paste as a new layer.
I chose to flip mine horizontal so the larger area was covering her cut off legs but this is completely up to you.
Re-size as needed.
Place along the bottom of the tag.
Open element 90 and copy and paste as a new layer.
Re-size as needed.
Move to the far left side of the tag at the bottom.
Add a drop shadow.
Open element 51 and copy and paste as a new layer.
Re-size as needed.
Place along the bottom of your tag in the grassy area.
Duplicate and place several there to fill in areas and make it look nice.
Add a drop shadow to each one when done.
Open element 84 and copy and paste as a new layer.
Re-size as needed.
Place along the bottom of your tag.
Duplicate a few times and place around.
Add a drop shadow to each when you are done.
Open element 18 and copy and paste as a new layer.
Drag to the bottom.
Place along the top so it is peeking out from behind the window.
Re-size as needed.
I duplicated and placed 2 up there.
Add a drop shadow.
Open element 21 and copy and paste as a new layer.
Re-size as needed and place along the bottom of the tag.
Duplicate if you wish.
Add a drop shadow.
Open element 50 and copy and paste as a new layer.
Re-size as needed.
Place so it is sitting on the edge of the water trough.
Add a drop shadow.
Add your name.
Add your copyright and licensing information.


Saturday, January 9, 2016

Cheers To You


Cheers To You
written 1/8/2016

This tutorial is meant purely as a guide. Feel free to make your tag unique by using your own choice of tube and scrap kit. If you want your tag to look just like mine then use the same supplies I have used.

Supplies Used:

Tube by Vi Nina. It is called New Year Lady. You can get it at http://scrapsncompany.com/index.php?main_page=product_info&cPath=113_294&products_id=16601

Matching scrap kit by Bibi's collection. You can get it at http://scrapsncompany.com/index.php?main_page=product_info&products_id=16613

Font of your choice. I am using Kavay Confident.

Plugins:
Xero Porcelain

Let's Begin:
Open element 51 and shift+D to duplicate.
Close the original.
Re-size by 75% and then again by 85%.
Make your canvas large enough to work with.
Move the frame slightly up and to the left a bit.
Using your magic wand select the inside of the frame.
Selections modify and expand by 4.
Open your tube and copy and paste as a new layer.
Position her face within the frame so it takes up the entire framed area.
Selections invert and hit delete.
Selections invert again.
Open paper 7 and copy and paste as a new layer.
Drag to the bottom.
Selections invert and hit delete.
Selections select none.
Make your tube layer active and go to adjust hue/saturation colorize and set both properties to 0.
Apply the Xero Porcelain filter using the default settings.
Add a drop shadow to your tube and the frame.
Merge these 3 layers together.
Open your tube again and copy and paste as a new layer and position to the right side of the frame.
Re-size and then add a drop shadow.
Open element 146 and copy and paste as a new layer.
As you can see it is rather large and we will re-size once we are done with it.
Using your selection tool set to point to point select the area that contains the liquid.
Once it is selected go to adjust add/remove noise and add noise with the following settings.
Gaussian Monochrome checked and 40%.
Selections select none.
Re-size and move to the far left of the frame.
Add a drop shadow.
Open element 131 and copy and paste as a new layer.
Re-size so it will fit nicely from the left side of the frame to just the right side of the tube.
Place along the bottom behind your tube and the glass.
Add a drop shadow.
Open element 130 and copy and paste as a new layer.
Place on the glass somewhere.
Duplicate and move this copy to the ring on the tubes finger.
Re-size so it looks nice in both places.
Open element 127 and copy and paste as a new layer.
Re-size as needed.
Place in the left bottom corner of the frame in front of the glass.
Add a drop shadow.
Open element 32 and copy and paste as a new layer.
Drag to the bottom and position so you can see it around the outside edges of the tag.
Add a drop shadow.
Add your name.
Add your copyright and licensing information.
Crop and save.


Saturday, October 17, 2015

Warm Coffee, Warm Heart


Warm Coffee, Warm Heart
written 10/17/2015

This tutorial is meant purely as a guide. Feel free to make your tag unique by using your own tube and scrap kit. If you want your tag to look just like mine then use the same supplies that I have and use my tag for reference on the placement of items.

Supplies Used:

Tube by Vi Nina. It is called Fall Colors and you can get it at http://scrapsncompany.com/index.php?main_page=product_info&cPath=113_294&products_id=14469

Matching Scrap Kit by Bibi's Collection. It is called Fall Colors. You can get it at http://scrapsncompany.com/index.php?main_page=product_info&products_id=14468

Mask of your choice. I am using mask #260 by Vix. You can get her awesome masks at http://www.freewebs.com/vixpsp/

Font of your choice. I am using Burgues Script. It is a PTU font so any font of your choice will work.

Plugins:
NONE

Let's Begin:
Open element 121 and shift+D to duplicate.
Close the original.
Re-size as this will be the base and frame of your tag.
Make your canvas large enough to work with.
Using your magic wand select the inside of the frame and go to selections modify and expand by 10.
Layers new raster layer and drag under the frame.
Open paper 5 and copy and paste into selection.
Selections select none.
Using your magic wand again select inside the frame and go to selections modify and expand by 2 this time.
Open your tube and copy and paste as a new layer.
Position within the frame.
Selections invert and using your eraser tool erase any bits you have hanging outside of the frame that you do not want to be part of your tag.
Once you are done selections select none.
At this time add a drop shadow to both the tube and the frame.
Open paper 11 and copy and paste as a new layer and drag down to the bottom.
Apply the mask of your choice.
Delete the mask layer and merge the group.
Add a drop shadow to the mask layer.
This will help it pop a bit.
Now lets dress it up with some elements.
Again I will list the elements I used and placement is entirely up to you.
If you want your tag to look just like mine then use my tag for reference on the placement of the elements.
Elements used:
element 16
element 24
element 43
element 46
element 73
element 89
element 109
Add your name.
Add your copyright and licensing information.
Crop and save.
Thanks for trying my tutorial.


Tuesday, April 14, 2015

Spring Beauty


Spring Beauty
written 4/14/2015

Supplies Needed:


Scrap Kit by FwTags Creations. You can get it at http://scrapsncompany.com/index.php?main_page=product_info&products_id=9371


Font of your choice. I am using Oxida. You can get it at http://www.fontpalace.com/font-details/Oxida/

Plugins:
Eye Candy Gradient Glow.

Let's Begin:
Open your template in PSP and shift+D to duplicate.
Close the original for use another time.
Delete the cr and background layers.
Make your canvas large enough to work with.
Make layer 1 active. Selections select all float and defloat.
Layers new raster layer.
Flood Fill with color #0f56a6
Selections select none.
Delete the original layer 1.
Repeat the above steps with layers 3 and 9.
Make layer 2 active and selections select all float and defloat.
Open paper 5 and copy and paste as a new layer.
Selections invert and hit delete.
Selections select none.
Delete the original layer 2.
Repeat with layer 4 using the same paper.
Repeat the same steps with layers 5 & 6 but use paper 4.
Repeat the same steps with layer 7 but use paper 2.
Repeat the same steps with layer 8 but user paper 3.
Add a gradient glow in white around each of the layers.
Open your tube and copy and paste as a new layer.
Re-size so she will fit nicely within the tag area.
I placed mine so she appeared over the longer rectangle on the left.
Add a slight drop shadow to all layers and your tube.
Lets dress this tag up.
I will tell you what elements I used and really the placement is all up to you.
Use my tag for reference if you want it to be like mine.
Elements used:
7
11
22
30
33
46
49
50
57
Add your name.
Add your copyright and licensing information.
Crop and save.


Tuesday, January 27, 2015

Hot In The City


Hot In The City
written 1/27/2015

Supplies Needed:


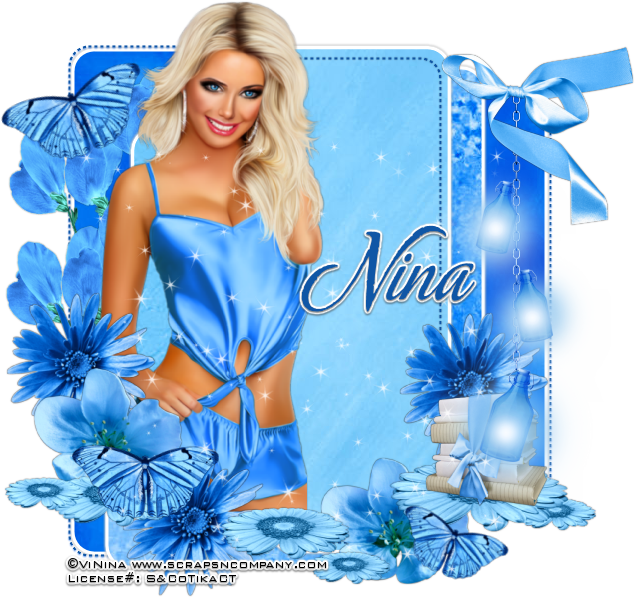
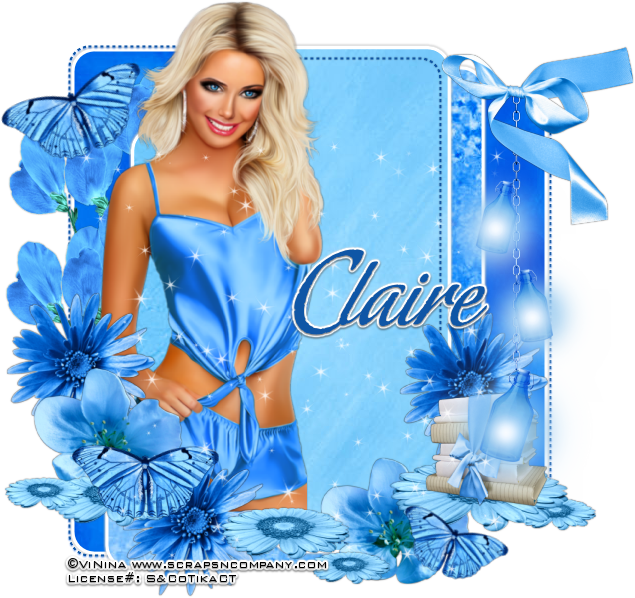
Scrap Kit by Bibi's Collection. You can get it at http://scrapsncompany.com/index.php?main_page=product_info&products_id=7599

Font of your choice. I am using Atelas. You can get it at http://www.dafont.com/atelas.font

Plugins:
None

Lets Begin:
Open element 21 and shift+D to duplicate.
Close the original for use later.
Re-size to the size you wish. This will be the base of your tag.
Make your canvas large enough to work with.
Add a drop shadow.
Open element 41 and re-size by 65%.
Copy and paste as a new layer and place in the top left corner of the tag.
Using your magic wand select the inside of the black area of the element.
Open paper 1 and copy and paste as a new layer.
Re-size by 50%.
Move upwards so that the city skyline is within the selected area.
Selections invert and hit delete.
Selections select none.
Lower the opacity of this layer to 69.
Merge down to the element.
Apply a drop shadow.
Open your tube and re-size as necessary.
Copy and paste as a new layer.
Move to the far right hand side of the tag.
Add a drop shadow.
Open element 62 and re-size so it will fit nicely along the bottom of your tag.
Copy and paste as a new layer and drag under to the tube.
Open element 111.
Re-size so it will fit nicely along the bottom of your tag in front of your tube.
Image flip mirror so the front tire is facing the left side of the tag.
Copy and paste as a new layer and move into position in front of your tube.
Add a drop shadow.
Open element 96 and copy and paste as a new layer.
Move to the left of the bike.
Open element 85 and re-size by 50% 2x.
Copy and paste as a new layer and move behind the element with the cityscape in it.
Place at the top left.
Duplicate and move the copy to the right of your tube near her head.
Open element 82 and copy and paste as a new layer.
Place on the far right side of the tag next to the tube and the motorcycle.
Open element 7and re-size by 50%.
Copy and paste as a new layer and move to the far left side at the bottom of your element with the cityscape in it.
Image free rotate to the left 22 degrees.
Adjust sharpen.
Add a drop shadow.
Open element 46 and copy and paste as a new layer.
Place right in the center at the bottom of the thermometer.
Add a drop shadow.
I add some text along the top. This is completely up to you.
Add your name.
Add your copyright and licensing information.
Crop and save.


Monday, December 15, 2014

Merry Xmas Baby


Merry Xmas Baby
written 12/15/2014

Supplies Needed:


Mask of your choice. I am using mask #1 by Horseplay's pasture. You can get it at http://www.horseplayspasture.blogspot.com/search/label/Masks

Font of your choice. I am using Excelsior Script Extended. It is a PTU font so please just use any nice scripty font.

Plugins:
None

Lets Begin:
Open element 47 from the kit and shift+D to duplicate.
Close the original.
Re-size by 85%.
Make your canvas large enough to work with.
Open paper 6 and copy and paste as a new layer.
Drag under the frame element.
Apply your mask.
Delete the mask layer and merge the group.
Add a slight drop shadow to the frame element.
Open element 41 and re-size by 85%.
Copy and paste as a new layer and position the center of the frame.
Add a drop shadow.
Open your tube and copy and paste as a new layer and center in front of the book element.
Add a drop shadow.
Open element 48 and re-size by 40%.
Copy and paste as a new layer and move to the right side of the tag in front of the book element.
Open element 57 and re-size by 40%.
Copy and paste as a new layer and drag under the book element.
Move to the top left corner of the book so it is peeking out around the top and the side a little.
Duplicate and image flip horizontal.
Move this duplicate to the right side.
Add a drop shadow to both.
Open element 59 and re-size by 50%.
Copy and paste as a new layer and place it top center behind the head of your tube and behind the book layer also.
Add a drop shadow.
Open element 62 and re-size by 50%.
Copy and paste as a new layer and move under your tube and the gift on the left side.
Duplicate and image flip horizontal and move the duplicate to the right hand side. Add a drop shadow to both.
Open element 73 and re-size by 50%.
Copy and paste as a new layer and move to the far left of the tag and drag under the bobbles and the gift.
Add a drop shadow.
Open element 75 and re-size by 50%.
Copy and paste as a new layer and move to the top right corner of the book.
Duplicate and image flip horizontal.
Move to the left hand corner of the book.
Add a drop shadow to both.
Open element 55 and re-size by 75%.
Copy and paste as a new layer at the top and place along the bottom center of the tag.
Open element 17 and re-size by 40%.
Copy and paste as a new layer and move to the left hand side bottom of the tag.
Add a drop shadow.
Using your font and a color from your tube add the words Merry and Baby.
Add your Name.
Add your copyright and licensing information.
Crop and save.

Wednesday, September 24, 2014

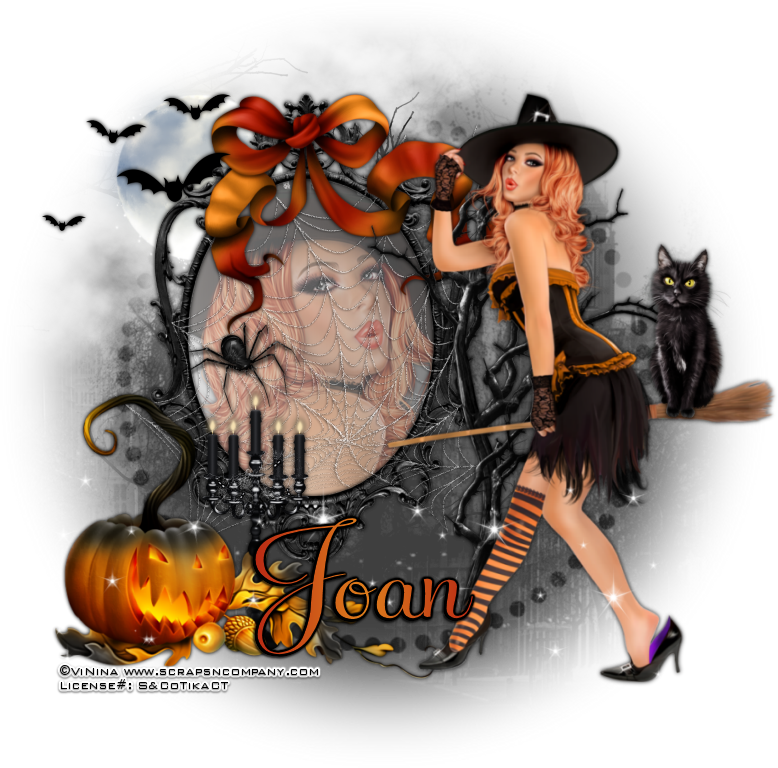
Bewitch You


Bewitch You
written 9/24/2014

Supplies Needed:


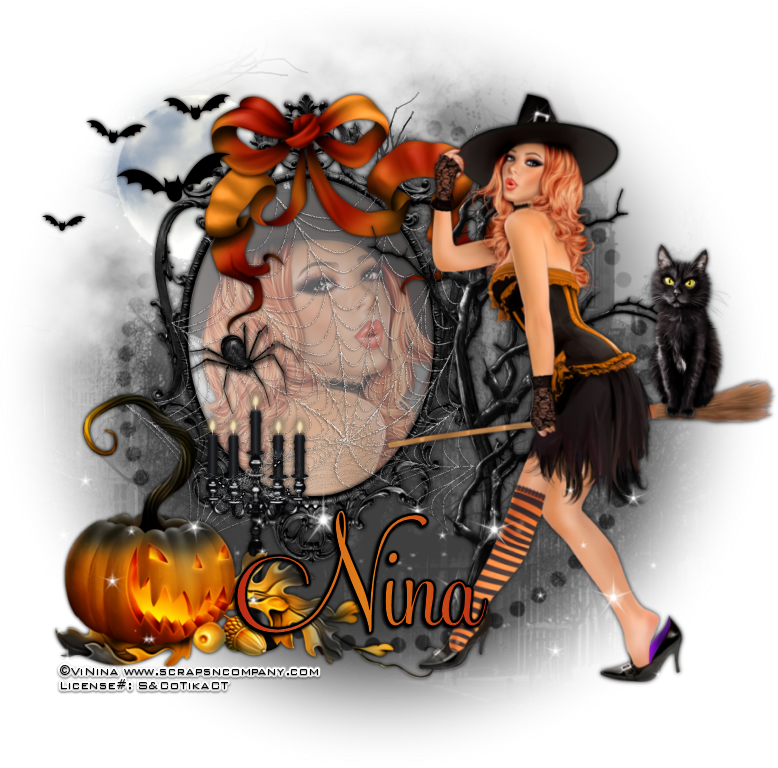
Matching Scrap Kit by Design By Joan called Bewitch. You can get it at http://scrapsncompany.com/index.php?main_page=product_info&products_id=5681

Mask of your choice. I am using masl # 47 by Weescotlass Creations. You can get this mask at http://weescotslasscreations.blogspot.com/

Font of your choice. I am using Feel Script. It is a PTU font.

Silver or grey gradient of your choice. You can get some great gradients at http://www.essexgirl.uk.com/gradients-p1.htm or at http://trash-graphics.livejournal.com/26230.html

Lets Begin:
Open element 47 and shift+D to duplicate.
Close the original.
Re-size by 85%.
Make your canvas large enough to work with and create your tag on.
Move the frame to the top left corner of where you're going to build your tag.
Using your magic wand select the inside of the frame and go to selections modify and expand by 4.
Layers new raster layer and drag under the frame.
Flood fill this new layer with your silver/grey gradient set on the the following settings:

 
Leaving your frame selected open your tube.
I flipped mine horizontal so she would be facing opposite to the tube I am going to add later but this is completely up to you.
Copy and paste as a new layer under your frame but on top of the gradient layer.
Selections invert and hit delete on your tube layer.
Selections select none.
Add a drop shadow to your tube and lower the properties of this layer to 50.
Add a drop shadow to your frame.
Open your tube again and copy and paste as a new layer.
Position on the right side of the frame.
Re-size if needed so it is just bigger than the frame.
Open element 27 and re-size by 50%.
Copy and paste as a new layer.
Drag to the bottom and position behind the frame but at the top left.
Open paper 4 and copy and paste as a new layer and drag to the bottom.
Apply the mask.
Delete the mask layer and merge the group.
Open element 2 and re-size by 85% 2x.
Image flip horizontal.
Copy and paste as a new layer and move under your main tube.
Move to the lower left of the tag.
Add a drop shadow.
Open element 5 and re-size by 50%.
Copy and paste as a new layer and drag under your main tube.
Move to the top center of the frame.
Add a drop shadow.
Open element 18 and re-size by 75% and then again by 85%.
Copy and paste as a new layer.
Drag under your tube and position.
Use my tag for reference.
Open element 19 and copy and paste as a new layer and drag to just above your mirror.
Re-size so it will fit nicely over the mirror looking like it is attached to different items in your tag.
Adjust add/remove noise. Add noise at 100%.
Add a slight drop shadow.
Open element 28 and copy and paste as a new layer.
Re-size so it will fit nicely on the back end of the broom the tube is holding.
Add a drop shadow.
Open element 32 and re-size by 50%.
Copy and paste as a new layer and place somewhere within the spider web on the mirror.
Add a drop shadow.
Open element 45 and re-size by 50%.
Copy and paste as a new layer at the top and move over on top of the moon.
Add a drop shadow.
Open element 50 and re-size by 50%.
Copy and paste as a new layer.
Drag under the pumpkin and place to the right of the pumpkin.
Add a drop shadow.
Open element 82 and copy and paste as a new layer.
Move to the bottom of the tag.
Add your name.
Add your copyright and licensing information.
Crop and save.