Showing posts with label Barbara Jensen. Show all posts

Wednesday, October 5, 2022

C.U.R.E.


C.U.R.E.

Written on 10/4/2022

This tutorial is meant purely as a guide. Feel free to use your own choice of tube or scrap kit to make your tag unique.

If you want your tag to look just like mine, then use the same supplies I have used. This tutorial assumes you have a knowledge

of paint shop pro. Any resemblance to any other tag or tutorial is completely coincidental.


Supplies Used:

Tube is by Barbara Jensen. It is called Sweet Cotton Candy. You can find Barbara’s awesome art at www.barbarajensentubes.com

Scrap Kit is by wicked diabla designs. It is called perfect pink world. You can purchase this kit and more of her awesome kits at www.wickeddiabladesigns.com

Word art is by sandy. You can find it on the creative misfits blog at http://creativemisfitscreations.blogspot.com

Font of your choice. I am using Valentijn

Plugins: (plugins are most generally optional)

NONE

Let's Begin:

Open element 4 and shift+D to duplicate. Close the original.

Make your canvas large enough to give you plenty of room to work with.

Resize the frame element however you wish. I went 85%.

Using your magic wand tool select the inside of the frame.

Selections modify and expand by 5.

Layers new raster layer.

Drag this new layer under the frame.

Open paper 2 and copy and paste into selection.

Selections select none.

Add a drop shadow of your choice to the frame layer.

Open your tube.

Copy and paste as a new layer.

Now I chose to have mine look like she was coming out of the frame so to achieve this I duplicated my tube layer and dragged one under the frame layer. So you should have tube frame tube again in your layer palette. Make your top tube layer active and using your eraser tool erase the bits you want so in my case I erased her leg area so the bow on the frame would be on top.

Add a drop shadow to your tube.

Open element 8 and copy and paste as a new layer.

Move to the far-right side of the tag and drag to the bottom.

Duplicate this layer and go Image Mirror. The one on the left move it in a bit so its more in the center of the bow. Use my tag for reference if needed.

Now let’s dress the tag up with elements from the kit. I will list the elements I used. Feel free to use other elements to make your tag unique. Placement of the elements is completely up to you. If you want your tag to look just like mine, then use my tag for reference.

Elements I used:

20

22

36

38

49

52

Once you get whatever elements from the kit you want on there then open your word art and copy and paste as a new layer. Resize if you need to.

Add your name.

Add your copyright and licensing information.

Crop and save your tag.

Thanks for trying my tutorial.

♥♥♥


Sunday, December 13, 2015

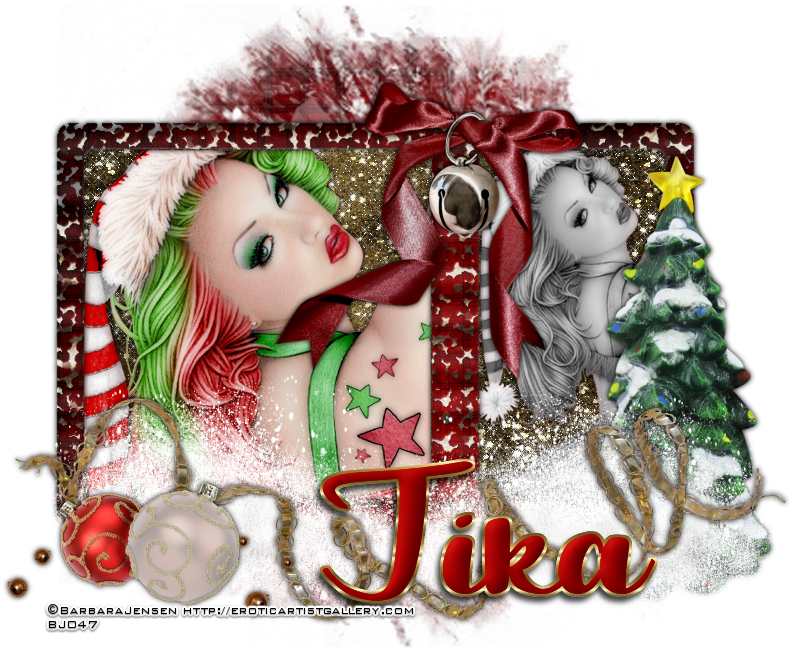
Holiday Cheer


Holiday Cheer
written 12/01/2015

This tutorial is meant purely as a guide. Feel free to make your tag unique by using your own choice of tube and scrap kit. If you want your tag to look just like mine then use the same supplies that I have used.

Supplies Used:

Tube by Barbara Jensen. I am using the tube called In Fine Feather Holiday Edition. You can purchase this tube at http://barbarajensentubes.com/

Scrap Kit is a freebie Sampler by Gothic Inspirations. It is called Holly and you can download it at http://gothicinspirations.blogspot.com/2014/12/new-ptu-kit-holly.html Be sure to check out the full sized kit in her stores.


Font of your choice. I am using Geuceu. It is a PTU font so use whatever you choose.

Plugins:
Alien Skin Xenofex 2 Constellation
Xero Porcelain

Let's Begin:
Open frame 1 from the kit and shift+D to duplicate.
Close the original.
Re-size if you choose.
Make your canvas large enough to work with.
Open paper 4 and copy and paste as a new layer.
Drag under the frame.
Apply the mask.
Delete the mask layer and merge the group.
Make your frame layer active and using your magic wand select the inside of both sides of the frame.
Selections modify and expand by 3
Layers new raster layer and drag under the frame.
Open paper 5 and copy and paste into selection.
Selections select none.
Using Xenofex 2 Constellation add some sparkle to the paper layer using whatever settings you like.
Ok make your frame layer active again and select just the smaller right side part of the frame.
Selections modify and expand by 1.
Open your tube and copy and paste as a new layer within the selected area.
Position where you want and selections invert and hit delete.
Selections select none.
Adjust hue and saturation colorize and set both values to 0.
Apply the Xero Porcelain plugin using the default settings.
Add a drop shadow.
Using your magic wand select the large part of the frame.
Copy and paste your tube again and position.
Selections invert and hit delete.
Selections select none.
Apply Xero Porcelain again.
Add a drop shadow.
Open bow2 from the kit.
Copy and paste as a new layer and place at the top in the area between the 2 sections of the frame.
Re-size as needed.
Add a drop shadow.
Open bell from the kit and copy and paste as a new layer.
Place so it is hanging from the center of the bow.
Re-size as needed and erase any bits you want.
Add a drop shadow.
Open drift from the kit and copy and paste as a new layer.
Place in the bottom left corner of the tag.
Duplicate and image flip horizontal the duplicate.
Move this one to the far right bottom corner.
Merge the 2 together.
Open ornaments from the kit and copy and paste as a new layer and move to the bottom left corner in the drifting snow.
Re-size.
Add a drop shadow.
Open ribbon 1 from the kit and copy and paste as a new layer.
Move under the ornaments.
Place along the bottom of the tag in front of the snow.
Add a drop shadow.
Open tree and copy and paste as a new layer.
Drag under the snow.
Move to the far right side of the frame.
Add a drop shadow.
Add your name.
Add your copyright and licensing information.
Crop and save.