Showing posts with label Breast Cancer. Show all posts

Wednesday, October 5, 2022

C.U.R.E.


C.U.R.E.

Written on 10/4/2022

This tutorial is meant purely as a guide. Feel free to use your own choice of tube or scrap kit to make your tag unique.

If you want your tag to look just like mine, then use the same supplies I have used. This tutorial assumes you have a knowledge

of paint shop pro. Any resemblance to any other tag or tutorial is completely coincidental.


Supplies Used:

Tube is by Barbara Jensen. It is called Sweet Cotton Candy. You can find Barbara’s awesome art at www.barbarajensentubes.com

Scrap Kit is by wicked diabla designs. It is called perfect pink world. You can purchase this kit and more of her awesome kits at www.wickeddiabladesigns.com

Word art is by sandy. You can find it on the creative misfits blog at http://creativemisfitscreations.blogspot.com

Font of your choice. I am using Valentijn

Plugins: (plugins are most generally optional)

NONE

Let's Begin:

Open element 4 and shift+D to duplicate. Close the original.

Make your canvas large enough to give you plenty of room to work with.

Resize the frame element however you wish. I went 85%.

Using your magic wand tool select the inside of the frame.

Selections modify and expand by 5.

Layers new raster layer.

Drag this new layer under the frame.

Open paper 2 and copy and paste into selection.

Selections select none.

Add a drop shadow of your choice to the frame layer.

Open your tube.

Copy and paste as a new layer.

Now I chose to have mine look like she was coming out of the frame so to achieve this I duplicated my tube layer and dragged one under the frame layer. So you should have tube frame tube again in your layer palette. Make your top tube layer active and using your eraser tool erase the bits you want so in my case I erased her leg area so the bow on the frame would be on top.

Add a drop shadow to your tube.

Open element 8 and copy and paste as a new layer.

Move to the far-right side of the tag and drag to the bottom.

Duplicate this layer and go Image Mirror. The one on the left move it in a bit so its more in the center of the bow. Use my tag for reference if needed.

Now let’s dress the tag up with elements from the kit. I will list the elements I used. Feel free to use other elements to make your tag unique. Placement of the elements is completely up to you. If you want your tag to look just like mine, then use my tag for reference.

Elements I used:

20

22

36

38

49

52

Once you get whatever elements from the kit you want on there then open your word art and copy and paste as a new layer. Resize if you need to.

Add your name.

Add your copyright and licensing information.

Crop and save your tag.

Thanks for trying my tutorial.

♥♥♥


Friday, October 7, 2016

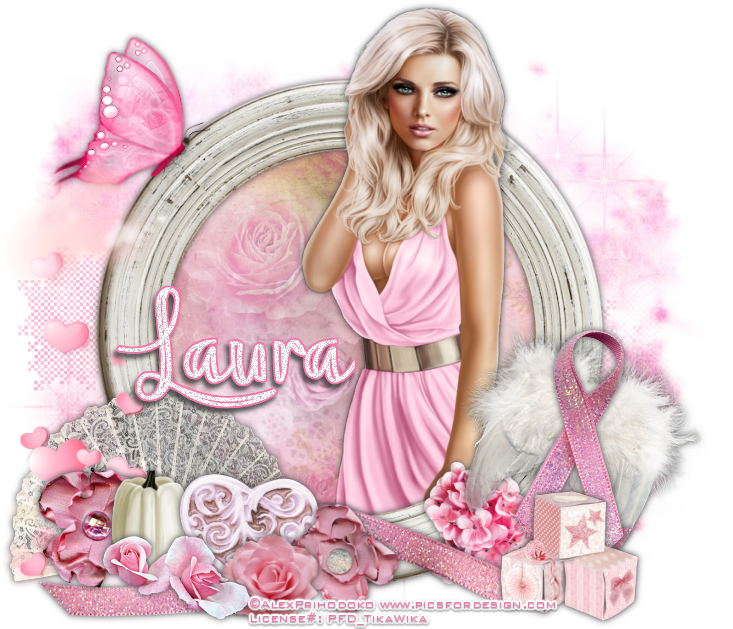
Pink For Hope


Pink For Hope
Written 10/4/2016
This tutorial is meant purely as a guide. Feel free to use your own choice of tube or scrap kit to make your tag unique. If you want your tag to look just like mine them use the same supplies I have used. This tutorial assumes you have a knowledge of paint shop pro. Any resemblance to any other tag or tutorial is completely coincidental.
Supplies Used:
I am using a tube by Alex Prihodoko. You can purchase this tube at http://picsfordesign.com
Scrap Kit is by Tiny Turtle Designs. It is called Wishes and you can purchase it at http://tinyturtledesigns.com/store/
Mask of your choice. I am using a big mask by me. You can download it at http://tagsbytika.blogspot.com/2014/06/1st-big-mask.html
Font of your choice. I am using Aysheea. This is a PTU font
Plugins:
NONE
Drop shadow used throughout:
0 0 100 9.50  grey color

Let's Begin:
Open element 29 and shift+D  to duplicate. Close the original. Make your canvas large enough to work with.
Using your magic wand select the inside of the frame. Selections modify and expand by 3. Layers new raster layer and drag under the frame. Open paper 32 and copy and paste into selection.
Leaving the frame selected open your tube and copy and paste as a new layer. Re-size as needed. Position to the right side of the frame. Selections invert and erase any bits you do not want hanging outside of the frame. Selections select none. Add a drop shadow to both the tube and the frame.
Open paper 29 and copy and paste as a new layer. Drag to the bottom. Apply the mask of your choice. Delete the mask layer and merge the group.

Now let’s dress the tag up with elements from the kit. I will list the elements I used. Feel free to use other elements to make your tag unique. Placement of the elements is completely up to you. If you want your tag to look just like mine then use my tag for reference.
Elements I used:
34
37
59
61
74
76
85
87
93
95
100
123
133
135
Add your name.
Add your copyright and licensing information.
Crop and save.


Friday, August 26, 2016

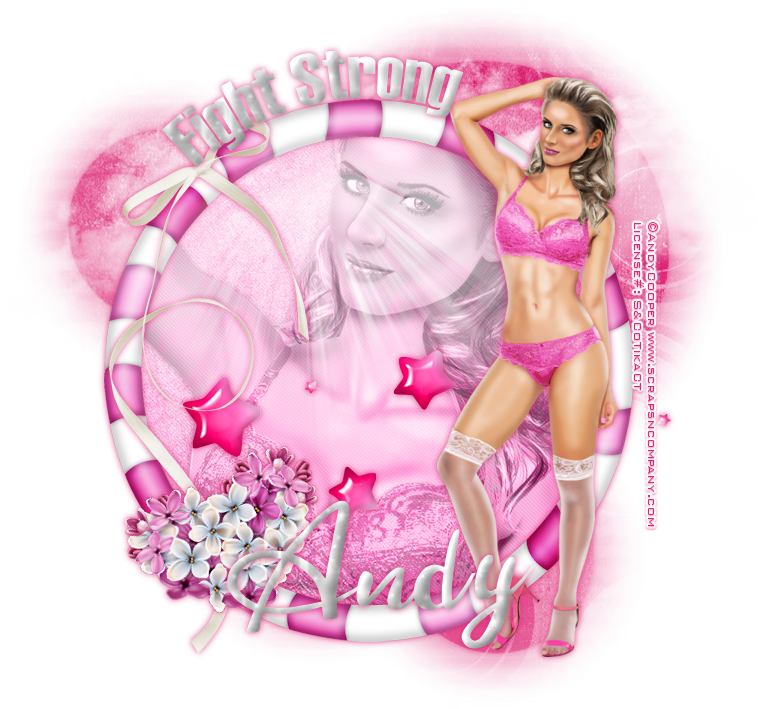
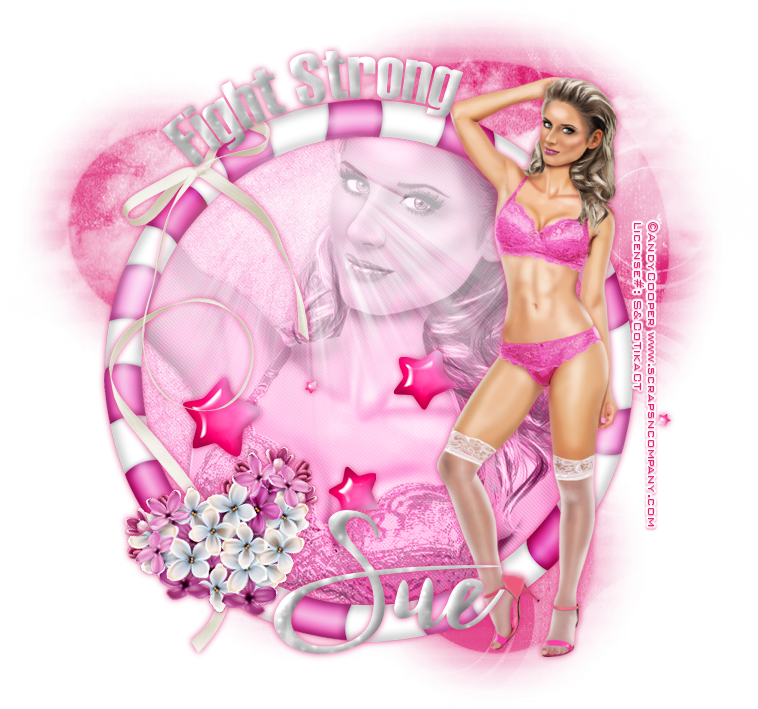
Fight Strong


Fight Strong
Written 8/24/2016
This tutorial is meant purely as a guide. Feel free to use your own choice of tube or scrap kit to make your tag unique. If you want your tag to look just like mine them use the same supplies I have used. This tutorial assumes you have a knowledge of paint shop pro. Any resemblance to any other tag or tutorial is completely coincidental.
Supplies Used:
Tube of your choice. Preferably one with a close up. I am using the work of Andy Cooper. This tube is called Angel Pink and you can purchase her at http://scrapsncompany.com/index.php?main_page=product_info&cPath=113_652_304&products_id=21402
The scrap kit is also called Angel Pink and is by Designz By Sue. You can purchase it at http://scrapsncompany.com/index.php?main_page=product_info&products_id=21458
Mask of your choice. I am using mask 56 by Vix. You can get her masks at http://www.freewebs.com/vixpsp/
Font of your choice. I am using Hattenschweiler and Twister Script(this is a PTU font)
Plugins:
Penta.com Jeans
Drop shadow used throughout:
0 0 85 9.50 Using a dark pink for the color.

Let's Begin:
Open element 19. Shift+D to duplicate. Close the original. Make your canvas large enough to work with.
Open paper 17 and copy and paste as a new layer. Drag under the frame. Apply the mask of your choice. Delete the mask layer and merge the group. Add a drop shadow to the mask using a pink from the paper for your color.
Using your magic wand select the inside of the frame. Selections modify and expand by 3. Open paper 13 and copy and paste as a new layer. Drag under the frame. Selections invert and hit delete. Selections invert again. Open the close up of your tube and copy and paste as a new layer. Position within the frame. Selections invert and hit delete. Selections select none. Change the properties of this layer to luminance legacy. Add a drop shadow to the tube. Merge the tube and paper layers together. Apply penta.com Jeans plugin but change the top value to 10.
Add a drop shadow to the frame.
You can merge the frame layer down to the tube/paper layer if you wish if you like to keep your layer palette clean.
Open your full size tube and copy and paste as a new layer. Re-size until she is just slightly larger than the frame. Move to the far right side of the frame and add a drop shadow.
Now let’s dress the tag up with elements from the kit. I will list the elements I used. Feel free to use other elements to make your tag unique. Placement of the elements is completely up to you. If you want your tag to look just like mine then use my tag for reference.
Elements I used:
2
11
12
38
39
Once you have all the elements you want on the tag then using your preset elipse tool draw out a circle around the outside of the frame. Now place any text you would like on it.
Add your name.
Add your copyright and licensing information.
Crop and save.


Friday, October 16, 2015

Love Yourself Enough


Love Yourself Enough
written 10/15/2015

This tutorial is meant purely as a guide. If you want your tag to look just like mine then used the exact same supplies as I have. Feel free to make your tag unique by using your own tube and scrap kit. Also if you want your tag to look just like mine then use my tag for reference on placement of the elements.

Supplies Used:

Tube called October Pink by Andy Cooper. You can get it at http://scrapsncompany.com/index.php?main_page=product_info&cPath=113_304&products_id=14501

Scrap Kit called BCA Sweetie by Bibi's Collection. You can get it at http://scrapsncompany.com/index.php?main_page=product_info&products_id=14500

Mask of your choice. I am using mask #251 by WeeScotsLass Creations. You can get it at http://weescotslasscreations.blogspot.com/2009/04/masks.html

Font of your choice. I am using Annabelle Script. You can get it at http://www.fontspace.com/maellekeita/anabelle-script

Plugins:
NONE

Let's Begin:
Open a new blank canvas that is 700x700.
Open paper 2 and copy and paste as a new layer.
Open your close up of your tube and copy and paste as a new layer.
You want your tube to take up a good portion of the paper canvas.
Now I wanted my tube to be black and white except a couple of pops of color and the places I chose were her lips and the breast cancer ribbon on her arm.
I am going to teach you my way of achieving this effect. I am sure there are many other ways but this is how I do it. Feel free to either follow in my instructions or do it your own way.
Duplicate your tube.
On the bottom layer go to adjust hue and saturation colorize and set both values to 0 and there by changing the color of the bottom tube to black and white.
Now on your top layer using your eraser tool erase all the bits that you do not want colored. Leaving the bits you want colored un touched.
You may need to change the sizes of your eraser to get this and when I am doing the fine details around the colored items I will zoom in really really close and erase each little bit dot by dot. This can be time consuming but for me the effort is well worth the effect and final outcome.
Once you are done erasing if your edges of the colored items look jagged just use your soften tool and go around the edges a bit and soften them and blend them .
Add a drop shadow to your bottom tube ONLY.
Now merge all of your layers together.
Make your canvas large enough to work with.
Now lets dress it up with some elements from this beautiful kit.
I will list the elements I used.
Placement is completely up to you.
If you want your tag to look just like mine then use my tag for reference.
Elements I used:
element 26
element 43
element 49
element 72
element 80
element 110
element 113
element 123
Add your name.
Add your copyright and licensing information.
Crop and save.