Showing posts with label Lady Mishka Dolls. Show all posts

Wednesday, July 20, 2016

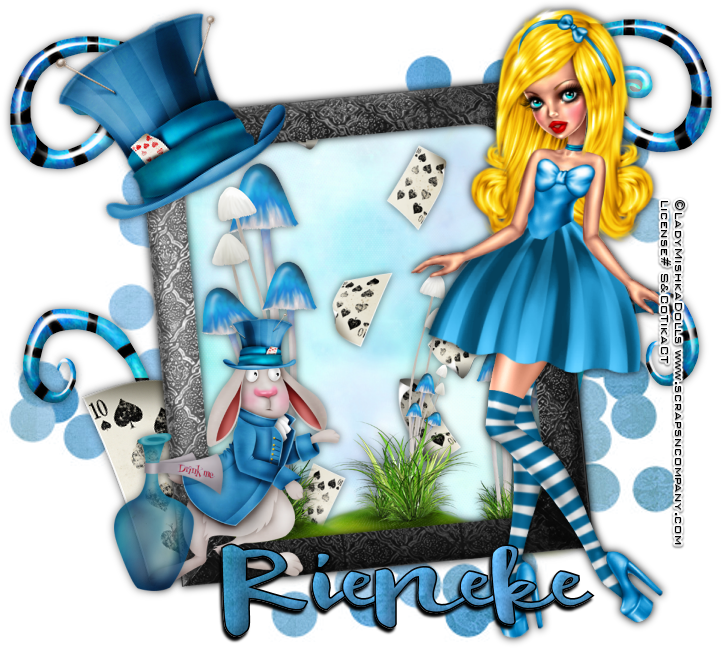
Down The Rabbit Hole #2


Down the Rabbit Hole
Written 7/19/2016
This tutorial is meant purely as a guide. Feel free to use your own choice of tube or scrap kit to make your tag unique. If you want your tag to look just like mine them use the same supplies I have used. This tutorial assumes you have a knowledge of paint shop pro. Any resemblance to any other tag or tutorial is completely coincidental.

Supplies Used:
Tube of your choice. I am using a store exclusive for Scraps N Company by Lady Mishka. It is called Cute Alice 6. You can purchase this tube at http://scrapsncompany.com/index.php?main_page=product_info&cPath=490_554&products_id=20749
Scrap Kit is called Cute Alice 6 and is by Rieneke Designs. You can purchase it at http://scrapsncompany.com/index.php?main_page=product_info&products_id=20802
Mask of your choice. I am using mask #178 by Vix. You can get her masks at http://www.freewebs.com/vixpsp/
Font of your choice. I am using Doodlesack. This is a PTU font.
Plugins:
NONE
Drop shadow used throughout:
0 0 100 12.50 black

Let's Begin:
Open element 60 and shift+D to duplicate. Close the original. Re-size the frame by 85%. Make your canvas large enough to work with.
Open paper 8 and copy and paste as a new layer. Move to the bottom of the layer palette. Apply the mask of your choice. Delete the mask layer and merge the group.
Using your magic wand select the inside of the frame and go to selections modify and expand by 5. Layers new raster layer and drag under the frame layer. Open paper 2 and copy and paste into selection. Selections select none. Add a drop shadow to the frame.
Open your tube and copy and paste as a new layer. Move to the right side of the frame. Re-size by 75%. Add a drop shadow to the tube.
Now let’s dress the tag up with elements from the kit. I will list the elements I used. Feel free to use other elements to make your tag unique. Placement of the elements is completely up to you. If you want your tag to look just like mine then use my tag for reference.
Elements I used:
1
3
8
15
34
47
49
Add your name.
Add your copyright and licensing information.

Crop and save.

Tuesday, July 12, 2016

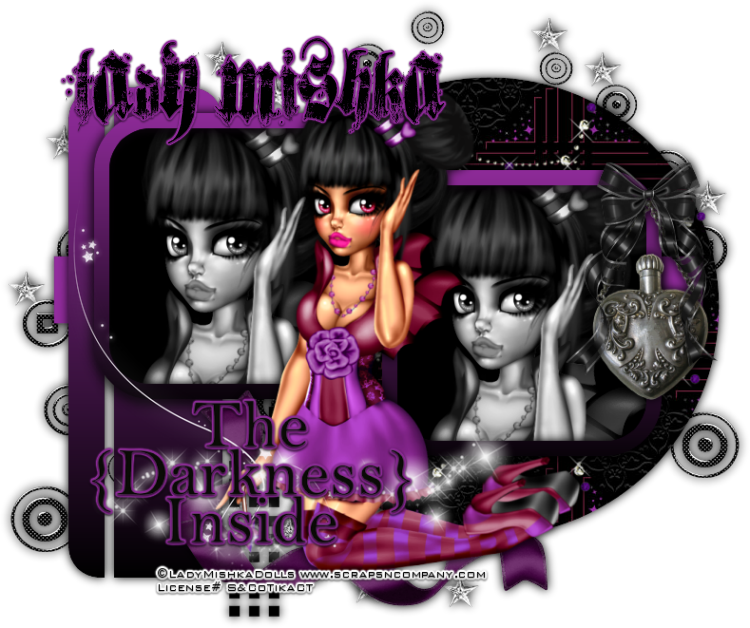
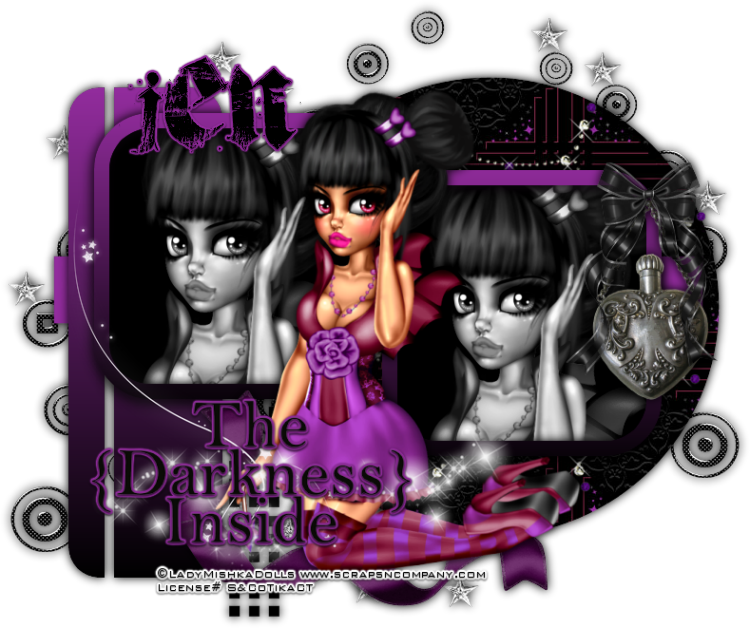
The Darkness Inside


The Darkness Inside
Written 7/12/2016
This tutorial is meant purely as a guide. Feel free to use your own choice of tube or scrap kit to make your tag unique. If you want your tag to look just like mine them use the same supplies I have used. This tutorial assumes you have a knowledge of paint shop pro. Any resemblance to any other tag or tutorial is completely coincidental.

Supplies Used:
Tube of your choice. I am using a Scraps N Company store exclusive tube by Lady Mishka called Gothic Beauty Love. You can purchase her at http://scrapsncompany.com/index.php?main_page=product_info&cPath=490_554&products_id=20730
The scrap kit is called Goth Love by Jens Sweet Temptations. You can purchase the kit at http://scrapsncompany.com/index.php?main_page=product_info&products_id=20743
Tag Template by Scraps Of Enchantment. You can download it at http://scrapsofenchantment.blogspot.ca/2015/12/template-137.html?zx=c1e42b2654db3653
Font of your choice. I am using hardcorium. You can download it at http://www.fontspace.com/last-soundtrack/hardcorium
Plugins:
NONE
Drop shadow used throughout:
0 0 100 15.00 Black

Let's Begin:
Open the tag template and shift+D to duplicate. Close the original. Delete the info layer and the background layer. Make your canvas large enough to work with. Fill each of the layers of the template with papers and colors of your choice. Once you are done add a drop shadow to each layer.
Select the inside of each of the frame areas on the template and copy and paste your tube inside. Position how you want. Selections invert and hit delete. Selections select none. Adjust hue and saturation colorize both and change the values to 8. Merge all of the layers of the frames together.
Open your tube again and copy and paste as a new layer and position in the middle of the template. Add a drop shadow.
Now let’s dress the tag up with elements from the kit. I will list the elements I used. Feel free to use other elements to make your tag unique. Placement of the elements is completely up to you. If you want your tag to look just like mine then use my tag for reference.
Elements I used:
8
9(I flipped it vertical and moved to the left)
21
28
29
36
41
47
61
Add your name.
Add your copyright and licensing information.
Crop and save.


Tuesday, May 17, 2016

Avast! Me Hearty!


Avast! Me Hearty!
Written 5/17/2016
This tutorial is meant purely as a guide. Feel free to use your own choice of tube and scrap kit to make your tag unique. If you want your tag to look just like mine then use the same supplies I have used. This tutorial assumes you have knowledge of paint shop pro. Any resemblance to any other tag or tutorial is purely coincidental.
Supplies Used:
Tube is a commission by Lady Mishka for Scraps N Company called Pirate Joey. You can purchase her at http://scrapsncompany.com/index.php?main_page=product_info&cPath=490_554&products_id=19815
Scrap kit is an awesome kit by Bibi’s Collection. It is called Be My Pirate and you can purchase it at http://scrapsncompany.com/index.php?main_page=product_info&products_id=19814
Mask of your choice. I am using mask 1 from Vix first set of big masks. You can download them at http://vixpsp.blogspot.com/2011/03/new-masks-for-2011-vix-big-set-1.html
Font of your choice. I am using Zombis Nigth. This is a PTU font.
Plugins:
NONE
Drop shadow used throughout:
0 0 50 12.00 black
Let’s Begin:
Open paper 6 and shift+D to duplicate. Close the original. Promote the background layer to a raster layer. Re-size if you wish. Make your canvas large enough to give you plenty of room to work with. Apply the mask of your choice. Delete the mask layer and merge the group.
Open element 74 and re-size by 75%. Copy and paste as a new layer and place going from top middle to bottom right. Add a sharp drop shadow to give it a 3D look.
Open element 137 and re-size by 50%. Copy and paste as a new layer and move to the bottom of the mask area. Add a drop shadow.
Open element 114 and re-size by 50% and then again by 65%. Copy and paste as a new layer and drag under the sand layer. Move to the far left so the front of the boat is hidden by some of the sand. Image flip horizontal. Add a drop shadow.
Open element 116 and re-size by 50%. Copy and paste as a new layer and drag under the sand layer. Move to the bottom along the bottom of the boat but above the sand. Image flip horizontal.
Open your tube and copy and paste as a new layer. Re-size. Move to the far right side. Add a drop shadow.
Now lets dress it up with some of the elements from this kit. I will list the elements I used. Feel free to use any elements that I have not used if you wish. Placement is completely up to you. If you want your tag to look like mine then use my tag for reference.
Elements used:
6
19
30
33
61
97
142
Add your name.
Add your copyright and licensing information,
Crop and save.


Tuesday, May 3, 2016

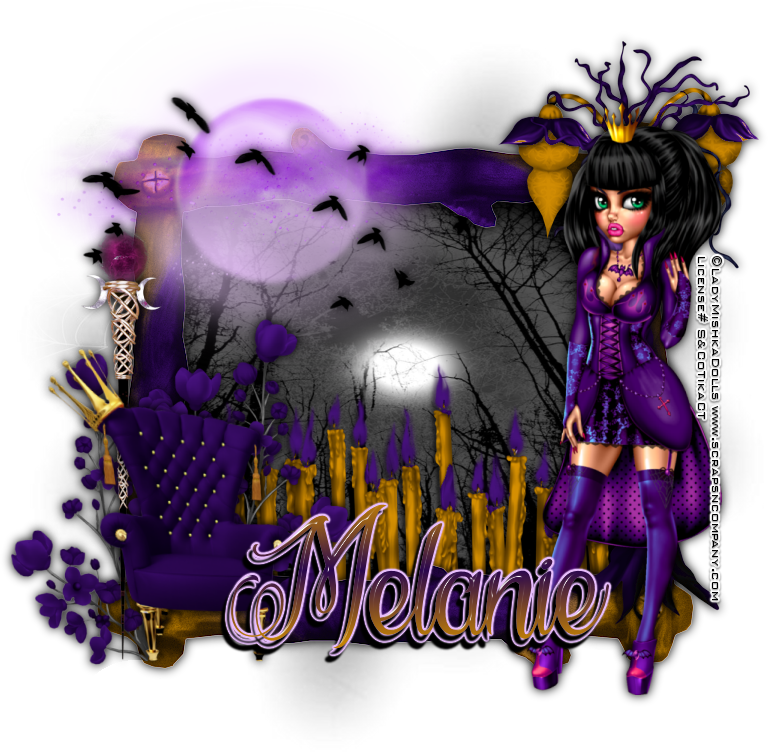
Dark Royalty


Dark Royalty
written 5/3/2016

This tutorial is meant purely as a guide. Feel free to make your tag unique by using your own choice of tube and scrap kit. If you want your tag to look just like mine then use the same supplies I have used. This tutorial assumes you have a knowledge of paint shop pro. Any resemblance to any other tag or tutorial is purely coincidental.

Supplies Used :

Tube is a commission for Scraps N Company store by Lady Mishka. She is called Dark Princess Mona. You can purchase her at http://scrapsncompany.com/index.php?main_page=product_info&cPath=490_554&products_id=19302

The matching scrap kit is also called Dark Princess Mona and it is by Blissful Designs. You can purchase it at http://scrapsncompany.com/index.php?main_page=product_info&products_id=19306

Mask of your choice. I am using mask #7 by Weescotslass Creations. You can get her masks at http://weescotslasscreations.blogspot.com/2009/04/masks.html

Font of your choice. I am using La Cite des Mille Reines. You can download it at http://www.dafont.com/la-cite-des-mille-reines.font

Plugins:
NONE

Drop shadow used throughout:
0 0 100 15.00 black

Let's Begin:
Open element 78 and shift+D to duplicate.
Close the original for use at another time.
Make your canvas large enough to work with. You can crop and re-size when you are done.
Using your magic wand select the inside of the frame and go to selections modify and expand by 6.
Layers new raster layer.
Drag under the frame.
Open paper 8 and copy and paste into selection.
LEAVE SELECTED.
Open element 51 and re-size by 75%.
Copy and paste as a new layer.
Place within the selected frame area and move to the bottom.
Selections invert and hit delete to clear any that is hanging out the bottom and sides of the frame.
Selections select none.
Add a drop shadow to the candles and the frame.
Open paper 3 and copy and paste as a new layer.
Drag to the bottom.
Apply the mask of your choice.
Delete the mask layer and merge the group.
Open element 1 and copy and paste as a new layer at the top.
Re-size by 75%.
Move to the top left corner of the frame.
Open element 49 and copy and paste as a new layer.
Move to the far right and place on the side of the frame.
Add a drop shadow.
Open your tube and re-size as needed.
Copy and paste as a new layer and move to the far right in front of the tree.
Add a drop shadow.
Open element 71 and copy and paste as a new layer.
Re-size by 75% 2x.
Move to the bottom left corner.
Using your pick tool push in the bottom left and top right corners a bit.
Add a drop shadow.
Open element 23 and re-size by 75%.
Copy and paste as a new layer and drag under the chair.
Move to the far left of the chair.
Add a drop shadow.
Open element 19 and re-size by 75%.
Copy and paste as a new layer and place on the top left in front of the moon.
Add a drop shadow.
Open element 33 and re-size by 75% 2x.
Copy and paste as a new layer and drag under the chair.
Place over behind the chair so it is peeking out from behind it on the right side.
Add a drop shadow.
Duplicate and image flip horizontal.
Move this duplicate to the left side of the chair.
I used my eraser tool and removed the stems that were showing at the bottom of the chair but that is completely up to you.
Add your name.
Add your copyright and licensing information.
Crop and save.


Wednesday, April 27, 2016

Sirens Song


Sirens Song
written 4/26/2016

This tutorial is meant purely as a guide. Feel free to make your tag unique by using your own choice of tube and scrap kit. If you want your tag to look just like mine then use the same supplies I have used. This tutorial assumes you have a knowledge of paint shop pro. Any resemblance to any other tag or tutorial is purely coincidental.

Supplies Used:

Tube is a commission tube by Lady Mishka for Scraps N Company. She is called Mermaid Dark and you can purchase her at http://scrapsncompany.com/index.php?main_page=product_info&cPath=490_554&products_id=19033

Beautiful matching scrap kit also called Mermaid Dark by A Lil Mz Brainstorm. You can purchase it at http://scrapsncompany.com/index.php?main_page=product_info&products_id=19059

Font of your choice. I am using Dreams Liem. This is a PTU Font.

Plugins:
NONE

Drop shadow used throughout:
0 0 85 6.00 black

Let's Begin:
Open element 70 and shift+D to duplicate.
Close the original so you can use it again if you wish.
Make your canvas large enough to work with.
Using your magic wand select the inside of the frame.
Selections modify and expand by 12.
Layers new raster layer and drag this new layer under the frame.
Open paper 9 and copy and paste into selection.
Selections select none.
Add a drop shadow to the frame.
Open element 75 and copy and paste as a new layer.
Position at the bottom of the frame but at the inside area.
Add a drop shadow.
Open element 85 and re-size by 50%.
Copy and paste as a new layer and place at the bottom of the frame inside area in front of the green seaweed.
Duplicate and image flip horizontal the copy.
Add a drop shadow to both.
Open your tube and re-size until happy.
Copy and paste as a new layer and move to the far right side of the frame.
Add a drop shadow.
Now lets dress it up with some of the fun elements from the kit.
I will list the elements I used.
Placement is completely up to you.
If you want your tag to look just like mine then use my tag for reference.
Feel free to use any elements I did not use to help make your tag unique.
Elements I used:
11
19
63
74
81
87
89
102
Add your name.
Add your copyright and licensing information.
Crop and save.


Thursday, March 31, 2016

My Emo Dream


My Emo Dream
written 3/31/2016

This tutorial is meant purely as a guide. Feel free to make your tag unique by using your own choice of tube and scrap kit. If you want your tag to look just like mine then use the same supplies that I have used. This tutorial assumes you have a knowledge of paint shop pro. Any resemblance to any other tutorial or tag is purely coincidental.

Supplies Used:

Tube is an exclusive commission by Lady Mishka. You can purchase her at http://scrapsncompany.com/index.php?main_page=product_info&cPath=490_554&products_id=18667

Lovely matching scrap kit by Bibi's Collection. You can purchase it at http://scrapsncompany.com/index.php?main_page=product_info&products_id=18663

Font of your choice. I am using Pocket Monk. You can download it at http://www.fontspace.com/chequered-ink/pocket-monk

Plugins:
Penta Dot and Cross

Drop shadow used throughout:
2 -2 100 2.00 black

Let's Begin:
Open element 51 and shift+D to duplicate.
Close the original.
Re-size by 75%.
Make your canvas large enough to work with.
Using your magic wand select the inside of the frame.
Selections modify and expand by 10.
Open paper 4 and copy and paste as a new layer.
Drag under the frame.
Selections invert and hit delete.
Selections invert again.
Open your tube and copy and paste as a new layer.
Position her face within the frame.
Selections invert and hit delete.
Selections select none.
Change the properties of the layer to luminance legacy.
Apply the Penta Dot and Cross plugin .. change the amount to 70.
Leave the other settings as default.
Add a drop shadow to both the tube and the frame.
Open element 48.
Copy and paste as a new layer.
Drag to the bottom.
Place in the bottom right corner.
Add a drop shadow.
Duplicate a few times and place all around the frame.
Open element 58 and re-size by 50% and then again by 75%.
Copy and paste as a new layer.
Drag down to just above the blue flowers.
Place around the frame.
Duplicate several times and scatter them all around.
Add a drop shadow to all of them.
Open your tube again and copy and paste as a new layer.
Re-size so she is appropriately sized for your tag.
Add a drop shadow.
Open element 92 and copy and paste as a new layer.
Re-size by 75% 2x.
Move to the bottom center of the tag.
Add a drop shadow.
Open element 97 and re-size by 50%.
Copy and paste as a new layer.
Drag down to just above the frame.
Place on the right side.
Add a drop shadow.
Open element 96 and re-size by 50% 2x.
Copy and paste as a new layer at the top.
Place on the far right of the wordart.
Add a drop shadow.
Open element 40 and re-size by 75% 2x.
Drag under your tube.
Move to the bottom so it looks like the tube is leaning against the pillows.
Add a drop shadow.
Add your name.
Add your copyright and licensing information.
Crop and save.

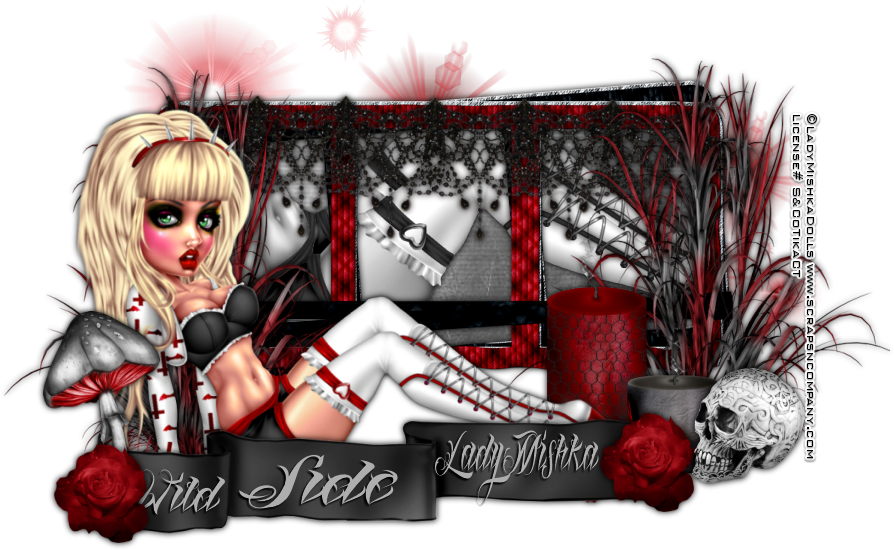
Wild Side


Wild Side
written 3/31/2016

This tutorial is meant purely as a guide. Feel free to make your tag unique by using your own choice of tube and scrap kit. If you want your tag to look just like mine then use the same supplies I have used. This tutorial assumes you have a knowledge of paint shop pro. Any resemblance to any other tutorial or tag is purely coincidental.

Supplies Used:

Exclusive Tube Commission for Scraps N Company by Lady Mishka. She is called Punk Girl 2. You can purchase her at http://scrapsncompany.com/index.php?main_page=product_info&cPath=490_554&products_id=18582

Matching scrap kit by Scrappin With Lil Ole Me. It is also called Punk Girl 2. You can purchase it at http://scrapsncompany.com/index.php?main_page=product_info&products_id=18724

Font of your choice. I am using Lina Script Demo. You can download it at http://www.fontspace.com/m%C3%A5ns-greb%C3%A4ck/lina-script-demo

Plugins:
NONE

Drop shadow used throughout:
0 0 100 9.50 black

Let's Begin:
Open element 69 and shift+D to duplicate.
Close the original.
Make your canvas large enough to work with.
Move this frame up closer to the top center.
Using your magic wand select the inside parts of the frame.
Make sure you get them all.
Selections modify and expand by 4.
Open paper 24 and copy and paste as a new layer.
Drag under the frame.
Selections invert and hit delete.
Selections invert again.
Open your tube and copy and paste as a new layer.
Position the parts you want within the frame.
Selections invert and hit delete.
Selections select none.
Change the properties of this layer to luminance legacy.
Add a drop shadow to both the tube and the frame.
Merge these 3 layers together.
Copy and paste your tube again as a new layer at the top.
Re-size as needed.
Place to the far left of the frame.
Add a drop shadow.
Open element 113 and copy and paste as a new layer.
Drag to the bottom.
Place so it is peeking out around the frame and your tube.
Duplicate a few times and move them around.
Open element 72 and re-size by 75% and then again by 90%.
This will make it the same size as your frame.
Copy and paste as a new layer and drag to just above your frame.
Place along the top of the frame.
Add a drop shadow.
Open element 21 and re-size by 75%.
Copy and paste as a new layer.
Move to the far left behind your tube.
Add a drop shadow.
Duplicate and move this copy to the far right side of the frame.
Open element 104 and re-size by 50%.
Copy and paste as a new layer and drag behind your tube.
Move to the right so its behind the tube but also in front of the grass.
Add a drop shadow.
Open element 119 and re-size by 50% 2x.
Copy and paste as a new layer and move to the far right in front of the candles and the grass.
Add a drop shadow.
Open element 57 and re-size by 75%.
Copy and paste as a new layer at the top.
Move to the bottom in front of everything.
Add a drop shadow.
Open element 6 and re-size by 50% 2x and then again by 75%.
Copy and paste as a new layer and place at the far left of the ribbon to cover the end.
Add a drop shadow.
Duplicate and move the copy to the far right side of the ribbon to cover the end.
Open element 27 and re-size by 50% and then again by 75%.
Image flip horizontal.
Move to the far left and drag under the rose.
Add a drop shadow.
Using your font add some text to the first 2 folds of the ribbon.
Add your name to the final fold.
Add your copyright and licensing information.
Crop and save.

 

Tuesday, March 22, 2016

Hippity Hop


Hippity Hop
written 3/22/2016

This tutorial is meant purely as a guide. Feel free to make your tag unique by using your own choice of tube and scrap kit. If you want your tag to look just like mine then use the same supplies I have used. This tutorial assumes you have a knowledge of paint shop pro. Any resemblance to any other tag or tutorial is purely coincidental.

Supplies Used:

Tube is an exclusive by Lady Mishka. It is called Bunny 1 and you can purchase her at http://scrapsncompany.com/index.php?main_page=product_info&cPath=490_554&products_id=18209

The matching scrap kit is by Kizzed By Kelz. It is also called Bunny 1 and you can purchase it at http://scrapsncompany.com/index.php?main_page=product_info&products_id=18220

Mask of your choice. I am using mask #350 by Weescotslass Creations. You can get her awesome masks at http://weescotslasscreations.blogspot.com/2009/04/masks.html

Font of your choice. I am using 2 Peas Evergreen.

Plugins:
NONE

Drop Shadow used throughout:
0 0 75 5.00 black

Let's Begin:
Open element 59 and shift+D to duplicate.
Close the original.
Make your canvas large enough to work with.
Using your magic wand select inside the frame.
Selections modify and expand by 5.
Layers new raster layer and drag under the frame.
Open paper 6 and copy and paste into selection.
Selections select none.
Copy and paste your paper again as a new layer.
Drag to the bottom.
Apply your mask.
Delete the mask layer and merge the group.
Add a drop shadow to the frame.
Open your tube and copy and paste as a new layer.
Re-size as needed.
Place on the far right side of the frame.
Add a drop shadow.
Now lets dress this tag up with some of the great elements from the kit.
I will list the elements I used .. you can use the same elements or choose others that suit you and your tag.
If you want your tag to look just like mine then use my tag as a reference for placement of the elements.
Elements I used:
6
18(duplicated and used a few of them)
24
41
45
63(duplicated and used a few of them)
65
72
110
Using your font add some text to both the bottom and middle boards of the sign.
I chose to make mine look like they were carved in and this is how you do that .
This is the way I do it and others may do it another way so however you accomplish it is what matters in the end.
Type out your text and then convert it to a raster layer.
Selections select all float and defloat.
Hit delete.
Now go to effects 3D effects cut out with the following settings:
Offset – V 0 H 0
Attributes – Opacity 80 Blur 100
Shadow color Black
DO NOT CHECK FILL INTERIOR
Add your name to the top board of the sign.
Add your copyright and licensing information.
Crop and save.


Thursday, September 17, 2015

Dark Of Night


Dark Of Night
written 9/17/15

This tutorial is meant merely as a guide. Feel free to make your tag your own. If you want your tag to look just like mine then use the same supplies I have and follow the tutorial as directed.

Supplies Used:


Scrap Kit by Bibi's Collection. You can get it at http://scrapsncompany.com/index.php?main_page=product_info&products_id=13739

Font of your choice. I am using Gasoline Alley. You can get it at http://www.fonts101.com/fonts/view/Uncategorized/27486/Gasoline_Alley_NF

Plugins:
Eye Candy 4000 Gradient Glow

Let's begin:
Open element 16 from the kit and shift+D to duplicate.
Close the original.
Re-size by 85%.
Rotate to the right.
Make your canvas large enough to work with.
Using your magic wand select the inside of your frame.
Selections modify and expand by 8.
Layers new raster layer and drag under the frame.
Open paper 2 and edit copy and paste into selection on your new layer.
Selections select none.
Open element 133 and re-size until it fits just over this paper layer.
Copy and paste as a new layer and center in the paper.
Add a drop shadow.
Add a drop shadow to the frame.
Open your tube and re-size.
Copy and paste as a new layer and place in the lower left corner.
Add a drop shadow.
Open element 71.
Copy and paste as a new layer.
Re-size so it is smaller than your frame.
Drag to the bottom and position so your tube is sitting on it.
Open element 70 and re-size by 75%.
Copy and paste as a new layer at the top.
Move to the far right side.
Add a drop shadow.
Add a white gradient glow to make it stand out.
Open element 19 and re-size by 50%.
Image flip horizontal.
Copy and paste as a new layer and place in the top right in the tree branches.
Add a drop shadow.
Open element 50 and image flip horizontal.
Copy and paste as a new layer and place in the top left of the frame.
Add a drop shadow.
Add a white gradient glow to help it stand out.
Add a drop shadow again.
Open element 66 and re-size by 65%.
Copy and paste as a new layer and place in the lower right in front of the base of the tree trunk.
Add a drop shadow.
Open element 68 and re-size by 75%.
Image rotate to the right 90 degrees.
Copy and paste as a new layer and move to the bottom in front of the tube and other elements.
Add your name.
Add your copyright and licensing information.
Crop and save.

 

Tuesday, June 30, 2015

Waiting for Christmas


Waiting for Christmas
written 6/30/2015

Supplies Needed:

Tube is by Lady Mishka Dolls and the Scrap kit is by Cindy Creative Design.
Both are part of a great collab that can be gotten at www.scrapsncompany.com called Christmas In July. Right now it is free with any $10 purchase.


Font of your choice. I am using Christmas Card which you can get at http://www.dafont.com/christmas-card.font I am also using Mala Testa which you can get at http://www.fontspace.com/pia-frauss/malatesta

Plugins:
NONE

Let's Begin:
Open your template and shift+D to duplicate.
Close the original so you can use it again another time.
Delete the following layers: cr,12,11,10 and background.
Make your canvas large enough to work with.
Make layer 1 active and go to selections select all float and defloat.
Open paper 3 and copy and paste as a new layer layer.
Selections invert and hit delete.
Selections select none.
Delete the original 1 layer.
Repeat the above steps with all the layers until they are filled except layer 8.
Add a drop shadow to each layer.
Open your tube and copy and paste as a new layer.
Position in the middle of the tag and add a drop shadow.
Re-size if necessary.
I will list the elements I used.
Placement is entirely up to you.
If you want your tag to look just like mine then you may use my tag for a reference.
Elements used:
candycanes1
christmasbells2
christmasgift1
christmasstocking3
Using the font of your choice write out some word art if you wish along the bottom like I did.
Add your name.
Add your copyright and licensing information.
Crop and save.