
Off With Her Head
Written 2/11/2017
This tutorial is meant purely as a guide. Feel free to
use your own choice of tube or scrap kit to make your tag unique. If you want
your tag to look just like mine then use the same supplies I have used. This
tutorial assumes you have a knowledge of paint shop pro. Any resemblance to any
other tag or tutorial is completely coincidental.
Supplies Used:
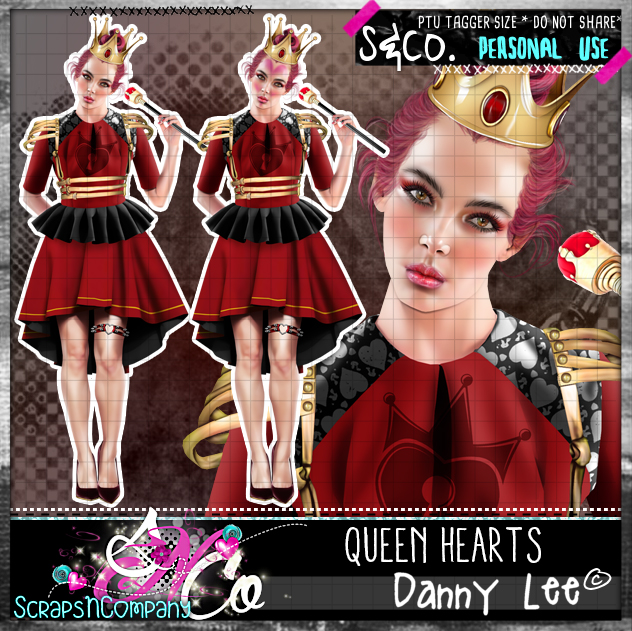
Tube of your choice. I am using a tube by Danny Lee
called Queen Hearts. You can purchase her at http://scrapsncompany.com/index.php?main_page=product_info&cPath=113_132_219&products_id=25737
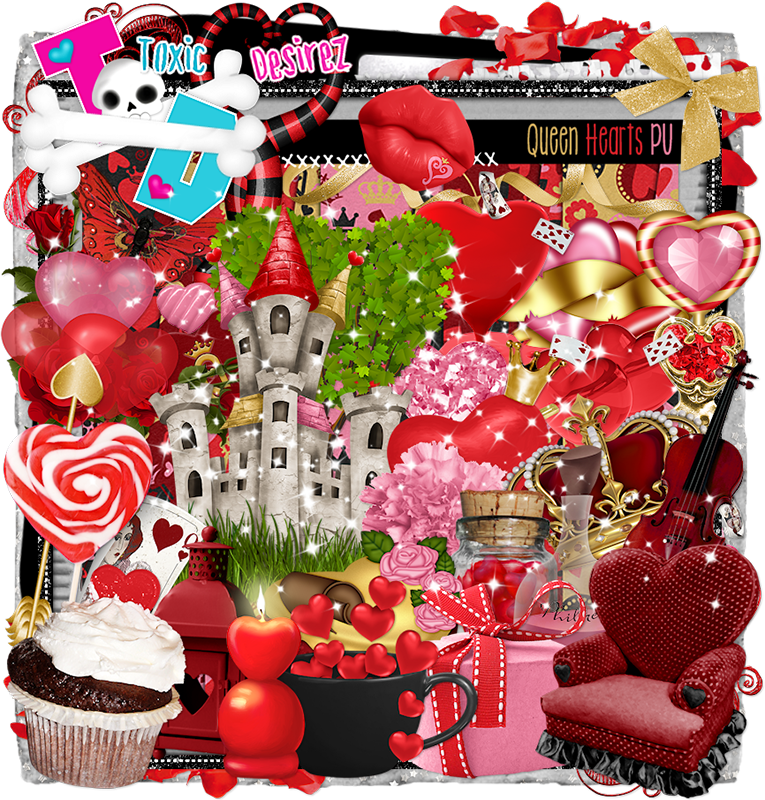
Scrap kit is by Toxic Desirez. It is called Queen
Hearts also and can be purchased at http://scrapsncompany.com/index.php?main_page=product_info&products_id=25735
Font of your choice. I am using Amsterday Script. This
is a PTU font.
Let's Begin:
Open frame 1 from the kit and shift+D to duplicate.
Close the original. Re-size as you wish. Make your canvas large enough to work
with.
Using your freehand selection tool set on point to
point carefully select around the frame as close to the inside edge that you
can get.
Create a foreground background gradient using 2 colors
from your tube or the kit. Set the gradient on sunburst with repeats of 2. Layers
new raster layer and drag under the frame. Flood fill with your gradient.
Layers new raster layer.
Now using your clone tool clone parts of your tube
into the selected area on the brand-new layer. Once you are happy selections
select none. Lower the opacity of this layer to 50.
Make your gradient layer active and using your soften
brush go around the edges and soften the gradient so it doesn’t look so harsh
around the edges.
Add a drop shadow to the frame layer.
Open the grass from the kit and copy and paste as a
new layer. Re-size so it fits nicely along the bottom of the frame. Add a drop
shadow.
Open your tube and copy and paste as a new layer.
Re-size so she is just slightly larger than the tag at this point. Place on the
far-right side. Add a drop shadow.
Now let’s dress the tag up with elements from the kit.
I will list the elements I used. Feel free to use other elements to make your
tag unique. Placement of the elements is completely up to you. If you want your
tag to look just like mine, then use my tag for reference.
Elements I used:
Arrow
Castle
Chair
Crown
Cup of Hearts
Jar of Hearts
Key
Melting Heart
Ribbon
Add your name.
Add your copyright and licensing information.
Crop and re-size if you wish.
Save your tag.
♥♥♥