Showing posts with label The Hunter. Show all posts

Saturday, January 23, 2016

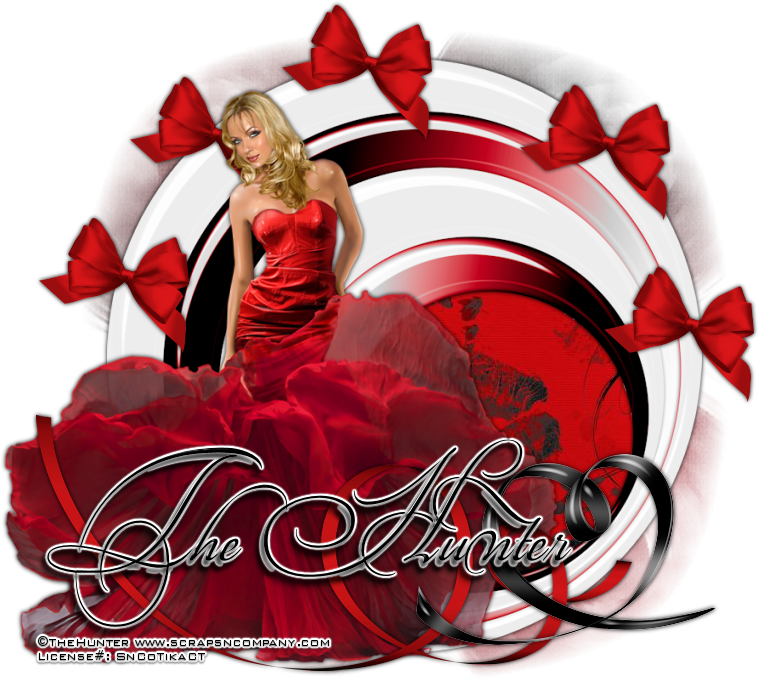
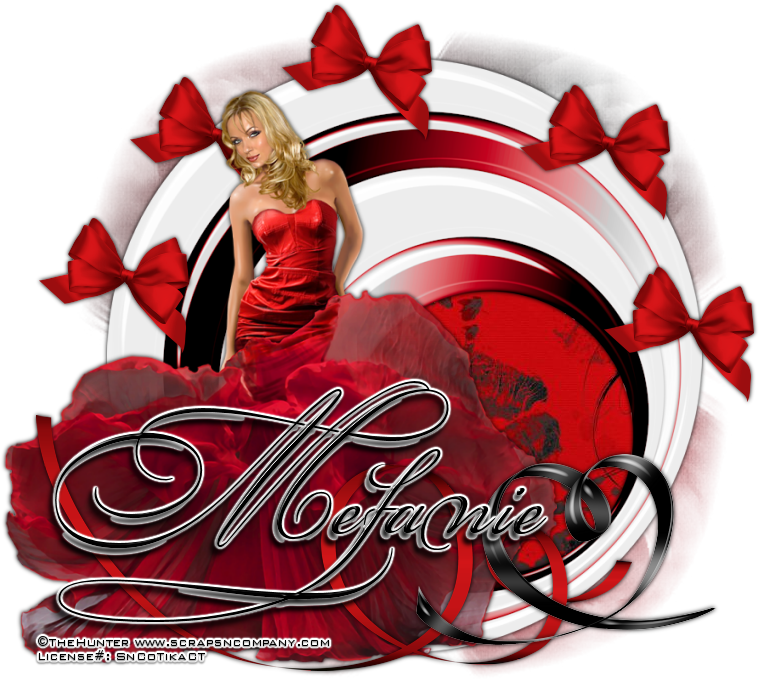
Lady In Red


Lady In Red
written 1/21/2016

This tutorial is meant purely as a guide. Feel free to make your tag unique by using your own choice of tube and scrap kit. If you want your tag to look just like mine then use the same supplies that I have used and follow my tutorial completely.

Supplies Used:


Matching scrap kit by Blissful Designs. You can purchase this kit at http://scrapsncompany.com/index.php?main_page=product_info&products_id=16715

Mask of your choice. I am using mask #29 from insatiable dreams. You can get her masks at http://insatiabledreams.net

Font of your choice. I am using Bickham Script Fancy. This is a PTU font.

Plugins:
NONE

Let's Begin:
Open element BD-F-2 and shift+D to duplicate.
Close the original.
Re-size by 85%.
Make your canvas large enough to work with.
Open BD-P-4 and copy and paste as a new layer.
Drag to the bottom.
Apply the mask of your choice.
Using your magic wand select the inside of the element.
Selections modify and expand by 8.
Open BD-P-3 and copy and paste as a new layer.
Position the part of the paper you want in the hole of the element.
Selections invert and hit delete.
Selections select none.
Add a drop shadow to the element.
Open your tube and copy and paste as a new layer and place on the far left of the element.
Re-size as needed.
Add a drop shadow.
Open BD-E-28 and copy and paste as a new layer.
Re-size as needed.
Place on the outside edge of the round element.
Duplicate several times and place along the edges of the circle element.
Merge all together and add a drop shadow.
Open element BD-E-69 and copy and paste as a new layer.
Re-size as needed.
Place in the lower right corner of the tag.
Add a drop shadow.
Open BD-E-9 and copy and paste as a new layer.
Image free rotate to the left 90 degrees.
Drag under the black heart and move to the bottom of the tag.
Add a drop shadow.
Add your name.
Add your copyright and licensing information.
Crop and save.

Monday, January 11, 2016

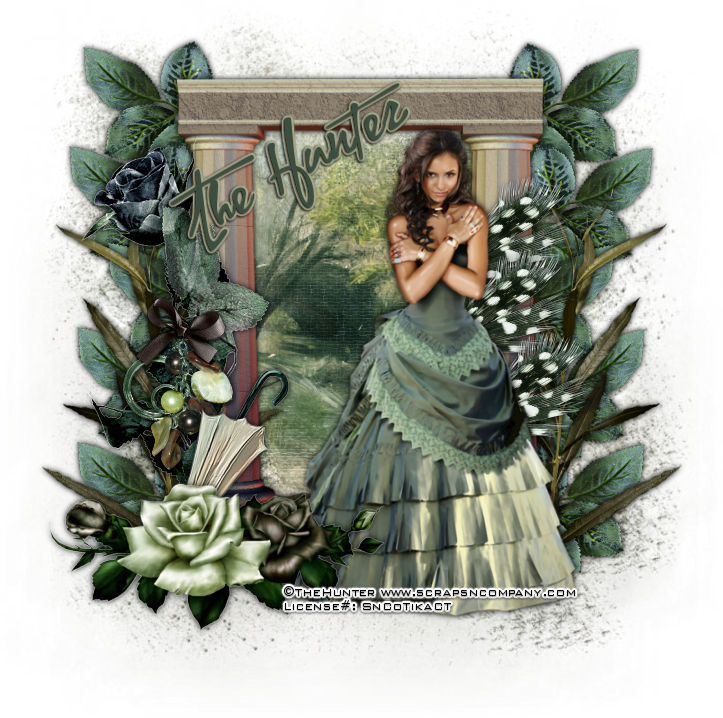
My Beauty


My Beauty
written 1/11/2016

This tutorial is meant purely as a guide. Feel free to make your tag unique by using your own choice of tube and scrap kit. If you want your tag to look just like mine then use the same supplies I have used.

Supplies Used:

Tube by The Hunter. It is called Katherina. You can purchase it at http://scrapsncompany.com/index.php?main_page=product_info&cPath=113_576_577&products_id=16793

Scrap kit by Devilish Dezines. It is also called Katherina. You can purchase it at http://scrapsncompany.com/index.php?main_page=product_info&products_id=16851

Mask of choice. I am using one by Designs By Anorie. It is mask #11. You can get it at http://anorie.blogspot.de/2016/01/mask-11.html
Also the second mask I am using is Mask #81 by Weescotslass Creations. You can get it at http://weescotslasscreations.blogspot.com/2009/04/masks.html

Font of your choice. I am using Yankee Ghosts BB. It is a PTU font and you can purchase it at https://www.myfonts.com/fonts/blambot/yankee-ghosts-bb/

Plugins:
NONE

Let's Begin:
Open paper 3 and shift+D to duplicate. Close the original.
Re-size if you choose.
Promote the background layer to a raster layer.
Apply the mask of your choice. This is where I used the mask by Anorie.
Delete the mask layer and merge the group.
Open element 7 and copy and paste as a new layer.
Re-size as needed so it will fit nicely in the center of the mask layer.
Open paper 1 and re-size so it just slightly larger than the columns.
Apply the second mask of your choice. This is where I used the mask by Weescotslass.
Delete the mask layer and merge the group.
Make sure it is centered in the columns.
Add a drop shadow to the columns.
Open element 17 and copy and paste as a new layer.
Drag under the columns.
Place at the top on the left side.
Duplicate several times and arrange all down the left side of the column.
Erase any bits that end up in the center of the columns.
Add a drop shadow to each and then merge them all together.
Duplicate and image flip horizontal.
Move to the right side.
Open element 31 and copy and paste as a new layer.
Place under the columns but on top of the other leaves on the right side.
Add a drop shadow.
Duplicate and move this copy to the left side.
Open your tube and copy and paste as a new layer.
Re-size so she fits nicely within the column area and to the right.
Add a drop shadow.
Open element 8 and copy and paste as a new layer.
Re-size and move under your tube.
Place so it is peeking out around the right side of the tube.
Add a drop shadow and duplicate a couple of times.
Move the copies down so they run along the right side of the tube.
Open element 25 and copy and paste as a new layer.
Image free rotate to the left 90 degrees.
Adjust sharpen.
Re-size so it is just smaller than the columns and move over in front of the left column.
Add a drop shadow.
Open element 47 and copy and paste as a new layer.
Re-size so it will fit nicely at the bottom of the left column in front of the rose.
Add a drop shadow.
Open element 2 and copy and paste as a new layer.
Re-size so it will fit nicely at the bottom on the left in front of everything.
Add a drop shadow.
Add your name.
Add your copyright and licensing information.
Crop and save.


Tuesday, January 13, 2015

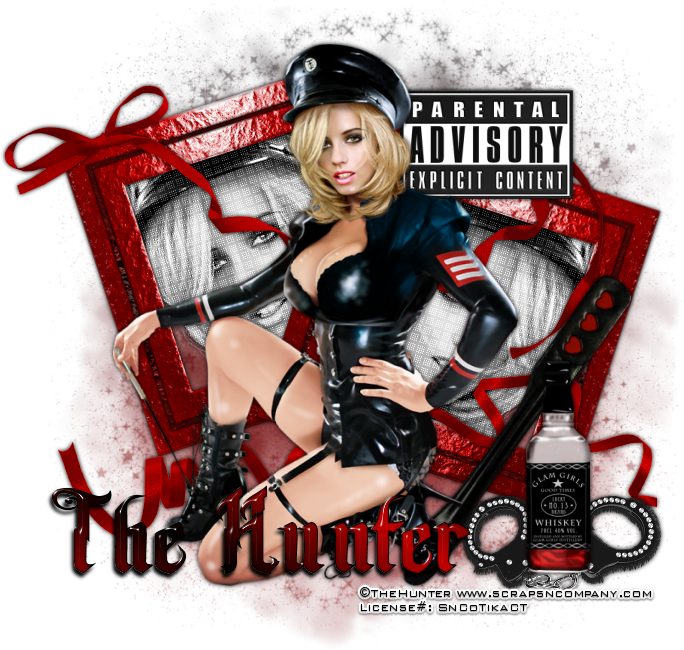
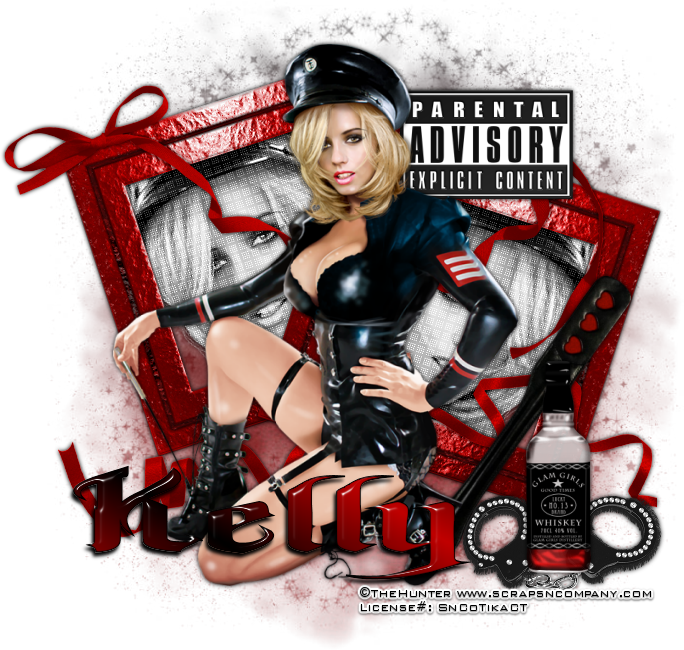
Love Commander


Love Commander
written 1/13/2014

Supplies Needed:


Mask of your choice. I am using mask #27 by Millie. You can get her masks at http://milliespspmadness.blogspot.com/search/label/Masks

Font of your choice. I am using Back Stab. You can get it at http://www.dafont.com/backstab.font

Plugins:
Penta dot com Dot and Cross

Lets Begin:
Open a new blank canvas that will give you plenty of room to work with.
Open element 35.
Re-size by 65%.
Copy and paste as a new layer.
Using your magic wand select the inside of the frame.
Selections modify and expand by 4.
Open the close up of your tube and copy and paste as a new layer.
Drag under the frame and position her face in the frame.
Selections invert and hit delete.
Selections select none.
Adjust hue and saturation/colorize and set both properties to 0.
Apply the Penta dot com Dot and Cross plugin using the default settings.
Add a drop shadow to both the tube and the frame.
Merge these 2 layers together.
Image free rotate to the left 18 degrees.
Duplicate and image flip horizontal.
Move this duplicate to the right and down just a bit.
Open your main tube and copy and paste as a new layer.
Place in the center in front of the frames.
Add a drop shadow.
Open element 6 and re-size by 50%.
Copy and paste as a new layer.
Move over to the far right of the frames.
Open element 10.
Re-size by 50% and again by 75%.
Copy and paste as a new layer.
Move up near the tubes head and drag behind your tube a bit.
Open element 14 and copy and paste as a new layer and move to the far top left of the frame.
Open element 15 and copy and paste as a new layer and place near the bottom.
Open element 49 and re-size by 50%.
Copy and paste as a new layer and move under the bottle.
Open element 54 and re-size by 75% 2x.
Copy and paste as a new layer and place between your tube and the bottle.
Open paper 9 and copy and paste as a new layer.
Drag to the bottom.
Apply the mask of your choice.
Delete the mask layer and merge the group.
Add your name.
Add your copyright and licensing information.
Crop and save.


Friday, November 14, 2014

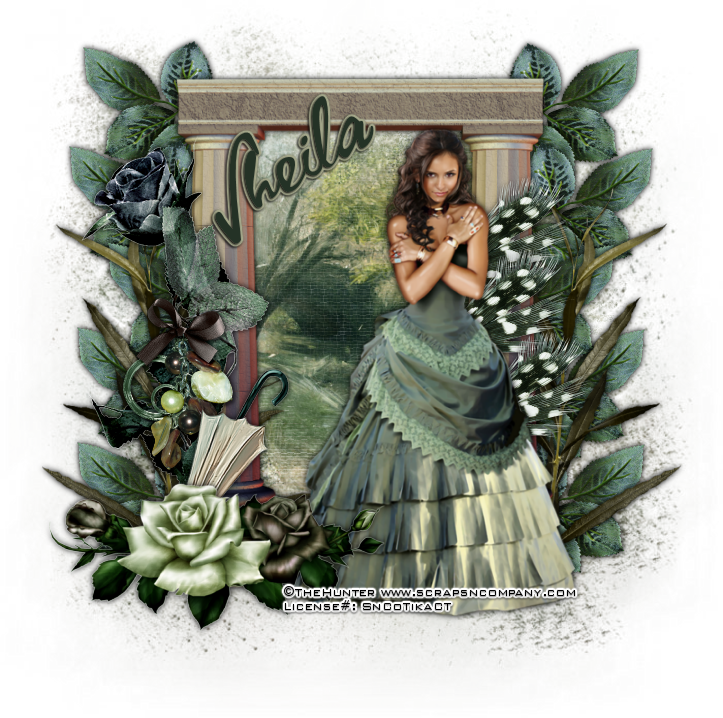
Stockings


Stockings
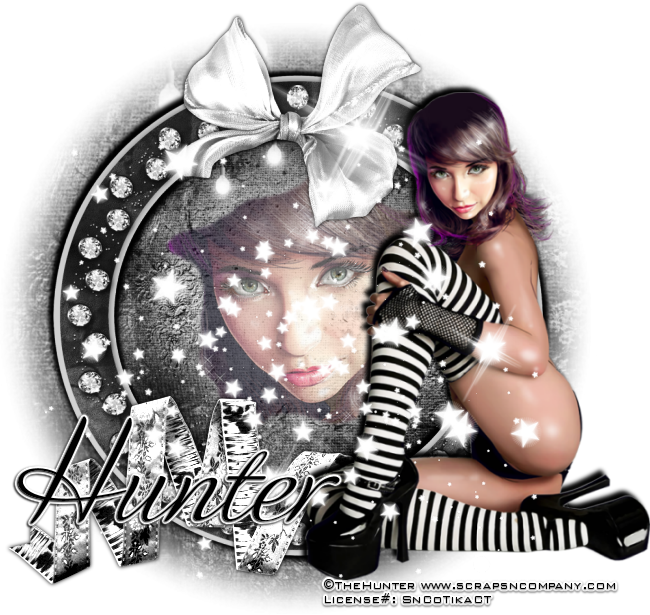
written 11/14/2014

Supplies Needed:


Matching scrap kit by Bibi's Collection. You can get it at http://scrapsncompany.com/index.php?main_page=product_info&products_id=6486

Mask of your choice. I am using mask #200 by Insatiable Dreams. You can get her masks at http://insatiabledreams.net

Font of your choice. I am using Adios Script. It is a Pay To Use font. You can purchase it at http://www.myfonts.com/fonts/sudtipos/adios-script-pro/regular/

Plugins:
None

Lets Begin:
Open element 9 and shift+D to duplicate.
Close the original so you can use it again.
Re-size by 65%.
Make your canvas larger so you have room to work with.
Layers new raster layer and drag under the frame.
Make your frame active and use your magic wand to select the inside of the frame.
Selections modify and expand by 6.
Open paper 2 and copy and paste into selection.
Selections select none.
Use your freehand selection tool set to freehand.
Draw around the middle part of the paper that looks to be the whitest.
Open the closeup of your tube and copy and paste as a new layer and position her face within the part that you just selected.
Selections invert and hit delete.
Selections invert again and then go to selections modify and contract by 4.
Selections invert and then selections feather and hit delete a few times.
This will soften the edges of your tube.
Selections select none.
Lower the opacity of this tube layer to 60.
Copy and paste the paper again as a new layer and drag to the bottom.
Apply the mask of your choice.
Delete the mask layer and merge the group.
Center behind your frame if it is not there already.
Add a nice drop shadow to your frame.
Open your full size tube and re-size so it will fit nicely along side the frame.
Copy and paste as a new layer and move to the far right side.
Add a drop shadow.
Open element 6 and copy and paste as a new layer and move under your tube.
Place along the bottom of the frame.
Add a drop shadow.
Open element 7 and re-size by 65%.
Copy and paste as a new layer and place at the top center of the frame.
Add a drop shadow.
Open element 76 and re-size by 50%.
Copy and paste as a new layer and center on your tag.
Add your name.
Add your copyright and licensing information.
Crop and save.
 

Saturday, October 18, 2014

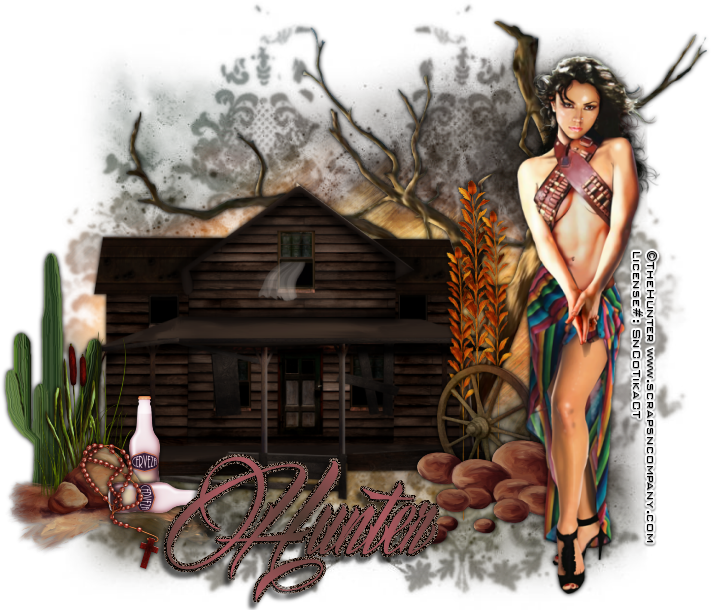
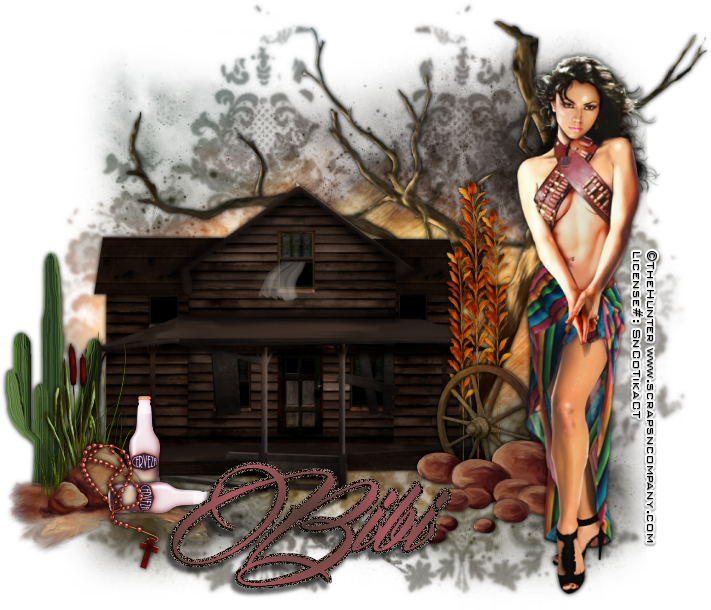
Nina Bonita


Nina Bonita
written 10/17/2014

Supplies needed:


Scrap Kit by Bibi's Collection. You can get it at http://scrapsncompany.com/index.php?main_page=product_info&products_id=6103

Mask of your choice. I am using mask # 31 by Millies PSP Madness. You can get her masks at http://milliespspmadness.blogspot.com/

Font of your choice. I am using Billion Stars. You can get it at http://www.fontspace.com/m%C3%A5ns-greb%C3%A4ck/billion-stars-personal-use

Lets Begin:
Open element 21 and shift+D.
Close the original.
Re-size it by 60%.
Make your canvas large enough to work with.
Open paper 7 and copy and paste as a new layer and drag to the bottom.
Apply the mask of your choice.
Delete the mask layer and merge the group.
Add a drop shadow to the house.
Open your full tube and copy and paste as a new layer and move over to the far right side.
Add a drop shadow.
Open element 103 and re-size by 75% 2 times.
Copy and paste as a new layer and drag under the house.
Place to the right side peeking out behind the house and your tube.
Add a drop shadow.
Open element 98 and re-size by 50% 2 times.
Copy and paste as a new layer and move to the far left side at the base of the house and in front of it.
Open element 97 and re-size by 50% 2 times.
Copy and paste as a new layer and move to the right side of the house and drag behind your tube.
Open element 81 and re-size by 50% and then again by 70%.
Copy and paste as a new layer and move to the far right side between the house and your tube.
Drag under the rocks layer and add a drop shadow.
Open element 78 and re-size by 50% and then again by 75%.
Copy and paste as a new layer and move to the far left of the house.
Drag under the rocks and plants layer.
Add a drop shadow.
Open element 58 and re-size by 50% 2 times.
Copy and paste as a new layer.
Move over to the right side of the rocks and plants element.
Add a drop shadow.
Duplicate this layer and image rotate to the right 90 degrees.
Adjust sharpen.
Move so it is laying in front of the rocks and plants and also the other bottle.
Open element 31 and re-size by 50% 2 times and copy and paste as a new layer in front of the rocks and plants and the bottle that is laying down.
Add a drop shadow.
Open element 27 and re-size by 50%.
Copy and paste as a new layer and place on the right side of the house between it and your tube.
Drag under the other elements there.
Add a drop shadow.
Duplicate a couple of times and place them next to each other in varying lengths.
Add your name.
Add your copyright and licensing information.
Crop and save.


Saturday, September 27, 2014

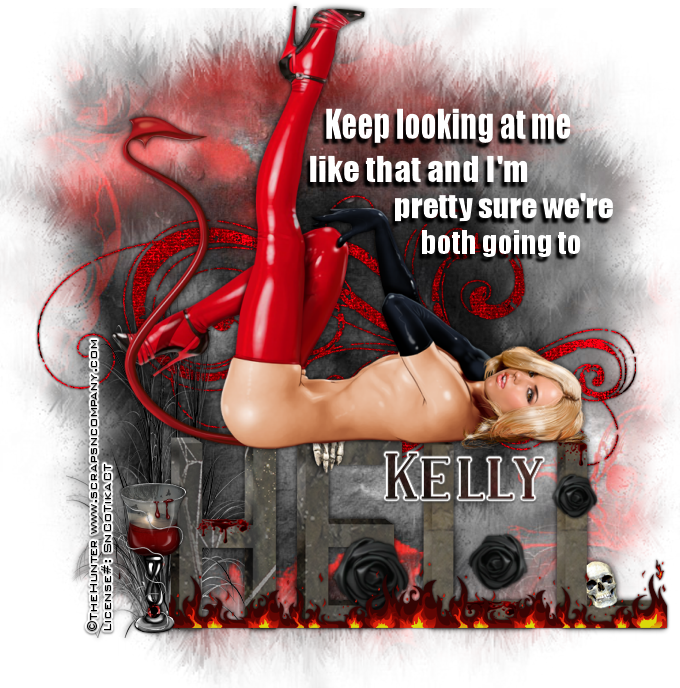
Going To Hell


Going to Hell
written on 9/27/2014

Supplies Needed:


Mask of your choice. I am using mask #177 by Insatiable Dreams. You can get her awesome masks at http://insatiabledreams.net

Font of choice. I am using Impact and SF Covington SC. You can get the Covington fonts from http://www.1001fonts.com/sf-covington-font.html

Lets Begin:

Open element 1 and shift+D to duplicate.
Close the original.
Make your canvas large enough to work with.
Open the tube and copy and paste the laying down tube.
Re-size her so she will fit nicely along the top of the letters.
Add a drop shadow to both the letters and the tube.
Open paper 25 and copy and paste as a new layer.
Drag to the bottom and apply the mask.
Delete the mask layer and merge the group.
Using a font of your choice add some text if you would like.
Open element 84 and copy and paste as a new layer and place along the bottom of the “Hell” text.
Erase some bits of needed if it overhangs.
Add a drop shadow.
Open element 90 and copy and paste as a new layer and place behind your tube.
Add a drop shadow.
Open element 61 and re-size so it will fit nicely along side of the text.
Copy and paste as a new layer and add a drop shadow.
Open element 104 and re-size so it will fit nicely in front of the text.
Copy and paste as a new layer and add a drop shadow.
Add your name.
Add your copyright and licensing information.
Crop and save.
Saturday, July 26, 2014

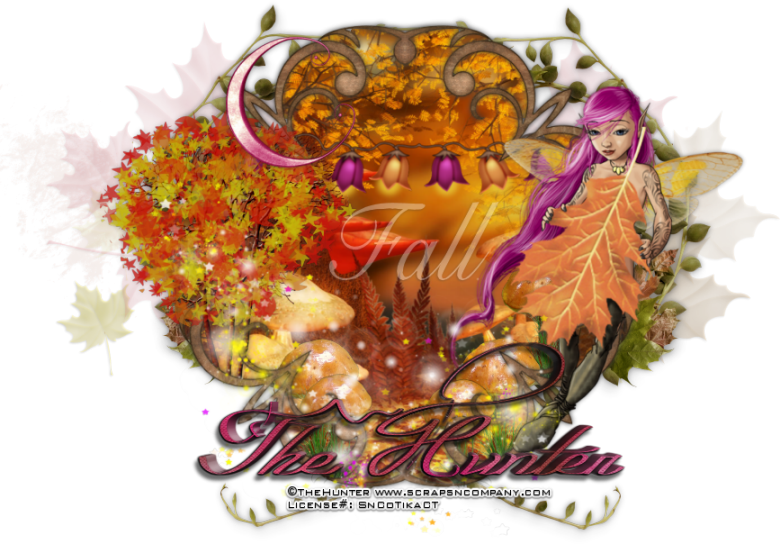
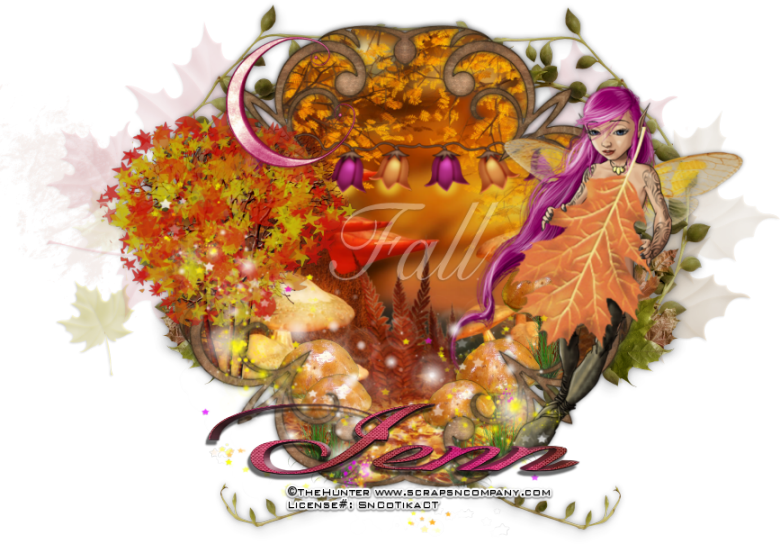
Fall Whimsy


Fall Whimsy
written 7/26/2014

Supplies Needed :


Scrap Kit by Ginnibug Designz. You can get it at http://scrapsncompany.com/index.php?main_page=product_info&products_id=4886

Font of your choice. I am using Cygnet Round and Cursivessca Kursive Kursive.

Lets Begin:
Open af60 from the kit.
Shift+d to duplicate.
Close the original.
Resize by 85%.
Make your canvas large enough to work with.
Center the frame in the canvas.
Using your magic wand select the inside of the frame.
Selections modify and expand by 2.
Layers new raster layer and drag under the frame.
Open afp1 and copy and paste into selection.
Selections select none.
Open your tube and resize and copy and paste as a new layer and move to the far right of the frame.
Add a slight drop shadow.
Open af11 and copy and paste as a new layer.
Move over to the far left so it is peeking out from behind the frame.
Duplicate and image flip horizontal.
Move the duplicate to the right side.
Merge these 2 layers together and add a drop shadow.
Open af12 and resize by 50% 2x.
Copy and paste as a new layer into the frame above your paper but under the frame.
Place along the bottom and duplicate a few times and just place them randomly.
Open af62 and resize by 60%.
Copy and paste as a new layer and move to the far left side. I made it look like it was coming out of the frame.
Open af96 and copy and paste as a new layer.
Resize and move over to the top left.
Add a drop shadow.
Open af100 and copy and paste as a new layer and move over to the far left.
Drag to the very bottom.
Duplicate and move this layer to the far right.
Open af95 and resize so they fit nicely in the frame near the top.
Open af84 and resize so it fits nicely along the bottom of the frame and goes up the left side.
If you want to add some text to the center like I did that is up to you.
Add your name.
Add your copyright and licensing information.
Crop and save.

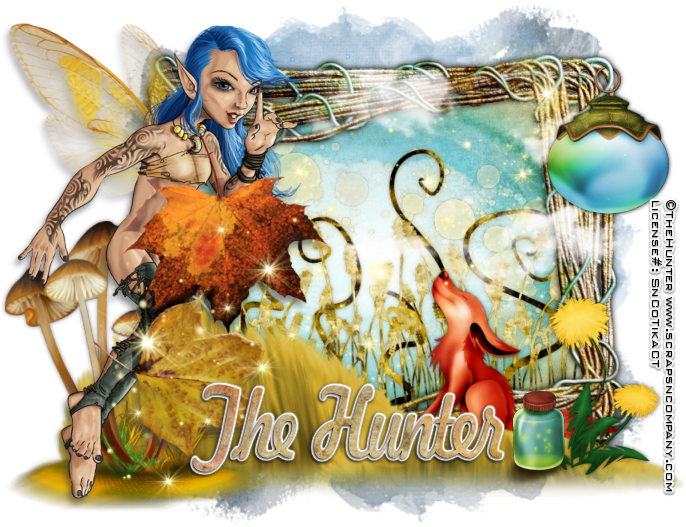
Rebel Fairy


Rebel Fairy
written 7/26/2014

Supplies Needed:


Mask of your choice. I am using mask #254 by Wescotlass Creations. You can get her masks at http://weescotslasscreations.blogspot.com/2009/04/masks.html

Font of your choice. I am using GE Ballantine Script Normal. You can get it at http://www.fontpalace.com/font-details/GE+Ballantine+Script+Normal/


Lets Begin:
Open the wire frame from the kit and shift+d to duplicate.
Close the original.
Rotate the frame to the right.
Resize by 80%.
Make your canvas large enough to give you room to work with.
Center the frame in the canvas.
You will notice that this is 2 frames on top of each other with one slightly skewed.
Using your selection tool set to point to point select the outside edges and make sure you are getting both frames in there so we can place the paper in both.
Layers new raster layer and drag under the frame.
Open paper 4 and edit copy.
Paste into selection.
Selections select none.
Add a nice drop shadow to the frame.
I used
0
0
9.00
black
Open your tube and resize her so she will fit nicely on the side of the frame.
Copy and paste as a new layer and move to the left side of the frame.
Add a nice drop shadow but you don't want it to be too dark as the wings are semi transparent.
I used
5
-3
60
medium grey color
Open paper 11 and copy and paste as a new layer and drag to the bottom.
Apply your mask. Delete the mask layer and merge the group.
Open clouds from the kit and resize if you need to so it will fit along the top of your frame.
Copy and paste as a new layer on top of your frame but under your tube.
You will notice that the top clouds have a straight line so to make this look ok line it up along the top of your frame.
Open elves2 element and resize if you need to but you want this along the bottom of the frame but on the outside.
Copy and paste as a new layer and drag under your clouds but on top of y our frame.
Place along the bottom.
Add a soft drop shadow.
I used
0
0
6.50
the dark green from the grass.
Open the fox from the kit and resize so it will fit nicely behind the grass on the right hand side.
The object is to give this some dimension.
Add the same drop shadow as above but change the color to black.
Open the flowes element and resize so it will fit nicely on the far right in front of your grass.
Add the same drop shadow as above.
Open grass element and copy and paste as a new layer just above the paper in your frame layer.
Resize so it will fit nicely in the frame.
Add the same drop shadow as above but change the color to the darker color in the grass.
Open lamp2 from the kit and resize so it will fit nicely on the far right of the frame.
I wanted mine a lil large; again creating dimension here.
I erased bits of the circle at the top so it looked like it was hooked onto the wire in the frame.
Open magicpotions from the kit and resize so it is smaller than the flowers.
Copy and paste as a new layer and move to the bottom left of the flowers.
Open mushroom from the kit and resize.
Flip horizontal.
Copy and paste as a new layer and move under your tube and move to the left.
Add a drop shadow using the darker color in the mushroom.
Open sparkles2 and resize so it will fit nicely right on top of your tag so the sparkles go from bottom left to top right.
Add your name.
Add your copyright and licensing information.
Crop and save.