Showing posts with label Carpe Diem. Show all posts

Wednesday, February 24, 2016

My Favorite Color Is Ireland


Favorite Color Is Ireland
written 2/24/2016

This tutorial is meant purely as a guide. Feel free to make your tag unique by using your own choice of tube and scrap kit. If you want your tag to look just like mine then use the same supplies I have used. Any resemblance to any other tutorial or tag is purely coincidental.

Supplies Used:


Scrap Kit by Lil Mz Brainstorm. You can purchase it at http://scrapsncompany.com/index.php?main_page=product_info&products_id=17752

Font of your choice. I am using Catharsis Macchiato and Celtic Garamond and Celtic Hand.

Plugins:
NONE

Let's begin:
Open element 2 from the kit and shift+D to duplicate.
Close the original.
Re-size if you choose.
Make your canvas large enough to work with.
Using your magic wand select the inside of the frame.
Selections modify expand by 5.
Layers new raster layer and drag under the frame.
Open paper 19 and copy and paste into selection.
Selections select none.
Add a drop shadow to the frame.
Open your tube and re-size so she is just larger than the frame.
Copy and paste as a new layer and move to the far right hand side.
Add a drop shadow.
Open element 18 and re-size.
Copy and paste as a new layer.
Place in the top right hand corner of the frame and drag under your tube.
Add a drop shadow.
Duplicate and image flip horizontal.
Move this duplicate to the top left hand corner.
Open element 34 and copy and paste as a new layer.
Drag down under the frame.
Place at the bottom.
Erase any bits hanging outside of the frame on both sides.
Add a drop shadow.
Open element 89 and re-size.
Copy and paste as a new layer and place at the top center of the frame.
Add a drop shadow.
Open element 93 and re-size.
Image flip horizontal.
Copy and paste as a new layer and place in the lower left corner.
Add a drop shadow.
Open element 90 and re-size.
Copy and paste as a new layer.
Drag under the leprechaun.
Add a drop shadow.
Open element 87 and re-size.
Image free rotate to the right 20 degrees.
Adjust sharpen.
Copy and paste as a new layer and place in the top left area of the frame.
Add a drop shadow.
Add some text if you choose to the inside of the frame at the top.
Add your name.
Add your copyright and licensing information.
Crop and save.


Wednesday, September 16, 2015

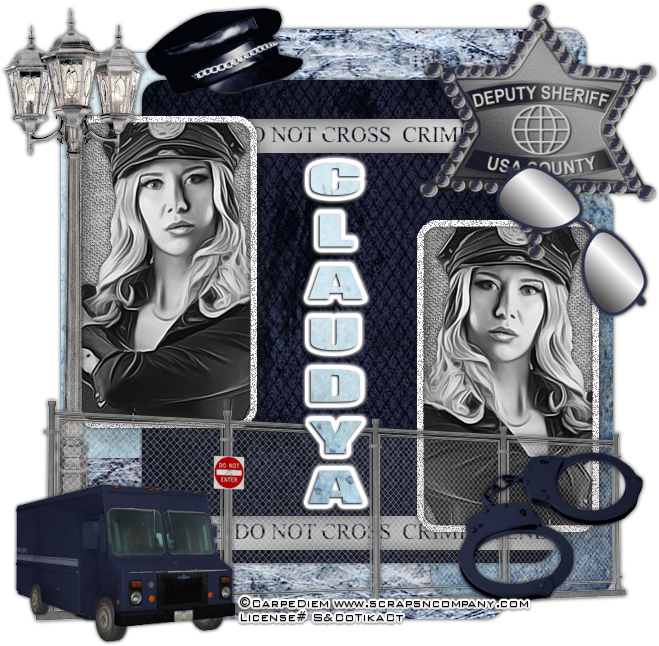
Freeze Right There


Freeze Right There
written 9/16/2015

This tutorial is meant to be a guide. Feel free to make your tag unique to you. If you want your tag to look exactly like mine then use the same supplies as I have and follow the tutorial.

Supplies Used:


Scrap Kit by Blissful Designs. You can get it at http://scrapsncompany.com/index.php?main_page=product_info&products_id=13734


Font of your choice. I am using Impact. This is a free windows font.

Plugins:
NONE

Let's begin:
Open the template and shift+D to duplicate.
Close the original.
Remove the following layers:
cr
10
bkgrd
Make your canvas large enough to work with.
You can crop and re-size when you are done.
Merge together layers 1 and 2.
Selections select all float and defloat
Open paper 4 and copy and paste as a new layer.
Selections invert and hit delete.
Selections select none.
Merge layers 3 and 4 together.
Repeat the above steps but using paper 2.
Repeat the above steps for layers 5 using paper 3.
Merge together layers 8 and 6.
Repeat above steps using paper 5.
Copy and paste your tube into each of the layers on the left and right side.
Change the properties of each layer to luminance legacy.
Add a drop shadow to each tube.
Merge together layers 9 and 7.
Add noise at 100% uniform and monochrome.
Add a drop shadow to all layers.
Open element 11 and copy and paste as a new layer and move to the far left side.
Add a drop shadow.
Open element 74 and flip horizontal.
Copy and paste as a new layer and re-size so it fits under the picture frame by the light post.
Add a drop shadow.
Open element 68 and copy and paste as a new layer.
Drag behind the truck.
Add a drop shadow.
Open element 54 and copy and paste as a new layer.
Re-size.
Image rotate to the right 45 degrees.
Place on the top right corner of the frame on the right side.
Add a drop shadow.
Open element 43.
Copy and paste as a new layer.
Re-size.
Image flip horizontal.
Move to the top left of the tag.
Add a drop shadow.
Open element 42.
Copy and paste as a new layer.
Re-size.
Move to the bottom right of the tag.
Add a drop shadow.
Open element 38 and re-size so it will fit across the blue middle of the tag.
Copy and paste as a new layer and drag down to just above the blue layer.
Place at the top of the blue area.
Add a drop shadow.
Duplicate and move down to the bottom of the blue area.
Open element 29.
Copy and paste as a new layer and move to the top right of the tag.
Add a drop shadow.
Add your name.
Add your copyright and licensing information.
Crop and save.


Thursday, May 14, 2015

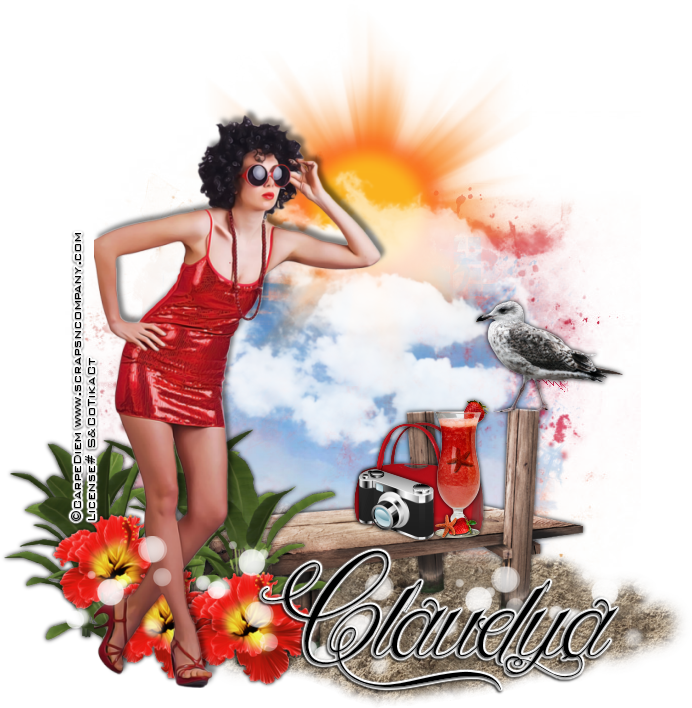
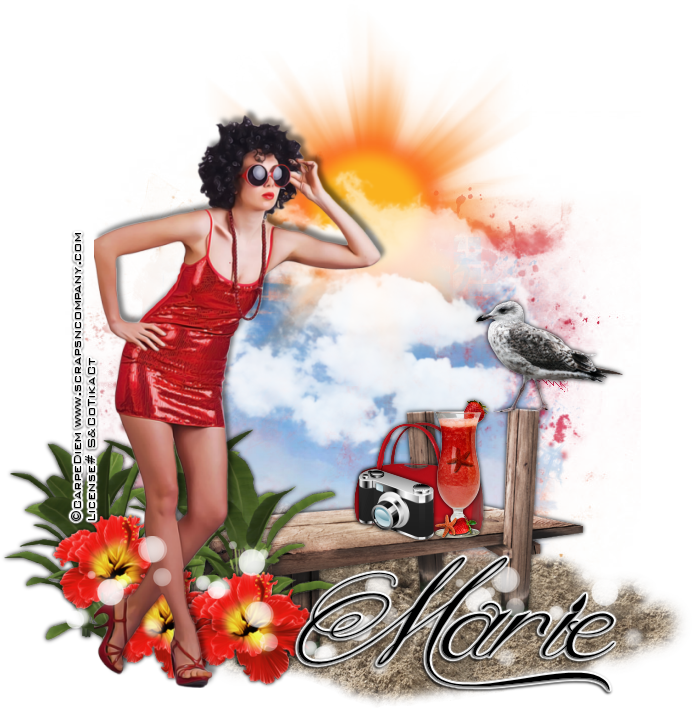
Hermoso Verano


Hermoso Verano
written 5/14/2015

Supplies Needed:


Mask by Rocked By Rachel. You can get it at https://rockedbyrachel.wordpress.com/2015/05/13/mask-set-67/

Font of your choice. I am using Queen of the Moon. You can get it at http://www.dafont.com/queen-of-the-moon.font

Plugins:
NONE

Let's Begin:
Open paper 11 and shift+D to duplicate.
Close the original.
Promote your background layer to a raster layer.
Make your canvas large enough to give you room to work with.
Apply your mask.
Delete the mask layer and merge the group.
Open paper 9 and copy and paste as a new layer.
Apply another mask and delete the mask layer and merge the group.
Re-size this mask by 85% so its a bit smaller.
Open your tube and copy and paste as a new layer.
Place wherever you would like.
Add a drop shadow.
Open element 61 from the kit.
Copy and paste as a new layer and drag under your tube.
Re-size by 85% 2x.
Move to the top center of the tag area.
Open element 46.
Copy and paste as a new layer and drag under your tube.
Re-size by 75%.
Place near the bottom of the tag.
Open element 48.
Copy and paste as a new layer.
Drag under your tube but above the pier.
Re-size by 75% 2x.
Move behind your tube so it is peeking out around both sides and in front of the pier.
Add a drop shadow.
Open element 33-3 and re-size by 50% 3x.
Copy and paste as a new layer and move over to the left of your tube but in front of the leaves.
Duplicate a few times and place around her feet.
Open element 44 and re-size by 50% 3x.
Copy and paste as a new layer and place on one of the posts of the pier opposite your tube.
Add a drop shadow.
Open element 34 and re-size by 50% 2x.
Copy and paste as a new layer and place on the pier.
Add a drop shadow.
Open element 1-c and re-size by 50% 2x.
Copy and paste as a new layer and move under the drink.
Place on the pier behind the drink.
Add a drop shadow.
Open element 31 and re-size by 50% 3x.
Copy and paste as a new layer on the pier in front of the pocketbook.
Add a drop shadow.
Open element 56 and copy and paste as a new layer.
Drag down under the pier.
Place along the bottom.
Open element 58 and copy and paste as a new layer.
Place along the top in front of the sun and your masks layers.
Open element 25 and copy and paste as a new layer at the top.
Drag down and place along the bottom of the tag.
Add your name.
Add your copyright and licensing information.
Crop and save.


Saturday, May 2, 2015

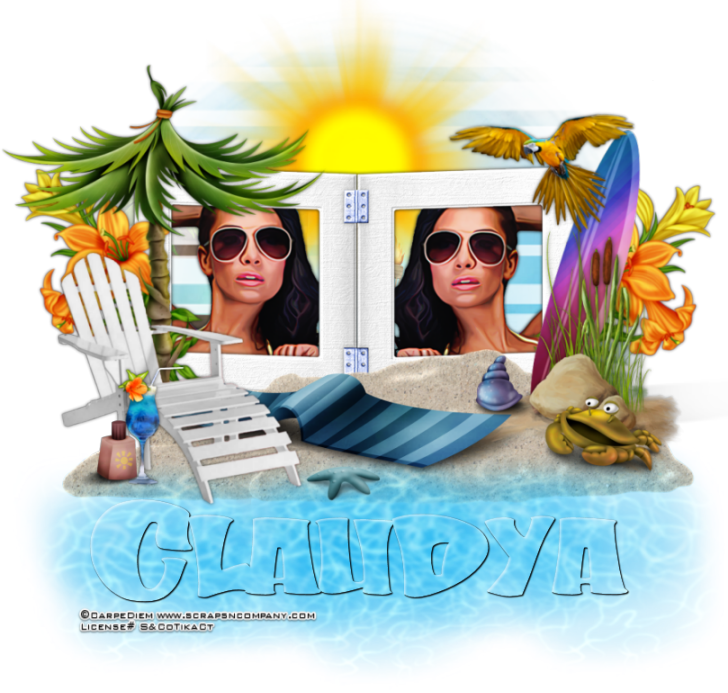
Sun and Salt Water


Sun and Salt Water
written 4/30/2015

Supplies Needed:


Mask of your choice. I am using mask #298 by insatiable dreams. You can get her masks at http://insatiabledreams.net

Font of your choice. I am using A&S California Plug. This is a PTU font.

Plugins:
None

Let's Begin:
Open frame 7 from the kit.
Shift +D to duplicate.
Close the original.
Make your canvas large enough to work with.
Open paper 4 and copy and paste as a new layer.
Drag under the frame.
Apply your mask.
Delete the mask layer and merge the group.
Center behind your frame.
Using your magic wand select the inside of the left side of your frame.
Selections modify and expand by 1.
Open your tube and copy and paste as a new layer.
Drag under the frame and position her face within the frame area.
Selections invert and delete.
Selections select none.
Repeat for the right side but flip your tube horizontal.
Add a drop shadow to both tubes and merge together.
Add a drop shadow to the frame.
Now lets dress up our tag.
My tutorial is meant to be a guide for you but as always you should make it your own.
I will tell you which elements I used and the placement is completely up to you.
If you choose to make it just like my tag then use my tag as a reference for placement.
Elements used:
4
23
33
44
52
53
60
61
62
63
94
98
100
101
103
Add your name.
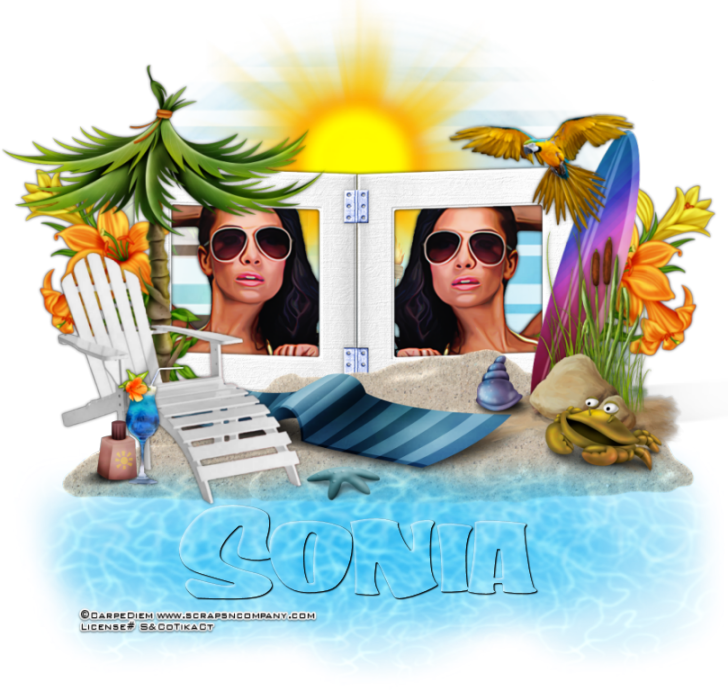
If you want to do your name like mine so it looks to be part of the water follow the steps below:
You will want to type out your name as floating instead of the normal vector.
Go to selections and save your selection to the alpha channel.
Go to selections and promote your selection to a layer.
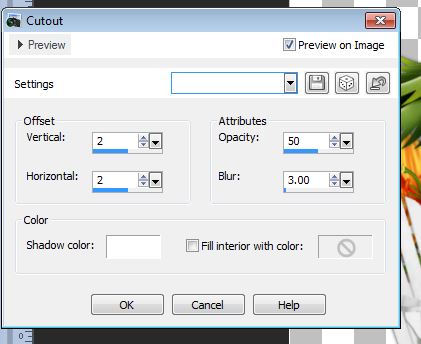
Effects Cutout using the following settings:

Selections select none.
Use your auto proof button if needed and make any adjustments.
Selections load selection from alpha channel and load the selection you just saved.
Add a drop shadow of : 1 1 80 2.00 color black.
Apply the drop shadow 2x.
Add your copyright and licensing information.
Crop and re-size if needed.
Save.