Showing posts with label Lysisange. Show all posts

Monday, January 2, 2017

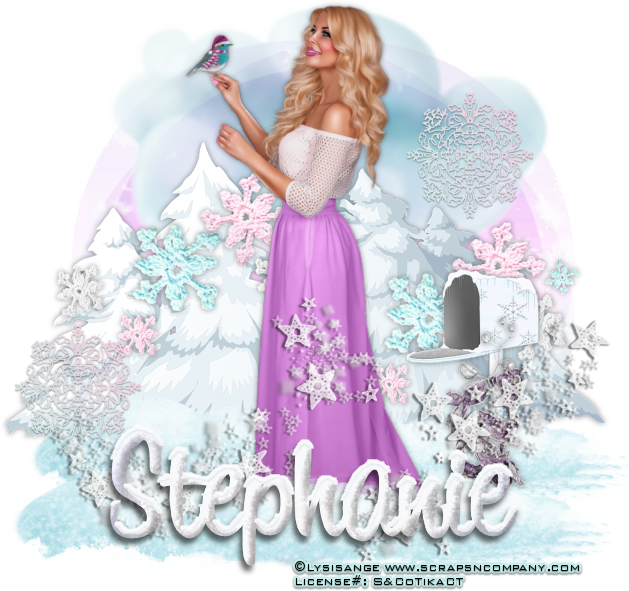
Winter Snow


Winter Snow
Written 1/2/2017
This tutorial is meant purely as a guide. Feel free to use your own choice of tube or scrap kit to make your tag unique. If you want your tag to look just like mine them use the same supplies I have used. This tutorial assumes you have a knowledge of paint shop pro. Any resemblance to any other tag or tutorial is completely coincidental.
Supplies Used:
Tube is by Lysisange. It is called Sweet Xmas and can be purchased at http://scrapsncompany.com/index.php?main_page=product_info&cPath=113_562&products_id=24850
The beautiful matching scrap kit is by Lil Mz Brainstorms. It is also called Sweet Xmas and can be purchased at http://scrapsncompany.com/index.php?main_page=product_info&products_id=24868
Mask of your choice. I am using mask #9 by Weescotslass Creations. You can get her masks at http://weescotslasscreations.blogspot.com/2009/04/masks.html
Font of your choice. I am using 1 Bean Sprout DNA. This is a PTU font. If you do not have it use any other font.
Plugins:
Eye Candy Nature Snowdrift  (optional)
Drop shadow used throughout:
0 0 60 8.00 #404040

Let's Begin:
Open paper 15 from the kit. Shift+D to duplicate. Close the original. Promote the background layer to a raster layer. Re-size the paper if you wish. Apply the mask of your choice. Delete the mask layer and merge the group.
Make your canvas large enough to give you plenty of room to work with. You can resize and crop when you are finished.
At this point I like to add my tube to the tag just so I can play around with the placement of the other elements that I choose to use. Open your tube. Copy and paste as a new layer. Re-size as needed. Place wherever you wish on the tag. This is your tag so make it unique. It doesn’t have to look just like mine unless you absolutely want it to.
Now let’s dress the tag up with elements from the kit. I will list the elements I used. Feel free to use other elements to make your tag unique. Placement of the elements is completely up to you. If you want your tag to look just like mine then use my tag for reference.
Elements I used:
12
22
42
51
58
70
97
100
Add your name.  I used the Eye Candy Nature Snowdrift plugin on the name but this is complete optional and up to you. If you choose to use it the setting I used was small first flakes.
Add your copyright and licensing information.
Crop and save re-size if you wish.
Thank you for trying my tutorial.
Have a blessed day!
Monday, July 11, 2016

One With Nature


One With Nature
Written 7/11/2016
This tutorial is meant purely as a guide. Feel free to use your own choice of tube or scrap kit to make your tag unique. If you want your tag to look just like mine them use the same supplies I have used. This tutorial assumes you have a knowledge of paint shop pro. Any resemblance to any other tag or tutorial is completely coincidental.

Supplies Used:
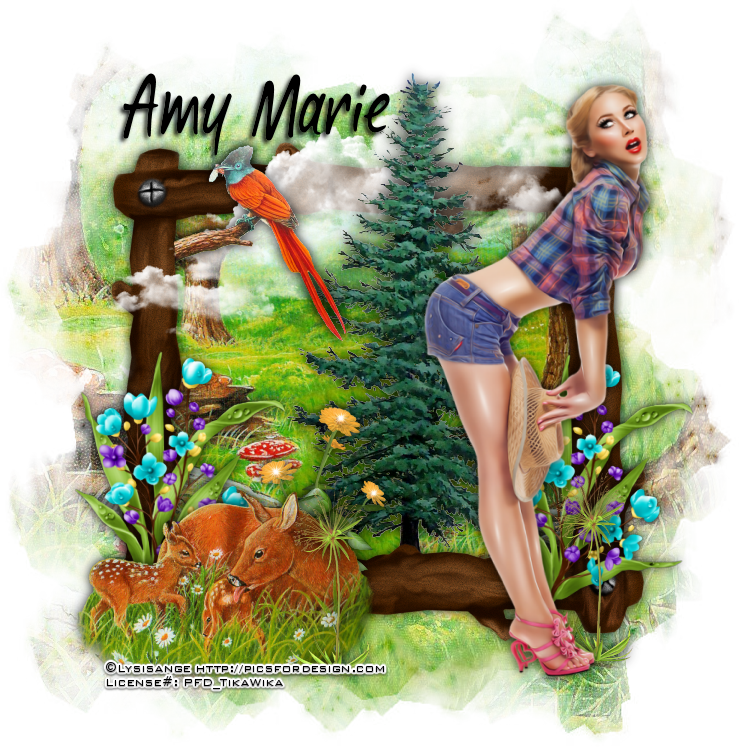
Tube of your choice. I am using the artwork of Lysisange. You can purchase this tube at http://picsfordesign.com
Scrap kit is called The Great Outdoors by Amy Marie’s Kits. You can purchase this kit at http://amymarieskits.com/store/
Mask of your choice. I am using Vix big mask 05. You can get her big masks at http://vixpsp.blogspot.com/2011/03/new-masks-for-2011-vix-big-set-1.html
Font of your choice. I am using Aspire. This is a PTU version.
Plugins:
NONE
Drop shadow used throughout:
0 0 85 16.00 black

Let's Begin:
Open element 82 and shift+D to duplicate. Close the original. Make your canvas large enough to work with. Open paper 9 and copy and paste as a new layer. Drag under the frame. Apply the mask of your choice. Delete the mask layer and merge the group. Using your magic wand select the inside of the frame. Selections modify expand by 5. Layers new raster layer and drag under the frame but above the mask. Copy and paste your paper into the selection. Selections select none. Add a drop shadow to the frame.
Open your tube and re-size until she is just larger than the frame. Copy and paste as a new layer and move to the far right side. Add a drop shadow.
Open element 55 and copy and paste as a new layer. Position wherever you want within the frame area and erase any bits you do not want hanging out using your eraser tool. Add a drop shadow.
Open element 10 and copy and paste as a new layer. Drag under the tree but above the frame. Position so it is behind the top of the tree and over the side of the frame.
Open element 28 and re-size by 75%. Copy and paste as a new layer at the top. Move to the bottom left hand corner. Place in front of the frame but with some of mask showing around it. Add a drop shadow.
Open element 88 and re-size by 75% and then again by 85%. Copy and paste as a new layer and move to the far left side. Drag under the deer. Add a drop shadow. Duplicate and move this duplicate to the far right side drag under your tube.
Open element 64 and re-size by 50%. Copy and paste as a new layer and move under the deer. Place to the right of the first set of flowers. Add a drop shadow.
Open element 50 and re-size by 50%. Copy and paste as a new layer and place in front of the deer but to the right. Add a drop shadow. Duplicate and move this duplicate to the far right side and drag under your tube.
Open element 48 and re-size by 50%. Copy and paste as a new layer and move to the top left side of the frame. Add a drop shadow. I erased some bits to make it look like it was coming out of the frame.
Add your name.
Add your copyright and licensing information.
Crop and save. 


Sunday, June 19, 2016

Beach Beauty


Beach Beauty
Written 6/19/2016
This tutorial is meant purely as a guide. Feel free to use your own choice of tube or scrap kit to make your tag unique. If you want your tag to look just like mine them use the same supplies I have used. This tutorial assumes you have a knowledge of paint shop pro. Any resemblance to any other tag or tutorial is completely coincidental.
Supplies Used:
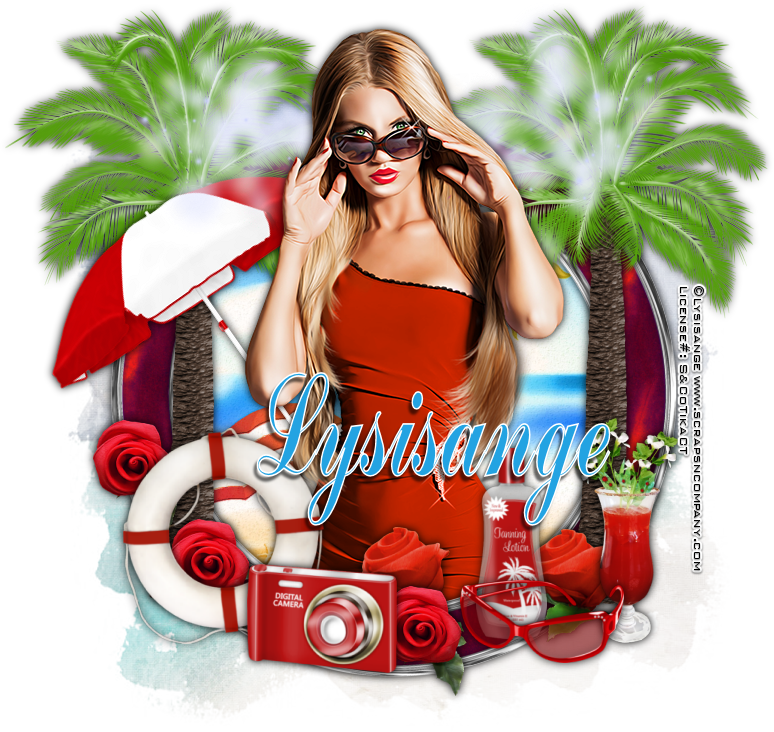
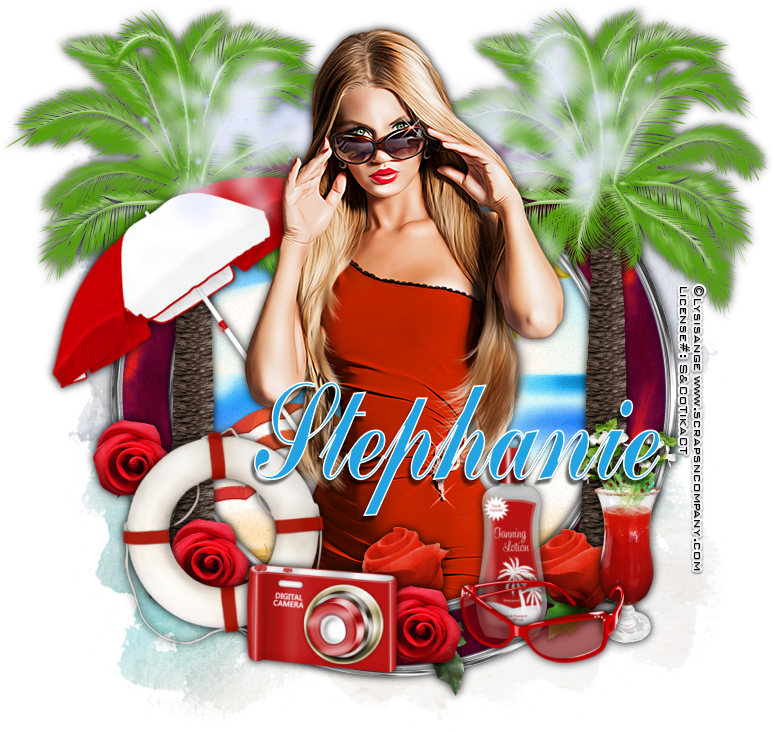
Tube of your choice. I am using one called Beach Party by Lysisange. You can purchase this tube at http://scrapsncompany.com/index.php?main_page=product_info&cPath=113_562&products_id=20020
Matching scrap kit by Lil Mz Brainstorms. It is also called Beach Party.  You can purchase it at http://scrapsncompany.com/index.php?main_page=product_info&products_id=20179
Font of your choice. I am using Commercial Script.
Plugins:
NONE
Drop shadow used throughout:
0 0 100 14.00 black

Let's Begin:
Open element 90 and shift+D to duplicate. Close the original. Make your canvas large enough to work with. Using your magic wand select the inside of the frame. Selections modify and expand by 3. Layers new raster layer and drag under the frame. Open paper 4 and copy and paste into selection. Leave selected. Open your tube and copy and paste as a new layer and position within the frame area that is selected. Erase any bits that are hanging out of the frame that you do not want. Selections select none. Add a drop shadow to both the frame and the tube.
Open element 104 and re-size by 85%. Copy and paste as a new layer and drag to the bottom. Position behind your tag.
Now let’s dress the tag up with elements from the kit. I will list the elements I used. Feel free to use other elements to make your tag unique. Placement of the elements is completely up to you. If you want your tag to look just like mine then use my tag for reference.
Elements I used:
13
14
28
29
32
42
57
65
80
81
Add your name.
Add your copyright and licensing information.

Crop and save.


Monday, May 2, 2016

Fluent Sarcasm - Forum Set


Fluent Sarcasm – Forum Set
written 5/2/2016

This tutorial is meant purely as a guide. Feel free to use your own choice of tube and scrap kit to make your tag unique. If you want your tag to look just like mine then use the same supplies I have used. This tutorial assumes you have a knowledge of paint shop pro. Any resemblance to any other tag or tutorial is purely coincidental.

Supplies Used:

Tube is by Lysisange. This tube is part of a wonderful collab at Scraps N Company. All you have to do is spend $12.50 at the store and you can get this collab as a free gift. Lots of great goodies in it. Check out the collab at http://scrapsncompany.com/index.php?main_page=product_info&cPath=587_144&products_id=19502

Scrap Kit is by Design By Joan. It is also part of the above collab.


Font of your choice. I am using Raven Script. You can download it at http://www.fontspace.com/mikrojihad-font/raven-script-demo

Plugins:
NONE

Drop shadow used throughout:
0 0 100 12.00 black

Let's Begin:
Open all of your supplies.
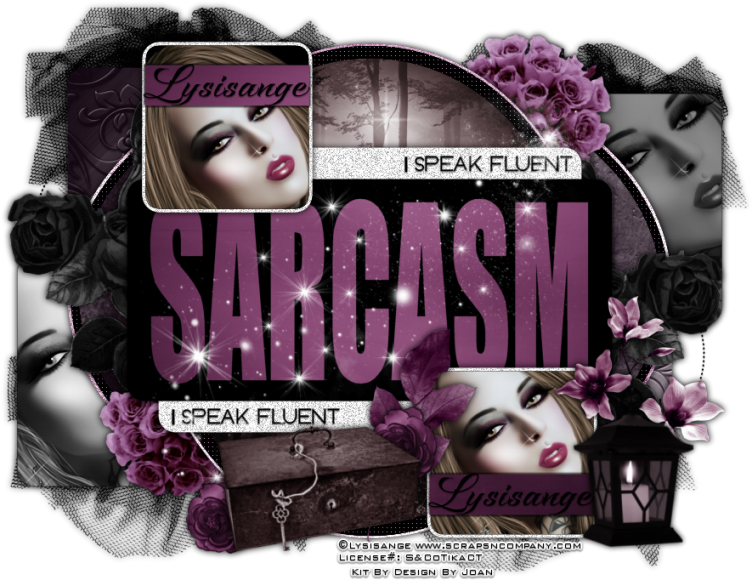
We are going to start with the large tag first.
Shift+D to duplicate the template and close the original.
Delete the watermark and text pixel right and left layers off the template.
Fill all of your layers of the tag template using papers from the kit.
Colorize any layers you wish to colorize to match your tube.
I also added noise to the white layers but this is completely up to you.
I used settings of :
uniform monochrome and 75%.
Select the black square right layer and selections select all float and defloat.
Open your tube and copy and paste as a new layer.
Re-size as needed.
Position so the face of your tube is within the selected area.
Selections invert and hit delete
Selections select none.
Merge together all of the layers that go with the black square right.
I added a drop shadow of
1 -1 100 3.00 black
to the color stripe before I merged but this is completely up to you.
Repeat with the black square left layers.
Add a drop shadow to these merged layers.
Merge toether all of the layers that go with the center word art.
Once merged add a drop shadow to it
Merge together all layers that have to do with gradient small oval and add a drop shadow.
Repeat with gradient large oval.
Make your blk square top right layer active and selections select all float and defloat.
Open your tube and copy and paste as a new layer.
Re-size as needed.
Position so your face is in the selected area.
Selections invert and hit delete.
Selections select none.
Adjust hue and saturation colorize and set both values to 0.
Lower the opacity of the tube layer to 60.
Merge these 2 layers together.
Repeat with the blk square bottom left layer.
Once you are done add a drop shadow to both layers.
Add a drop shadow to the remaining layers.
Now lets dress this tag up with some of the awesome elements from the kit.
I will simply list the elements I used.
Placement is up to you.
Feel free to use elements I did not use.
Use my tag for reference if you wish.
Elements I used:
6
8
9
10
14
17
30
32
34
Add your name to the 2 stripes across the smaller squares.
Add your copyright and licensing information.
Crop and re-size if you wish.
Save.
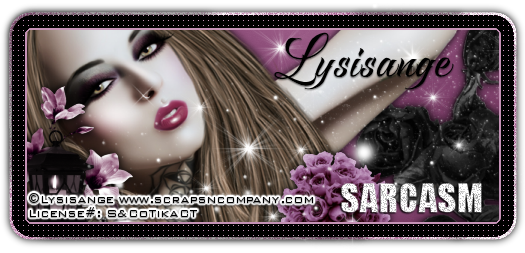
Lets move onto the banner style tag.
Open that template and shift+D to duplicate.
Close the original.
Delete the watermark and the text pixel layer.
Make your canvas larger if you need to.
Colorize the following layers to match your tube:
gradient border , pink inner border and black dotted border.
Make the black background layer active and selections select all float and defloat.
Open paper 5 and copy and paste as a new layer.
Selections invert and hit delete.
Selections invert again.
Open your tube and copy and paste as a new layer.
Re-size if needed.
Position within the selected area.
Selections invert and hit delete.
Add a drop shadow.
Add a drop shadow to the bottom gradient layer.
Add some noise to the word art.
Add a drop shadow to it.
Now lets add some elements to this tag.
I again will list the elements I used and placement is up to you.
Feel free to use other elements.
Elements I used:
6
8
10
14
17
Add your name.
Add your copyright and licensing information.
Save.
Now lets move onto the avatar:
Remove the watermark layer.
Make the black background layer active and selections select all float and defloat.
Open paper 5 and copy and paste as a new layer.
Selections invert and hit delete.
Selections invert again.
Open your tube again and copy and paste as a new layer.
Re-size as needed.
Position within the selected area and selections invert and hit delete.
Selections select none.
Colorize the pink rectangle to match your tube.
Add a drop shadow to the tube and the rectangle layer.
Add your name.
Add your copyright and licensing information.
Save.


Saturday, April 30, 2016

Woman In Love


Woman In Love
written 4/30/2016

This tutorial is meant purely as a guide. Feel free to use your own choice or tube and scrap kit to make your tag unique. If you want your tag to look just like mine then use the same supplies I have used. This tutorial assumes you have a knowledge of paint shop pro. Any resemblance to any other tag or tutorial is purely coincidental.

Supplies Used:

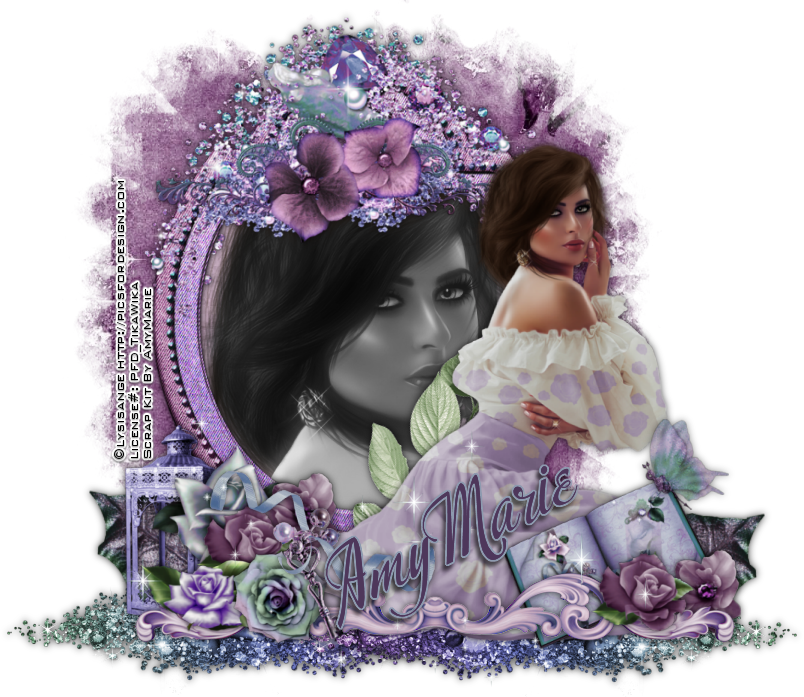
Tube is by Lysisange and is called Romantic. You can purchase it at http://picsfordesign.com

The beautiful scrap kit is by Amy Marie and is called Mystic Treasure. You can purchase it at http://amymarieskits.com/store/

Mask of your choice. I am using mask 41 by Babs Bitzy Designz. You can download it at http://babspsp.blogspot.com/2011/06/mask-41-50.html

Font of your choice. I am using Calligraphy Script. This is a PTU font.

Plugins:
Xero Greyscaler
Xero Misitifier

Drop shadow used throughout:
0 0 70 11.00 Black

Let's Begin:
Open element 44 and shift+D to duplicate. Close the original for use at a later time.
Make your canvas large enough to work with.
Re-size the frame if you want to.
Using your magic wand select the inside of the frame.
Selections modify and expand by 15.
Open paper 9 and copy and paste as a new layer and drag under the frame.
Selections invert and hit delete.
Selections invert again.
Open your tube and copy and paste as a new layer between the paper and the frame.
Re-size if you need to.
Place so her face is within the selected framed area.
Selections invert and hit delete.
Selections select none.
Apply the Xero Greyscaler plugin using the default settings.
Apply the Xero Mistifier plugin changing the top number to 150.
Add a drop shadow to the frame.
Merge these 3 layers together.
Open paper 3 and copy and paste as a new layer.
Drag to the bottom.
Apply the mask of your choice.
Delete the mask layer and merge the group.
Open your tube and copy and paste as a new layer.
Re-size as needed.
Place on the right of the frame.
Add a drop shadow.
Now I will list the elements I used.
Placement is completely up to you but if you want your tag to look just like mine then use my tag for reference.
Feel free to use elements I did not use to make your tag unique.
Elements used:
4
13
15
22
28
31
37
49
64
65
78
105
110
Add your name.
Add your copyright and licensing information.
Crop and save.

Wednesday, April 20, 2016

Drunk On You & High On Summertime


Drunk On You & High On Summertime
written 4/20/2016

This tutorial is meant purely as a guide. Feel free to make your tag unique by using your own choice of tube and scrap kit. If you want your tag to look just like mine use the same supplies that I used. This tutorial assumes you have a knowledge of paint shop pro. Any resemblance to any other tag or tutorial is purely coincidental.

Supplies Used:

Tube of your choice. I am using one by Lysisange. You can purchase it at http://picsfordesign.com

Scrap kit is by Purple Dreams Scraps. It is called Sea Breeze and you can also purchase it at http://picsfordesign.com

Tag template is by Simple Expressions. I am using template #11. You can download it at http://simpleexpressions58.blogspot.ca/2016/04/setemplate11.html

Font of your choice. I am using Everbest Script.

Plugins:
NONE

Drop shadow used throughout:
5 -3 60 5.00 black

Let's Begin:
Open the tag template and shift+D to duplicate.
Close the original.
Delete the following layers:
credit and white background.
Make your canvas large enough to work with.
We are going to start at the bottom and work our way up.
Lets fill each of these layers using the beautiful papers from this kit.
Once you are done delete all the original layers and add a drop shadow to each layer.
Open your tube and copy and paste as a new layer.
Position within the frame.
Erase any bits that are hanging out that you do not want.
Add a drop shadow to the tube.
Lets dress up this tag with some of the awesome elements from the kit.
I will list the elements I used.
Placement is completely up to you.
If you want your tag to look just like mine then use my tag for reference.
Feel free to use any of the elements that I didn't use..this will help your tag be unique.
Elements I used:
04
08 (duplicated and used a few)
09 (duplicated and used a couple)
12 (duplicated and used a few)
16
19
21 (duplicated and used a few)
30
35
49
Add some text if you wish.
Add your name.
Add your copyright and licensing information.
Crop and re-size.
Save. 
 

Sunday, February 28, 2016

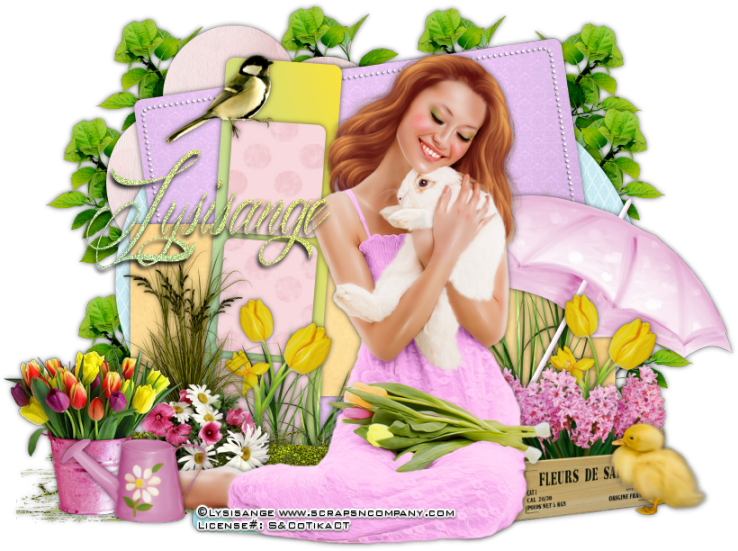
Love Bunny


Love Bunny
written 2/28/2016

This tutorial is meant purely as a guide. Feel free to make your tag unique by using your own choice of tube and/or scrap kit. If you want your tag to look just like mine then use the same supplies I have used. Any resemblance to any other tag or tutorial is purely coincidental.
This tutorial assumes you have knowledge of paint shop pro.

Supplies Used:


Matching scrap kit by Chachaz Creationz. You can purchase it at http://scrapsncompany.com/index.php?main_page=product_info&cPath=112_117&products_id=17756

Tag template by Brutal Designs. You can download it at http://thebrutaldesigns.blogspot.ca/2015/08/new-spring-templates.html

Font of your choice. I am using Mardian. You can download it at http://www.dafont.com/mardian-demo.font

Plugins:
NONE

Let's Begin:
Open your tag template and shift+D to duplicate.
Close the original.
Delete the following layers:
copyright, Beauty, Spring, flower bottom, flower top, and background.
Make your canvas large enough to work with.
Lets start off by getting all of the layers of the template filled with papers from the kit.
Once you do this add a drop shadow to each layer.
Open your tube and copy and paste as a new layer.
Re-size as needed so it fits within the size of the tag template and how large you want your tag to be when complete.
Add a drop shadow to your tube once she is in place.
Now lets dress up the tag with elements from the kit.
I will list the elements I used and placement is up to you.
You can also choose to use other elements.
If you want your tag to look just like mine use my tag for reference on where the elements should be placed.
Elements I used:
9
21
27
32
33
37
41
48
52
56
Add your name.
Add your copyright and licensing information.
Crop and save.


Saturday, November 21, 2015

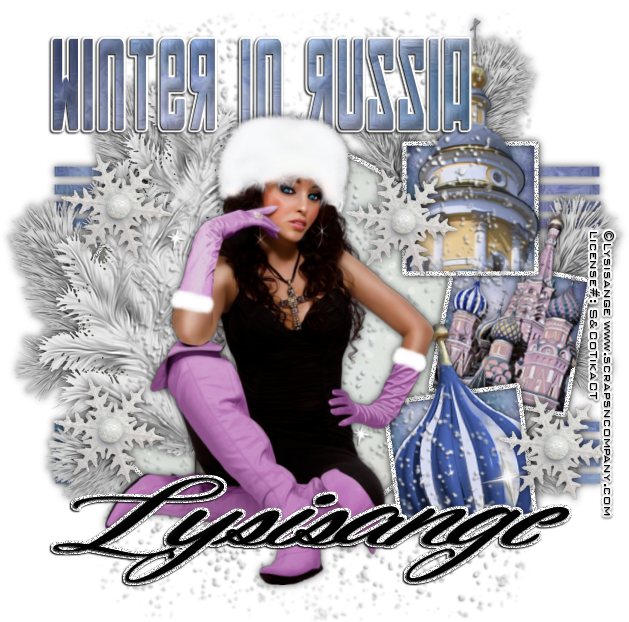
Winter In Russia - Зима в России


Winter In Russia - Зима в России
written 11/20/2015

This tutorial is meant purely as a guide. Feel free to make it unique by using your own choice of tube and scrapkit. If you want your tag to look just like mine then use the same supplies that I have used.

Supplies Used:

Tube by Lysisange. It is called Aniela. You can purchase it at http://scrapsncompany.com/index.php?main_page=product_info&cPath=113_562&products_id=15578

Matching scrap kit is by Mariel Designs. It is called Winter in Russia. You can purchase it at http://scrapsncompany.com/index.php?main_page=product_info&cPath=112_325&products_id=15037

Tag template by A Creative Space Between. I am using template #22. You can get it at http://acreativespacebetween.blogspot.ca/2014/12/ssam-tag-templates-14-45.html

Font of your choice. I am using Vallerie. This is a PTU font which you can purchase at https://creativemarket.com/deadlock/339228-Vallerie-50-Off!! and also Soviet which you can get at http://www.dafont.com/soviet.font

Plugins:
NONE

Let's Begin:
Open your tag template.
Shift+D to duplicate. Close the original.
Remove the following layers:
Raster 1
Scrapity Scrap
Make your canvas large enough to give you plenty of room to work with.
You can crop when you are finished.
Ok first on all of the “Border” layers go to adjust add/remove noise at 100% with Gaussian and Monochrome checked.
Merge your Bottom Thin Slats layer down to the Top Thin Slats layer.
Selections select all float and defloat.
Open paper 1 and copy and paste as a new layer.
Selections invert and hit delete.
Selections select none.
Delete the layer that you merged.
Make your circle layer active and selections select all float and defloat.
Layers new raster layer.
Open paper 4 and copy and paste into selections.
Selections select none.
Delete the original circle layer.
Repeat the above with all 3 square layers but fill with paper 1.
Open your tube and re-size.
Copy and paste as a new layer.
Place in the center of the tag.
Add a drop shadow to all layers.
Open element 1 and copy and paste as a new layer.
Move down to the middle frame and image free rotate to the right 17 degrees.
Place within the framed area and using your eraser tool erase any bits you don't want hanging out of the frame.
Add a drop shadow.
Open element 9 and repeat the above steps placing it in the bottom frame and rotating it to the left 9 degrees.
Open element 10 and repeat the above steps but place it in the top frame area.
No need to rotate.
Open element 2 and re-size by 75% 2x.
Copy and paste as a new layer and drag down to just above the strips.
Place in the top right corner peeking out around the top picture frame.
Duplicate and move this copy just down and to the right.
Duplicate again and image flip horizontal.
Move to the top left.
Duplicate and move this one down and to the left a bit.
Merge all 4 layers together when done.
Add a slight drop shadow.
Open element 52 and re-size.
Copy and paste as a new layer and move behind your tube.
Move it slightly to the left so it is peeking out from behind the tube.
Add a slight drop shadow.
Open element 7 and copy and paste as a new layer.
Re-size so it is relatively small.
Duplicate multiple times and place randomly around your tag.
Merge together and add a drop shadow.
Open element 14 and re-size.
Copy and paste as a new layer.
Drag under your tube.
Add a slight drop shadow.
Add your name.
Add your copyright and licensing information.
Crop and save.