Showing posts with label LizquisScraps. Show all posts

Tuesday, September 22, 2015

Write Your Dreams


Write Your Dreams
written 9/22/2015

This tutorial is meant purely as a guide. Feel free to make your tag unique. If you want your tag to look just like mine then use the same supplies that I have.

Supplies Used:

Tube by Andy Cooper. She is called Water Pink. You can get her at http://scrapsncompany.com/index.php?main_page=product_info&cPath=113_304&products_id=13904

Matching scrap kit by Lizquis Scraps. It is also called Water Pink. You can get it at http://scrapsncompany.com/index.php?main_page=product_info&products_id=13966

Mask of your choice. I am using mask #39 by Squirrelys treehouse. You can get it at http://squirrelystreehouse.blogspot.com/2015/08/masked-monday-more.html

Font of your choice. I am using Janda Elegant.

Plugins:
NONE


Let's Begin:
Open frame 2 and shift+D to duplicate.
Close the original.
Re-size by 85%.
Make your canvas large enough to work with.
You can crop and re-size when you are done.
Open paper 8 and copy and paste as a new layer.
Drag under the frame.
Apply your mask.
Delete the mask layer and merge the group.
Using your magic wand select the inside of the frame.
Selections modify and expand by 8.
Layers new raster layer and drag under the frame.
Open paper 1 and copy and paste into selections.
Selections select none.
Open your tube and copy and paste as a new layer.
Re-size if needed.
Position where she is sitting on the bottom center of the inside of the frame.
Add a drop shadow to your tube.
I am going to list the elements that I used.
Placement of the elements are completely up to you and you should re-size them as you need to.
Use my tag for reference if you are making your tag to look just like mine.
Elements used:
Algae1
Algae2
Algae4
Algae5
Sand2
Moss1
Moss2
anchor
Shell1
plant4
sparkles 2
Set your foreground color to black and turn off your background color.
Using your elipse preset shape draw out a circle around the frame.
You are going to add text to this so you want it to be as close to the outside edges of your frame as you can get.
Add a quote or some text of your choice on a curve around the circle.
Add your name.
Add your copyright and licensing information.
Crop and save.


Thursday, January 29, 2015

Full Of Love - Forum Set


Full of Love – Forum Set
written 1/29/2015

Supplies Needed:


Mask of your choice. I am using one by Moonbeams and Spiderwebs. I am using mask# 29. You can get it at http://moonbeamsandspiderwebs.blogspot.com/2013/01/mask-49-forum-mask-29.html

Font of your choice. I am using SNF Ambrosia Bold. It is a PTU font but you can get it at http://www.letteringdelights.com/font:snf_ambrosia_bold-10513.html It is on sale for 75cents right now.

Plugins:
None

Lets Begin:
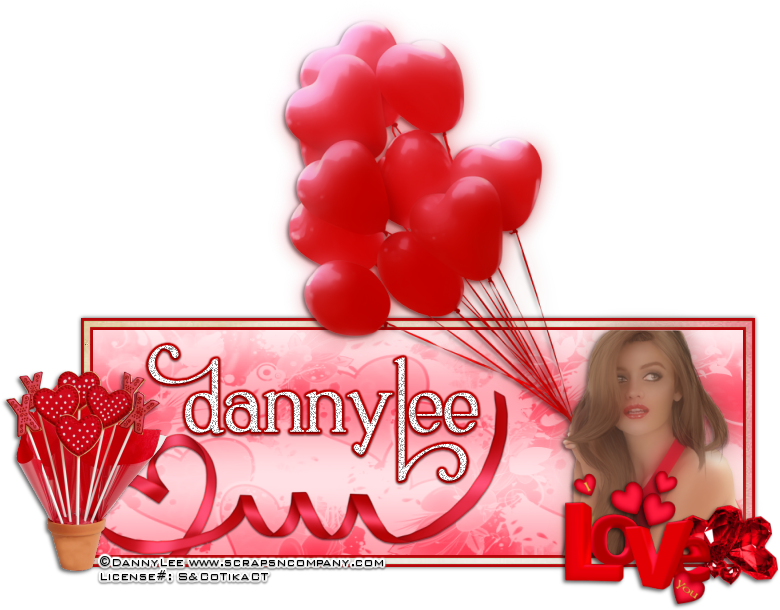
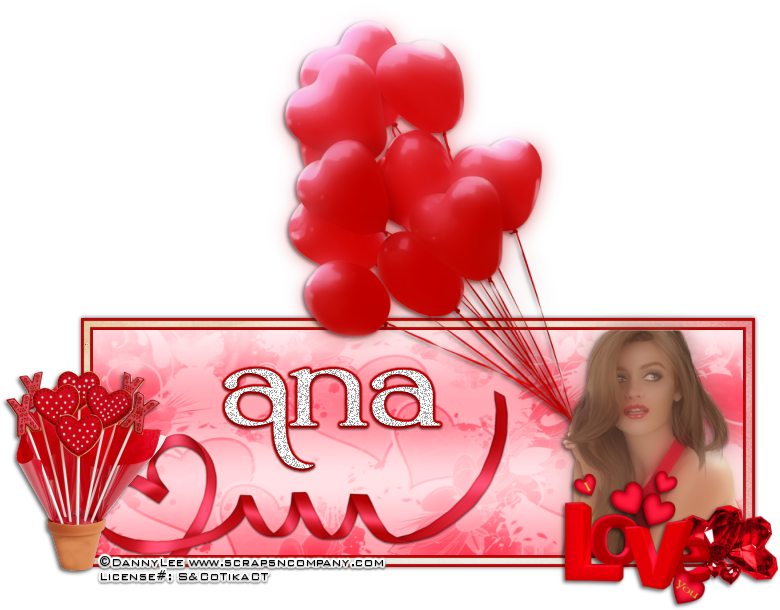
Open a new blank canvas for 650x225.
Set your foreground color to white and your background color to a color from your tube.
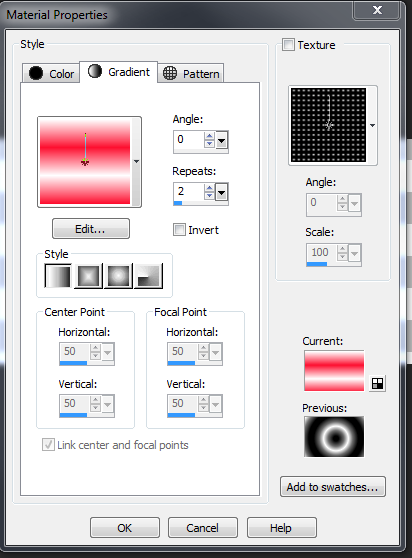
Change the background color properties to a gradient with the following settings:


Flood fill your canvas.
Adjust blur gaussian blur at 25.00.
Layers new raster layer and flood fill with white.
Apply your mask.
Delete the mask layer and merge the group.
Lower the opacity of this layer to 50.
Open ribbon1 and re-size by 75%.
Copy and paste as a new layer.
Move to the lower left hand corner of the canvas.
You want to make it look as if it is coming out of the canvas.
Crop your canvas at this time.
Image add border of 3 in a color from the ribbon.
Image add border of 6 in any contrasting color. You want to make sure its something completely different so you can select it and we can fill it with a paper from the kit in a minute.
Image add border of 3 in the same color as the first border.
Using your magic wand select the off color border.
Open paper 4 and edit copy and paste into selection.
Selections select none.
Promote your background layer to a raster layer.
Image canvas size and make it large enough to work with.
Using your selection tool set on rectangle select the center portion of your tag canvas.
Open your tube and copy and paste as a new layer.
Move over to the far right side of the tag canvas within your selected area.
Selections invert and use your eraser tool to erase any bits of the the tube that are hanging out except for the balloons.
Once you are done selections select none.
Duplicate your tube.
On the top copy go to adjust blur gaussian blur of 10.
Lower the opacity of the blurred layer to 60.
Add a drop shadow to the bottom copy of the tube.
Open cookies element and re-size by 50%.
Copy and paste as a new layer and move to the bottom far left corner.
Add a drop shadow.
Open diamonds element and re-size by 50% and then again by 60%.
Copy and paste as a new layer and move to the far bottom right hand corner.
Add a drop shadow.
Open wordart and re-size by 50% 2x.
Copy and paste as a new layer and move to the bottom to the left of the diamonds.
Add a drop shadow.
Add your name in the tag canvas.
Add your copyright and licensing information.
Crop and save.
Now lets begin our avatar:
Open a new canvas of 145x205.
Flood fill with the same gradient as you did your tag above and apply the same gaussian blur as you did above.
Open light1 and copy and paste as a new layer.
Open your tube and copy and paste as a new a layer.
Duplicate the tube and gaussian blur by 10 as you did on your tag.
Add a drop shadow to the bottom copy of the tube.
Add a border of 3 in the same red you used on your tag border and then a border of white that is 2 wide and then another red border of 3.
Add your name or initial.
Add your copyright and licensing information.
Save. 


Sunday, August 24, 2014

Magic Show


Magic Show
written 8/24/2014

Supplies Needed:

Tube of your choice. I am using the work of Danny Lee. You can get this tube at http://scrapsncompany.com/index.php?main_page=product_info&cPath=161&products_id=4921

Scrap kit by Lizquis Scraps. It is called Magic Woman and you can get it at http://scrapsncompany.com/index.php?main_page=product_info&products_id=4922

Mask of your choice. I am using one by Moonbeams and Spiderwebs. I am using Mask #21. You can get it at http://moonbeamsandspiderwebs.blogspot.com/2012/01/forum-mask-9-mask-21-timeline-mask-3.html

Font of your choice. I am using Impact and Wizards Magic. You can get Wizards Magic at http://www.fontspace.com/spideraysfonts/wizards-magic

Lets Begin:
Open paper 2. Shift +D to duplicate.
Re-size.
Promote background to a layer.
Apply the mask of your choice.
Delete the mask layer and merge the group.
Open LS_MagicWoman_light 3 and copy and paste as a new layer and place in the top left of the mask.
Duplicate and image flip horizontal.
Open LS_MagicWoman_lights and re-size so it fits over the top of the mask area.
Copy and paste as a new layer and position on top of the lights.
Open your tube and re-size and copy and paste as a new layer and place in the center of the lights.
Add a drop shadow.
Open LS_MagicWoman_letters2 and copy and paste as a new layer and drag behind your tube.
Move so it is kind of to the right side.
Duplicate and image flip horizontal.
Move this duplicate to the left side.
Merge these 2 layers and add a drop shadow.
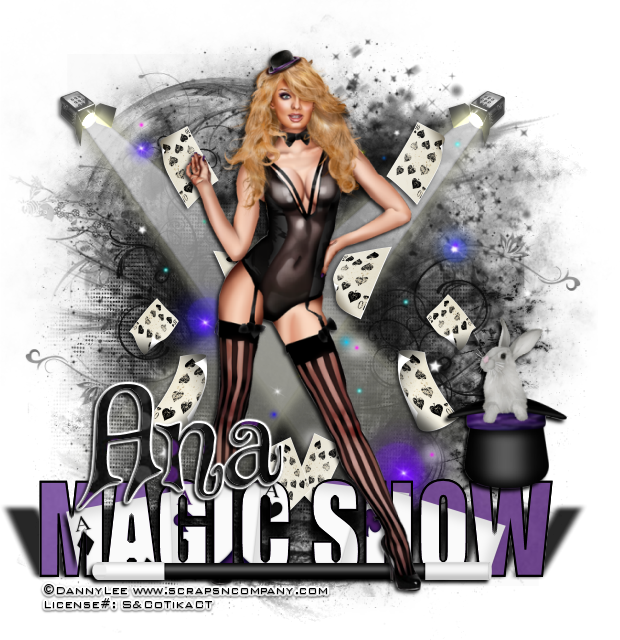
Using a font of your choice; write the words Magic Show along the bottom.
Selections select all float and defloat.
Open LS_MagicWoman_letters1.
Copy and paste as a new layer and position inside of the selected area of your words.
Selections invert and hit delete.
Selections select none.
Merge this layer with your font layer.
Apply a drop shadow to the font layer.
Open LS_MagicWoman_wand.
Image rotate either left or right; doesn't matter.
Copy and paste as a new layer and move to the bottom under your font.
Open LS_MagicWoman_rabbithat and re-size so it will fit nicely on your tag sitting on top of your font.
Copy and paste as a new layer and place on the end of the font on the right hand side of your tube.
Add a drop shadow.
Add your name.
Add your copyright information.
Crop and save.


Wednesday, August 20, 2014

Maid Marian


Maid Marian
written 8/20/2014

Supplies Needed:


Matching scrap kit is by Lizquis Scraps and you can get it at http://scrapsncompany.com/index.php?main_page=product_info&products_id=5141

Font of your choice. I am using Crusades. You can get it at http://www.dafont.com/crusades.font

Lets Begin:

Open frame 3 and shift +D to duplicate.
Close the original.
Re-size by 60%.
Make your canvas large enough to give you room to work with.
Move the frame to the top left side.
Using your magic wand select the inside of the frame and go to selections modify and expand by 5.
Layers new raster layer and drag under the frame.
Open paper 1 and edit copy and paste into selection.
Leave selected.
Open castle element and re-size by 60% and then again by 85%.
Copy and paste as a new layer above the paper and position in the bottom of the frame.
Selections invert and hit delete.
Selections select none.
Add a drop shadow to the castle and the frame.
Merge these layers visible.
Open your main tube and re-size so she will fit nicely along the right side of the frame.
Open grass 3 and copy and paste as a new layer.
Drag behind your tube and move to the bottom so she is standing in the grass.
Open tree 1 and copy and paste as a new layer and also drag behind your tube.
Move over to the far right side behind your tube but along the edge of the frame.
Add a nice drop shadow.
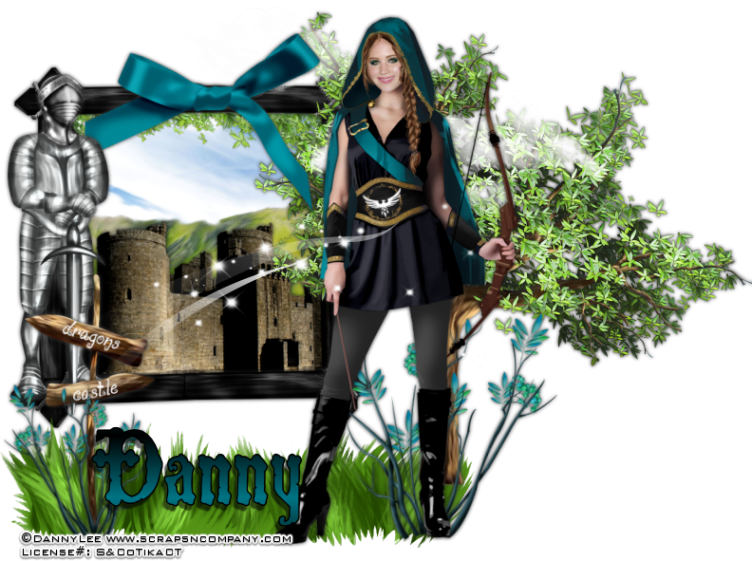
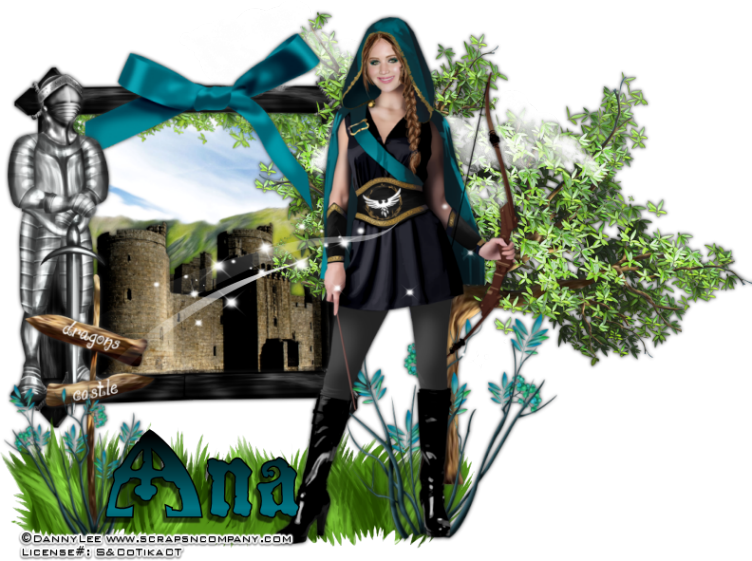
Open armor element and re-size by 75%.
Image flip horizontal.
Copy and paste as a new layer and place along the far left edge of the frame.
Open bow 2 and copy and paste as a new layer and drag behind the armor and your tube.
Place at the top center of the frame.
Add a drop shadow.
Open clouds element and copy and paste as a new layer
Place at the top behind your bow but on top of your tree.
Open signal element and copy and paste as a new layer at the top.
Place it to the left side of the frame standing in the grass.
Add a drop shadow.
Open branch 2 and copy and paste as a new layer and drag behind your tube and place behind her in front of the tree.
Duplicate and image flip horizontal.
Re-size so it will fit nicely in front of the sign.
Add a drop shadow to both.
Open sparkles 1 and copy and paste as a new layer to where it's coming from the sign and across the front of your tube.
Add your name.
Add your copyright information.
Crop and save.