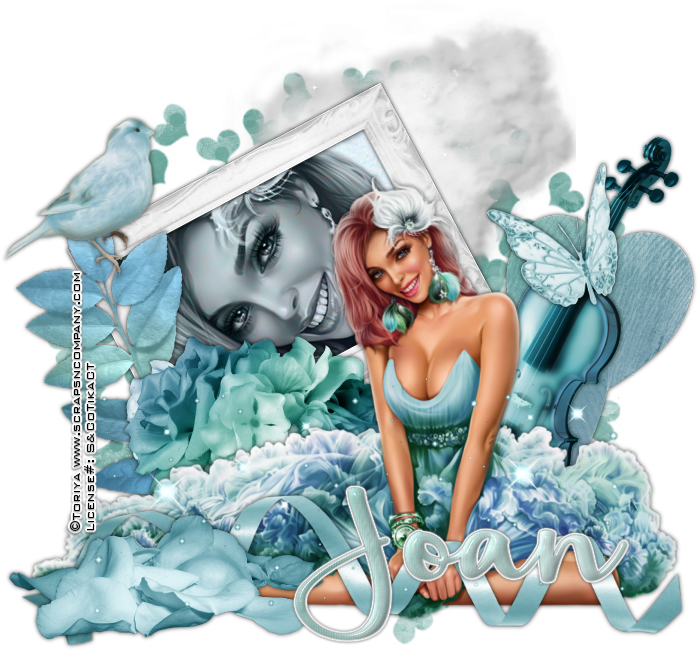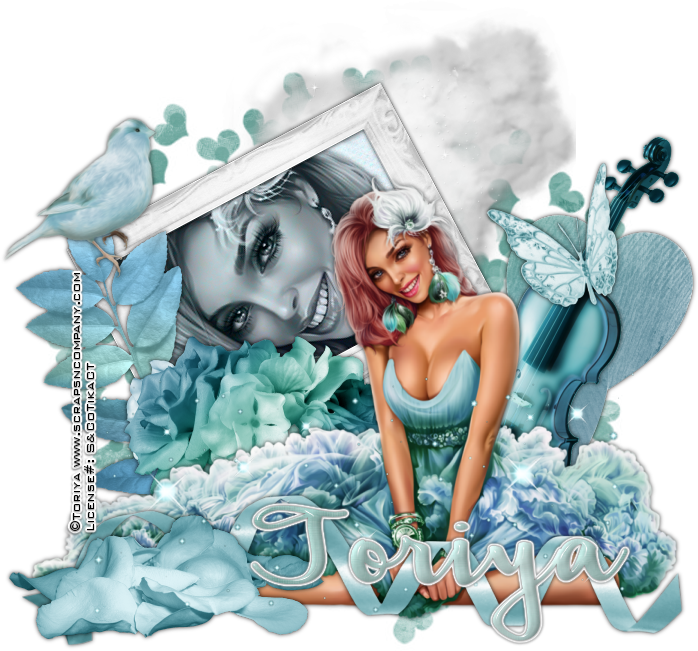
Spring
Beauty
written
2/17/2016
This
tutorial is meant purely as a guide. Feel free to make your tag
unique by using your own choice of tube and scrap kit. If you would
like your tag to look just like mine then use the same supplies that
I have used. Any resemblance to any other tutorial or tag is purely
coincidental.
Supplies
Used:
Tube
by Toriya. You can purchase it at
http://scrapsncompany.com/index.php?main_page=product_info&cPath=113_320&products_id=17327
Scrap
Kit by Design By Joan. You can purchase it at
http://scrapsncompany.com/index.php?main_page=product_info&products_id=17358
Mask
of your choice. I am using mask # 176 by Vix. You can get her awesome
masks at http://www.freewebs.com/vixpsp/
they can be found under Goodies.
Font
of your choice. I am using Hickory Jack. You can get it at
http://www.fontspace.com/brittney-murphy-design/hickory-jack
Drop
shadow used:
0
0
75
6.50
Black
Plugins:
NONE
Let's
Begin:
Open
paper 1 and shift+D to duplicate.
Close
the original.
Promote
the background layer to a raster layer.
Re-size
if you wish.
Apply
your mask.
Delete
the mask layer and merge the group.
Open
your tube and copy and paste as a new layer.
Re-size
as needed.
Place
at the bottom in the center of the mask layer.
Add
a drop shadow.
Open
element 10.
Re-size
by 50%.
Copy
and paste as a new layer and drag behind your tube.
Move
to the far right side so it is peeking out from behind her back.
Add
a drop shadow.
Open
element 13.
Copy
and paste as a new layer.
Re-size
by 50%.
Drag
under your tube.
Move
to the left side above her skirt.
Add
a drop shadow.
Open
element 14.
Re-size
by 50%.
Copy
and paste as a new layer and drag down to just above the 2 hearts.
Move
to the far right side in front of the hearts.
Add
a drop shadow.
Open
element 16.
Re-size
by 50%.
Copy
and paste as a new layer at the top.
Move
to the bottom left in front of her foot.
Add
a drop shadow.
Open
element 17 and shift+D to duplicate.
Close
the original.
Re-size
by 60%.
Using
your magic wand select the inside of the frame.
Selections
modify and expand by 3.
Open
paper 4 and copy and paste as a new layer.
Drag
under the frame.
Selections
invert and hit delete.
Selections
invert again.
Open
your tube and copy and paste as a new layer.
Position
her face within the selected framed area.
Selections
invert and hit delete.
Selections
select none.
Change
the properties of this layer to luminance legacy.
Add
a drop shadow to the tube and the frame.
Merge
all of these layers together.
Copy
and paste as a new layer onto your tag.
Image
free rotate to the left 28 degrees.
Adjust
sharpen.
Drag
down to just above your mask layer.
Place
on the left side to the top sorta.
Open
element 20.
Re-size
by 50% and then again by 75%.
Copy
and paste as a new layer at the top.
Move
to the top left corner of the frame.
Add
a drop shadow.
Open
element 22.
Re-size
by 50%.
Copy
and paste as a new layer and drag down to just above the frame.
Move
to the far left side of the frame.
Add
a drop shadow.
Open
element 23.
Re-size
by 85%.
Copy
and paste as a new layer and drag to just above your tube.
Move
to the bottom and place along the bottom edge of your tube.
Add
a drop shadow.
Open
element 54.
Re-size
by 50% and then again by 75%.
Copy
and paste as a new layer and move to the neck piece of the
instrument.
Add
a drop shadow.
Open
element 78.
Re-size
by 75% 3x.
Copy
and paste as a new layer at the top.
Move
to the bottom edge of your tag.
Open
element 81.
Re-size
by 50%.
Move
down to just above your mask.
Place
at the top right corner of the framed image so it is peeking out.
Add
your name.
Add
your copyright and licensing information.
Crop
and save.