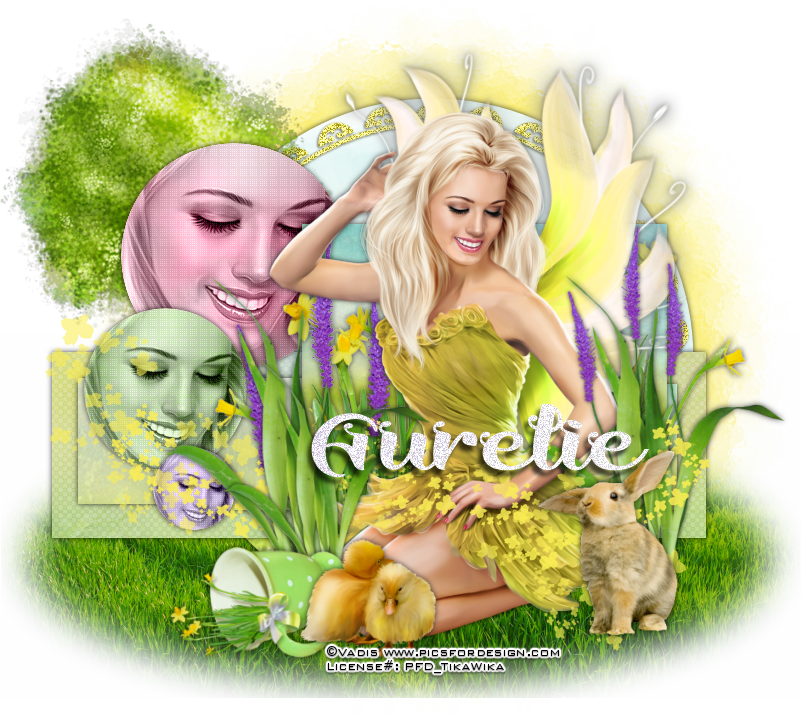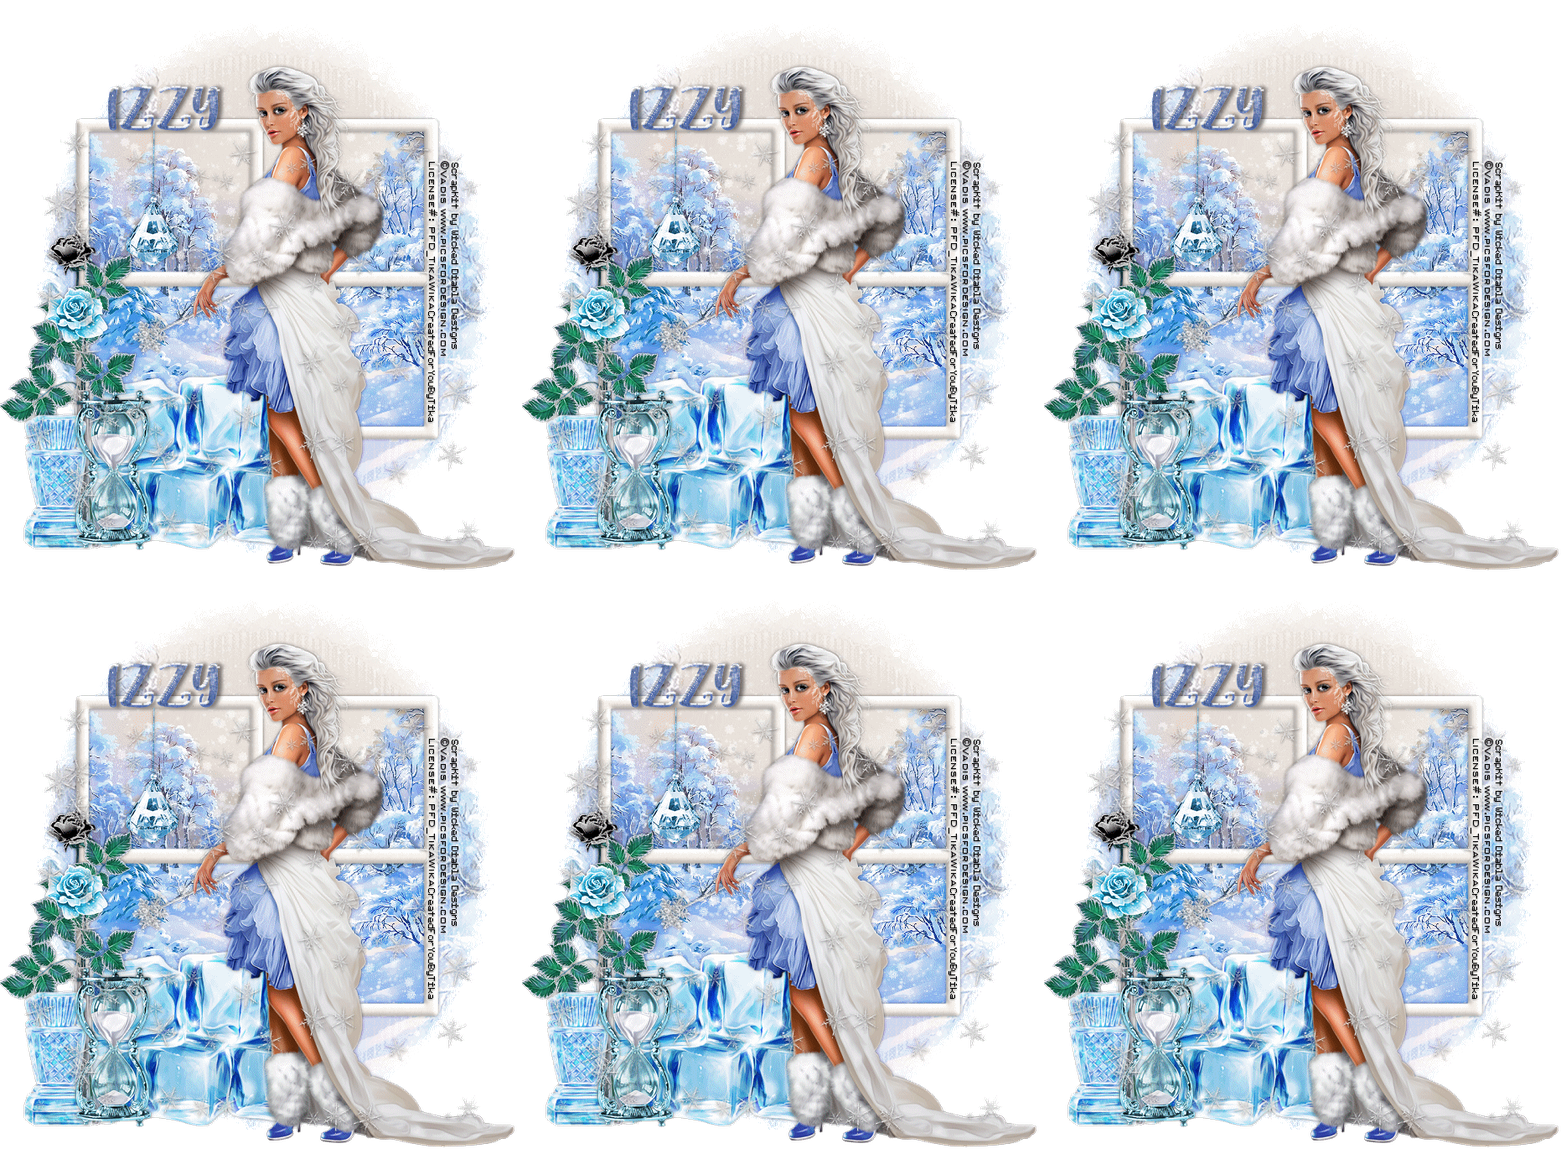
Showing posts with label Vadis. Show all posts

Sunday, January 8, 2023

Winters Chill


Winters Chill

Written 1/5/2023

This tutorial is meant purely as a guide. Feel free to use your own choice of tube or scrap kit to make your tag unique.

If you want your tag to look just like mine, then use the same supplies I have used. This tutorial assumes you have a knowledge

of paint shop pro. Any resemblance to any other tag or tutorial is completely coincidental.


Supplies Used:

Tube of your choice. I am using a tube by Vadis. You can purchase this tube at http://picsfordesign.com

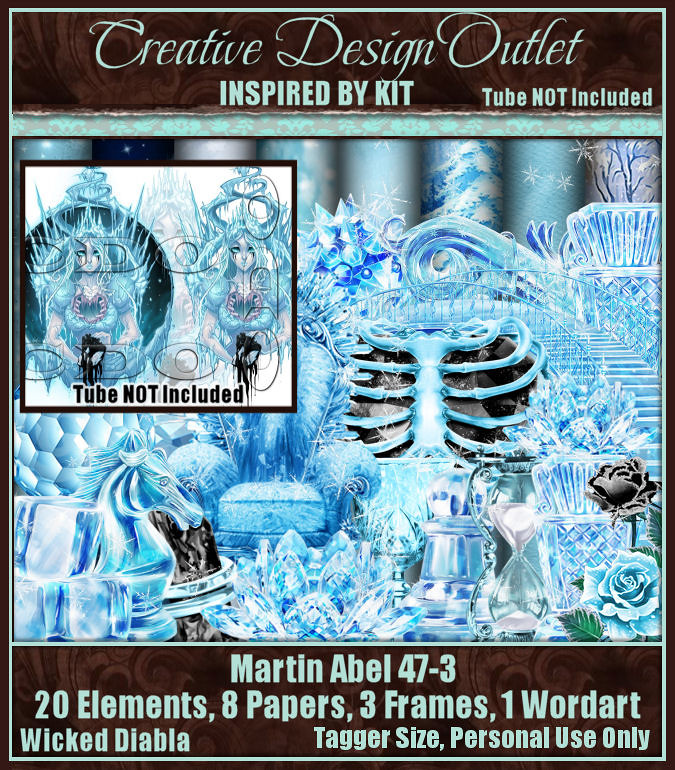
Scrap Kit is by Wicked Diabla Designs. It is called ScrapWD_IB-MartinAbel-47-3. You can purchase this kit at www.cdoestore.com


Mask of your choice. I am using a great mask by Vix. I mean who doesn’t love Vix  masks right?? This is her MaskHalloween2012-8NotHallow mask. You can find her awesome masks at https://vixpsp.blogspot.com/

Font of your choice. I am using Baby Girl Display.

Animation of your choice. I am using a heavy snowfall animation by Simone at Scrappy Bit Of Fun. It is part of her Winter Season 2020 animation pack. You can find all of her awesome animations at http://scrappybitoffun.blogspot.ca

Plugins: (plugins are most generally optional)

NONE


Let's Begin:

Open a blank canvas large enough to give you plenty of room to work with. You can crop and resize your tag when you are done if you wish.

Flood fill the canvas with white. I like to do this because it allows me to see everyone on the canvas as I am creating my tag. I delete this layer when I am all done.

Open frame 2 from the kit and copy and paste as a new layer on what we will call your working canvas from here on out. Resize the frame so that is the size you wish. This will be your backdrop for your tag.

Using your magic wand select the inside of the 4 sections of the window frame. Selections modify expand and expand by 5.

Layers new raster layer and drag under  your frame.

Open paper 1 from the kit and copy and paste into selection. Selections select none.

You should still have this paper in your clipboard so go ahead and paste it again and drag to the bottom. Resize if you wish.

Apply your mask. Delete the mask layer and merge the group.

Open your tube and copy and paste as a new layer. Resize the tube to  your liking. Position in front of the window frame where you like. Mine is not quite center but almost.

Now let’s dress the tag up with elements from the kit. I will list the elements I used. Feel free to use other elements to make your tag unique. Placement of the elements is completely up to you. If you want your tag to look just like mine, then use my tag for reference.

Elements I used:

2

4

6

9

19

22

Add your name. Add your copyright and licensing information.

Crop and resize if you wish.

Now lets get ready to animate.

Open animation shop and then open the animation you are going to use.

Resize if you need to.

Select all frames. Take note of the amount of frames in the animation.

Now back to psp delete the white layer.

Merge together all of the layers EXCEPT the mask layer and the paper layer that fills the window frame.

Now you should have 3 layers.

Hide the layer that you just created merging all of the elements and tube together.

Edit copy merged.

Open animation shop and right click and paste as a new animation.

This should be your mask layer and the paper layer.

Duplicate the frames to match the amount of frames in your animation.

Select all frames in your tag.

Grab frame #1 from the animation and drag it onto frame #1 of the tag. Do not let go until you get it into place where you want it. If you accidentally misplace it you can undo and do the same steps over again until you get it right where you want it.

Once that is all in place go back to psp and copy the layer with your tube and all of the elements on it.

Back to animation shop. Right click and paste as a new animation. Duplicate to match the amount of frames in your animated tag. Select all frames.

Again drag frame #1 onto frame #1 of the animated tag.

Once that is all in place then view your animation to make sure you are happy with everything.

Optimize your tag and save.

Thanks for trying my tutorial.

♥♥♥


Sunday, September 4, 2016

As The Weather Changes


As The Weather Changes
Written 9/1/2016
This tutorial is meant purely as a guide. Feel free to use your own choice of tube or scrap kit to make your tag unique. If you want your tag to look just like mine them use the same supplies I have used. This tutorial assumes you have a knowledge of paint shop pro. Any resemblance to any other tag or tutorial is completely coincidental.

Supplies Used:
Tube of your choice. I am using the work of Vadis. This tube is called Warmth and Tenderness and can be purchased at http://picsfordesign.com
The scrap kit is called Adel and is by Tiny Turtle Designs. You can purchase it at http://tinyturtledesigns.com/store/
Mask of your choice. I am using mask #53 by Moonbeams and Spiderwebs. You can get it at http://moonbeamsandspiderwebs.blogspot.com/search/label/Masks
Font of your choice. I am using Sunday Morning. You can download it at http://www.1001fonts.com/sunday-morning-personal-use-font.html
Plugins:
NONE
Drop shadow used throughout:
0 0 80 10.00 Black

Let's Begin:
Ok lets start off by preparing our base for our tag.
Open paper 35 from the kit. You will notice that there is a circle object in the center. We are going to place a mask around that and then add our tube. So find a circle mask that is going to work for you or use the one I am using. Shift+D on the paper and close the original. Promote the background layer to a raster layer. Re-size if you wish. Apply the mask of your choice. Delete the mask layer and merge the group. Make your canvas large enough to work with. Selections select all float and defloat. Open your tube and copy and paste as a new layer. Position her face within the selected area. Selections invert. Hit delete on your keyboard 3 or 4 times. Selections select none. Lower the opacity of the tube to 60. Merge the tube and the mask together.
Copy and paste your tube again. Re-size as needed to fit nicely next to the mask. Place on either side. Duplicate your tube layer. On the top layer go to adjust blur Gaussian blur and blur by 10.00. Lower the opacity on this blur layer until you are happy. Each tube looks differently so you have to play with this setting and also depends on your preference. Add a drop shadow to the bottom tube. You can merge the 2 tube layers together if you want if you like to keep your layer palette clean like I do. Touch of OCD there LOL
Using element 6 you want to copy and paste as a new layer and re-size by 50% 2x. Now drag behind your tube. Now you are going to duplicate several times and also rotate some of them but you want to place them behind your tube on both sides. Add a drop shadow to each of them.
Open element 72 and re-size by 75%. Copy and paste as a new layer. Place behind your tube but on top of the other leaves. Position on the right side of your tube so you can see it coming out from behind the tube. Duplicate and image flip horizontal and move to the opposite side of the tube. Add a drop shadow.
Open element 96 and copy and paste as a new layer. Re-size so it is proportioned with your tube. Move to the lower side of your tube. Use my tag for reference if needed. Add a drop shadow.
Open element 94 and re-size by 50% 2x. Copy and paste as a new layer and position in front of the barrel. Add a drop shadow.
Open element 88 and re-size by 50% 3x and copy and paste as a new layer and place on the top edge of the barrel. Add a drop shadow.
Open element 82 and re-size by 50% 2x. Copy and paste as a new layer and place in front of the barrel at the bottom. Add a drop shadow.
Add your name.
Open element 81 and re-size to fit in front of your name. Copy and paste as a new layer and position in front of  your name. Add a drop shadow.
Add your copyright and licensing information.
Crop and save. 


Friday, June 17, 2016

Daily Affirmations


Daily Affirmations
Written 6/17/2016
This tutorial is meant purely as a guide. Feel free to use your own choice of tube or scrap kit to  make your tag unique. If you want your tag to look just like mine them use the same supplies I have used. This tutorial assumes you have a knowledge of paint shop pro. Any resemblance to any other tag or tutorial is completely coincidental.
Supplies Used:
Tube of your choice. I am using one called Dressing Fairies by Vadis. You can purchase her at http://picsfordesign.com
Beautiful scrap kit by Amy Marie’s Kits. It is called White Floral. You can purchase this kit at http://amymarieskits.com/store/
Mask of your choice. I am using a mask by Kisses N Dreams. You can get it at http://kissesndreams.blogspot.co.uk/2015/09/random-masks.html
Font of your choice. I am using Guarddilla Typeface. This is a PTU font.
Plugins:
Xero Porcelain
Drop shadow used throughout:
0 0 85 13.00 black

Let's Begin:
Open element 37 and shift+D to duplicate. Close the original. Make your canvas large enough to work with. Open paper 10 and copy and paste as a new layer. Drag to the bottom. Apply the mask of your choice. Delete the mask layer and merge the group. Re-size your mask if you need to so it looks nice behind the frame. Using your magic wand select the inside of the frame. Selections modify and expand by 5. Layers new raster layer and drag under the frame. Open paper 11 and copy and paste into selection. Leave selected. Open your tube and copy and paste as a new layer. Position within the frame. Selections invert and hit delete. Selections select none. On your tube layer adjust hue and saturation colorize and set both values to 0. Apply the Xero Porcelain filter using the default settings. Lower the opacity on the tube layer to 70. Add a drop shadow to both the tube and the frame. Merge all of these layers together EXCEPT the mask layer.
At this time copy and paste your tube again as a new layer at the top. Re-size. Image flip horizontal. Move to the far left of the frame. Add a drop shadow.
Open element 126 and copy and paste as a new layer and drag under the frame layer. Place so it is peeking out around the frame. Duplicate and flip horizontal and vertical until you have enough to go all the way around the frame. Merge them all together and add a drop shadow.
Open element 51 and re-size. Copy and paste as a new layer. Place behind your tube. Duplicate a few times and place randomly around the tag. Add a drop shadow to each one.
Open element 74 and re-size. Copy and paste as a new layer and place with the flowers. Add a drop shadow.
Open element 122 and re-size and copy and paste as a new layer behind your tube and move to the far left of your tube. Add a drop shadow.
Open element 135 and copy and paste as a new layer at the top. Move to the bottom of the tag.
Add your name.
Add your copyright and licensing information.
Crop and save.


Sunday, February 28, 2016

Hello Spring


Hello Spring
written 2/28/2016

This tutorial is meant purely as a guide. Feel free to make your tag unique by using your own choice of tube and scrap kit. If you want your tag to look just like mine then use the same supplies I have used. Any resemblance to any other tutorial or tag is purely coincidental.
This tutorial assumes you have a basic knowledge of paint shop pro.

Supplies Used:

Tube by Vadis. You can purchase her at http://picsfordesign.com

Scrap kit by Purple Dreams Scraps which can also be purchased at http://picsfordesign.com

Tag template by Simple Expressions. I am using template_01. You can download it at http://simpleexpressions58.blogspot.com/2016/01/setemplate01.html

Mask of your choice. I am using mask #451 by Vix. You can download her amazing masks at http://www.freewebs.com/vixpsp/

Font of your choice. I am using Brigent Script. You can purchase it at https://thehungryjpeg.com/product/7170-brigent-script/

Plugins:
Penta Dot and Cross

Let's begin:
Open the tag template and shift+D to duplicate.
Close the original.
Delete the following layers:
Raster 1, frame, and white background.
Make your canvas large enough to work with.
Open paper 7 and copy and paste as a new layer.
Drag to the bottom.
Apply your mask.
Delete the mask layer and merge the group.
I moved my mask to sit behind the circle in the template but this is completely up to you and depending on what mask you use how it looks.
Now lets fill each of the template layers using papers from the kit.
Once you are done delete all the original template layers.
Add a drop shadow to each layer.
I chose to add the face of my tube to each of the circle layers and change the layer property to luminance legacy.
I also applied Penta Dot and Cross using the default settings.
I also added noise to the scalloped layer but this is completely up to you also.
Now copy and paste your tube as a new layer.
Re-size as needed.
Position within the center of the tag to the right side.
Add a drop shadow.
Now lets dress this beauty up with some of the great elements from the kit.
I will list the elements I used and you can either use the same elements or choose others.. its completely up to you.
Use my tag for reference on placement of the elements if you are wanting your tag to look just like mine.
Elements used:
1
3
8
14
15
21
23
27
36
Add your name.
Add your copyright and licensing information.
Crop and save.

Monday, February 22, 2016

Shot Through The Heart


Shot Through The Heart
written 1/28/2016

This tutorial is meant purely as a guide. Feel free to make your tag unique by using your own choice of tube and scrap kit. If you want your tag to look just like mine then use the same supplies I have used.

Supplies Used:

Tube by Vadis. It is called “Dressing Fairies” you can get it at http://picsfordesign.com

Scrap kit is a freebie by Designz by Anorie. It is called I love you. You can get it at http://anorie.blogspot.ca/2015/01/i-love-you-kit-freebie.html

Font of your choice. I am using Beluccia Pro. This is a PTU font. You can purchase it at https://www.myfonts.com/fonts/correspondence-ink/belluccia/

Cloud tube of your choice. I am using one by Rainbow Coffi. You can get it at http://www.psp-playground.com/

Plugins:
NONE

Let's Begin:
Open frame04 and shift+D to duplicate.
Close the original.
Re-size if you wish.
Make your canvas large enough to work with.
Using your magic wand and select the inside of the frame.
Selections modify and expand by 4.
Open paper 05 and copy and paste as a new layer and drag under the frame.
Selections invert and hit delete.
Selections select none.
Add a drop shadow to the frame.
Open element 32 and copy and paste as a new layer.
Drag to the bottom.
Move to the far left.
Duplicate and image flip horizontal.
Move the duplicate to the far right.
Merge these 2 layers together.
Add a drop shadow.
Open your tube and copy and paste as a new layer.
Position in the center of the frame.
Add a drop shadow.
Open the cloud tube and using your lasso tool select the cloud you want to use.
Copy and paste as a new layer and drag behind your tube.
Move to the bottom of the frame and the far left side.
Duplicate and move the duplicate to the far right side.
Open element 07 and copy and paste as a new layer.
Position where you want.
I placed mine so it looked to be hanging from the bow.
Open element 01 and copy and paste as a new layer.
Drag down to just above your frame.
Center behind your tube.
Open element 11 and copy and paste as a new layer.
Re-size by 50% 2x.
Move to the bottom far left.
Duplicate several times and place all along the bottom.
Repeat the above steps with element 12.
Merge them all together and add a drop shadow.
Add your name.
Add your copyright and licensing information.
Crop and save.