Showing posts with label DnScraps. Show all posts

Monday, July 27, 2015

Down The Rabbit Hole


Down the Rabbit Hole
written 7/27/2015

This tutorial is merely a guide. Feel free to use any tubes and scrapkits that you wish. If you want your tag to look just like mine then use the same supplies and use my tag as a reference.

Supplies Used:


Matching Scrap Kit by DnScraps. You can get it at http://scrapsncompany.com/index.php?main_page=product_info&products_id=12361

Tag Template by Me. You can it on my blog at the bottom of this tutorial.

Mask of your choice. I am using mask 220 by WeeScotlas Creations. You can get her masks at http://weescotslasscreations.blogspot.com/2009/04/masks.html

Font of your choice. I am using Moonlight Shadow. You can get it at http://www.fontspace.com/david-kerkhoff/moonlight-shadow

Plugins:
NONE

Let's Begin:
Open your tag template and shift+D to duplicate.
Close the original so you can use it again if you wish.
Delete the cr layer.
Make your canvas large enough to work with.
Open paper 5 from the kit and copy and paste as a new layer and drag to the bottom.
Apply the mask of your choice.
Delete the mask layer and merge the group.
Add a drop shadow to your mask layer.
Add a drop shadow to the white glitter rectangle layer.
Make your black rectangle layer active and go to selections select all float and defloat.
Selections modify and contract by 3.
Open paper 4 and copy and paste as a new layer.
Selections invert and hit delete.
Selections invert again.
Open the ground element from the kit and copy and paste a a new layer and position within the selected area.
Selections invert and hit delete.
Selections select none.
Add a drop shadow to the floor.
Make the grey circle layer active and selections select all float and defloat.
Open paper 2 and copy and paste as a new layer.
Selections invert and hit delete.
Selections select none.
Make grey arrow layer active.
Selections select all float and defloat.
Open paper 7 and copy and paste as a new layer.
Selections invert and hit delete.
Selection select none.
Add a drop shadow to all layers.
Open your tube and copy and paste as a new layer.
Re-size and position where she is in the rectangle standing on the floor.
Add a drop shadow.
Lets dress this up with some of the fun elements from the kit.
I will list the elements I used.
Placement is up to you.
Elements used:
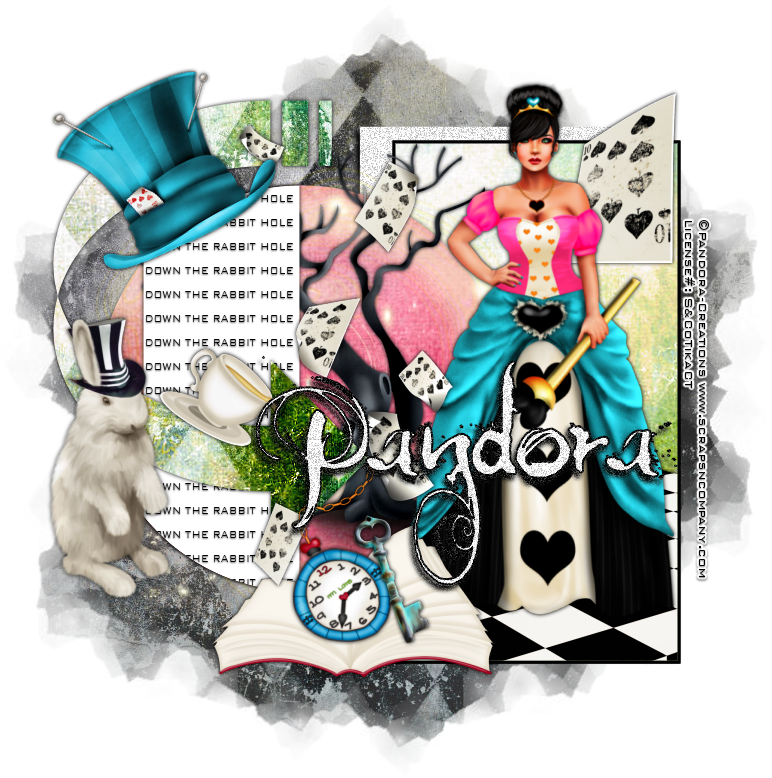
hat
hallo
dark tree
rabbit
clock
key
cup
cards2
cards
book2
Add your name.
Add your copyright and licensing information.
Crop and save.
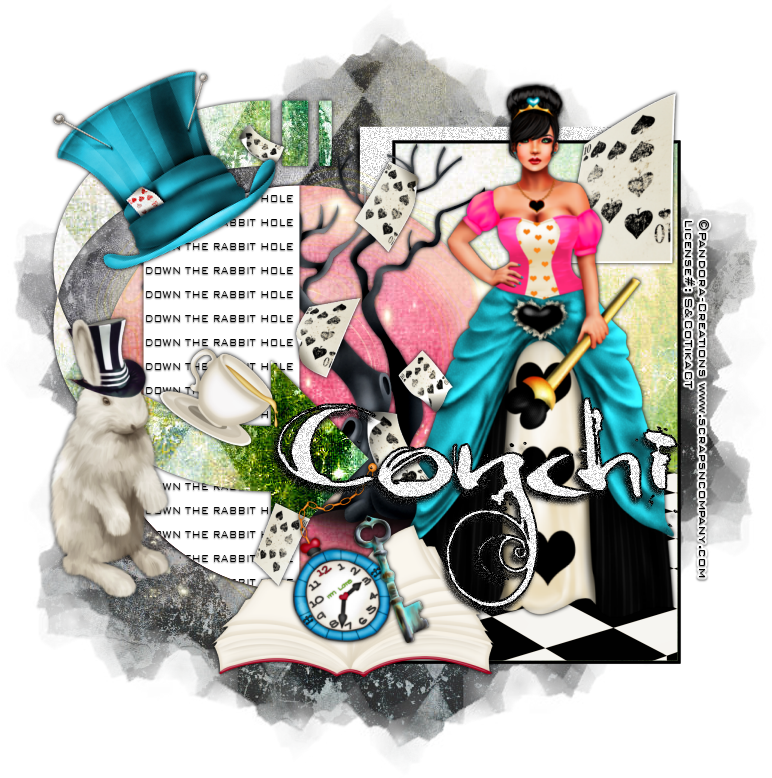

Template made for this tutorial 

You can download it HERE


Wednesday, July 15, 2015

So Sweet - Forum Set


So Sweet – Forum Set
written 7/15/15

This tutorial is simply a guide. Feel free to use your own tube and scrap kit.
If you want your tag to look the same as mine then use the same items that I have.

Supplies Needed:


Font of your choice. I am using DK Lemon Yellow Sun. You can get it at http://www.fontspace.com/david-kerkhoff/dk-lemon-yellow-sun

Plugins:
NONE

Let's Begin:
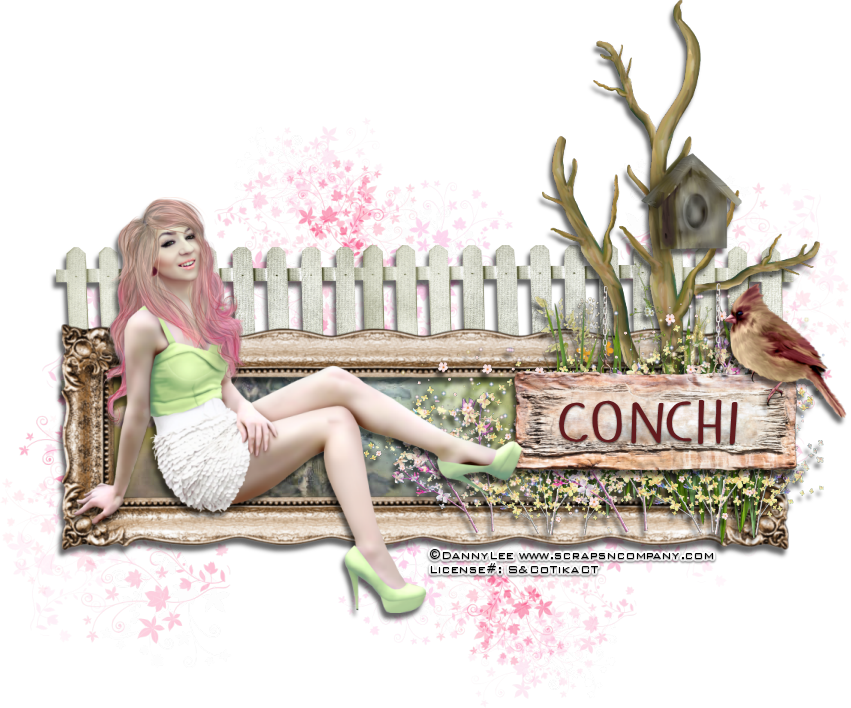
Open elegant frame from the kit.
Shift+D to duplicate.
Close the original.
Re-size this to the size you want. This will be the base of your tag.
Make your canvas large enough to work with.
Using your magic wand and select the inside of the frame.
Selections modify and expand by 4.
Open paper 3.
Copy and paste as a new layer.
Selections invert and hit delete.
Selections select none.
Open tree2 and copy and paste as a new layer and place on the far right side.
Erase any bits at the bottom that you do not want hanging out.
Open sign and copy and paste as a new layer and place it so it appears to be hanging from the tree.
Open lawn and re-size.
Copy and paste as a new layer and place between the sign and tree layers.
Move behind the sign.
Open plants and re-size.
Copy and paste as a new layer and place in front of the lawn.
Open your tube and copy and paste as a new layer.
Re-size.
Move to where she is sitting on the far left of the frame.
Open bird2 and copy and paste as a new layer.
Re-size and place on the far right sitting on top of one side of the sign.
Open doodles flowers and copy and paste as a new layer.
Drag to the bottom and re-size.
Place on the far right so it is peeking out the bottom and the top.
Duplicate.
Image flip horizontal and then image flip vertical.
Move to the far left.
Open fence and copy and paste as a new layer and drag down to just above the pink layers you just added.
Move so it is peeking out the top of the frame.
Add a drop shadow to each of the layers.
Add your name to the sign.
Add your copyright and licensing information.
Crop and save.
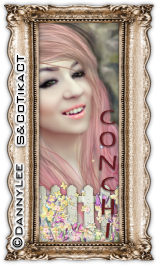
Let's make the avatar:
Open the elegant frame again.
Shift+D to duplicate.
Close the original.
Re-size and use your pick tool to bring it down to a size suitable for an avatar.
Image rotate left or right it doesnt matter.
Make your canvas large enough to work with or leave it the same it doesnt matter.
Using your magic wand select the inside of the frame and go to selections modify and expand by 5.
Open paper 3 and copy and paste as a new layer and drag under the frame.
Selections invert and hit delete.
Selections invert again.
Open the close up of your tube and copy and paste as a new layer.
Re-size so she fits within the frame.
Position and selections invert and hit delete.
Selections select none.
Add a drop shadow to the tube and the frame.
Open the fence and re-size.
Copy and paste as a new layer and drag under the frame.
Erase any bits hanging out of the frame.
Open plants and re-size.
Copy and paste as a new layer under the frame but in front of the fence.
Erase any bits hanging out of the frame.
Add your Name or Initial.
Add your copyright and licensing information.
Crop and save.


Wednesday, May 6, 2015

Love Scooter


Love Scooter
written 5/6/2015

Supplies Needed:

Tube of choice. I am using the work of Andy Cooper. You can get this tube at http://scrapsncompany.com/index.php?main_page=product_info&cPath=113_304&products_id=10141

Scrap Kit of choice. I am using a kit by DNSCRAPS. You can get it at http://scrapsncompany.com/index.php?main_page=product_info&products_id=9964

Font of your choice. I am using Qaskin. You can get it at http://www.fontspace.com/m%C3%A5ns-greb%C3%A4ck/qaskin-black-personal-use

Plugins:
NONE

Let's Begin:
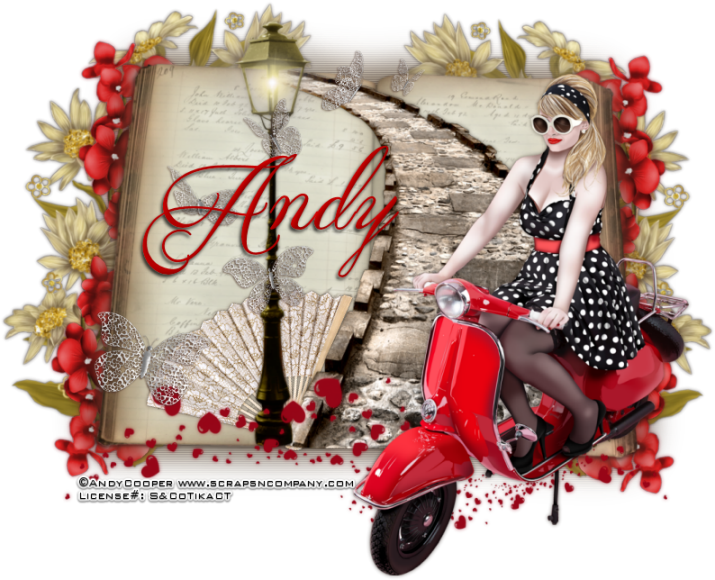
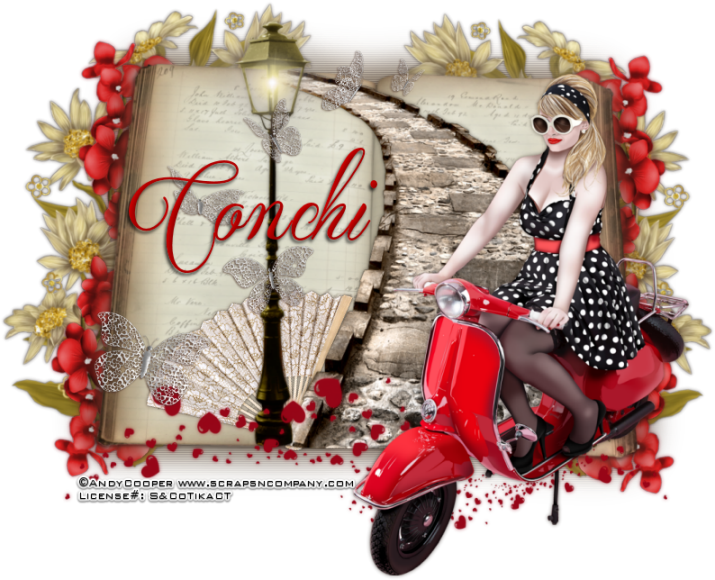
Open the book element from the kit and shift+D to duplicate.
Close the original.
Re-size if you wish.
Make your canvas large enough to work with.
Duplicate the book 2x.
On the bottom copy go to adjust blur gaussian blur at 25.00.
On the top copy go to adjust blur gaussian blur at 20.00.
Lower the opacity of top copy so you can see the writing through it.
Once you are done merge the top and middle copies together.
Add a drop shadow.
On the bottom copy apply blinds using the following settings:
width 2
opacity 100
horizontal and light from left/ top checked
Using the darker brown color from the edges of the book.
Open your tube and copy and paste as a new layer.
Move to the far right of the book.
Re-size so she fits nicely along that side of the book.
Add a drop shadow.
Open the walk element from the kit and copy and paste as a new layer.
Drag under your tube but on top of the book.
Place to the right hand side and then re-size the walk to fit where it will run from the bottom edge of the book to the top edge of the book.
Add a drop shadow.
Open the streetlight element from the kit and copy and paste as a new layer.
Place just over the tip bottom corner of the walk element and it should then help cover the top edge where it runs off the book.
You will need to re-size until it fits nicely.
Add a slight drop shadow.
Open marguerite element from the kit.
Copy and paste as a new layer.
Drag down under your book but above the layer that you added the blinds to.
Re-size so it fits nicely around the edges of the book.
Add a drop shadow.
Duplicate.
Image flip horizontal.
Move to the right hand side.
Open hearts from the kit.
Copy and paste as a new layer and then go to image rotate and to the left 90 degrees.
Move to the bottom of the tag.
Drag under your tube but on top of all the other layers.
Add a nice drop shadow.
Open flowers2 from the kit and copy and paste as a new layer.
Using your pick tool rotate them so they will fit nicely around the corner of the book.
Drag down to just above the other flowers.
Duplicate and flip horizontal and vertical so you have a set at each corner for a pop of color.
Merge all 4 layers together once you are done.
Open fan from the kit.
Copy and paste as a new layer.
Drag down to just under the walk but above the book.
Place behind the streetlight. Use my tag for reference if necessary.
Add a drop shadow.
Open butterflys from the kit.
Copy and paste as a new layer at the top.
Place on the left hand side of the book.
Add a slight drop shadow.
Add your name.
Add your copyright and licensing information.
Crop and save.


Saturday, July 26, 2014

Rebel Fairy


Rebel Fairy
written 7/26/2014

Supplies Needed:


Mask of your choice. I am using mask #254 by Wescotlass Creations. You can get her masks at http://weescotslasscreations.blogspot.com/2009/04/masks.html

Font of your choice. I am using GE Ballantine Script Normal. You can get it at http://www.fontpalace.com/font-details/GE+Ballantine+Script+Normal/


Lets Begin:
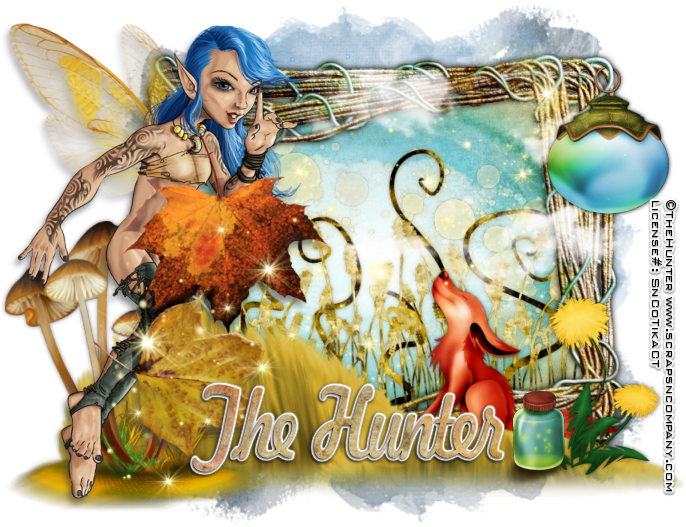
Open the wire frame from the kit and shift+d to duplicate.
Close the original.
Rotate the frame to the right.
Resize by 80%.
Make your canvas large enough to give you room to work with.
Center the frame in the canvas.
You will notice that this is 2 frames on top of each other with one slightly skewed.
Using your selection tool set to point to point select the outside edges and make sure you are getting both frames in there so we can place the paper in both.
Layers new raster layer and drag under the frame.
Open paper 4 and edit copy.
Paste into selection.
Selections select none.
Add a nice drop shadow to the frame.
I used
0
0
9.00
black
Open your tube and resize her so she will fit nicely on the side of the frame.
Copy and paste as a new layer and move to the left side of the frame.
Add a nice drop shadow but you don't want it to be too dark as the wings are semi transparent.
I used
5
-3
60
medium grey color
Open paper 11 and copy and paste as a new layer and drag to the bottom.
Apply your mask. Delete the mask layer and merge the group.
Open clouds from the kit and resize if you need to so it will fit along the top of your frame.
Copy and paste as a new layer on top of your frame but under your tube.
You will notice that the top clouds have a straight line so to make this look ok line it up along the top of your frame.
Open elves2 element and resize if you need to but you want this along the bottom of the frame but on the outside.
Copy and paste as a new layer and drag under your clouds but on top of y our frame.
Place along the bottom.
Add a soft drop shadow.
I used
0
0
6.50
the dark green from the grass.
Open the fox from the kit and resize so it will fit nicely behind the grass on the right hand side.
The object is to give this some dimension.
Add the same drop shadow as above but change the color to black.
Open the flowes element and resize so it will fit nicely on the far right in front of your grass.
Add the same drop shadow as above.
Open grass element and copy and paste as a new layer just above the paper in your frame layer.
Resize so it will fit nicely in the frame.
Add the same drop shadow as above but change the color to the darker color in the grass.
Open lamp2 from the kit and resize so it will fit nicely on the far right of the frame.
I wanted mine a lil large; again creating dimension here.
I erased bits of the circle at the top so it looked like it was hooked onto the wire in the frame.
Open magicpotions from the kit and resize so it is smaller than the flowers.
Copy and paste as a new layer and move to the bottom left of the flowers.
Open mushroom from the kit and resize.
Flip horizontal.
Copy and paste as a new layer and move under your tube and move to the left.
Add a drop shadow using the darker color in the mushroom.
Open sparkles2 and resize so it will fit nicely right on top of your tag so the sparkles go from bottom left to top right.
Add your name.
Add your copyright and licensing information.
Crop and save.


Thursday, July 24, 2014

Back To School


Back To School
written 7/24/2014

Supplies Needed:


Font of choice. I am using A Song For Jennifer. You can get it at http://www.dafont.com/a-song-for-jennifer.font

Lets Begin:
Open a blank canvas that will give you plenty of room to work with and build your tag.
You can crop and resize when you are done.
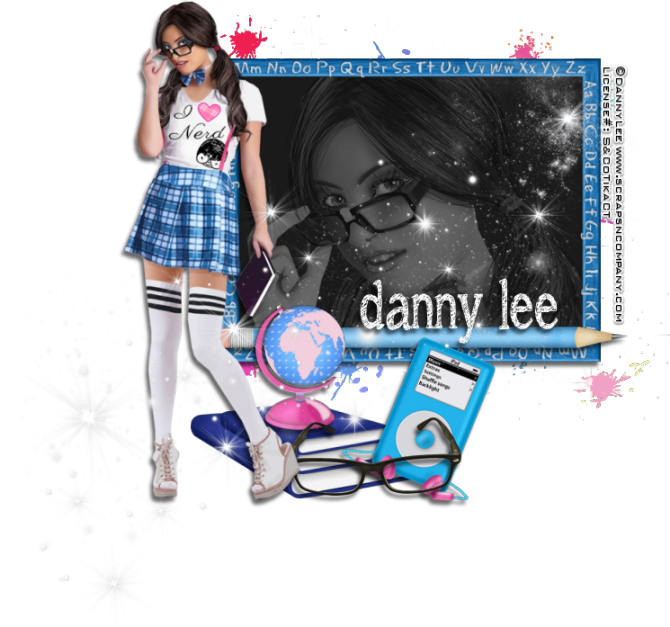
Open blackboard element and resize by 75%.
Copy and paste as a new layer and move to the top right side of your canvas.
Open paint element and copy and paste as a new layer and move under your blackboard.
Add a drop shadow to the blackboard element.
Using your freehand selection tool set to point to point select just the black space on the blackboard.
Open the closeup of the tube and copy and paste as a new layer.
Position in the selected area.
Selections invert and hit delete.
Selections select none.
Change the properties of this layer to luminance legacy.
Lower the opacity of this layer to 40.
Open the full tube and copy and paste as a new layer.
Resize until she fits nicely to the left of the blackboard.
Add a drop shadow.
Open book 2 element.
Resize by 40%.
Copy and paste as a new layer and drag under your full tube.
Place at the bottom behind her right foot.
Duplicate and resize by 75%.
Duplicate again and resize by 75%.
Merge all 3 books together.
Open globe and resize so it will fit nicely on your top book.
Copy and paste as a new layer and add a drop shadow.
Open glasses and resize so they fit nicely in front of your books.
Copy and paste as a new layer and add a drop shadow.
Open the ipod and resize.
Copy and paste as a new layer.
Drag under the glasses layer.
Image rotate to the right by 22 degrees.
Sharpen.
Add a drop shadow.
Open black pencil and resize so it will fit along the bottom of your frame.
Copy and paste as a new layer and drag down under all the other elements and your full tube.
Place along bottom of frame.
Add a drop shadow.
Open stars and copy and paste as a new layer and place on top across the blackboard and other elements and tube.
Add your name so it sits on top of the pencil.
Add your copyright and licensing information.
Crop and resize if you need to.
Save as png.