Showing posts with label Spring. Show all posts

Saturday, February 16, 2019

Spring Song


Another TTL Exclusive tutorial.
You can get this awesome kit and the tutorial at 
The Taggers Lounge Forum. 
Come and join us http://thetaggerslounge.forumotion.com/ 

Saturday, August 19, 2017

Beary Best Friend


Beary Best Friends

Written 8/19/2017

This tutorial is meant purely as a guide. Feel free to use your own choice of tube or scrap kit to make your tag unique. If you want your tag to look just like mine then use the same supplies I have used. This tutorial assumes you have a knowledge of paint shop pro. Any resemblance to any other tag or tutorial is completely coincidental.

Supplies Used:
Tube of your choice. I am using a tube by Ken Morton. You can find his work at http://cdoestore.com You must have a license to use his work.

Scrap kit of your choice. I am using a kit by Foxys Designz which you can find at http://www.cdoestore.com/index.php?p=product&id=41819&parent=498

Mask of your choice. I am using mask #226 by Insatiable Dreams. You can get her masks at http://insatiabledreams.net

Font of your choice. I am using 2 Peas Sunflowers

Plugins: (plugins are most generally optional)
NONE

Let's Begin:
Open Frame 2 and shift+D to duplicate. Close the original. Resize by 75% and then again by 85%. Make your canvas large enough to work with.
Using your magic wand select the inside of the frame and go to selections modify and expand by 5. Layers new raster layer and drag under the frame. Open paper 3 and copy and paste into selection. Selections select none. Add a drop shadow to the frame.
Open your tube and copy and paste as a new layer. Re-size as needed. Place on the far right side of the frame and add a drop shadow.
Open paper 2 and copy and paste as a new layer. Drag to the bottom. Apply the mask of your choice. Delete the mask layer and merge the group.
Open element 7. Copy and paste as a new layer. Place around your frame. Re-size as you need and rotate or flip. Add a drop shadow and once you get them all on merge them together.
Open element 8 and copy and paste as a new layer and re-size as needed. Duplicate many times and place all around the frame. Add a drop shadow to each and if you want merge them together.
Open element 4 and copy and paste as a new layer. Re-size by 50%. Image rotate to the left by 25 degrees. Move to the bottom left corner of the frame. Add a drop shadow.
Open element 5 and copy and paste as a new layer. Image flip vertical and then again image flip horizontal. Place behind the bear and to the left side. Add a drop shadow.
Open element 1 and re-size by 50% 2x. Copy and paste as a new layer and place in the bottom left corner at the end of the ribbon. Add a drop shadow.
Open element 16 and re-size by 50%. Copy and paste as a new layer and position so they are all within the framed area. Add a drop shadow.
Open element 19 and re-size by 60%. Copy and paste as a new layer. Move to the bottom left corner behind the jar and just to the right of the jar. Add a drop shadow.
Open element 15 and re-size by 50%. Copy and paste as a new layer. Image flip horizontal. Place so that the twine is behind one of your flowers. Add a drop shadow.
Add some text and your name to the tag.
Add your copyright and licensing information.
Crop and save.

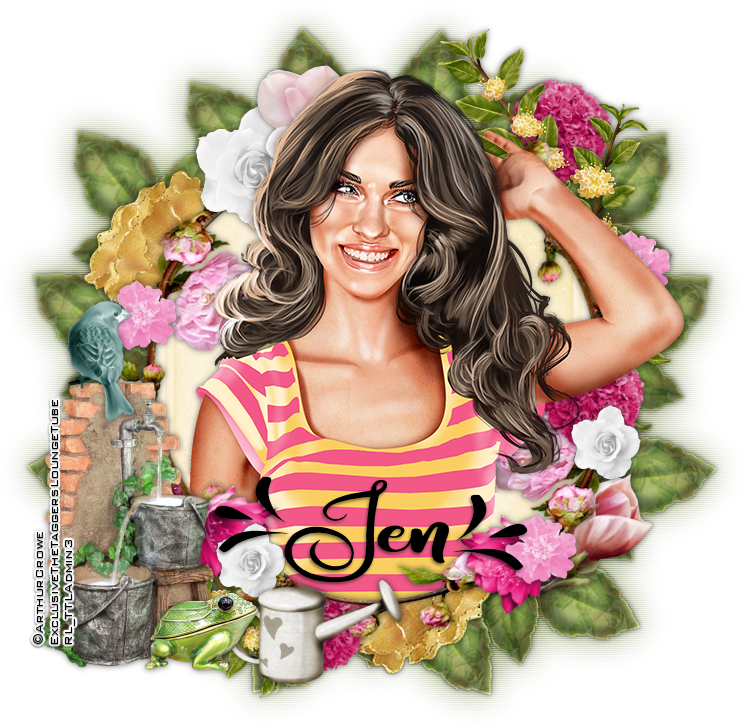
Beaute Florale


Beaute Florale
(Floral Beauty)

Written 8/19/2017

This tutorial is meant purely as a guide. Feel free to use your own choice of tube or scrap kit to make your tag unique. If you want your tag to look just like mine then use the same supplies I have used. This tutorial assumes you have a knowledge of paint shop pro. Any resemblance to any other tag or tutorial is completely coincidental.

Supplies Used:
Tube of your choice. I am using an exclusive tube that was created by Arthur Crowe. This tube is exclusive to The Taggers Lounge psp forum. You can get this tube simply by participating at the forum. You can find the forum at http://thetaggerslounge.forumotion.com/ You must have a TTL license to use this image. You can find Arthur’s awesome tubes at https://arthurcrowesfactory.com/store/

Scrap kit is another exclusive made for The Taggers Lounge forum. This kit was made by Jens Sweet Temptations. You can also get this kit by participating at the forum. You can find other goodies by Jen at http://jenssweettemptations.blogspot.ca/

Font of your choice. I am using Amastery(I also used some of the extra swashes)

Plugins: (plugins are most generally optional)
NONE

Let's Begin:
Open element 29 and shift+D to duplicate. Close the original. Make your canvas large enough to work with. Resize the frame by 120%.
Using your freehand selection tool set on point to point carefully go around the outside edge of the frame and select it. Be really careful that you do not go outside of the frame.
Layers new raster layer. Drag under the frame.
Open paper 5 and copy and paste into selection.
LEAVE SELECTED
Open your tube and copy and paste as a new layer. Position so that her top half is within the framed area but also some poking out around if you wish. Erase any bits you do not want. Selections select none.
Add a drop shadow to both your tube and the frame.
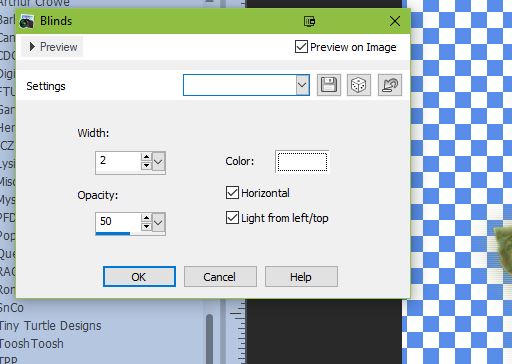
Open element 44. Copy and paste as a new layer and drag to the very bottom. Place at the top right side near your tubes head. Now here is where it is going to take some work from you but it’s so worth it in the end. You are going to duplicate this leaf element several times and rotate it so that you can place it around the frame from the top right to the bottom right. I rotated mine by 15 and 30 degrees. Make sure you sharpen every time you rotate. Once you get them built up the way you want then merge them all together and duplicate that merged layer and image flip horizontal and move to the left side. You should have a complete ring of leaves all the way around the frame. Once you are happy then merge both layers together. Duplicate. On the bottom copy Adjust Blur Guassian Blur at 15. On this blurred layer go to effects texture effects Blinds with the following settings: 

Add a drop shadow to the top copy of the leaves layer.
Now here is where some freedom of expression can come in. Let’s begin building up the flowers all around the frame. You can use any flowers of your choice from the kit. Use as little or as much as you want. I placed some under the frame and peeking out. I placed some on top. Re-size them as you need to. Add a drop shadow to each one.
Once you get all of your flowers on let’s add some other elements.
Open element GElement. And copy and paste as a new layer. Re-size by 75%. Move to the bottom left corner of the frame. Add a drop shadow.
Open element 33. Copy and paste as a new layer. Re-size by 50% 2x. Move to the bottom left in front of the water buckets element. Add a drop shadow.
Open element 9 and copy and paste as a new layer. Re-size by 50% and then again by 70%. Drag under the frog layer. Place at the bottom on the right side of the frog. Add a drop shadow.
Open element 6 and copy and paste as a new layer. Re-size by 50% 2x and image flip horizontal. Place on top of the water buckets element. Add a drop shadow.
You can of course at this time add any other elements if you wish and make the tag uniquely yours. I chose to stop here.
Add your name.
Add your copyright and licensing information.
Crop and save. 


Sunday, January 29, 2017

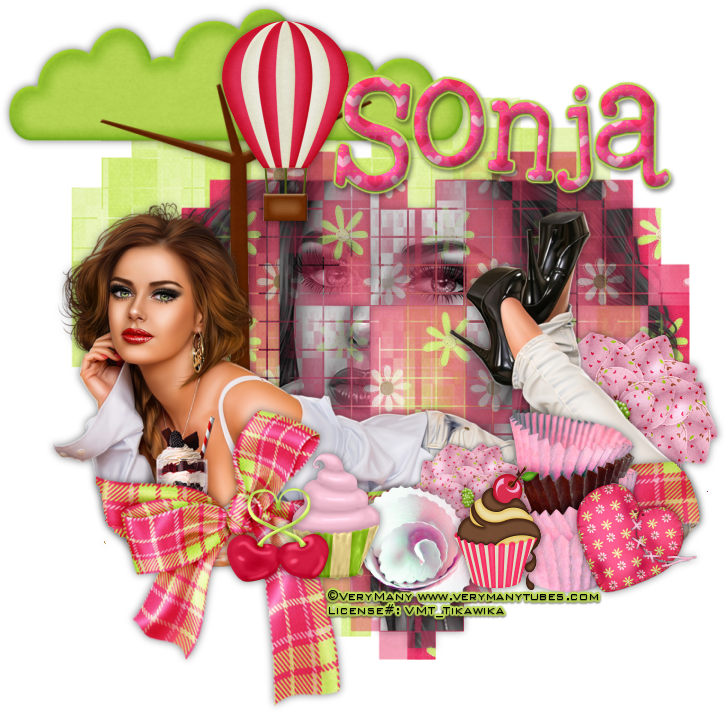
Chocolate Sweetie


Chocolate Sweetie
Written 1/18/2017
This tutorial is meant purely as a guide. Feel free to use your own choice of tube or scrap kit to make your tag unique. If you want your tag to look just like mine them use the same supplies I have used. This tutorial assumes you have a knowledge of paint shop pro. Any resemblance to any other tag or tutorial is completely coincidental.

Supplies Used:
Tube of your choice. Preferably one with a close up but if not I will show you how to make it work without a close-up. I am using a tube by Very Many Tubes called Elsie. You can purchase this tube at http://verymanytubes.com/
I am using a freebie scrap kit by Gina’s Gems Scraps. It is called Chocolate Cherries Add On. You can get it at http://ginasgemsscraps.blogspot.ca/2012/05/chocolate-cherries-free-add-on.html
Mask of your choice. I am using mask# 351 by Insatiable Dreams. You can find her masks at http://insatiabledreams.net
Font of your choice. I am using 2Peas Fragile. This is a PTU font.
Plugins:
NONE
Drop shadow used throughout:
0 0 55 12.00 black

Let's Begin:
Open paper 9 from the kit. Shift+D to duplicate. Close the original. Re-size if you wish. Promote your background layer to a raster layer. Apply the mask of your choice. Delete the mask layer and merge the group. Make your canvas large enough to give you plenty of room to work with. You will be able to crop and/or re-size when you are finished.
Open paper 4 from the kit and copy and paste as a new layer. Apply the same mask again. Delete the mask layer and merge the group. Re-size this mask by 80%. Move down and to the right a little bit. Selections select all float and defloat. Now open the close-up of your tube and copy and paste as a new layer. Position in the selected area. Selections invert and hit delete. Selections select none. **If you do not have a close up then use your tube and once you copy and paste as a new layer you can re-size greater than 100% to help it fill the selected area** Adjust hue and saturation colorize and set both values to 0. Add a drop shadow.
Open  your tube and copy and paste as a new layer. Re-size as needed. Position in the center of the masks near the bottom. Not all the way to the bottom. Add a drop shadow to your tube.
Open the GGS-CandyWrappers from the kit and copy and paste as a new layer. Re-size until appropriate with the tube that you used. Place over to the far right. Add a drop shadow.
Open GGS_Tree from the kit and copy and paste as a new layer. Again re-size until appropriate with your tube and tag. Move behind your tube and to the far left. Mine is just above her shoulders. Add a drop shadow.
Open GGS_TornHeart from the kit and copy and paste as a new layer. Again re-size. Image free rotate to the right 24 degrees. Adjust sharpness sharpen. Move to the bottom right slightly in front of the candy wrappers to the right of them. Add a drop shadow.
Open GGS_Hot air balloon from the kit. Copy and paste as a new layer. Again re-size. Place near the top of the tree on the right side of the trunk. Add a drop shadow.
Open GGS_Cupcake with cherries from the kit. Copy and paste as a new layer. Again Re-size. Move to the bottom in front of the candy wrappers but to the left slightly overlapping. Add a drop shadow.
Open GGS_Heart cherries from the kit. Copy and paste as a new layer. Again re-size. Place along the bottom with the other elements. Mine is over near her hand. Add a drop shadow.
Open GGS_Hortensia flower from the kit and copy and paste as a new layer. Again re-size. I placed 2 of these on my tag. One is behind her legs at the far right and its larger. I then duplicated it and re-sized this duplicate and placed it along the bottom behind the cupcake with cherries. Add a drop shadow to both of them.
Open GGS_cupcake. Copy and paste as a new layer. Again re-size. Place along the bottom with the other elements. Mine is over behind the heart cherries but to the right of them. Add a drop shadow.
Open GSS_Rolled bloomie from the kit. Copy and paste as a new layer. Again re-size. Move to the bottom with the other elements mine is between the 2 cupcakes. Add a drop shadow.
Now that you have most everything placed we are going to add a ribbon/bow to the tag that will take a little work. Open the GGS_Satin Bow wrap from the kit. Copy and paste as a new layer and drag down to just above your tube in your layer palette. Now re-size so it is just longer/larger than your tube on both sides. Now lower the opacity of the ribbon so you can see your tube through it. Using your eraser set on a size that is comfortable for you and zoom in if you need to but erase any bits of the ribbon that are NOT on your tube just at the sides. Be careful to not erase any of the bow. You can keep raising the opacity to check your work if you need to. Once you are done and happy add a drop shadow.
Add your name to your tag.
Add your copyright and licensing information.
Crop and Re-size if you wish.
Save your tag.
♥♥♥


Saturday, May 14, 2016

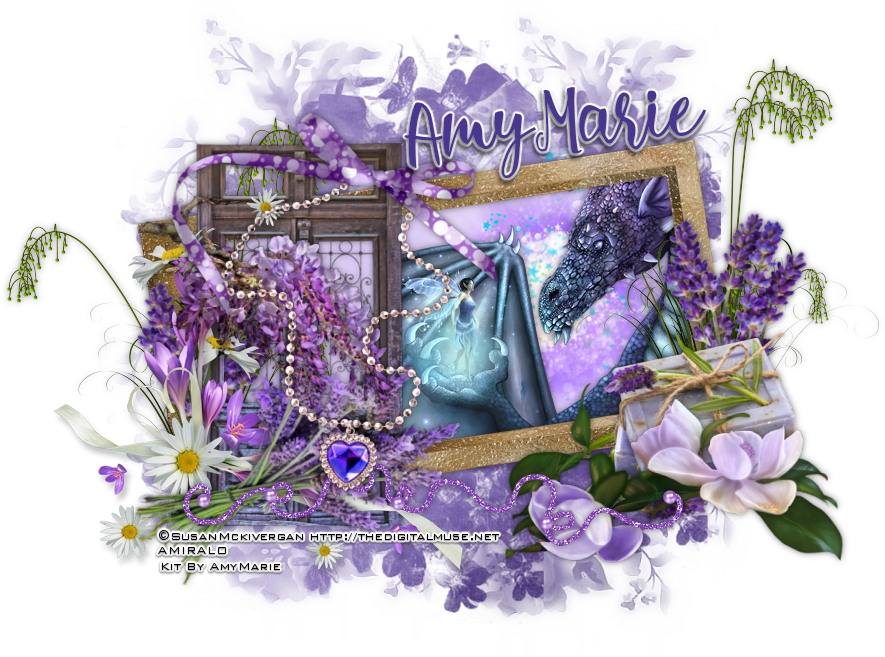
Magical Garden


Magical Garden
Written 5/14/2016
This tutorial is meant purely as a guide. Feel free to make your tag unique by using your own choice of tube and scrap kit. If you want your tag to look like mine then use the same supplies I have used. This tutorial assumes you have knowledge of paint shop pro. Any resemblance to any other tag or tutorial is purely coincidental.
Supplies Used:
Tube by Susan McKivergan. I purchased this tube when she was at AMI. AMI is no longer in business and I am not sure where to purchase or if you can even still purchase her work in psp tube format.
Scrap kit is by Amy Marie. It is called Lavender Garden. You can purchase Amy’s amazing kits at http://amymarieskits.com/store/
Mask of your choice. I am using mask #3 from set 115 by Rachel’s Designs. You can download the mask from https://racheldesignsblog.wordpress.com/2016/05/07/mask-set-115/
Font of your choice. I am using lovelight. This is a PTU font.
Plugins:
NONE
Drop shadow used throughout:
0 0 50 10.00 black

Let’s Begin:
Open element 34 from the kit and shift+D to duplicate. Close the original. Make your canvas large enough to work with.
Open paper 11 and copy and paste as a new layer. Drag under the frame. Apply the mask of your choice. Delete the mask layer and merge the group.
Make the frame layer active and using your magic wand select the inside of the frame. Selections modify and expand by 3. Open paper 2 and copy and paste as a new layer. Drag under the frame. Selections invert hit delete to clear the excess paper. Selections invert again.
Open your tube and copy and paste as a new layer. Drag under the frame and position within the frame. Selections invert and hit delete to clear the excess tube. Selections select none. Add a drop shadow to the tube and the frame layers.
Lets dress this tag up with some of the awesome elements from the kit. I will list the elements I used and you can choose to use the same or use others. Placement of the elements is also up to you and will probably depend largely on the tube you use. If you want your tag to look just like mine then use my tag for reference.
Elements Used:
16
24
25
41
57
74
79
92
93
101 (I used this to help cover the fact my tube was cut off and did not fill the frame)
117
118
Add your name.
Add your copyright and licensing information.
Crop and save. 

Tuesday, March 22, 2016

Hippity Hop


Hippity Hop
written 3/22/2016

This tutorial is meant purely as a guide. Feel free to make your tag unique by using your own choice of tube and scrap kit. If you want your tag to look just like mine then use the same supplies I have used. This tutorial assumes you have a knowledge of paint shop pro. Any resemblance to any other tag or tutorial is purely coincidental.

Supplies Used:

Tube is an exclusive by Lady Mishka. It is called Bunny 1 and you can purchase her at http://scrapsncompany.com/index.php?main_page=product_info&cPath=490_554&products_id=18209

The matching scrap kit is by Kizzed By Kelz. It is also called Bunny 1 and you can purchase it at http://scrapsncompany.com/index.php?main_page=product_info&products_id=18220

Mask of your choice. I am using mask #350 by Weescotslass Creations. You can get her awesome masks at http://weescotslasscreations.blogspot.com/2009/04/masks.html

Font of your choice. I am using 2 Peas Evergreen.

Plugins:
NONE

Drop Shadow used throughout:
0 0 75 5.00 black

Let's Begin:
Open element 59 and shift+D to duplicate.
Close the original.
Make your canvas large enough to work with.
Using your magic wand select inside the frame.
Selections modify and expand by 5.
Layers new raster layer and drag under the frame.
Open paper 6 and copy and paste into selection.
Selections select none.
Copy and paste your paper again as a new layer.
Drag to the bottom.
Apply your mask.
Delete the mask layer and merge the group.
Add a drop shadow to the frame.
Open your tube and copy and paste as a new layer.
Re-size as needed.
Place on the far right side of the frame.
Add a drop shadow.
Now lets dress this tag up with some of the great elements from the kit.
I will list the elements I used .. you can use the same elements or choose others that suit you and your tag.
If you want your tag to look just like mine then use my tag as a reference for placement of the elements.
Elements I used:
6
18(duplicated and used a few of them)
24
41
45
63(duplicated and used a few of them)
65
72
110
Using your font add some text to both the bottom and middle boards of the sign.
I chose to make mine look like they were carved in and this is how you do that .
This is the way I do it and others may do it another way so however you accomplish it is what matters in the end.
Type out your text and then convert it to a raster layer.
Selections select all float and defloat.
Hit delete.
Now go to effects 3D effects cut out with the following settings:
Offset – V 0 H 0
Attributes – Opacity 80 Blur 100
Shadow color Black
DO NOT CHECK FILL INTERIOR
Add your name to the top board of the sign.
Add your copyright and licensing information.
Crop and save.


Monday, March 21, 2016

Secret Spring


Secret Spring
written 3/21/2016

This tutorial is meant purely as a guide. Feel free to make your tag unique by using your own choice of tube and scrap kit. If you want your tag to look just like mine then use the same supplies I have used. This tutorial assumes you have knowledge of paint shop pro. Any resemblance to any other tag or tutorial is purely coincidental.

Supplies Used:

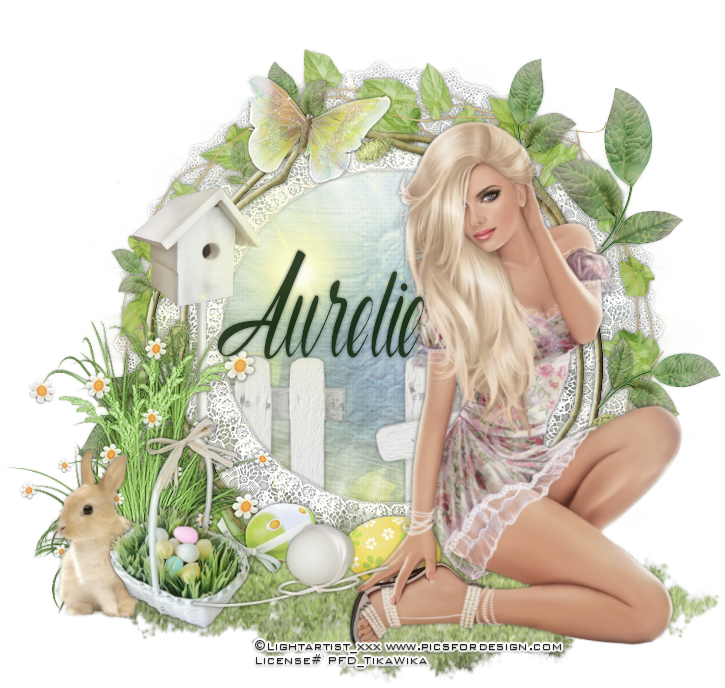
Tube of your choice. I am using the work of Lightartist_xxx. You can purchase this tube at http://picsfordesign.com

The beautiful scrap kit is by Purple Dreams Scraps. It is called Secret Spring and you can also purchase it at http://picsfordesign.com

Mask of your choice. I am using

Font of your choice. I am using Autumn Flower.

Plugins:
Dreamsuite Dreamy Photo (optional)

Drop shadow used throughout
0 0 85 5.00 black

Let's Begin:
Open element 43 and shift+D to duplicate.
Close the original.
Make your canvas large enough to work with.
Open element 44 and copy and paste as a new layer and drag under the frame.
This just adds more leaves and makes it look fuller.
Add a drop shadow to both layers
Open element 48 and copy and paste as a new layer.
Drag to where it is under the 2 leaf frames.
Add a drop shadow.
Open paper 1 and copy and paste as a new layer and drag to the bottom.
Apply your mask.
Delete the mask layer and merge the group.
Open your tube and copy and paste as a new layer.
Re-size as needed.
Place on the far right side of the frame.
Add a drop shadow.
Now lets dress this up with some of the elements from this great kit.
I will list the elements I used.
Placement is completely up to you.
If you want your tag to look just like mine then use my tag for reference.
Elements I used:
1
2
4
5
16
24
33
34
41
49
55
Add your name.
Add your copyright and licensing information.
When I was done I applied Dream Suite Dreamy Photo to my tag because I like the look of it but that's up to you.
Crop and save.


Saturday, March 19, 2016

Countryside Cutie


Countryside Cutie
written 3/19/2016

This tutorial is meant purely as a guide. Feel free to make your tag unique by using your own choice of tube and scrap kit. If you want your tag to look just like mine then use the same supplies that I have used. This tutorial assumes you have a knowledge of paint shop pro. Any resemblance to any other tag or tutorial is purely coincidental.

Supplies Used:


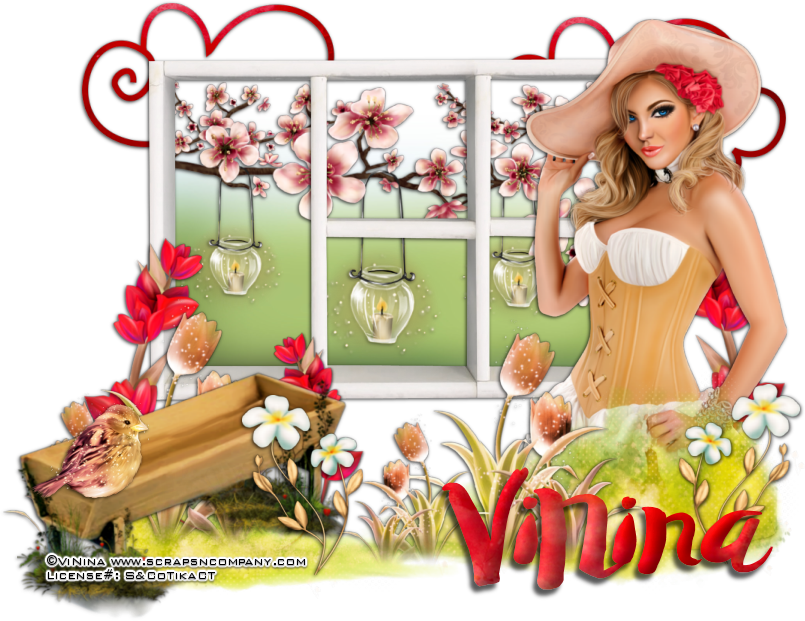
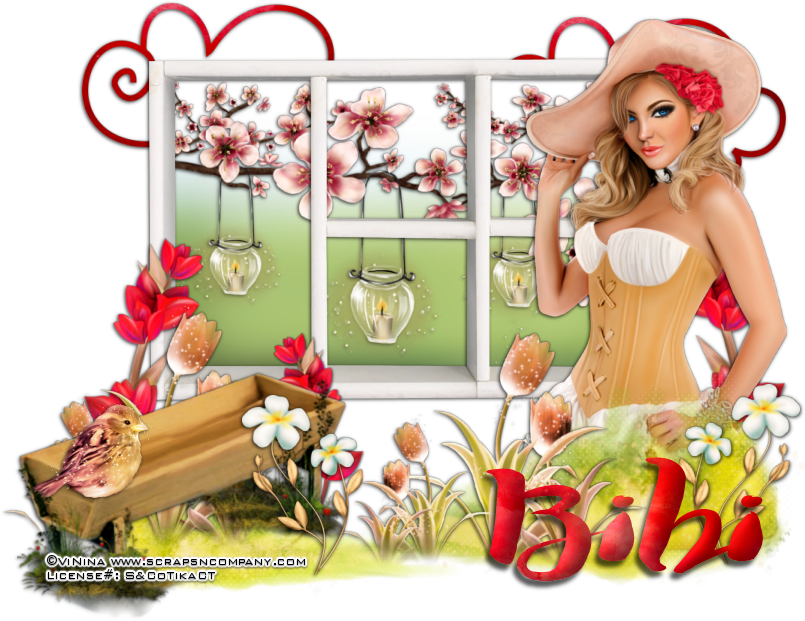
Beautiful matching scrap kit by Bibi's Collection. You can purchase it at http://scrapsncompany.com/index.php?main_page=product_info&products_id=18361

Font of your choice. I am using Swistblnk Duwhoers Brush.

Plugins:
NONE

Drop shadow used throughout
1 -1 75 5.00 black

Let's Begin:
Open element 8 and shift+D to duplicate.
Close the original.
Make your canvas large enough to work with.
Re-size this element if you wish but this will be the focal point of your tag.
Move the window element up to the top portion of your tag.
Using your magic wand select the inside of the window areas.
Selections modify and expand by 5.
Layers new raster layer and drag under the window.
Open paper 17 and copy and paste into selection.
Selections select none.
Add a drop shadow to the window.
Open element 42 and copy and paste as a new layer.
Drag under the window and then re-size so it will fit within the framed window area.
Add a drop shadow.
Open your tube and copy and paste as a new layer.
Place on the far right side of the window.
Re-size so she is just larger than the window.
Add a drop shadow.
Open element 133 and copy and paste as a new layer.
I chose to flip mine horizontal so the larger area was covering her cut off legs but this is completely up to you.
Re-size as needed.
Place along the bottom of the tag.
Open element 90 and copy and paste as a new layer.
Re-size as needed.
Move to the far left side of the tag at the bottom.
Add a drop shadow.
Open element 51 and copy and paste as a new layer.
Re-size as needed.
Place along the bottom of your tag in the grassy area.
Duplicate and place several there to fill in areas and make it look nice.
Add a drop shadow to each one when done.
Open element 84 and copy and paste as a new layer.
Re-size as needed.
Place along the bottom of your tag.
Duplicate a few times and place around.
Add a drop shadow to each when you are done.
Open element 18 and copy and paste as a new layer.
Drag to the bottom.
Place along the top so it is peeking out from behind the window.
Re-size as needed.
I duplicated and placed 2 up there.
Add a drop shadow.
Open element 21 and copy and paste as a new layer.
Re-size as needed and place along the bottom of the tag.
Duplicate if you wish.
Add a drop shadow.
Open element 50 and copy and paste as a new layer.
Re-size as needed.
Place so it is sitting on the edge of the water trough.
Add a drop shadow.
Add your name.
Add your copyright and licensing information.


Friday, March 18, 2016

Easter Love


Easter Love
written 3/18/2016

This tutorial is meant purely as a guide. Feel free to make your tag unique by using your own choice of tube and scrap kit. If you want your tag to look just like mine then use the same supplies I have used. This tutorial assumes you have a knowledge of paint shop pro. Any resemblance to any other tag or tutorial is purely coincidental.

Supplies Used:


Scrap kit by Rieneke Designs. You can purchase it at http://scrapsncompany.com/index.php?main_page=product_info&products_id=18392

Font of your choice. I am using Bromello.

Plugins:
NONE

Drop shadow used throughout
0 0 75 9.50 black

Let's Begin:
Open element 41 and shift+D to duplicate.
Close the original.
Make your canvas large enough to work with.
Move the frame up and to the right a bit.
Using your magic wand select the inside of the frame and selections modify and expand by 3.
Layers new raster layer and drag under the frame.
Open paper 3 and copy and paste into selection.
Leave selected.
Open your tube and copy and paste as a new layer.
Position her face within the framed area.
Selections invert and hit delete.
Selections select none.
Duplicate the tube layer.
On the bottom layer change the property to luminance legacy.
On the top layer adjust blur gaussian blur with 4.00
Change the property of this layer to screen.
Add a drop shadow to the bottom layer and the frame.
You can now merge these layers together.
Copy and paste your tube again and place her in front of the frame.
Add a drop shadow.
Open element 3.
Re-size by 60%.
Copy and paste as a new layer and drag under the frame.
Duplicate many times and place all around the frame.
Add a drop shadow to all and merge these layers together.
Open element 4 and re-size by 60% 2x.
Copy and paste as a new layer and drag under your tube and place behind her legs.
Add a drop shadow.
Open element 5 and re-size by 60% and then again by 75%.
Copy and paste as a new layer and place in the upper left behind her head and then duplicate and move this copy to the lower right.
Add a drop shadow to both.
Open element 8 and re-size by 60% 3x and then move to the lower right behind the one flower but in front of the group of flowers.
Open element 14 and copy and paste as a new layer.
Drag down to the bottom and place in the lower left so it appears your tube is sitting on it.
Add a drop shadow.
Open element 19 and re-size by 65% copy and paste as a new layer and drag down to just above the frame.
Place on the right side and add a drop shadow.
Open element 20 and re-size by 50% and then again by 65%.
Copy and paste as a new layer and place in front of the basket. Add a drop shadow.
Repeat with element 21.
Open element 22 and re-size by 50%.
Copy and paste as a new layer.
Drag under your tube and move to the far right behind her feet.
Add a drop shadow.
Open element 32 and re-size by 75%.
Copy and paste as a new layer.
Drag down to just above the frame.
Place in the top left corner.
Add a drop shadow.
Duplicate and move this copy to the lower far right.
Open element 44 and re-size by 50% and then again by 65%.
Copy and paste as a new layer and move to the lower far right so it appears to be sitting on the shoe of your tube.
Add a drop shadow.
Add your name.
Add your copyright and licensing information.
Crop and save.



Sunday, February 28, 2016

Love Bunny


Love Bunny
written 2/28/2016

This tutorial is meant purely as a guide. Feel free to make your tag unique by using your own choice of tube and/or scrap kit. If you want your tag to look just like mine then use the same supplies I have used. Any resemblance to any other tag or tutorial is purely coincidental.
This tutorial assumes you have knowledge of paint shop pro.

Supplies Used:


Matching scrap kit by Chachaz Creationz. You can purchase it at http://scrapsncompany.com/index.php?main_page=product_info&cPath=112_117&products_id=17756

Tag template by Brutal Designs. You can download it at http://thebrutaldesigns.blogspot.ca/2015/08/new-spring-templates.html

Font of your choice. I am using Mardian. You can download it at http://www.dafont.com/mardian-demo.font

Plugins:
NONE

Let's Begin:
Open your tag template and shift+D to duplicate.
Close the original.
Delete the following layers:
copyright, Beauty, Spring, flower bottom, flower top, and background.
Make your canvas large enough to work with.
Lets start off by getting all of the layers of the template filled with papers from the kit.
Once you do this add a drop shadow to each layer.
Open your tube and copy and paste as a new layer.
Re-size as needed so it fits within the size of the tag template and how large you want your tag to be when complete.
Add a drop shadow to your tube once she is in place.
Now lets dress up the tag with elements from the kit.
I will list the elements I used and placement is up to you.
You can also choose to use other elements.
If you want your tag to look just like mine use my tag for reference on where the elements should be placed.
Elements I used:
9
21
27
32
33
37
41
48
52
56
Add your name.
Add your copyright and licensing information.
Crop and save.


Hello Spring


Hello Spring
written 2/28/2016

This tutorial is meant purely as a guide. Feel free to make your tag unique by using your own choice of tube and scrap kit. If you want your tag to look just like mine then use the same supplies I have used. Any resemblance to any other tutorial or tag is purely coincidental.
This tutorial assumes you have a basic knowledge of paint shop pro.

Supplies Used:

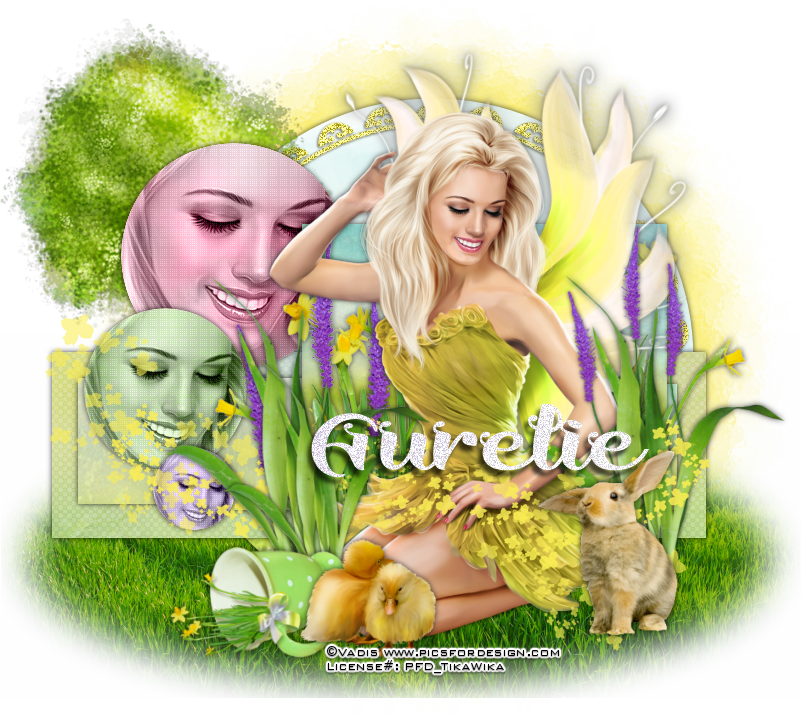
Tube by Vadis. You can purchase her at http://picsfordesign.com

Scrap kit by Purple Dreams Scraps which can also be purchased at http://picsfordesign.com

Tag template by Simple Expressions. I am using template_01. You can download it at http://simpleexpressions58.blogspot.com/2016/01/setemplate01.html

Mask of your choice. I am using mask #451 by Vix. You can download her amazing masks at http://www.freewebs.com/vixpsp/

Font of your choice. I am using Brigent Script. You can purchase it at https://thehungryjpeg.com/product/7170-brigent-script/

Plugins:
Penta Dot and Cross

Let's begin:
Open the tag template and shift+D to duplicate.
Close the original.
Delete the following layers:
Raster 1, frame, and white background.
Make your canvas large enough to work with.
Open paper 7 and copy and paste as a new layer.
Drag to the bottom.
Apply your mask.
Delete the mask layer and merge the group.
I moved my mask to sit behind the circle in the template but this is completely up to you and depending on what mask you use how it looks.
Now lets fill each of the template layers using papers from the kit.
Once you are done delete all the original template layers.
Add a drop shadow to each layer.
I chose to add the face of my tube to each of the circle layers and change the layer property to luminance legacy.
I also applied Penta Dot and Cross using the default settings.
I also added noise to the scalloped layer but this is completely up to you also.
Now copy and paste your tube as a new layer.
Re-size as needed.
Position within the center of the tag to the right side.
Add a drop shadow.
Now lets dress this beauty up with some of the great elements from the kit.
I will list the elements I used and you can either use the same elements or choose others.. its completely up to you.
Use my tag for reference on placement of the elements if you are wanting your tag to look just like mine.
Elements used:
1
3
8
14
15
21
23
27
36
Add your name.
Add your copyright and licensing information.
Crop and save.