Showing posts with label Lil Mz Brainstorm. Show all posts

Monday, January 2, 2017

Winter Snow


Winter Snow
Written 1/2/2017
This tutorial is meant purely as a guide. Feel free to use your own choice of tube or scrap kit to make your tag unique. If you want your tag to look just like mine them use the same supplies I have used. This tutorial assumes you have a knowledge of paint shop pro. Any resemblance to any other tag or tutorial is completely coincidental.
Supplies Used:
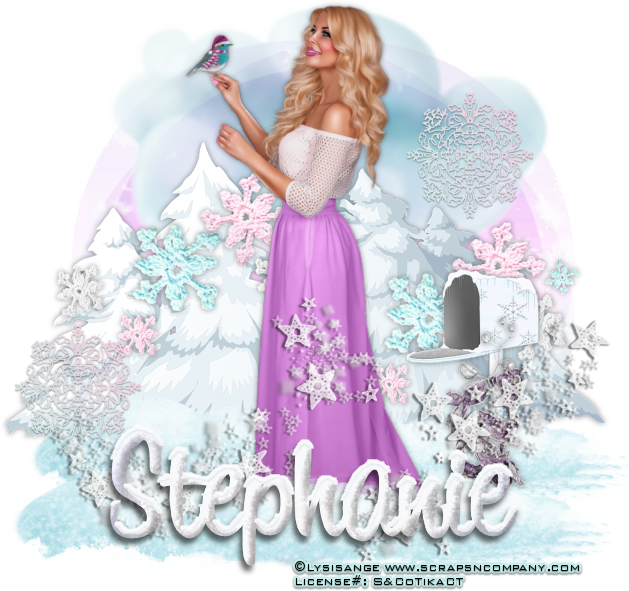
Tube is by Lysisange. It is called Sweet Xmas and can be purchased at http://scrapsncompany.com/index.php?main_page=product_info&cPath=113_562&products_id=24850
The beautiful matching scrap kit is by Lil Mz Brainstorms. It is also called Sweet Xmas and can be purchased at http://scrapsncompany.com/index.php?main_page=product_info&products_id=24868
Mask of your choice. I am using mask #9 by Weescotslass Creations. You can get her masks at http://weescotslasscreations.blogspot.com/2009/04/masks.html
Font of your choice. I am using 1 Bean Sprout DNA. This is a PTU font. If you do not have it use any other font.
Plugins:
Eye Candy Nature Snowdrift  (optional)
Drop shadow used throughout:
0 0 60 8.00 #404040

Let's Begin:
Open paper 15 from the kit. Shift+D to duplicate. Close the original. Promote the background layer to a raster layer. Re-size the paper if you wish. Apply the mask of your choice. Delete the mask layer and merge the group.
Make your canvas large enough to give you plenty of room to work with. You can resize and crop when you are finished.
At this point I like to add my tube to the tag just so I can play around with the placement of the other elements that I choose to use. Open your tube. Copy and paste as a new layer. Re-size as needed. Place wherever you wish on the tag. This is your tag so make it unique. It doesn’t have to look just like mine unless you absolutely want it to.
Now let’s dress the tag up with elements from the kit. I will list the elements I used. Feel free to use other elements to make your tag unique. Placement of the elements is completely up to you. If you want your tag to look just like mine then use my tag for reference.
Elements I used:
12
22
42
51
58
70
97
100
Add your name.  I used the Eye Candy Nature Snowdrift plugin on the name but this is complete optional and up to you. If you choose to use it the setting I used was small first flakes.
Add your copyright and licensing information.
Crop and save re-size if you wish.
Thank you for trying my tutorial.
Have a blessed day!
Sunday, June 19, 2016

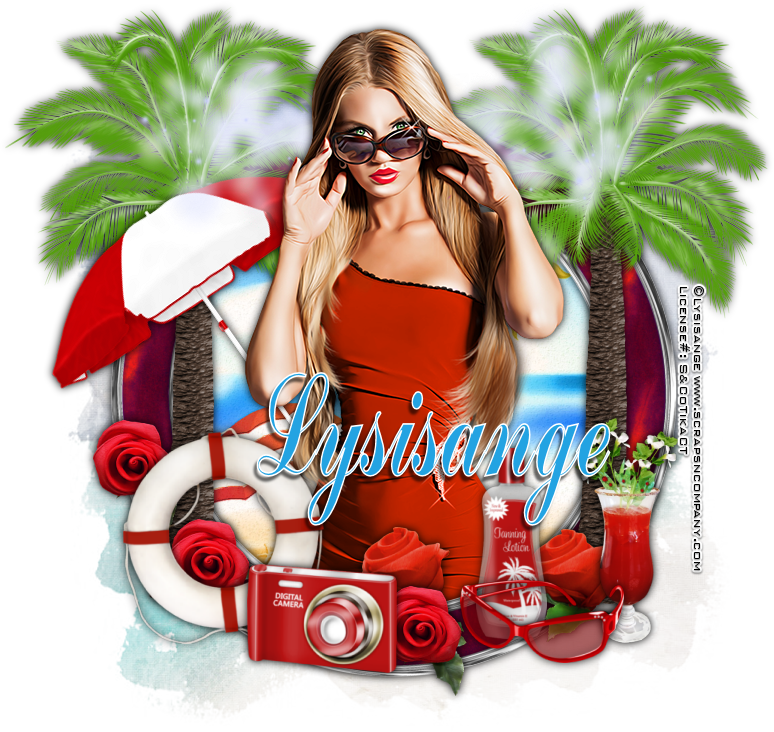
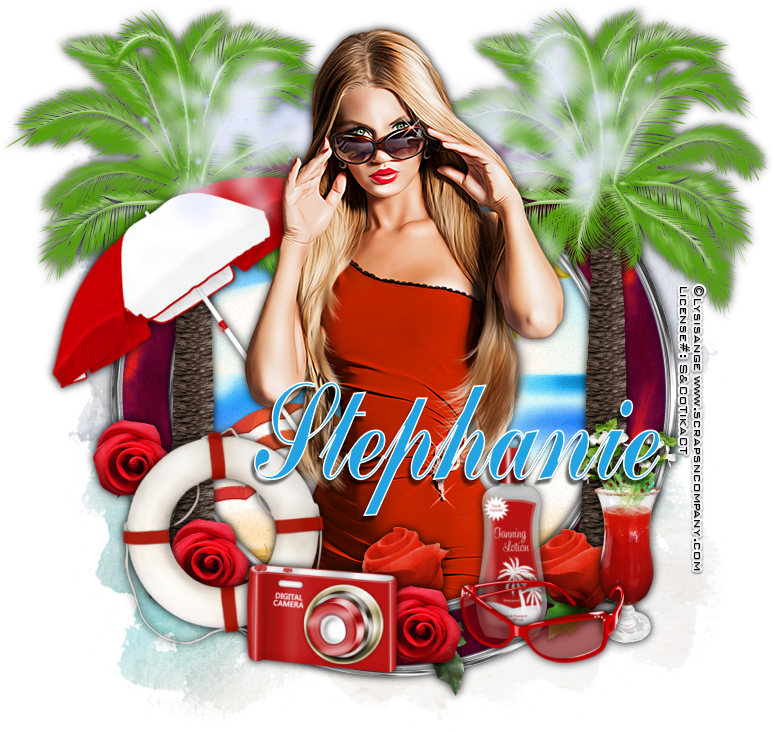
Beach Beauty


Beach Beauty
Written 6/19/2016
This tutorial is meant purely as a guide. Feel free to use your own choice of tube or scrap kit to make your tag unique. If you want your tag to look just like mine them use the same supplies I have used. This tutorial assumes you have a knowledge of paint shop pro. Any resemblance to any other tag or tutorial is completely coincidental.
Supplies Used:
Tube of your choice. I am using one called Beach Party by Lysisange. You can purchase this tube at http://scrapsncompany.com/index.php?main_page=product_info&cPath=113_562&products_id=20020
Matching scrap kit by Lil Mz Brainstorms. It is also called Beach Party.  You can purchase it at http://scrapsncompany.com/index.php?main_page=product_info&products_id=20179
Font of your choice. I am using Commercial Script.
Plugins:
NONE
Drop shadow used throughout:
0 0 100 14.00 black

Let's Begin:
Open element 90 and shift+D to duplicate. Close the original. Make your canvas large enough to work with. Using your magic wand select the inside of the frame. Selections modify and expand by 3. Layers new raster layer and drag under the frame. Open paper 4 and copy and paste into selection. Leave selected. Open your tube and copy and paste as a new layer and position within the frame area that is selected. Erase any bits that are hanging out of the frame that you do not want. Selections select none. Add a drop shadow to both the frame and the tube.
Open element 104 and re-size by 85%. Copy and paste as a new layer and drag to the bottom. Position behind your tag.
Now let’s dress the tag up with elements from the kit. I will list the elements I used. Feel free to use other elements to make your tag unique. Placement of the elements is completely up to you. If you want your tag to look just like mine then use my tag for reference.
Elements I used:
13
14
28
29
32
42
57
65
80
81
Add your name.
Add your copyright and licensing information.

Crop and save.


Tuesday, June 7, 2016

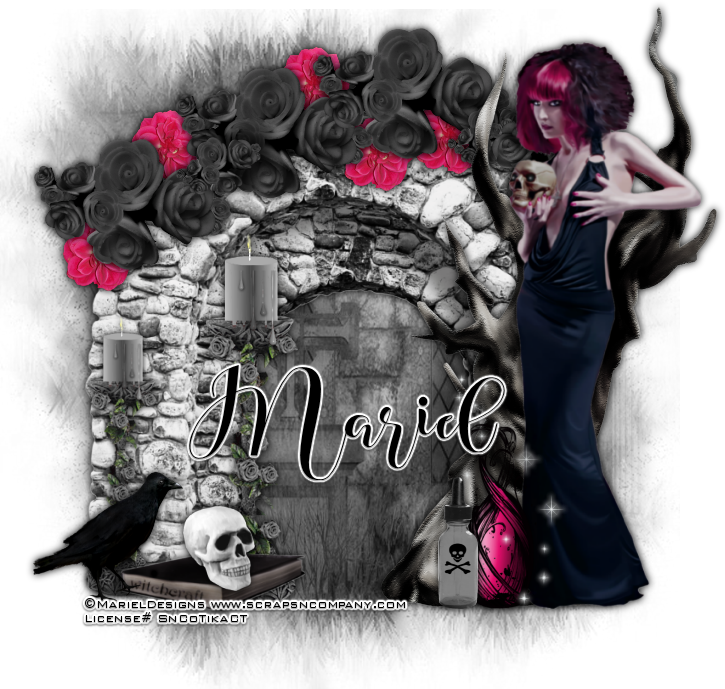
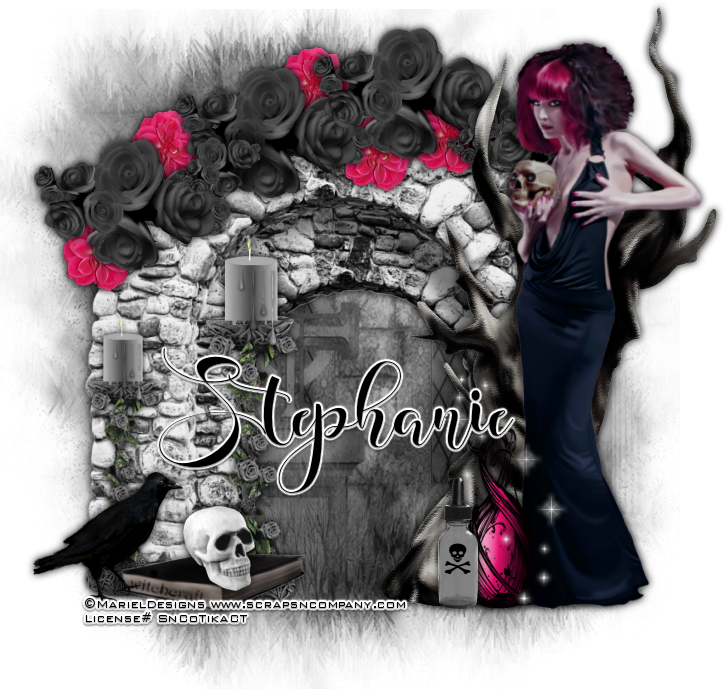
Pick Your Poison


Pick Your Poison
Written 6/4/2016
This tutorial is meant purely as a guide. Feel free to use your own choice of tube or scrap kit to  make your tag unique. If you want your tag to look just like mine them use the same supplies I have used. This tutorial assumes you have a knowledge of paint shop pro. Any resemblance to any other tag or tutorial is completely coincidental.
Supplies Used:
Tube is by Mariel and is part of the Dark Roses Collab at Scraps N Company. You can get this awesome collab by spending $12.50 in the store. You can find the collab at http://scrapsncompany.com/index.php?main_page=product_info&cPath=587_144&products_id=20089&zenid=08nhk49kqodhrq436is8imqu71
Matching scrap kit is by Lil Mz Brainstorm and is called Dark Roses. It is also part of the collab that you can find above.
Mask of your choice. I am using mask #177 by Insatiable Dreams You can get her masks at http://insatiabledreams.net under resources.
Font of your choice. I am using Zombis Nigth. This is a PTU font.
Plugins:
NONE
Drop shadow used throughout:
0 0 100 12.00 black

Let's Begin:
Open element 21 from the kit and shift+D to duplicate. Close the original. Re-size if you wish. Make your canvas large enough to work with.
Open paper 1 and copy and paste as a new layer. Drag under the column. Apply the mask of your choice. Delete the mask layer and merge the group.
Add a drop shadow to the cement arch.
Open your tube and copy and paste as a new layer and re-size as needed. Move to the far right side of the cement arch. Add a drop shadow.
Open element 19 and copy and paste as a new layer. Move to the far right side. Drag under your tube and place in front of the cement arch but behind your tube. Add a drop shadow.
Open element 25. Image flip vertical. Copy and paste as a new layer and move to the top of the arch. Add a drop shadow.
Open element 23 and re-size. Copy and paste as a new layer and drag under the black flowers. Place so it is peeking out around the black flowers. Duplicate several times and place randomly around the black flowers. Add a drop shadow to each flower.
Open element 35 and re-size by 50%. Copy and paste as a new layer. Move to the bottom and left of your tube. Add a drop shadow.
Open element 1 and re-size. Copy and paste as a new layer and move to the bottom by the other bottle. Add a drop shadow.
Open element 47 and re-size. Copy and paste as a new layer. Add a drop shadow.
Open element 48 and re-size. Image flip horizontal. Copy and paste as a new layer and set on the book. Add a drop shadow.
Open element 50 and copy and paste as a new layer. Place in front of the left column. Add a drop shadow. Duplicate and re-size by 85%. Move this one to the farther left.
Open element 45 and re-size. Copy and paste as a new layer and move to the bottom far left. Add a drop shadow.
Add your Name.
Add your copyright and licensing information.
Crop and save.


Tuesday, May 24, 2016

5th Avenue Darling


5th Avenue Darling
Written on 5/24/2016
This tutorial is meant purely as a guide. Feel free to make your tag unique by using your own choice of tube and scrap kit. If you want your tag to look just like mine then use the same supplies I have used. This tutorial assumes you have a knowledge of paint shop pro. Any resemblance to any other tag or tutorial is purely coincidental.
Supplies Used:
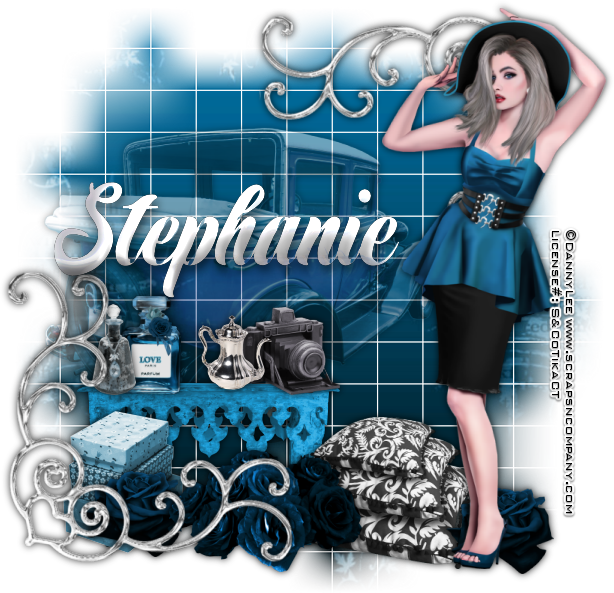
Tube is by Danny Lee and is called Madame Blue Goth. You can purchase her at http://scrapsncompany.com/index.php?main_page=product_info&cPath=113_132_219&products_id=19793
Matching scrap kit is by Lil Mz Brainstorms. It is called Madame Blue. You can purchase it at http://scrapsncompany.com/index.php?main_page=product_info&products_id=19823
Mask of your choice. I am using mask #84 by Weescotslass Creations. You can get her masks at http://weescotslasscreations.blogspot.com/2009/04/masks.html
Font of your choice. I am using Maribelia Evolutions. This is a PTU font.
Plugins:
NONE
Drop shadow used throughout:
0 0 85 11.00
Let’s Begin:
Open paper 5 and shift+D to duplicate. Close the original. Re-size if you wish. Promote the background layer to a raster layer. Make your canvas large enough to work with. Apply the mask of your choice. Delete the mask layer and merge the group.
Open element 12 and re-size so it is proportionate to your mask layer. Copy and paste as a new layer and place in the top right corner kinda overlapping the mask but also outside of it. Duplicate and image flip horizontal and then image flip vertical and move this copy to the bottom left corner. Merge these 2 layers and add a drop shadow.
Open element 51 and copy and paste as a new layer. Re-size so it fits within the mask area. You want to place it more to the left and near the top. Lower the opacity to 40. Add a drop shadow.
Open your tube and copy and paste as a new layer. Re-size so it is proportionate with your tag. Move to the far right side. Add a drop shadow.
Open element 46 and copy and paste as a new layer. Re-size. Move to the bottom left corner and drag under the silver corner elements. Add a drop shadow.
Copy and paste the following elements and re-size to fit on the table:
10, 20, 86, 90
Once you are done add a drop shadow to each layer and if you want merge them all together if you want to help keep your layers tidy.
Open element 88 and re-size and copy and paste as a new layer. Move to the bottom between the table and your tube. Add a drop shadow.
Open element 78 and re-size. Copy and paste as a new layer and place in the bottom left corner in front of the table. Add a drop shadow.
Open element 3 and re-size. Copy and paste as a new layer and place in the bottom right corner behind your tube. Duplicate and move this copy over to the left corner in front of the boxes. Merge together and add a drop shadow.
Open element 21 and re-size. Copy and paste as a new layer and move to the bottom center of your tag. Add a drop shadow.
Add your name.
Add your copyright and licensing information.
Crop and save. 


Saturday, April 30, 2016

Summer Playin


Summer Playin'
written 4/30/2016

This tutorial is meant purely as a guide. Feel free to make your tag unique by using your own choice of tube and scrap kit. If you want your tag to look just like mine then use the same supplies I have used. This tutorial assumes you have a knowledge of paint shop pro. Any resemblance to any other tag or tutorial is purely coincidental.

Supplies Used:

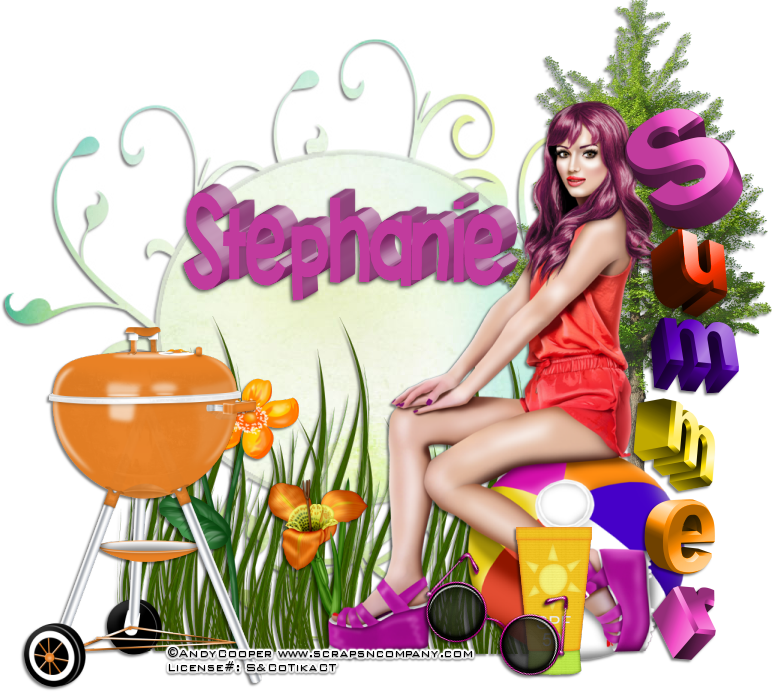
Tube is called Beach Ball by Andy Cooper. You can purchase her at http://scrapsncompany.com/index.php?main_page=product_info&cPath=113_652_304&products_id=19092

Super fun scrap kit is also called Beach Ball and it is by A Lil Mz Brainstorm. You can purchase it at http://scrapsncompany.com/index.php?main_page=product_info&products_id=19166

Mask of your choice. I am using doodle mask #4 by Cat at insatiable dreams. You can get her awesome masks at http://insatiabledreams.net/Resource_page.html

Font of your choice. I am using KBPay The Lady. You can download it at http://www.fontspace.com/khryskreations/kbpaythelady

Plugins:
Alien Skin Eye candy 4 Impact Extrude (optional)

Drop shadow used throughout:
2 -2 50 3.00 black

Let's Begin:
Open paper 2 and shift+D to duplicate.
Close the original so you can use it again another time if you wish.
Promote the background layer to a raster layer.
Make your canvas large enough to work with.
Apply your mask to the paper layer.
Delete the mask layer and merge the group.
Center your mask within your canvas.
Add a drop shadow to the mask.
Open your tube and re-size as needed.
Copy and paste as a new layer.
Move to the far right of the mask.
Add a drop shadow.
Open element 43 and copy and paste as a new layer.
Drag behind your tube and to the right a bit.
Add a drop shadow.
Open element 56 and copy and paste as a new layer.
Re-size as needed.
Drag under your tube.
Place over to the right so you can see it between her foot and the ball.
Duplicate and move this copy to the left and then duplicate again and move to the left.
Merge all 3 grass layers together and add a drop shadow.
Open element 11 and re-size as needed.
Copy and paste as a new layer.
Move to the far left at the end of the grass.
Add a drop shadow.
Open element 7 and re-size as needed.
Copy and paste as a new layer and image free rotate to the right 24 degrees.
Place as the bottom near her feet. Add a drop shadow.
Open element 16 and re-size as needed.
Copy and paste as a new layer.
Drag under the glasses.
Move to the bottom and place behind the glasses and to the right.
Add a drop shadow.
Open elements 24 and 26 and re-size as needed.
Copy and paste as a new layer for each and place them down in the grass area.
Add a drop shadow.
Open element 4 and copy and paste as a new layer.
Place to the far right of your tube.
Add a drop shadow.
Add your name.
I then used the eye candy 5 impact extrude to make my name look like the other letters in the wordart. This is completely up to you.
If you do decide to use it I used the settings Small Offset, 30 Degrees.
Add your copyright and licensing information.
Crop and save.


Wednesday, April 27, 2016

Sirens Song


Sirens Song
written 4/26/2016

This tutorial is meant purely as a guide. Feel free to make your tag unique by using your own choice of tube and scrap kit. If you want your tag to look just like mine then use the same supplies I have used. This tutorial assumes you have a knowledge of paint shop pro. Any resemblance to any other tag or tutorial is purely coincidental.

Supplies Used:

Tube is a commission tube by Lady Mishka for Scraps N Company. She is called Mermaid Dark and you can purchase her at http://scrapsncompany.com/index.php?main_page=product_info&cPath=490_554&products_id=19033

Beautiful matching scrap kit also called Mermaid Dark by A Lil Mz Brainstorm. You can purchase it at http://scrapsncompany.com/index.php?main_page=product_info&products_id=19059

Font of your choice. I am using Dreams Liem. This is a PTU Font.

Plugins:
NONE

Drop shadow used throughout:
0 0 85 6.00 black

Let's Begin:
Open element 70 and shift+D to duplicate.
Close the original so you can use it again if you wish.
Make your canvas large enough to work with.
Using your magic wand select the inside of the frame.
Selections modify and expand by 12.
Layers new raster layer and drag this new layer under the frame.
Open paper 9 and copy and paste into selection.
Selections select none.
Add a drop shadow to the frame.
Open element 75 and copy and paste as a new layer.
Position at the bottom of the frame but at the inside area.
Add a drop shadow.
Open element 85 and re-size by 50%.
Copy and paste as a new layer and place at the bottom of the frame inside area in front of the green seaweed.
Duplicate and image flip horizontal the copy.
Add a drop shadow to both.
Open your tube and re-size until happy.
Copy and paste as a new layer and move to the far right side of the frame.
Add a drop shadow.
Now lets dress it up with some of the fun elements from the kit.
I will list the elements I used.
Placement is completely up to you.
If you want your tag to look just like mine then use my tag for reference.
Feel free to use any elements I did not use to help make your tag unique.
Elements I used:
11
19
63
74
81
87
89
102
Add your name.
Add your copyright and licensing information.
Crop and save.


Thursday, April 14, 2016

Until All The Pieces Fit


Until All Of The Pieces Fit
written 4/14/2016

This tutorial is meant purely as a guide. Feel free to make your tag unique by using your own choice of tube and scrap kit. If you want your tag to look just like mine then use the same supplies I have used. This tutorial assumes you have a knowledge of paint shop pro. Any resemblance to any other tag or tutorial is purely coincidental.

Supplies Used:


Matching scrap kit by Lil Mz Brainstorm. You can purchase it at http://scrapsncompany.com/index.php?main_page=product_info&products_id=18960

Font of your choice. I am using Nailika. This is a PTU font.

Plugins:
NONE

Drop shadow used throughout:
0 0 60 9.00 black

Let's Begin:
Open element 32 and shift+D to duplicate.
Close the original.
Re-size to a size you are happy with.
Make your canvas large enough to give you room to work with.
Using your magic wand select the inside of the frame.
Selections modify and expand by 1.
Layers new raster layer and drag under the frame.
Open paper 11 and copy and paste into selection.
Leave selected.
Open the closeup of your tube and copy and paste into the framed selected area.
Position how you want.
Selections invert and hit delete.
Selections select none.
Add a drop shadow.
Change the properties of this layer to Luminance Legacy.
Add a drop shadow to the frame
Using your preset elipse tool we are going to draw a circle around the frame that we can put some text on a path around.
I will explain how I do this .. I know everyone does it differently so no matter how you do it .. its the end result that matters.
Turn your background color off.
Draw a vector circle around the outside of the frame.
Leave it as a vector layer.
Set your font to how you want it but be sure that it is set to floating.
Place your mouse over the round vector layer you drew.
It will turn to an A with a line under and then start typing.
Once you get your text around and its floating promote that floating layer to a raster layer.
Selections select none.
Delete the vector layer.
Add a drop shadow to the text.
Open element 16 and copy and paste as a new layer.
Drag to the bottom.
Place so it is peeking out around the framed image.
Duplicate and move this copy to the opposite side.
Open your full sized tube and copy and paste as a new layer.
Re-size until it is just larger than the frame.
Place on the far right side.
Add a drop shadow.
Open element 25 and copy and paste as a new layer.
Re-size.
Move the far left side.
Add a drop shadow.
Open element 24 and copy and paste as a new layer.
Re-size.
Image free rotate to the right 23 degrees.
Adjust sharpen.
Move over to the far left in front of the paint can.
Add a drop shadow.
Open element 35 and copy and paste as a new layer.
Re-size.
Move to the bottom and to the right by your full sized tube.
Add a drop shadow.
Open element 125 and copy and paste as a new layer.
Re-size.
Move to the far left above the paint can.
Add your name.
I also duplicated the ribbon and moved the duplicate down near my name.
Add some additional text along the bottom if you wish like I did.
Add your copyright and licensing information.
Crop and save.


Thursday, March 17, 2016

Beach Me


Beach Me
written 3/17/2016

This tutorial is meant purely as a guide. Feel free to make your tag unique by using your own choice of tube and scrap kit. If you want your tag to look just like mine then use the same supplies that I have used. This tutorial assumes you have a knowledge of paint shop pro. Any resemblance to any other tag or tutorial is purely coincidental.

Supplies Used:

Tube by Andy Cooper. This tube is part of the “Pretty Colors” collab which can be purchased at http://scrapsncompany.com/index.php?main_page=product_info&cPath=587_144&products_id=18282&zenid=4k6tc72d27p8uequ28ot4kips2

Scrap Kit by Lil Mz Brainstorm. This kit is also part of the collab above.
All you need to do is spend $11.00 at Scraps N Company and you can get the entire collab for free which contains some awesome goodies.

Mask of your choice. I am using mask #451 by Vix. You can get her awesome masks at http://www.freewebs.com/vixpsp/

Font of your choice. I am using Fruitella.

Drop shadow used throughout
0 0 70 7.50 black

Plugins:
NONE

Let's Begin:
Open element 11 and shift+D to duplicate. Close the original.
Re-size so it is a medium to large size.
Make your canvas large enough to work with.
Using your selection tool set on freehand draw around the frame.
Open paper 3 and copy and paste as a new layer and drag under the frame.
Selections invert and hit delete.
Selections invert again.
Open your tube or the close up if your tube if it has one.
Copy and paste as a new layer.
Drag under the frame.
Position the face within the framed area.
Selections invert and hit delete.
Selections select none.
Duplicate the tube layer.
On the bottom copy change the layer properties to luminance legacy.
On the top copy go to adjust blur gaussian blur and blur at 4.00
Change the property of this layer to screen.
Add a drop shadow to the bottom layer and the frame.
Merge these layers together.
Move this frame to the upper left corner of your tagging area.
Open paper 5 and copy and paste as a new layer and drag under the framed image.
Apply your mask.
Delete the mask layer and merge the group.
Open your full sized tube and copy and paste as a new layer. \
Re-size as needed.
Place to the right of your tagging area.
Add a drop shadow.
Now lets dress this beauty up with some elements from this wonderful kit.
I will list the elements I used and if you choose to use the same ones thats great.
If not feel free to use whatever elements you wish.
Placement is entirely up to you however if you want your tag to look just like mine then use my tag for reference.
Elements I used:
5
6
10
12
13
15
20
25
26
Add your name.
Add your copyright and licensing information.
Crop and save.


Wednesday, February 24, 2016

My Favorite Color Is Ireland


Favorite Color Is Ireland
written 2/24/2016

This tutorial is meant purely as a guide. Feel free to make your tag unique by using your own choice of tube and scrap kit. If you want your tag to look just like mine then use the same supplies I have used. Any resemblance to any other tutorial or tag is purely coincidental.

Supplies Used:


Scrap Kit by Lil Mz Brainstorm. You can purchase it at http://scrapsncompany.com/index.php?main_page=product_info&products_id=17752

Font of your choice. I am using Catharsis Macchiato and Celtic Garamond and Celtic Hand.

Plugins:
NONE

Let's begin:
Open element 2 from the kit and shift+D to duplicate.
Close the original.
Re-size if you choose.
Make your canvas large enough to work with.
Using your magic wand select the inside of the frame.
Selections modify expand by 5.
Layers new raster layer and drag under the frame.
Open paper 19 and copy and paste into selection.
Selections select none.
Add a drop shadow to the frame.
Open your tube and re-size so she is just larger than the frame.
Copy and paste as a new layer and move to the far right hand side.
Add a drop shadow.
Open element 18 and re-size.
Copy and paste as a new layer.
Place in the top right hand corner of the frame and drag under your tube.
Add a drop shadow.
Duplicate and image flip horizontal.
Move this duplicate to the top left hand corner.
Open element 34 and copy and paste as a new layer.
Drag down under the frame.
Place at the bottom.
Erase any bits hanging outside of the frame on both sides.
Add a drop shadow.
Open element 89 and re-size.
Copy and paste as a new layer and place at the top center of the frame.
Add a drop shadow.
Open element 93 and re-size.
Image flip horizontal.
Copy and paste as a new layer and place in the lower left corner.
Add a drop shadow.
Open element 90 and re-size.
Copy and paste as a new layer.
Drag under the leprechaun.
Add a drop shadow.
Open element 87 and re-size.
Image free rotate to the right 20 degrees.
Adjust sharpen.
Copy and paste as a new layer and place in the top left area of the frame.
Add a drop shadow.
Add some text if you choose to the inside of the frame at the top.
Add your name.
Add your copyright and licensing information.
Crop and save.


Thursday, November 19, 2015

Be Thankful


Be Thankful
written 11/19/2015

This tutorial is meant purely as a guide. Feel free to make your tag unique by using your own choice of tube and scrap kit. If you want your tag to look just like mine then use the same supplies I have used.

**Please note: this tutorial works best with a tube that has a close up*

Supplies Used:

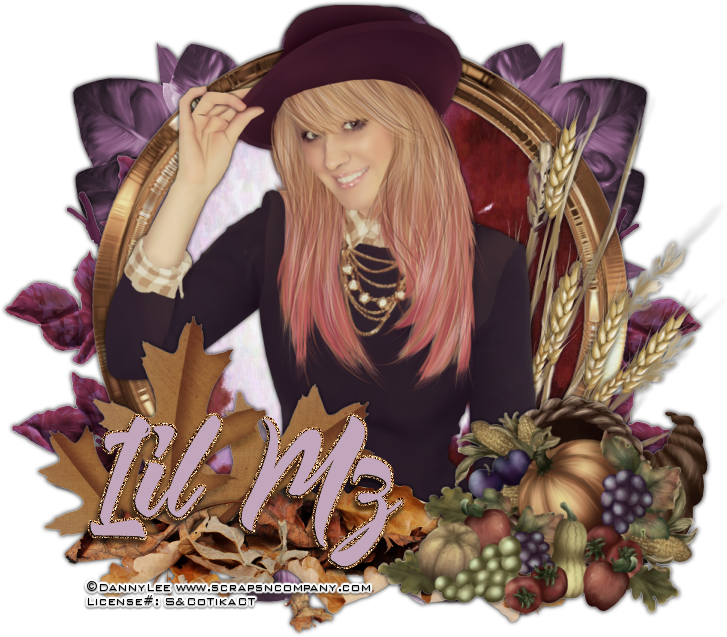
Tube by Danny Lee. It is called Thanksgiving. You can get it at http://scrapsncompany.com/index.php?main_page=product_info&cPath=113_132_219&products_id=15540

The matching scrap kit is by Lil Mz Brainstorm. It is also called Thanksgiving. You can get it at http://scrapsncompany.com/index.php?main_page=product_info&cPath=112_543_535&products_id=15554

Font of your choice. I am using Vizels. You can get it at http://www.fontspace.com/vmf-font/vizels

Plugins:
NONE

Let's Begin:
Open element 79 and shift+D to duplicate. Close the original.
Re-size if you want to.
Make your canvas large enough to work with.
Using your magic wand select the inside of the frame.
Selections modify and expand by 8.
Layers new raster layer and drag under the frame.
Open paper 13 and copy and paste into selection.
Selections modify and contract by 7.
Open the closeup of your tube and copy and paste into the selected frame area.
Re-size as you wish.
Using your eraser tool erase any bits that you don't want in your tag.
When you are happy selections select none.
Add a drop shadow to the frame and the tube layers.
Open element 6 and copy and paste as a new layer.
Drag to the bottom and re-size so it will fit nicely around the frame.
Add a drop shadow.
Open element 76 and re-size.
Copy and paste as a new layer and drag down to just above the other leaves.
Place on the far right side peeking out around the frame.
Duplicate and flip horizontal.
Move the duplicate to the left side.
Add a drop shadow to both.
Open element 101 and copy and paste as a new layer along the bottom of the tag.
Add a drop shadow.
Open element 105 and copy and paste as a new layer.
Re-size and move to the lower right corner of the tag.
Add a drop shadow.
Open element 83 and re-size.
Image flip horizontal.
Copy and paste as a new layer and move to the far right side.
Move down to just below your tube but in front of the frame.
Add a drop shadow.
Open element 21 and re-size.
Copy and paste as a new layer.
Move to the far left bottom of the tag and drag behind the other leaves.
Add a drop shadow.
Add your name.
Add your copyright and licensing information.
Crop and save.