Showing posts with label Toriya. Show all posts

Wednesday, July 6, 2016

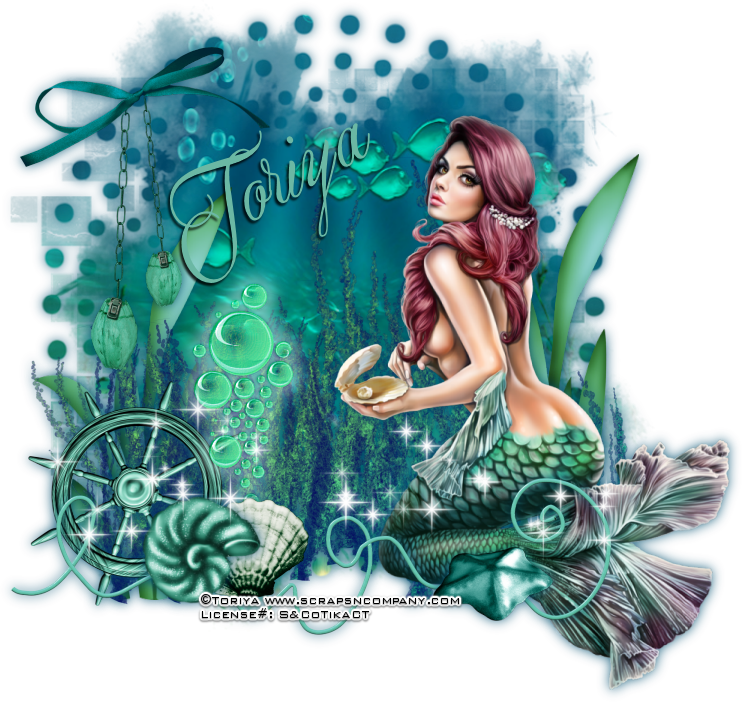
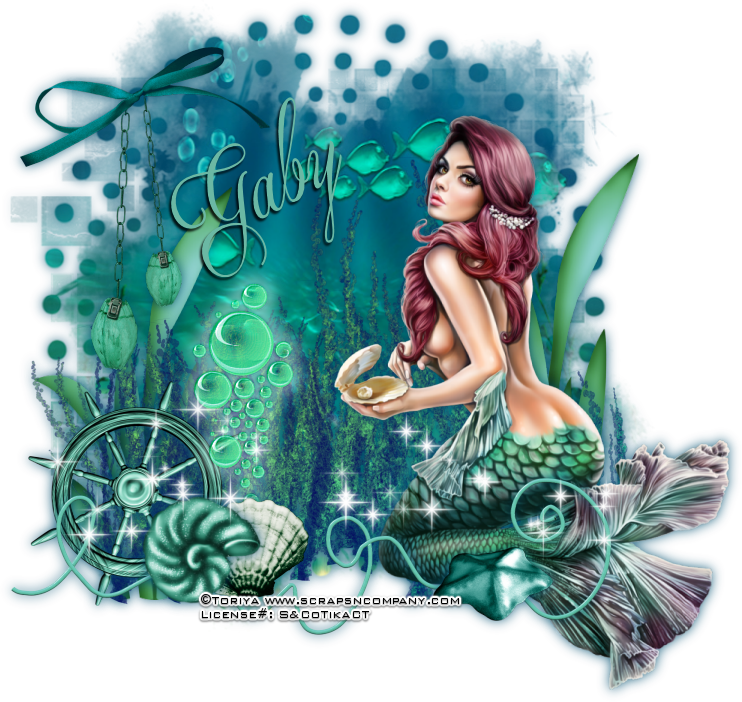
Sea Maiden


Sea Maiden
Written 7/6/2016
This tutorial is meant purely as a guide. Feel free to use your own choice of tube or scrap kit to make your tag unique. If you want your tag to look just like mine them use the same supplies I have used. This tutorial assumes you have a knowledge of paint shop pro. Any resemblance to any other tag or tutorial is completely coincidental.
Supplies Used:
Tube of your choice. I am using the work of Toriya. It is called My Sweet Mermaid. You can purchase it at http://scrapsncompany.com/index.php?main_page=product_info&cPath=113_320&products_id=20724
The matching scrap kit is called Sea Maiden and is by Disturbed Scraps. You can purchase it at http://scrapsncompany.com/index.php?main_page=product_info&products_id=20761
Mask of your choice. I am using mask #2 from set # 111 by Rachel Designs https://racheldesignsblog.wordpress.com/
Font of your choice. I am using Qaskin.  You can download it at http://www.fontspace.com/m%C3%A5ns-greb%C3%A4ck/qaskin-black-personal-use
Plugins:
NONE
Drop shadow used throughout:
0 0 85 15.00 color from your tag

Let's Begin:
Open paper 10 and shift+D to duplicate. Close the original. Promote the background layer to a raster layer. Make your canvas large enough to work with. Re-size as needed. This will be the base of your tag. Apply the mask of your choice. Delete the mask layer and merge the group.
Open your tube and re-size as needed. Copy and paste as a new layer and position on the masked area. Add a drop shadow.
Now let’s dress the tag up with elements from the kit. I will list the elements I used. Feel free to use other elements to make your tag unique. Placement of the elements is completely up to you. If you want your tag to look just like mine then use my tag for reference.
Elements I used:
10
11
20
24
45
52
53
65
73
Add your name.
Add your copyright and licensing information.
Crop and save.


Wednesday, February 17, 2016

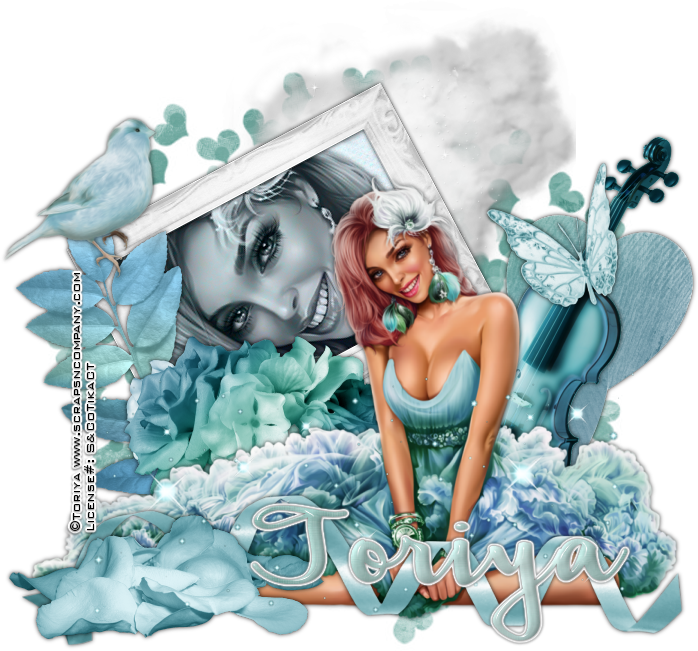
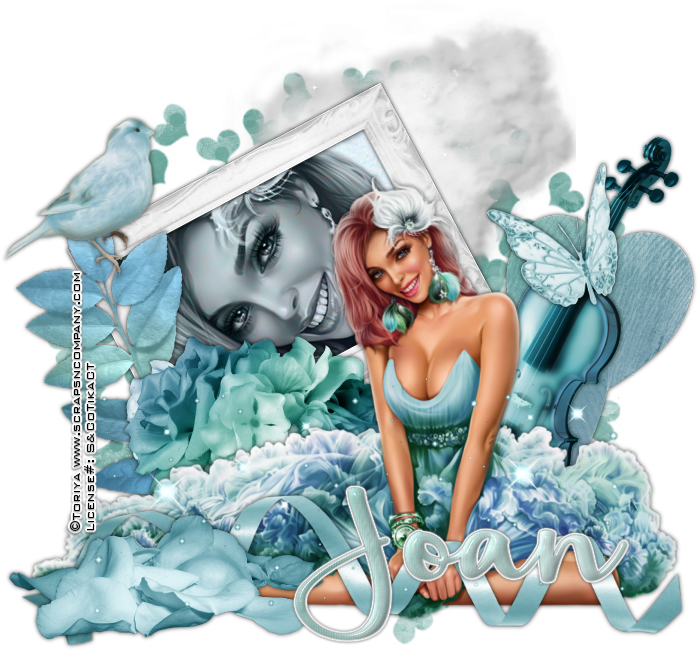
Spring Beauty


Spring Beauty
written 2/17/2016

This tutorial is meant purely as a guide. Feel free to make your tag unique by using your own choice of tube and scrap kit. If you would like your tag to look just like mine then use the same supplies that I have used. Any resemblance to any other tutorial or tag is purely coincidental.

Supplies Used:


Scrap Kit by Design By Joan. You can purchase it at http://scrapsncompany.com/index.php?main_page=product_info&products_id=17358

Mask of your choice. I am using mask # 176 by Vix. You can get her awesome masks at http://www.freewebs.com/vixpsp/ they can be found under Goodies.

Font of your choice. I am using Hickory Jack. You can get it at http://www.fontspace.com/brittney-murphy-design/hickory-jack

Drop shadow used:
0
0
75
6.50
Black

Plugins:
NONE

Let's Begin:
Open paper 1 and shift+D to duplicate.
Close the original.
Promote the background layer to a raster layer.
Re-size if you wish.
Apply your mask.
Delete the mask layer and merge the group.
Open your tube and copy and paste as a new layer.
Re-size as needed.
Place at the bottom in the center of the mask layer.
Add a drop shadow.
Open element 10.
Re-size by 50%.
Copy and paste as a new layer and drag behind your tube.
Move to the far right side so it is peeking out from behind her back.
Add a drop shadow.
Open element 13.
Copy and paste as a new layer.
Re-size by 50%.
Drag under your tube.
Move to the left side above her skirt.
Add a drop shadow.
Open element 14.
Re-size by 50%.
Copy and paste as a new layer and drag down to just above the 2 hearts.
Move to the far right side in front of the hearts.
Add a drop shadow.
Open element 16.
Re-size by 50%.
Copy and paste as a new layer at the top.
Move to the bottom left in front of her foot.
Add a drop shadow.
Open element 17 and shift+D to duplicate.
Close the original.
Re-size by 60%.
Using your magic wand select the inside of the frame.
Selections modify and expand by 3.
Open paper 4 and copy and paste as a new layer.
Drag under the frame.
Selections invert and hit delete.
Selections invert again.
Open your tube and copy and paste as a new layer.
Position her face within the selected framed area.
Selections invert and hit delete.
Selections select none.
Change the properties of this layer to luminance legacy.
Add a drop shadow to the tube and the frame.
Merge all of these layers together.
Copy and paste as a new layer onto your tag.
Image free rotate to the left 28 degrees.
Adjust sharpen.
Drag down to just above your mask layer.
Place on the left side to the top sorta.
Open element 20.
Re-size by 50% and then again by 75%.
Copy and paste as a new layer at the top.
Move to the top left corner of the frame.
Add a drop shadow.
Open element 22.
Re-size by 50%.
Copy and paste as a new layer and drag down to just above the frame.
Move to the far left side of the frame.
Add a drop shadow.
Open element 23.
Re-size by 85%.
Copy and paste as a new layer and drag to just above your tube.
Move to the bottom and place along the bottom edge of your tube.
Add a drop shadow.
Open element 54.
Re-size by 50% and then again by 75%.
Copy and paste as a new layer and move to the neck piece of the instrument.
Add a drop shadow.
Open element 78.
Re-size by 75% 3x.
Copy and paste as a new layer at the top.
Move to the bottom edge of your tag.
Open element 81.
Re-size by 50%.
Move down to just above your mask.
Place at the top right corner of the framed image so it is peeking out.
Add your name.
Add your copyright and licensing information.
Crop and save.


Thursday, March 5, 2015

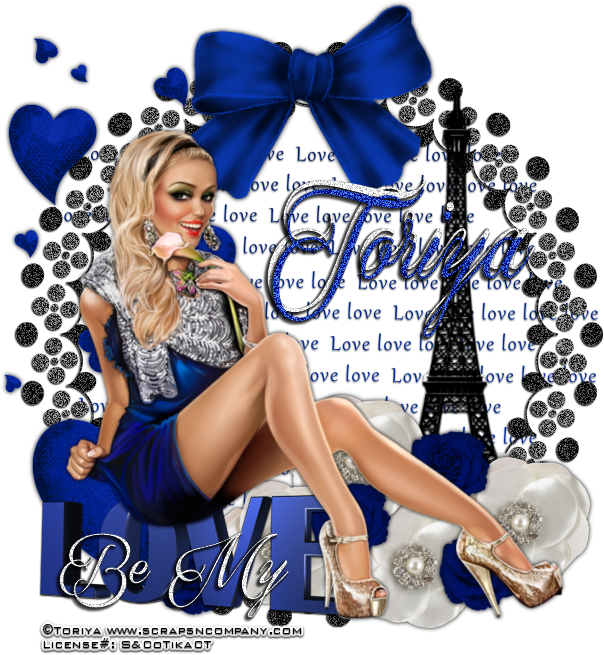
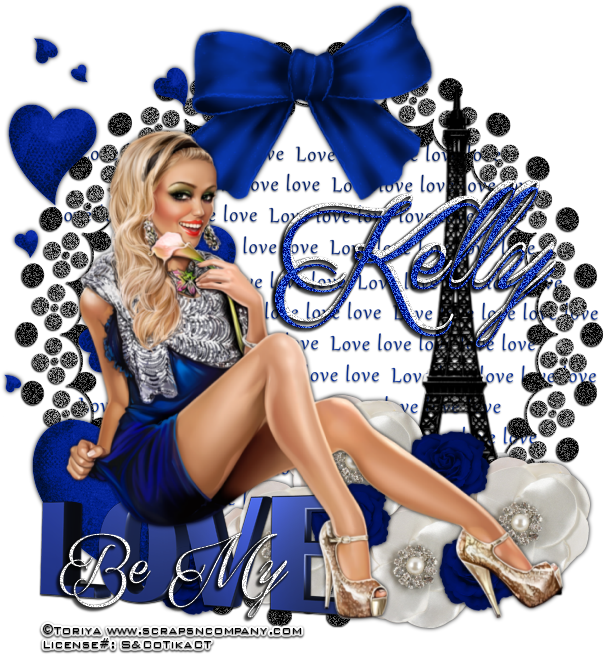
Be My Love


Be My Love
written 3/5/2015

Supplies Needed:


Matching Scrap Kit by Kizzed By Kelz. You can get it at http://scrapsncompany.com/index.php?main_page=product_info&products_id=8232

Font of your choice. I am using Qaskin. You can get it at http://www.fontspace.com/m%C3%A5ns-greb%C3%A4ck/qaskin-black-personal-use

Plugins:
None

Let's Begin:
Open element 45 and shift+D to duplicate.
Close the original.
Make your canvas large enough to work with.
Go to adjust add/remove noise and add noise at 75% with uniform and monochrome checked.
Add a sharp drop shadow to the element frame.
I used 1 -1 100 2.00 black
Open element 55.
Copy and paste as a new layer.
Drag under the frame.
Move to the left side of the inside of the frame.
Add a slight drop shadow.
I used 1 0 60 2.00 black.
Duplicate and move this layer to the right side.
Merge these 2 layers together just to keep your layer palette clean.
Open your tube and copy and paste as a new layer.
Re-size so she will fit nicely within your tag.
I moved mine to the far left of the frame so it looked like she was sitting on it.
Add a drop shadow to your tube.
Now lets add some elements and dress this tag up.
Placement is entirely up to you and you can use my tag as reference.
I will list the elements that I used:
element 11 – I placed this under my tube so she was sitting on it.
Element 30 – I duplicated and placed them randomly along the bottom.
Element 35
Element 38
Element 86 – again I duplicated and placed them randomly along the bottom with the white flowers.
Element 119
I used my font and added the words “ Be My” at the bottom in front of love but this is up to you.
Add your name.
Add your copyright and licensing information.


Saturday, February 14, 2015

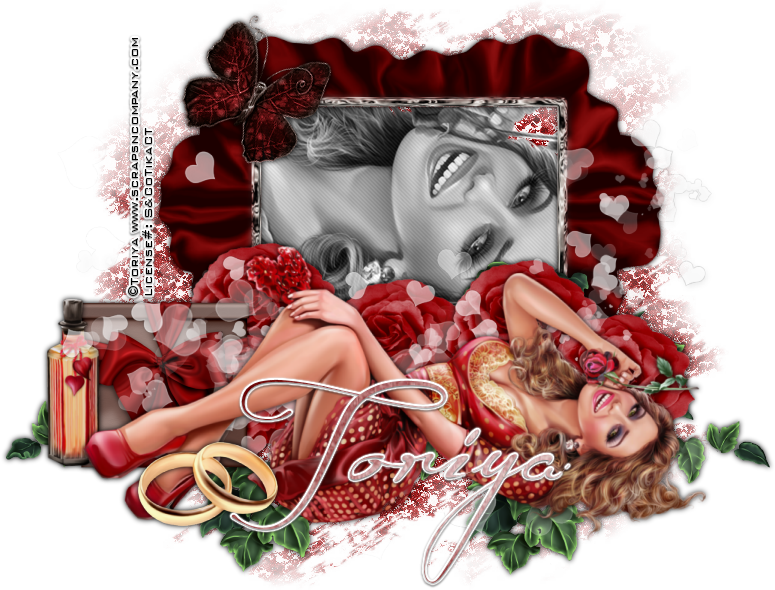
Declaration Of Love


Declaration of Love
written 2/14/2015

Supplies Needed:


Matching scrap kit by Bibi's Collection. You can get it at http://scrapsncompany.com/index.php?main_page=product_info&products_id=7511

Font of your choice. I am using Before The Rain. You can get it at http://www.fontspace.com/m%C3%A5ns-greb%C3%A4ck/before-the-rain

Plugins:
Xero Greyscaler. You can get the Xero plugins at http://thepluginsite.com/knowhow/pluginguide/xeroplugins/
Penta Jeans. You can get the penta plugins at http://www.pentacom.jp/pentacom/products.html

Let's Begin:
Open element 9 and shift+D to duplicate.
Close the original.
Make your canvas large enough to work with.
Open element 25 and re-size by 75%.
Copy and paste as a new layer and move to the top part of the background.
Using your magic wand select the inside of the frame.
Selections modify and expand by 1.
Open your tube and copy and paste as a new layer.
Drag under the frame and position her face within the framed area.
Re-size if you don't want her as large as she is.
Once you are happy with placement selections invert and hit delete.
Selections select none.
Apply the Xero Greyscaler plugin using the default settings.
Apply the Penta Jeans plugin with the values set to 11 and 4.
Open your tube again and copy and paste as a new layer at the top.
Re-size so she fits nicely along the bottom of the tag.
Now lets start dressing the tag up.
Open element 11.
Re-size by 75% 2x.
Copy and paste as a new layer and drag under your tube.
Place along the bottom of the frame behind your tube.
Duplicate several times and place them randomly along the bottom of the frame and around your tube.
Open element 10 and re-size by 50% 2x.
Copy and paste as a new layer and place on the far left near her feet.
Add a drop shadow.
Open element 50 and re-size by 50%.
Copy and paste as a new layer and drag all the way under your roses.
Place to the far right peeking out from behind your tube.
Add a drop shadow.
Duplicate and move the copy to the far left.
Open element 15 and re-size by 50% 2x.
Copy and paste as a new layer at the top and move to the far left bottom in front of her feet and the box.
Add a drop shadow.
Open element 19 and re-size so it is the same height as the box in your tag.
Copy and paste as a new layer and place on the far left of the box kind of in front of it.
Add a drop shadow.
Open element 30 and re-size by 50%.
Copy and paste as a new layer and place in the top left corner of the frame.
I used my pick tool and rotated it just a bit more to the right but this is completely up to you.
Just remember if you do rotate it at all make sure you go to adjust sharpen and bring it back into focus.
Add a drop shadow.
Open element 79 and re-size by 75% 2x.
Copy and paste as a new layer and drag just under your main tube.
Add your name.
Add your copyright and licensing information.
Crop and save.