Showing posts with label Soul Designer. Show all posts

Thursday, June 16, 2016

Bronzed Beauty


Bronzed Beauty
Written 6/14/2016
This tutorial is meant purely as a guide. Feel free to use your own choice of tube or scrap kit to  make your tag unique. If you want your tag to look just like mine them use the same supplies I have used. This tutorial assumes you have a knowledge of paint shop pro. Any resemblance to any other tag or tutorial is completely coincidental.
Supplies Used:
Tube of your choice. I am using a tube called Lili by Souldesigner. You can purchase this tube at http://scrapsncompany.com/index.php?main_page=product_info&cPath=113_434&products_id=20170
Beautiful matching scrap kit by Bibi’s Collection. You can purchase it at http://scrapsncompany.com/index.php?main_page=product_info&products_id=20169
Mask of your choice. I am using mask #5 by Allisons Addictions. You can get it at http://allisonsaddictions.blogspot.com/
Font of your choice. I am using LillyBelle. You can download it at http://www.dafont.com/lillybelle.font
Plugins:
NONE
Drop shadow used throughout:
0 0 85 11.00 dark brown

Let's Begin:
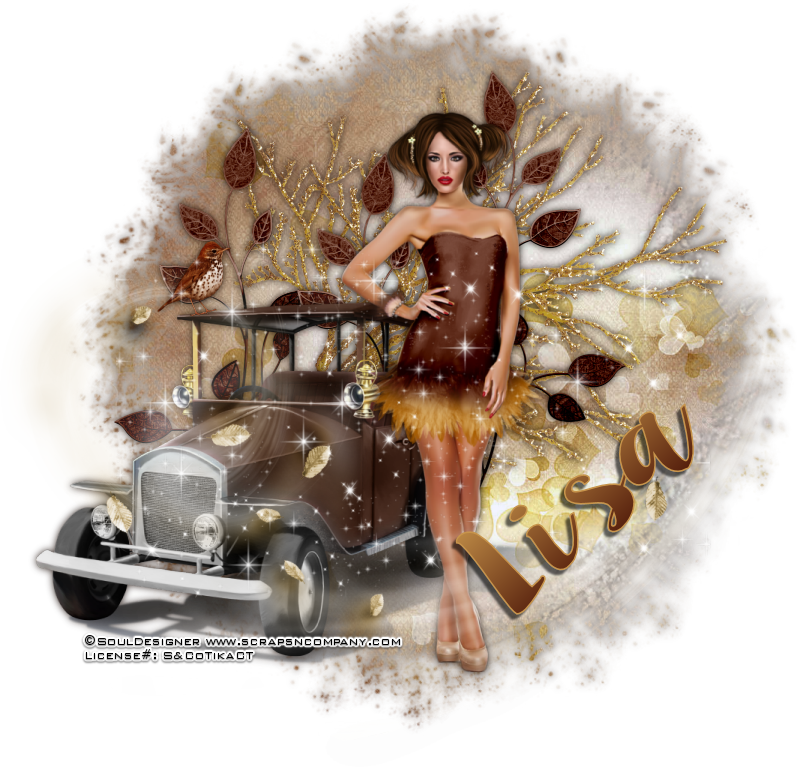
Open paper 7 and shift+D to duplicate. Close the original. Promote background layer to a raster layer. Re-size as needed. Make your canvas large enough to work with. Apply the mask of your choice. Delete the mask layer and merge the group. Add a drop shadow.
Open element 5 and re-size. Copy and paste as a new layer and place in the lower left of the mask area. Add a drop shadow.
Open your tube and re-size. Copy and paste as a new layer and place to the right of the car. Add a drop shadow.
Open element 41 and image flip horizontal. Copy and paste as a new layer and drag under the car layer. Move so it is behind the car and the tube. Add a drop shadow.
Open element 55 and re-size so it fits nicely within the masked area. Copy and paste as a new layer and move to the bottom of the tag.
Open element 26 and re-size. Image flip horizontal. Copy and paste as a new layer and place on the roof of the car. Add a drop shadow.
Open element 29 and copy and paste as a new layer and re-size. Move behind the car. Duplicate a few times and place randomly behind the car and your tube. Add a drop shadow to each one.
Open element 8 and re-size. Copy and paste as a new layer at the top and place across your tag.
Add your name.
Add your copyright and licensing information.
Crop and save.



Saturday, January 30, 2016

Rock Grease Love


Rock, Grease and Love
written 1/29/2016

This tutorial is meant purely as a guide. Feel free to make your tag unique by using your own choice of tube and scrap kit. If you want your tag to look just like mine then use the same supplies that I have used.

Supplies used:

Tube by Souldesigner. It is called Olivia and you can purchase it at http://scrapsncompany.com/index.php?main_page=product_info&cPath=113_434&products_id=16907

Matching scrap kit by Bibi's Collection. You can purchase it at http://scrapsncompany.com/index.php?main_page=product_info&products_id=16914

Tag Template by Millies PSP Madness. You can download it at http://milliespspmadness.blogspot.com/2015/11/template-791-and-tag-w-nocturne-and.html

Font of your choice. I am using Lounge Bait. You can download it at http://www.fontspace.com/font-a-licious/lounge-bait

Plugins:
Eye Candy 4000 Gradient Glow. (Optional)

Let's Begin:

Open your tag template and shift+D to duplicate.
Close the original.
Remove the following layers cr, 10, 9, 8,7,6 & background.
Make your canvas large enough to work with.
Start at the bottom of the canvas and fill each of your layers with a paper from the kit.
The papers and which layer you put them on are completely up to you.
If you want your tag to look just like mine then use my tag for reference of where I placed each paper.
After each layer was filled I deleted the original layers of the template.
Then I added a border to each layer using paper 1 but this is completely up to you.
Add a drop shadow to each layer.
Open element 65 and copy and paste as a new layer.
Drag to the bottom. Position so it can be seen around the template.
Add a drop shadow.
Open element 66 and copy and paste as a new layer drag to just above the scatter.
Re-size so it fits over the scatter.
Add a drop shadow.
Open element 38 and copy and paste as a new layer at the top.
Position in the center of the tag template.
Add a drop shadow.
Open your tube and copy and paste as a new layer.
Re-size so it is within proportion of the rest of your tag.
Position on the tag where you wish.
Add a drop shadow.
Open element 51 and copy and paste as a new layer and move down to just below the last layer in your template.
Re-size.
Place under your tubes feet.
Open element 20.
Copy and paste as a new layer.
Re-size by 60% 2x and move to top left behind the car.
Add a drop shadow.
Open element 1 and copy and paste as a new layer.
Re-size by 60% and then again by 75%.
Move over to the far left behind the car.
Add a drop shadow.
Open element 29 and copy and paste as a new layer.
Re-size so it will fit behind the juke box.
Place to the far left.
Add a drop shadow.
Open element 43 and copy and paste as a new layer and move to the top right of the juke box.
I added a white gradient glow around mine to help them stand out a bit.
This is completely up to you.
Add a drop shadow.
Repeat with element 72.
Open element 40 and copy and paste as a new layer.
Re-size by 60% 2x.
Move to the top center of the tag.
Add a drop shadow.
Open element 35 and copy and paste as a new layer.
Drag behind your tube but in front of the car.
Place along the bottom of the car.
Add a drop shadow.
Open element 55 and copy and paste as a new layer.
Place in front of the piano keys.
Add your name.
Add your copyright and licensing information.
Crop and save.

This tutorial was created by Tika on January 29, 2016
Any resemblance to another tag or tutorial is purely coincidental.


Wednesday, October 14, 2015

Life's A Witch


Life Is A Witch
written 10/14/2015

This tutorial is meant purely as a guide. Feel free to make your tag unique by using your own tube and scrap kit. If you want your tag to look exactly like mine then use the same supplies that I did and follow the tutorial as I have written it.

Supplies Used:


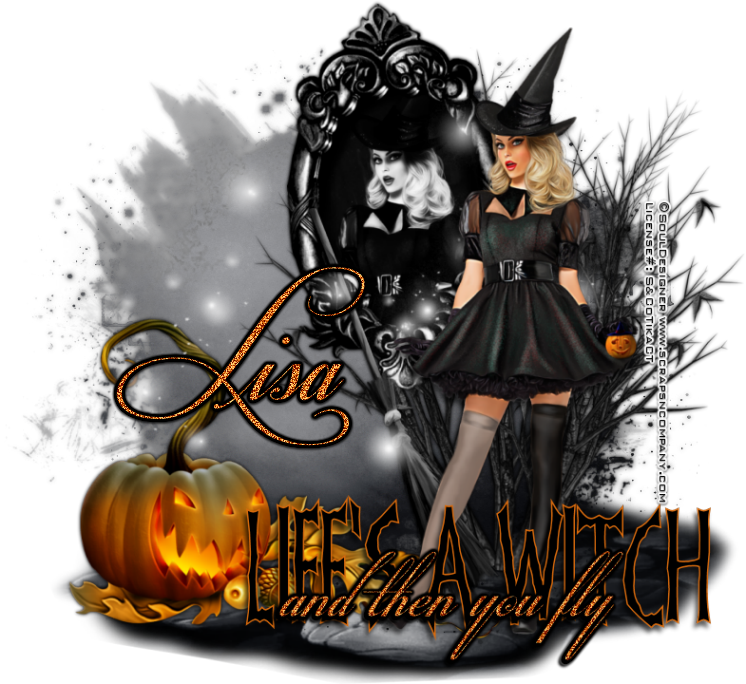
Mask of your choice. I am using mask #2 from this set at Rachel Designs. You can get it at https://racheldesignsblog.wordpress.com/2015/10/11/mask-set-97/

Font of your choice. I am using Frankendork which you can get at http://www.dafont.com/frankendork.font and also Respective which you can get at http://www.dafont.com/respective.font

Plugins:
Xero Radiance

Let's Begin:
Open paper 7 from the kit and shift+D to duplicate.
Close the original.
Re-size.
Promote your background layer to a raster layer.
Apply your mask.
Delete the mask layer and merge the group.
Add a drop shadow to the mask layer.
Open your tube and copy and paste as a new layer.
Position where you want.
Add a drop shadow to the tube.
Open element 89 and shift+D to duplicate.
Close the original.
Ok lets prep this element to go onto our tag.
Using your selection tool select the inside of the frame.
I find it easiest to make the element large and then use my selection tool set to point to point so I can get as close the edges as I can.
Once you have it all selected open your tube again and copy and paste as a new layer and position her face within the selected area.
Selections invert and hit delete.
Selections select none.
Apply the Xero Radiance plugin using the default settings.
Change the properties of this layer to luminance legacy.
Merge your tube down to the frame layer so you have 1 layer.
Re-size so it will fit on your tag.
Copy and paste as a new layer and position where you want.
I will list the elements that I used and placement is up to you.
If you want them in the same place as mine then use my tag for reference.
Elements used:
element 2
element 15
element 23
element 47
element 64
Add some text along the bottom if you wish.
Add your name.
Add your copyright and licensing information.
Crop and save.


Wednesday, July 15, 2015

Beautiful Dream


Beautiful Dream
written 7/14/2015

This tutorial is simply meant as a guide. Feel free to use any kits, tubes etc that you want. If you want your tag to look just like mine then use the same items and use my tag as a reference.

Supplies Needed:

Tube by Soul Designer. The tube is called Lisi. You can get it at http://scrapsncompany.com/index.php?main_page=product_info&cPath=113_434&products_id=11951

Scrap kit by Bibi's Collection. You can get it at http://scrapsncompany.com/index.php?main_page=product_info&products_id=11956

Cloud tube is by Rainbow Coffi. You can get her tubes at http://www.psp-playground.com/

Tag Template by A Creative Space Between. I am using template # 17. You can get it at http://acreativespacebetween.blogspot.ca/2014/12/ssam-tag-templates-14-45.html

Mask of your choice. I am using mask #200 by Insatiable Dreams. You can get it at http://insatiabledreams.net

Font of your choice. I am using Impact(which is a standard windows font) and also
Mademoiselle Camille. You can get it at http://www.fontspace.com/maellekeita/mademoiselle-camille

Plugins:
NONE

Let's Begin:
Open your tag template.
Shift+D to duplicate.
Close the original so you may use it again if you choose.
Delete the following layers:
Raster 8
Raster 1
Raster 2
Make your canvas large enough to work with.
Start at the bottom with Raster 3.
Make this layer active and selections select all float and defloat.
Open paper 10 and copy and paste as a new layer.
Selections invert and hit delete.
Selections invert again.
Open the close up of your tube and copy and paste as a new layer.
Position her face within the selected area and make so you can see her eyes.
Selections invert and hit delete.
Selections select none.
Change the properties of this layer to luminance legacy.
Lower the opacity to 50.
Delete the original Raster 3.
Merge together your paper and your tube.
Make copy of vector 5 layer active and go to adjust add/remove noise.
Add noise at 100% with uniform and monochrome checked.
Make Raster 4 active and selections select all float and defloat.
Open paper 2 and copy and paste as a new layer.
Selections invert and hit delete.
Selections select none.
Delete Raster 4.
Make Raster 5 layer active and selections select all float and defloat.
Open paper 6 and copy and paste as a new layer.
Selections invert and hit delete.
Selections select none.
Delete Raster 5.
Make Raster 6 active and selections select all float and defloat.
Open paper 11 and copy and paste as a new layer.
Selections invert and hit delete.
Selections select none.
Delete Raster 6.
Using your Impact font write out the words “Beautiful Dream” in the box area.
I used white and added the same noise to it that I did to the frame.
Make copy of vector 2 active and add the same noise.
Make copy of vector 1 active and selections select all float and defloat.
Open paper 5 and copy and paste as a new layer.
Selections invert and hit delete.
Selections select none.
Delete copy of vector layer 1.
Make Copy of Raster 7 active and selections select all float and defloat.
Open paper 9 and copy and paste as a new layer and selections invert and hit delete.
Selections select none.
Delete copy of raster 7 layer.
Make Raster 7 layer active and selections select all float and defloat.
Layers new raster layer.
Open paper 8 and copy and paste into selection.
LEAVE SELECTED
Delete Raster 7 layer.
Open your full tube.
Re-size as necessary.
Copy and paste as a new layer and position within the selected area.
Erase any bits hanging out that you do not want.
Selections select none.
Now add a drop shadow to each layer.
Open paper 8 and copy and paste as a new layer.
Drag to the bottom.
Apply the mask of your choice.
Delete the mask layer and merge the group.
Open your cloud tube.
I colorized mine to match my tag but that is up to you.
Copy and paste as a new layer and drag to the bottom.
Duplicate and move this copy to the top behind your tubes head and drag down to just above your mask layer.
Now lets dress this tag up with some of the great elements from the kit.
I will tell you what elements I used.
Placement is completely up to you.
Elements used:
2
19
26(i erased bits of the hanger so it looked like it was hanging on the strip)
31
Add your name.
If you want to add some noise around it like I did mine then go ahead.
Add your copyright and licensing information.
Crop and save.


Tuesday, June 9, 2015

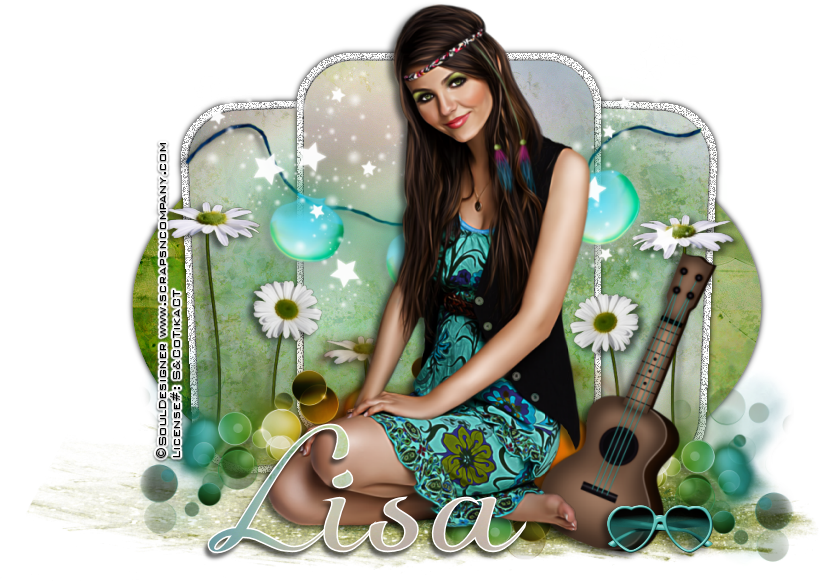
Peace Love and Summertime


Peace Love and Summertime
written 6/9/15

Supplies Needed:


Scrap Kit by Bibi's Collection. You can get it at http://scrapsncompany.com/index.php?main_page=product_info&products_id=11140


Font of your choice. I am using Kikelet. You can get it at http://www.dafont.com/kikelet.font

Plugins:
NONE

Let's Begin:
Open the template and shift+D to duplicate.
Close the original.
On the template delete the following layers; cr, 12, 11, 4, 5, 9, and background.
Make your canvas large enough to work with.
You can crop and re-size when you are finished.
Make the bottom layer active and selections select all float and defloat.
Open paper 8 and copy and paste as a new layer.
Selections invert and hit delete.
Selections select none.
Delete the original bottom layer.
Merge layers 7 and 6 together.
Selections select all float and defloat.
Open paper 9 and copy and paste as a new layer.
Selections invert and hit delete.
Selections select none.
Repeat the same steps as above with layer 10 using the same paper.
Add a drop shadow to each layer.
Open your tube and copy and paste as a new layer and center in front of the template.
Re-size if you need to.
Add a drop shadow to your tube.
Open element 83 and copy and paste as a new layer.
Drag behind your tube.
Re-size until it fits nicely from side to side on your template near the top.
Add a drop shadow.
Open element 1 and re-size by 80%.
Copy and paste as a new layer and drag behind your tube and move to the bottom so she is sitting on it.
Open element 3 and re-size by 75% 2x.
Copy and paste as a new layer and drag behind your tube.
Move to the bottom of the side frame parts of the template.
Duplicate and image flip horizontal.
Move to the opposite side.
Add a drop shadow to both.
Open element 2 and re-size by 85%.
Copy and paste as a new layer and drag behind your tube.
Move to the bottom so it covers the bottom of the stems of the flowers.
Open element 10 and re-size by 75%.
Copy and paste as a new layer and drag behind your tube.
Move to the top of the template area.
Open element 17 and re-size so it is in proportion with your tube.
Copy and paste as a new layer and drag behind your tube.
Move to the right side kinda behind her foot.
Add a drop shadow.
Open element 52 and re-size by 50% 2x.
Copy and paste as a new layer at the top and move to the bottom to the right of the guitar.
Add a drop shadow.
Add your name.
Add your copyright and licensing information.
Crop and save.


Wednesday, April 29, 2015

Oh L'Amour


Oh L'Amour
written 4/28/2015

Supplies Needed:


Mask of your choice. I am using one by Rocked By Rachel. You can get it at https://rockedbyrachel.wordpress.com/2015/04/13/new-masks-3/

Font of your choice. I am using Thank you Drf. You can get it at http://www.fontspace.com/poemhaiku/thank-you-drf

Plugins:
NONE

Let's Begin:
Open element 44 and shift +D to duplicate.
Close the original.
Re-size by 85%.
Make your canvas large enough to work with.
Open paper 2 and copy and paste as a new layer.
Drag under the frame.
Apply your mask.
Delete the mask layer and merge the group.
Using your magic wand select the inside of the frame.
Take note there are several little places within the frame you need to select also.
Selections modify and expand by 1.
Layers new raster layer and drag under the frame.
Open paper 1 and edit copy and paste into selection.
Leave selected.
Open your tube and copy and paste as a new layer and position within the framed area.
Selections modify and invert and erase any bits you do not want hanging out of the frame.
Once you are done selections select none.
Add a drop shadow to your tube and to the frame.
Open element 94 and copy and paste as a new layer and drag down to just above your mask layer.
Move to the far left side so it is behind the frame but peeking out around.
Duplicate and image flip horizontal.
Move this duplicate to the right side.
Merge together and add a drop shadow.
Open element 80 and re-size by 75% 2x.
Copy and paste as a new layer and drag down to just above the other leaves.
Place on the left hand side near the bottom in the gap between the pink leaves.
Add a drop shadow.
Duplicate and image flip vertical.
Move this one to the top left side.
Merge together.
Duplicate and image flip horizontal.
Move this duplicate to the right side in the same places.
Open element 70.
Re-size by 75%.
Copy and paste as a new layer and drag to just above your frame.
Place in one of the gap areas.
Duplicate a few times and move them randomly around the frame.
Merge together and add a drop shadow.
Open element 49 and re-size by 50% and then again by 75%.
Copy and paste as a new layer.
Place around the frame.
Duplicate a few times and randomly place them.
Merge together.
Add a drop shadow.
Open element 43 and re-size by 50% and then again by 60%.
Copy and paste as a new layer and repeat all of the above steps.
Open element 40 and re-size by 50% 2x.
Copy and paste as a new layer and place around the frame but under the frame so they are peeking out from behind.
Merge together and add a drop shadow.
Open element 12 and re-size by 50% 2x and copy and paste as a new layer.
Place at the top on both left and right add a drop shadow to both and merge together.
Open element 11 and re-size by 50%.
Copy and paste as a new layer and place on the left side.
Open element 83 and re-size by 50% and copy and paste as a new layer.
Move to the right side.
Add a drop shadow.
Open element 87 and re-size by 75%.
Copy and paste as a new layer at the top and drag to the bottom of the tag.
Add a slight drop shadow.
Open element 67 and copy and paste as a new layer.
Place in the center of the bow. Duplicate and move the duplicate to the other bow.
Add your name along the bottom.
Add your copyright and licensing information.
Crop and save.



Tuesday, March 31, 2015

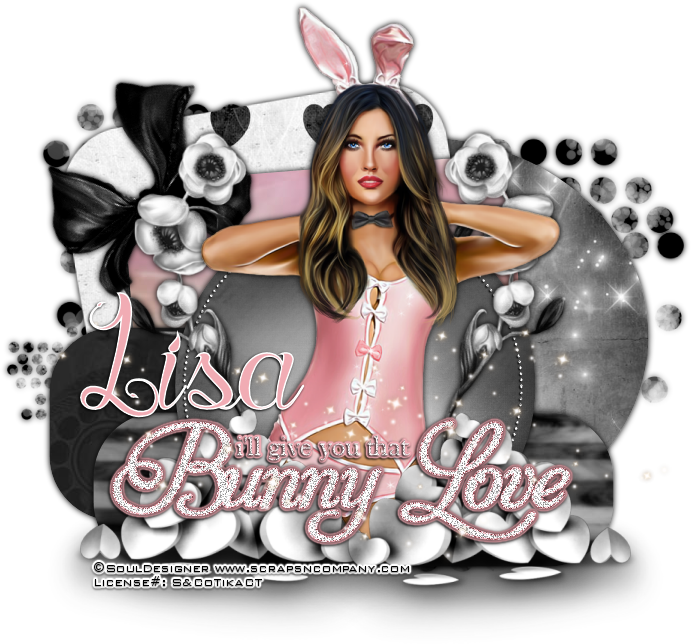
Bunny Love


Bunny Love
written 3/31/2015

Supplies Needed:


Matching Scrap Kit by Bibi's Collection. You can get it at http://scrapsncompany.com/index.php?main_page=product_info&products_id=8876

Font of your choice. I am using Blood Shade. You can get it at http://www.dafont.com/blood-shade.font


Plugins:
NONE

Let's Begin:
Open your template and shift + D to duplicate. Close the original for use another time.
Delete the layer with the creators information on it and the background layer.
Starting at the bottom we are going to fill each layer of the template with different papers. You can follow along and use the same papers as I do or you can use any of your choice from the kit.
I used papers
14
13
10
9
7
Add a drop shadow to all your layers.
Open your tube and copy and paste as a new layer.
Position where you want.
Add a drop shadow.
Now lets dress this up.
Using the elements of your choice and dress the tag up.
If you want you can use the same elements as me and use my tag for reference.
The elements I used are
134
132
124
43
36
Add your name.
Add your copyright and licensing information.
Crop and save.



Tuesday, March 10, 2015

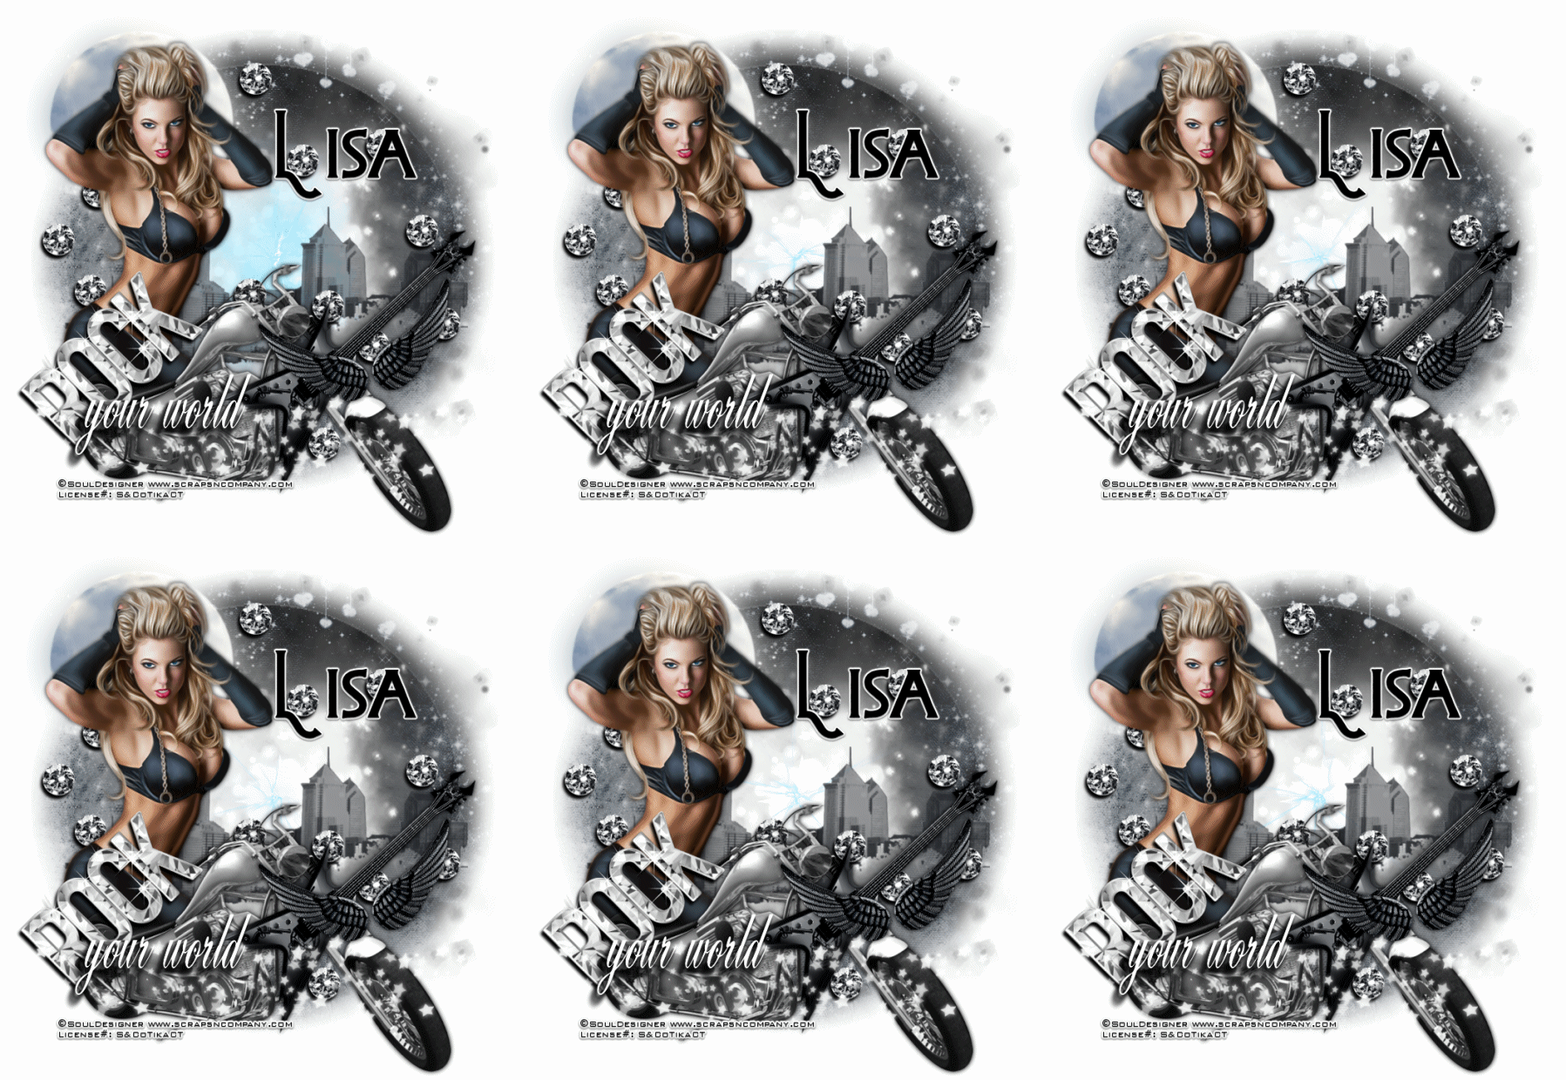
Rock Your World


Rock Your World
written 3/10/2015

Supplies Needed:


Mask of your choice. I am using mask #200 by Insatiable Dreams. You can get her great masks at http://insatiabledreams.net

Font of your choice. I am using I am using Pipeburn. This is a PTU font.


Plugins:
None.

Let's Begin:
Open a new blank canvas large enough to work with.
Open paper 11 and copy and paste as a new layer.
Apply your mask.
Delete the mask layer and merge the group.
At this point open your tube and copy and paste as a new layer.
Re-size as needed so she is just slightly bigger than the mask area.
Move to the far left side.
Add a nice drop shadow.
Now we will begin to build the tag out around her.
Open element 60 and re-size by 75% and then again by 85%.
Copy and paste as a new layer and drag under your tube.
Move to the top left behind her head.
Open element 82 and copy and paste as a new layer.
Drag down to just above your mask layer.
Center within the mask area.
Open element 95.
Re-size by 75% and then again by 85%.
Copy and paste as a new layer and place along the bottom.
Hide your tubes cut off legs behind the rear wheel and seat of the bike.
Add a drop shadow.
Open element 137.
Copy and paste as a new layer.
Drag down to just above the white center of the frame mask area.
Re-size until it will fit nicely tucked behind your tube and across the mask layer to the right.
Use my tag for reference if needed.
Open element 19.
Copy and paste as a new layer.
Re-size so it will fit nicely in the front of the bike above the front wheel.
Add a drop shadow.
Open element 44.
Copy and paste as a new layer.
Drag to just below the wings.
Re-size by 85%.
Image flip horizontal.
Place in front of the bike and behind the wings.
Add a drop shadow.
Open element 140.
Go to adjust hue and saturation then colorize.
Set both values to 0.
Copy and paste as a new layer.
Re-size by 75% 2x/
Move over to the far left above the rear wheel of the bike and across the tube a bit.
Add a drop shadow.
Open element 133.
Copy and paste as a new layer.
Re-size by 50% and then again by 65%.
Drag down to below your tube.
Place anywhere within your tag and then duplicate many times and move them around just randomly on your tag.
Add a drop shadow to each one.
Open element 77 and copy and paste as a new layer at the top.
Move to the bottom of the tag.
Using the font of your choice add the words “ your world” by the “ROCK” wordart.
Add your name.
Add your copyright and licensing information.
If you are not going to animate then crop and save.
If you are going to animate lets put this together.
Layers new raster layer and drag to the bottom.
Flood fill with white.
Hide all of your layers.
Now unhide your white background, the mask layer and the white center layer.
Merge these 3 layers together.
Now hide that layer.
Unhide the rest of the layers and merge them together.
This leaves you with 2 layers.
Unhide the bottom layer and copy it.
Open animation shop and paste as a new animation.
Open your animation.
Take note of the amount of frames in your animation.
If you are using the one I am then it has 20 frames.
Delete the first frame that is black and then select all the rest of the frames.
Back to your tag duplicate those frames to match 20 frames.
Select all of those frames.
Drag the first frame of your animation onto the first frame of your tag.
Once you have it where you want it release it.
Place in the center of the white area.
Back to psp and copy the layer that has the remainder of your tag on it.
In animation right click and paste as a new animation.
Again duplicate the frames to 20.
Select all frames and drag the first frame to the first frame of your tag.
Once you are happy with placement release it.
View your animated tag and if you are happy re-size and save.


Saturday, March 7, 2015

Soft Beauty


Soft Beauty
written 3/7/2015

Supplies Needed:


Font of your choice. I am using Zelda. This is a PTU font and you can purchase it at http://www.mightydeals.com/deal/zelda-script-font.html?ref=awnews&refNL

Plugins:
None

Let's Begin:
Open a canvas large enough to give you plenty of room to work with.
You can crop and re-size when we are done.
Open element 4 and re-size by 75% and then again by 85%.
Image flip horizontal.
Copy and paste as a new layer and place in the upper left corner of what will be your tag.
Using your selection tool set on point to point draw a selection around the inside mirror portion.
Open your tube and re-size so her face and upper body will fit within the selected area.
Copy and paste as a new layer and position.
Selections invert to clear the excess.
Selections select none.
Change the properties of this layer to luminance legacy.
Merge this layer down to your frame.
Add a slight drop shadow to your mirror.
Open your tube again and copy and paste as a new layer.
Position to the right of the mirror.
Add a slight drop shadow.
Open element 19 and copy and paste as a new layer.
Move down to the bottom to cover the cut off legs.
Add a drop shadow.
Open element 21 and re-size by 50% and then again by 65%.
Copy and paste as a new layer and drag under the other flowers.
Place wherever you want and duplicate 1 or 2 more times and place them randomly.
Open element 26 and re-size by 65%.
Copy and paste as a new layer and image free rotate to the right 28 degrees.
Adjust sharpen.
Place to the far right and then duplicate and image flip horizontal.
Move this one to the far left.
Open element 39 and copy and paste as a new layer.
Drag to the bottom.
Add a drop shadow using the darker blue from the kit or your tube.
Open element 50 and re-size by 50%.
Copy and paste as a new layer and drag down under your tube but above your mirror.
Add a drop shadow.
Open element 90 and re-size by 75%.
Copy and paste as a new layer and drag under your mirror.
Move over so it is behind your mirror and your tube but mostly behind the mirror.
Add a drop shadow.
Open element 98 and re-size by 50% and then again by 75%.
Copy and paste as a new layer at the top and on the far left hump of the heart.
Add a drop shadow.
Open element 101 and copy and paste as a new layer.
Drag down to just on top of the lace fan layer.
Move to the bottom right so it is coming out from behind the flowers.
Add a drop shadow.
Add your name.
Add your copyright and licensing information.
I also added element 115 on top of my name but this is up to you.
Crop and save.