
Showing posts with label Ismael Rac. Show all posts

Wednesday, November 16, 2016

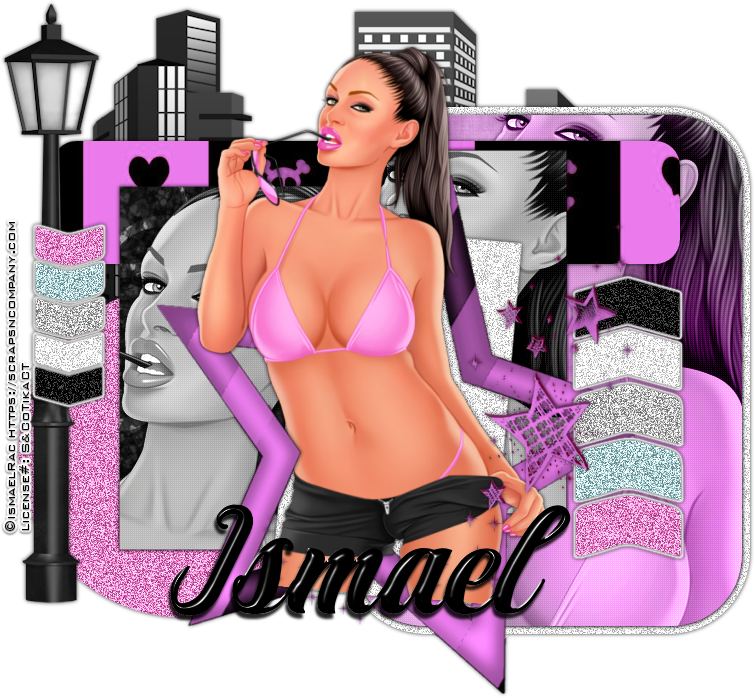
Nothing Like A Fall Day


Nothing Like A Fall Day
Written 11/16/2016
This tutorial is meant purely as a guide. Feel free to use your own choice of tube or scrap kit to make your tag unique. If you want your tag to look just like mine them use the same supplies I have used. This tutorial assumes you have a knowledge of paint shop pro. Any resemblance to any other tag or tutorial is completely coincidental.
Supplies Used:
Tube of your choice. I am using the artwork of Ismael Rac. This tube is called Sexy Attitude and you can purchase it at http://scrapsncompany.com/index.php?main_page=product_info&cPath=113_671&products_id=24099
The scrap kit is called Autumn Sweater and is by TagCatz Designs. You can purchase it at http://scrapsncompany.com/index.php?main_page=product_info&cPath=112_678&products_id=22769
Brushes of your choice. You can find some good ones at http://deviantart.com
Font of your choice. I am using Mottona and you can download it at http://www.dafont.com/mottona.font
Plugins:
Xero Radiance
Drop shadow used throughout:
0 0 100 12.00 Black

Let's Begin:
Open element 42 and shift+D to duplicate. Close the original. Make your canvas large enough to work with.  Using your magic wand select the inside of the frame and selections modify and expand by 5. Open paper 1 and copy and paste as a new layer. Drag under the frame. Selections invert and hit delete.
Selections invert again and selections modify and contract by 4. Open your tube and copy and paste as a new layer and position within the frame. Selections invert and hit delete. Selections select none. Apply Xero Radiance using the default settings. Add a drop shadow.
Add a drop shadow to the frame.
Layers new raster layer and drag to the bottom. Apply some brushes of your choice around the outside edges of the frame all the way around.
Now let’s dress the tag up with elements from the kit. I will list the elements I used. Feel free to use other elements to make your tag unique. Placement of the elements is completely up to you. If you want your tag to look just like mine then use my tag for reference.
Elements I used:
3
4
8
9
12
13
30
31
47
59
64
Add your name.
Add your copyright and licensing information.
Crop and save.



Thursday, September 15, 2016

Last Bit Of Summer


Last Bit Of Summer
Written 9/15/2016
This tutorial is meant purely as a guide. Feel free to use your own choice of tube or scrap kit to make your tag unique. If you want your tag to look just like mine them use the same supplies I have used. This tutorial assumes you have a knowledge of paint shop pro. Any resemblance to any other tag or tutorial is completely coincidental.
Supplies Used:
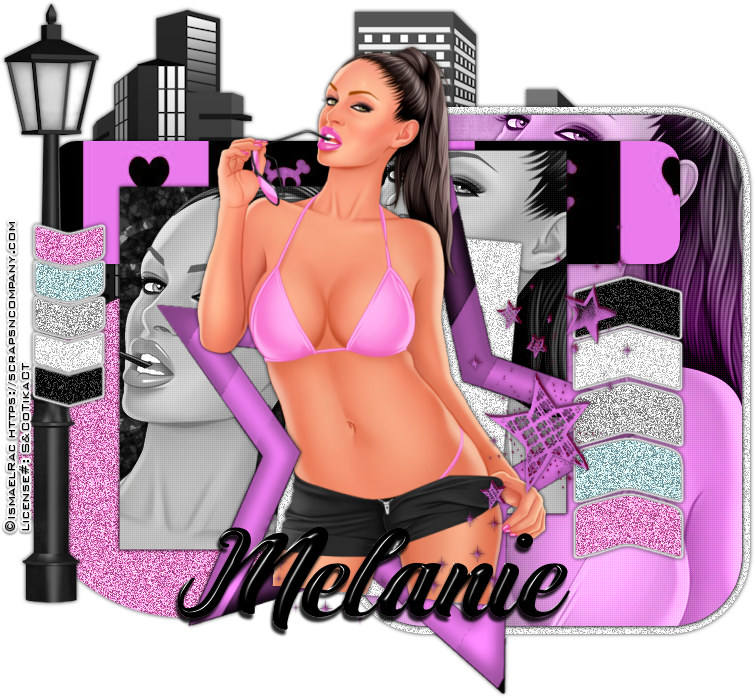
Tube of your choice. I am using the work of Ismael Rac. This tube is called Sassy Chick. You can purchase her at http://scrapsncompany.com/index.php?main_page=product_info&cPath=113_671&products_id=22490
The scrap kit is also called Sassy Chick and is by Blissful Designs. You can purchase it at http://scrapsncompany.com/index.php?main_page=product_info&products_id=22582
Tag Template is by Scraps Of Enchantment. You can download it at http://scrapsofenchantment.blogspot.ca/2016/04/new-templates-139-141.html?zx=96adc12764be44c0
Font of your choice. I am using Marbelia Evolutions. This is a PTU font.
Plugins:
Penta.com Color Dot
Drop shadow used throughout:


Let's Begin:
Open the tag template and shift+D to duplicate. Close the original. Make your canvas large enough to work with. Delete the info layer.
Proceed to fill the layers of the template with colors or gradients or papers from the kit. Once you are done add a drop shadow to each layer.
Copy and paste your tube into whatever layers you choose. Use my tag for reference if you want. Change the properties of the tube if you choose. I also used Penta.com Color Dot plugin on a couple of the tubes.
Copy and paste your tube in the center and if you want then erase any bits you don’t want. Add a drop shadow.
If you want you can add noise to any of the layers that you want.
Now let’s dress the tag up with elements from the kit. I will list the elements I used. Feel free to use other elements to make your tag unique. Placement of the elements is completely up to you. If you want your tag to look just like mine then use my tag for reference.
Elements I used:
5
6
13
75
Add your name.
Add your copyright and licensing information.
Crop and save.

Tuesday, May 24, 2016

Eternally Yours


Eternally Yours
Written 5/24/2016
This tutorial is meant purely as a guide. Feel free to make your tag unique by using your own choice of tube and scrap kit. If you want your tag to look just like mine then use the same supplies I have used. This tutorial assumes you have a knowledge of paint shop pro. Any resemblance to any other tutorial or tag is purely coincidental.
Supplies Used:
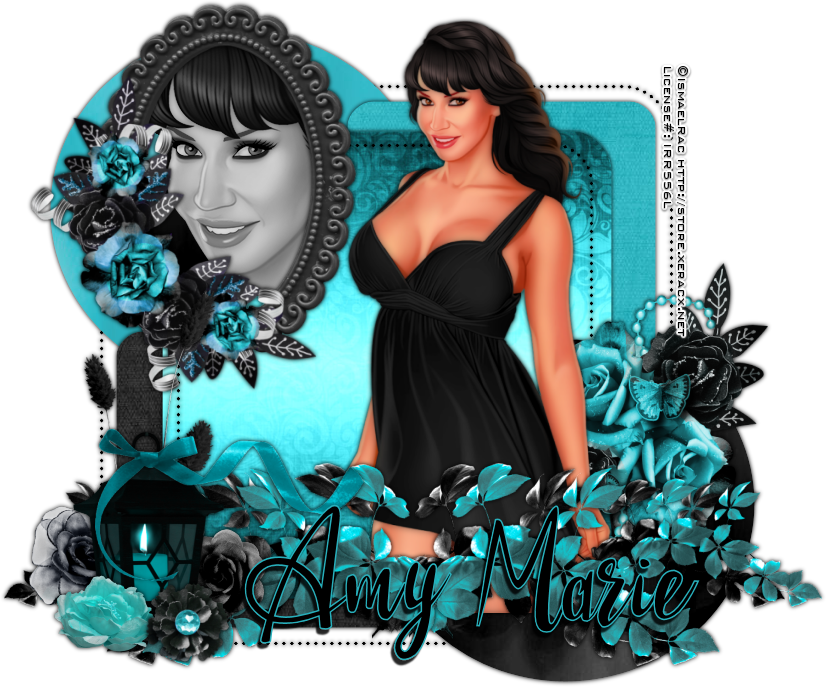
Tube is by Ismael Rac. It is called Beautiful BBHD. You can purchase her at http://store.xeracx.net/
Scrap kit is called Singing The Blues by Amy Marie. You can purchase this kit at http://amymarieskits.com/store/
Tag template #1 by Rachel Designs. You can download this at https://racheldesignsblog.wordpress.com/2016/05/04/template-1/
Font of your choice. I am using Twister Script. This is a PTU Font.
Plugins:
Xero Porcelain
Drop Shadow used throughout:
0 0 100 6.50 black
Let’s Begin:
Open the tag template and shift+D to duplicate. Close the original. Delete the following layers – background and credits. Make your canvas large enough to work with. Fill each of the layers of the template with papers from the kit. I filled the dotted square layers with the color black but this is up to you. Once you are done add a drop shadow to each of the layers.
Open your tube and copy and paste as a new layer. Re-size so she is slightly larger than the tag template. Apply the Xero Porcelain plugin using the default settings. Add a drop shadow.
Open element 44 and re-size so it is proportionate to your tag. Copy and paste as a new layer and place in the upper left corner. Using your magic wand select the inside of the frame. Selections modify and expand by 9. Open paper 9 and copy and paste as a new layer and drag under the frame. Selections invert and hit delete. Selections invert again. Open your tube and again copy and paste as a new layer. Drag under the frame layer. Position so her face is in the frame. Selections invert and hit delete. Selections select none. Adjust hue and saturation colorize and set both values to 0. Apply the Xero Porcelain plugin again using the default settings. Add a drop shadow to the frame layer. Merge these 3 layers together.
Now I will list the elements I used. Placement is completely up to you. If you want your tag to look like mine then use my tag for reference. Feel free to use any other elements that I have not used. This will make your tag unique to you. Once you are done add a drop shadow to each of the elements.
Elements I used:
17
18
20
30
34
47
48
74
79
Add your name.
Add your copyright and licensing information.
Crop and save.


Monday, September 28, 2015

A Touch Of Green


A Touch Of Green
written 2/19/2015

Supplies Needed :
Tube of your choice; preferably one with a close up image. I am using the work of Ismael Rac. You can get his tubes at http://store.xeracx.net/

FTU scrap kit by Dreamland Designs. You can get it at http://dreamlanddesigns.blogspot.com/2013/03/stpaddys-day-2013-ftu-no-cu.html

Mask is by Rocked by Rachel. You can get it at https://rockedbyrachel.wordpress.com/2015/02/16/st-pattys-day-masks/
I am using mask #2 from this set.

Font of your choice. I am using Party Business. You can get it at http://www.dafont.com/party-business.font

Plugins:

Let's Begin:
Open paper 22 and shift+ D to duplicate.
Close the original.
Now re-size the paper to a size you will be happy with.
We will be adding a closeup of your tube and a mask to this paper.
Once you have it re-sized to your liking promote the background layer to a raster layer.
Image canvas size and make your canvas large enough to work with.
Open the close up of your tube and copy and paste as a new layer and center in the paper.
Change the properties of the tube layer to luminance legacy.
Merge the tube layer down to the paper layer.
Apply the mask.
Delete the mask layer and merge the group.
Duplicate this layer.
Then merge the 2 layers together.
Add a drop shadow of
0 0 100 10.00 color green from the paper.
Open clovers element from the kit and re-size so they will fit nicely around your mask area where the clovers in the mask are. Both top and bottom sides.
Add a drop shadow to both using the same settings as you did before.
Open the full size of your tube and copy and paste as a new layer and place on the far right side of the tag.
Add a drop shadow.
Open the hat element from the kit.
Image re-size by 50%.
Copy and paste as a new layer.
Image free rotate to the left 26 degrees.
Adjust sharpen.
Add a drop shadow.
Move to the middle left just at the bottom of the clovers.
Open the horseshoe element from the kit.
Re-size until it is nearly the size of the hat.
Adjust add/remove noise and add noise at 100 uniform and monochrome.
Copy and paste as a new layer.
Image free rotate to the right 26 degrees.
Adjust sharpen.
Add a drop shadow.
Move over near the right of your hat and I erased bits to look like it was both behind and in front of the hat. This is completely up to you.
Open the glitter ribbon and copy and paste as a new layer and place along the bottom of your tag.
Add a drop shadow.
Add your name.
Add your copyright and licensing information.
Crop and save.