Showing posts with label Wicked Princess Scraps. Show all posts

Tuesday, September 29, 2015

Summer Camp


Summer Camp
written 5/28/2015

Supplies Needed:

No Tube as we will be using elements from the kit.

Time of your life freebie by Wicked Princess Scraps.

Font of your choice. I am using A&S California Plug

Plugins:
NONE

Lets Begin:
Open a new blank canvas that will give you plenty of room to work with.
Open paper 15 and set it as your foreground color.
Turn off your background color.
Using your elipse preset shape and the width set to 15.00 draw out a circle on your canvas large enough that will be your frame.
The size really is up to you. I am a big tag person LOL
Objects align center in canvas.
Convert to a raster layer.
Effects 3D effects inner bevel with the following settings:
Bevel # 2
Width 31
Smoothness 44
Depth 4
Ambience -2
Shininess 34
Color White
Angle 315
Intensity 45
Elevation 32
Using your magic wand select the inside of the frame.
Selections modify and expand by 4.
Layers new raster layer and drag under the frame.
Open paper 23 and copy and paste into selection.
Selections select none.
Duplicate this paper layer.
On the bottom layer go to adjust blur gaussian blur and blur by 25.00
Effects Texture Effects Blinds using the following settings:
Width 2
Opacity 100
Color White
Horizontal and Light from left/top both checked.
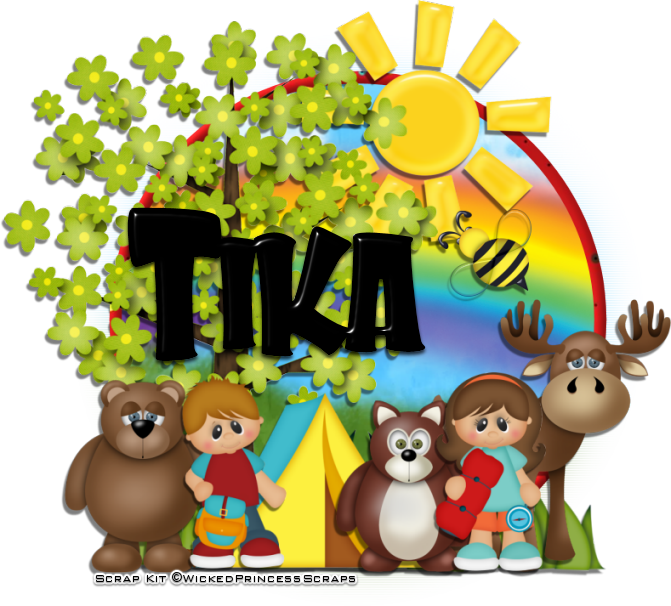
Open Tree2 from the kit and copy and paste as new layer.
Move to the left side of the frame.
I erased bits at the bottom to make it look to be coming out of the frame but this is up to you.
Add a drop shadow.
Open Sun1 and re-size by 50%.
Copy and paste as a new layer and drag under the tree.
Move to the right of the tree so some of it is behind the tree but also peeking out.
Open rainbow 2 and copy and paste as a new layer.
Drag down to just above your top paper copy.
Erase any bits hanging out of the frame.
Open person 3 and re-size by 50%.
Copy and paste as a new layer and move to where he is in front of the tree but off to the right a bit.
Add a drop shadow.
Open person 2 and repeat the above the steps but place her to the right of the first person.
Open grass2 and re-size so it fits nicely along the bottom of your frame and copy and paste as a new layer and drag down under your people.
Move it down to the bottom so the people are standing in front of it.
Open bear 2 and repeat steps for people and move to the left of the boy.
Open bee and re-size by 50% 2x and copy and paste as a new layer and place up near the sun.
Open the fox and repeat steps for people.
Place to the left of the girl.
Open the moose and repeat steps for people but drag down behind the girl and the fox and place so the head of the moose is out the right side of the girl.
Open tent and repeat steps for people but drag behind all the people and the animals and place in the middle.
Add your name.
Crop and save.
 

Forever Rockin'


Forever Rockin'
written 3/7/2015

Supplies Needed:

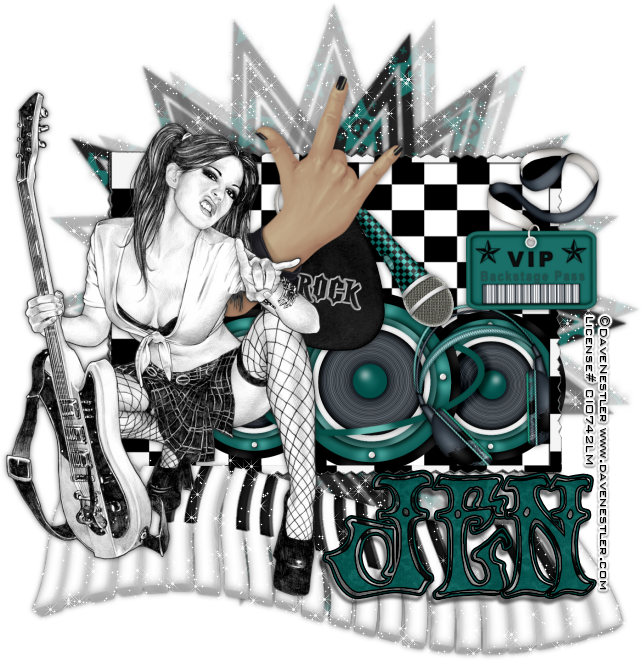
Tube of your choice. I am using the work of Dave Nestler. I got this image at CILM however you can now purchase his work at http://cdoestore.com/


Mask of your choice. I am using mask #151 by Vix. You can get her masks at http://www.freewebs.com/vixpsp/

Font of your choice. I am using Hendrix. You can get it at http://www.dafont.com/hendrix.font

Plugins:
Alien Skin Xenofex 2 constellation

Let's Begin:
Open Frame 1 and shift+D to duplicate.
Close the original.
Make your canvas large enough to work with.
Image free rotate to the right 90 degrees.
Using your magic wand select the inside of the frame and go to selections modify and expand by 4.
Layers new raster layer and drag under the frame.
Open paper 12 and edit copy and paste into selection.
Selections select none.
Add a drop shadow to the frame.
Open paper 7 and edit copy and paste as a new layer and drag to the bottom.
Apply your mask.
Delete the mask layer and merge the group.
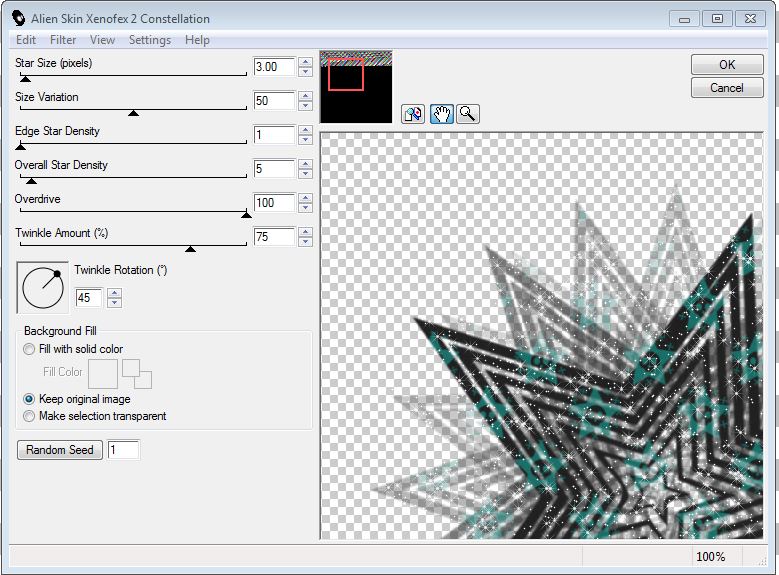
Apply the Xenofex Constellation plugin using the following settings:


Open your tube and copy and paste as a new layer.
Place on either the far left or far right side; wherever your tube will look best.
Add a drop shadow.
Now we are going to use some elements and dress it up.
I will simply give you the list of elements that I used and you can place them wherever you would like according to your taste.
All of my elements are within the framed area minus the backstage pass which is on top of the frame in the top corner opposite my tube and the devil horns which are just below my tube but on top of the frame at the top and also the piano keys which are just below my tube at the bottom so my tube is standing on them.
Elements:
backstage pass
devil horns
headphones
microphone
piano keys
speakers
pick
Apply the constellation plugin to the piano keys like you did to your mask.
Add your copyright and licensing information.
Crop and save.


Sunday, March 15, 2015

Darkness Falls


Darkness Falls
written 3/7/2015

Supplies Needed:

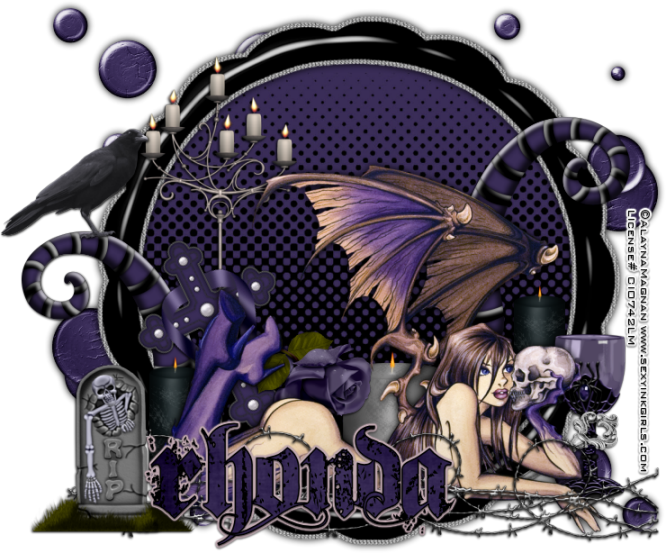
Tube of your choice. I am using the work of Alayna Magnan. I got this tube when she was CILM and I am not sure where you can purchase her work now if you even can.

Scrap Kit by Wicked Princess Scraps. It's called Death becomes her and you can get it at http://wickedprincessscraps.blogspot.com/2011/10/freebie-alert-gone-madagain-former-ptu.html

Font of your choice. I am using Dirt2 Soulstalker. You can get it at http://www.dafont.com/dirt2-soulstalker.font

Plugins:
None

Let's Begin:
Open circle frame and shift+D to duplicate.
Close the original.
Resize by 85%.
Make your canvas large enough to work with.
Using your magic wand select the inside of the frame.
Selections modify and expand by 6.
Layers new raster layer and drag under the frame.
Open paper 9 and edit copy and paste into selection.
Selections select none.
Add a drop shadow to the frame.
At this point open your tube and copy and paste as a new layer.
Since my tube lays down I decided to place along the bottom of the frame.
Place yours wherever you feel it will look best.
Add a drop shadow.
Now lets add some elements and dress this tag up.
I will simply tell you the elements I used and you can determine the placement on your own based on your tastes and the tube you are using.
Lets start with circle splatter.
Copy and paste as a new layer and drag to the bottom.
Make it peek out from behind your tag at the top left.
Duplicate and image flip horizontal and then again image flip vertical.
Move the duplicate to the lower right.
Merge these 2 layers and add a drop shadow.
Elements:
candelabra
candle
cane
cross
crow
gothic goblet
gray candle fat
Loopy wire
Rose breanch
Tombstone with grass
After arranging your elements add a drop shadow to each of them.
Add your name.
Add your copyright and licensing information.
Crop and save.