Showing posts with label Halloween. Show all posts

Thursday, October 27, 2022

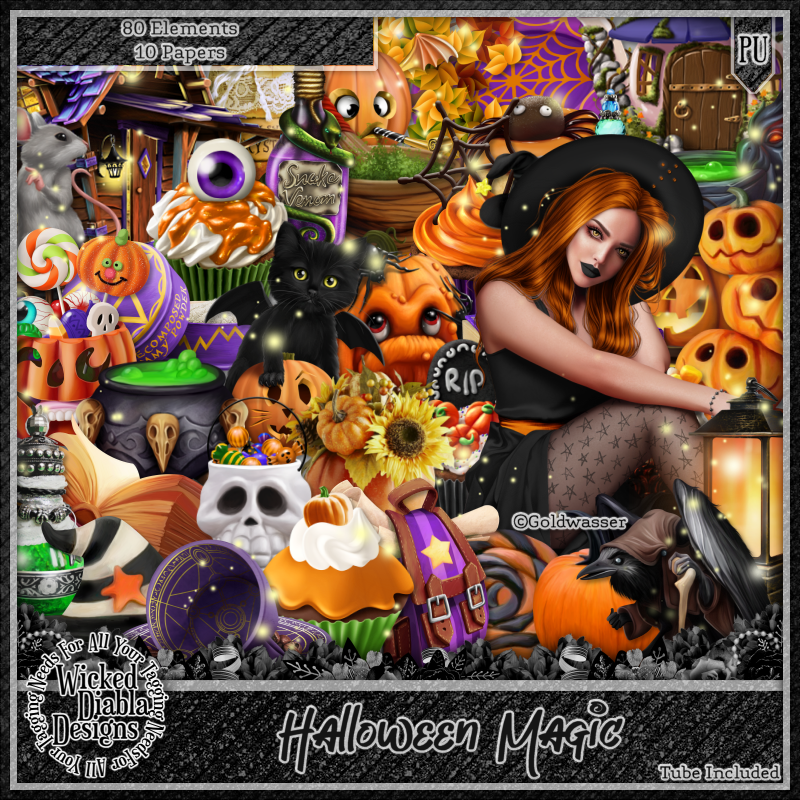
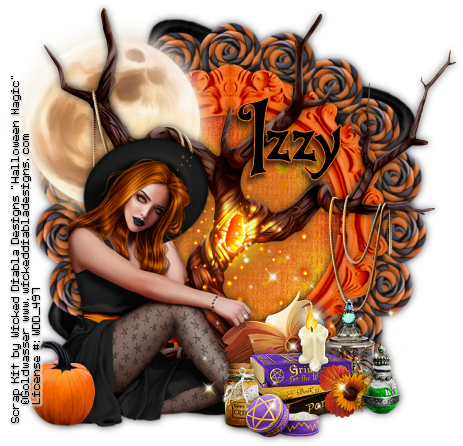
CT Tag for Wicked Diabla Designs - Halloween Magic

 New CT tag created with the awesome kit Halloween Magic by Wicked Diabla Desings. 
The tube is by Goldwasser and is included when you purchase the kit. 
You can find this awesome kit at www.wickeddiabladesigns.com 
This kit is packed with fun and magical elements and papers to make some awesome Halloween or even goth'ish type tags. 


♥♥♥

Thursday, October 20, 2022

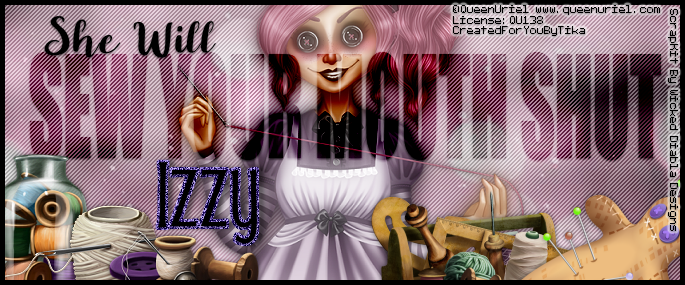
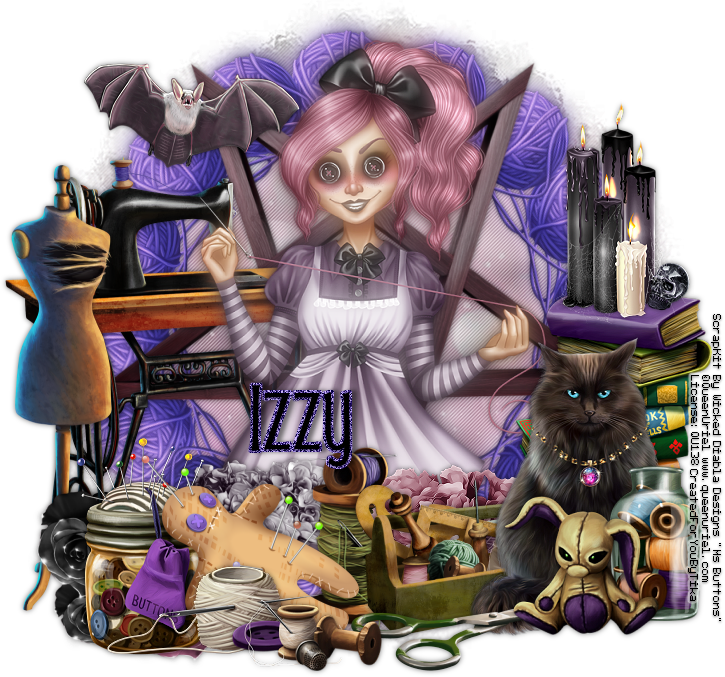
Sew Your Mouth Shut


Sew Your Mouth Shut

Written 10/20/2022

This tutorial is meant purely as a guide. Feel free to use your own choice of tube or scrap kit to make your tag unique.

If you want your tag to look just like mine, then use the same supplies I have used. This tutorial assumes you have a knowledge

of paint shop pro. Any resemblance to any other tag or tutorial is completely coincidental.


Supplies Used:

Tube is by Queen Uriel. She is called Ms Buttons. You must have a license to use this artwork. You can purchase Carolina’s awesome tubes at Home - Queen-Uriel's Art & PSP Tube Store (queenuriel.com)

Scrap Kit is by Wicked Diabla Designs. It is called Ms Buttons also. You can purchase this kit at Welcome To Wicked Diabla Designs, For All Your Tagging Needs

Font of your choice. I am using Mouse Moon.

Mask of your choice. I am using Mask #451 by Vix. You can find her at Vix PSP

Plugins: (plugins are most generally optional)

Mura Meister Copies – Encircle

Penta Jeans


Let's Begin:

Open element 25. Shift+D to duplicate. Close the original. Resize to a size you are happy with.

Open element 88 and resize to a fairly small size. I went 50% and then 60%. Using the Mura Meister Copies filter apply using the encircle option but change the top number in the encircle settings to 15 which will bring the balls of yarn closer together.

Move this layer under the pentagram layer.

On the top layer go to adjust blur gausian blur and set it to 10.

Change the properties of this layer to screen.

Add a slight drop shadow to the bottom layer.

Open paper 12. Copy and paste as a new layer. Resize by 75%. Drag to the bottom. Apply the mask of your choice. Delete the mask layer and merge the group.

Duplicate the mask. On the bottom mask layer apply Penta Jeans using the default settings.

On the top layer go to adjust blur gaussian blur at 10 and change the properties of this layer to screen.

Add a drop shadow to the top pentagram layer.

Open your tube and copy and paste as a new layer at the top.

Resize as needed.

Duplicate the tube layer and we are going to blur and screen it just like you did the yarn and mask layers. Add a drop shadow to the bottom tube layer.

Now let’s dress the tag up with elements from the kit. I will list the elements I used. Feel free to use other elements to make your tag unique. Placement of the elements is completely up to you. If you want your tag to look just like mine, then use my tag for reference.

Elements I used:

1

5

9

20

21

36

43

57

60

62

68

71

76

77

81

82

84

Add your name.

Add your license and copyright information.

If you want to make a 3 piece set like mine just use elements and/or your tube.

Thanks for trying my tutorial

♥♥♥


Tuesday, September 20, 2022

CT Tag for Wicked Diabla Designs


New CT Tag for Wicked Diabla Designs. 

No tutorial for this one. 

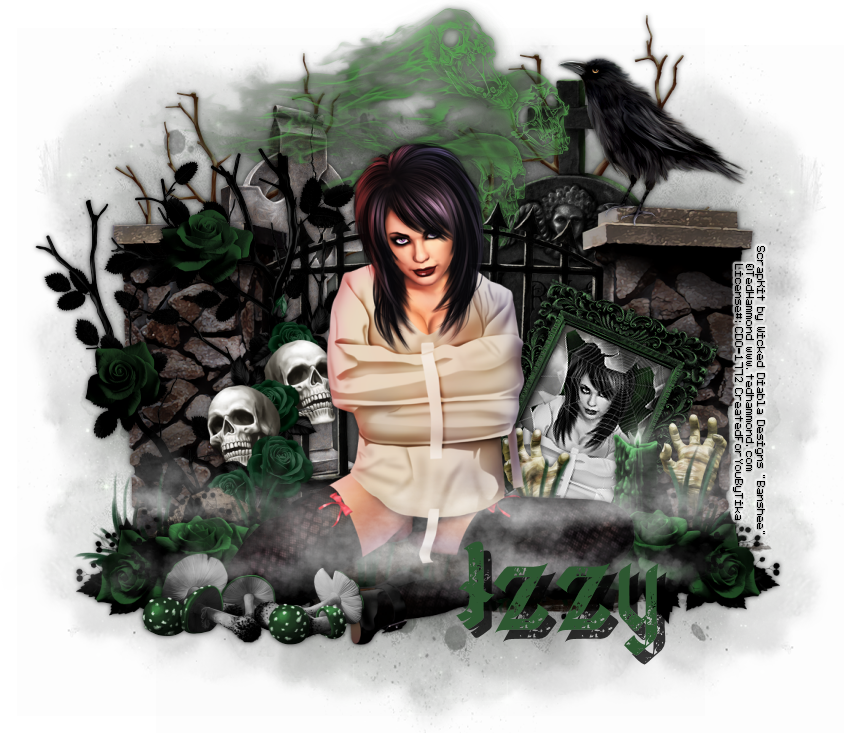
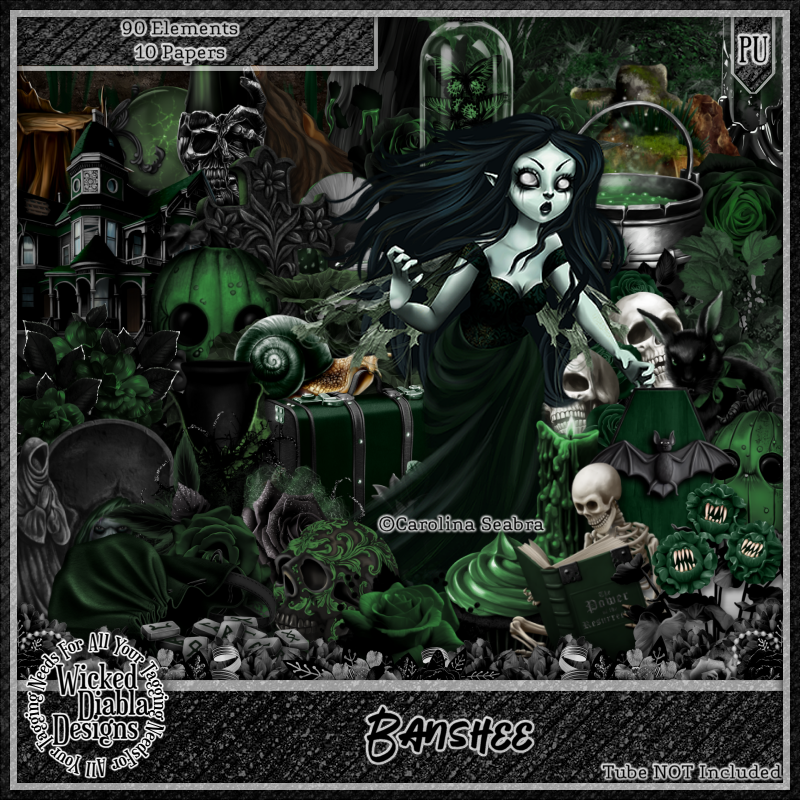
This kit is jam packed full of super cool and creepy elements to use in creating your goth or Halloween tags. 

It has great papers to use for background textures, masks etc. 

The name of the kit is Banshee. 

You can purchase it at www.wickeddiabladesigns.com


Thursday, September 15, 2022

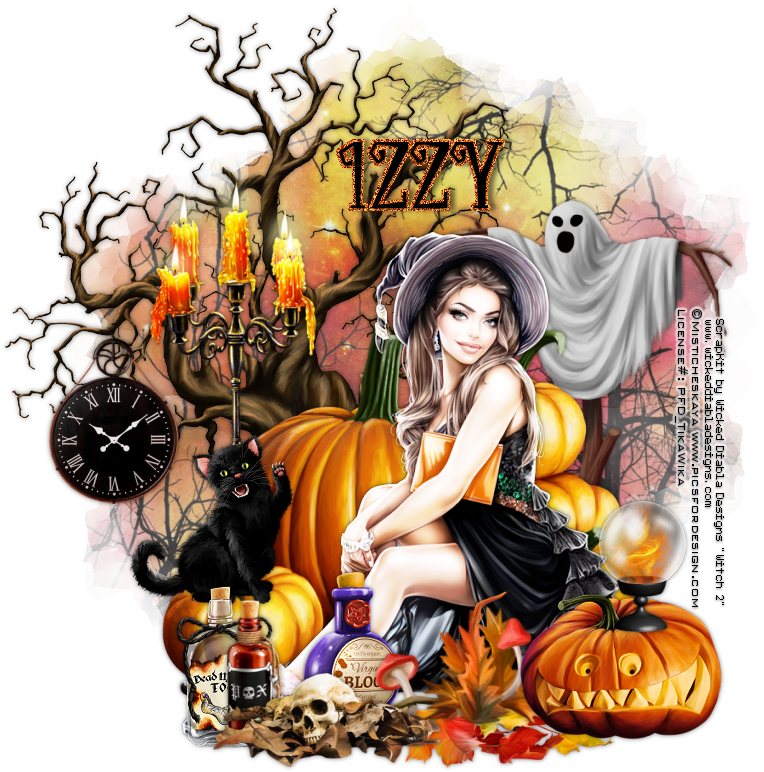
Witching Time


Witching Time

Written 9/14/2022

This tutorial is meant purely as a guide. Feel free to use your own choice of tube or scrap kit to make your tag unique.

If you want your tag to look just like mine, then use the same supplies I have used. This tutorial assumes you have a knowledge

of paint shop pro. Any resemblance to any other tag or tutorial is completely coincidental.


Supplies Used:

Tube of your choice. Preferably a tube that is sitting. I am using a tube by Misticheskaya. This tube is called “Megan”. You can purchase this tube at http://picsfordesign.com

Scrap Kit is by Wicked Diabla Designs. It is called “Witch 2”. You can purchase this kit at www.wickeddiabladesigns.com

Font of your choice. I am using Witches Party.

Mask of your choice. I am using mask #220 by WeeScotslass Creations. You can find her awesome masks at http://weescotslasscreations.blogspot.com/2009/04/masks.html

Plugins: (plugins are most generally optional)


Let's Begin:

Open element 38 from the kit. Shift+D to duplicate. Close the original. Make your canvas large enough to give you room to work with. You can resize and crop at the end when you are done. I usually work on a canvas that is 900x900.

Move the pumpkins to the lower part of your canvas. Not too far down but just lower. Resize if you need to.

Copy and paste your tube onto your working canvas. Resize as needed so it will sit in front of the pumpkins.

Duplicate your tube. On the top tube apply the Xero Radiance plugin using the default settings. Change the property of this layer to screen. Merge the top layer down.

Add a drop shadow to the pumpkins and your tube.

Open paper 17 and copy and paste as a new layer. Drag to the bottom. Apply the mask of your choice. Delete the mask layer and merge the group.

Now let’s dress the tag up with elements from the kit. I will list the elements I used. Feel free to use other elements to make your tag unique. Placement of the elements is completely up to you. If you want your tag to look just like mine, then use my tag for reference.

Elements I used:

13

32

33

34

36

39

40

41

42

44

92

97

Add your name.

Add your copyright and licensing information.

Crop and resize if you wish.

Save your tag and that’s it you are done!

Thanks for trying my tutorial

♥♥♥


Wednesday, November 2, 2016

The Story


The Story
Written 11/2/2016
This tutorial is meant purely as a guide. Feel free to use your own choice of tube or scrap kit to make your tag unique. If you want your tag to look just like mine them use the same supplies I have used. This tutorial assumes you have a knowledge of paint shop pro. Any resemblance to any other tag or tutorial is completely coincidental.
Supplies Used:
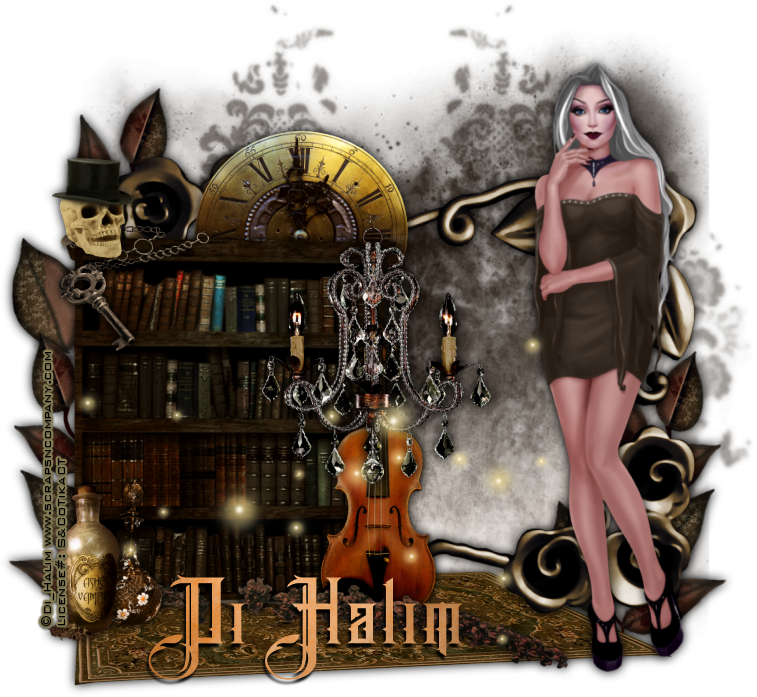
Tube of your choice. I am using the work of Di Halim and this tube is a store exclusive for Scraps N Company. She is called Morti 1. You can purchase her at http://scrapsncompany.com/index.php?main_page=product_info&cPath=305&products_id=23697
The matching scrap kit is by Disturbed Scraps and is called Bella Morte. You can purchase it at http://scrapsncompany.com/index.php?main_page=product_info&products_id=23690
Mask of your choice. I am using mask #31 by Millies PSP Madness. You can get her masks at http://milliespspmadness.blogspot.com/?zx=cf16f4d1876dde2f
Font of your choice. I am using Brandley. This is a PTU font.
Plugins:
NONE
Drop shadow used throughout:
0 0 100 13.50 black

Let's Begin:
Open element 73 and shift+D to duplicate. Close the original. Make the canvas large enough to work with.
Open paper 11 and copy and paste as a new layer and drag under the frame. Apply the mask of your choice. Delete the mask layer and merge the group.
Add a drop shadow to the frame.
Open element 41 and re-size by 75% and then again by 85%. Copy and paste as a new layer and place on the far left of the tag. Add a drop shadow.
Open element 43 and re-size by 60%. Copy and paste as a new layer and position in the center of the frame from the top and in front of the bookshelf. Add a drop shadow.
At this time open your tube and re-size as needed. You want her still larger than the frame but not by much. Copy and paste as a new layer and place her on the far right side. Add a drop shadow.
Open element 45 and copy and paste as a new layer. Drag under the frame and place at the bottom under the bookshelf and add a drop shadow.
Now let’s dress the tag up with elements from the kit. I will list the elements I used. Feel free to use other elements to make your tag unique. Placement of the elements is completely up to you. If you want your tag to look just like mine then use my tag for reference.
Elements I used:
13
14
24
25
27
34
35
54
77
Add your name.
Add your copyright and licensing information.
Crop and save.


Thursday, September 29, 2016

Vampire Love


Vampire Love
Written 9/29/2016
This tutorial is meant purely as a guide. Feel free to use your own choice of tube or scrap kit to make your tag unique. If you want your tag to look just like mine them use the same supplies I have used. This tutorial assumes you have a knowledge of paint shop pro. Any resemblance to any other tag or tutorial is completely coincidental.
Supplies Used:
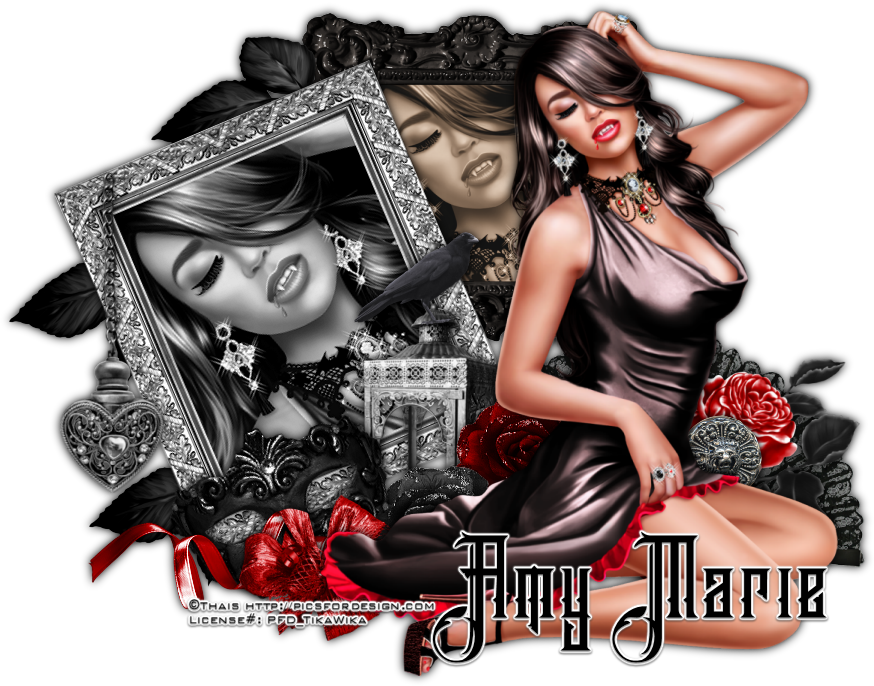
Tube of your choice. I am using the artwork of Thais. You can purchase this tube at http://picsfordesign.com
The scrap kit is called Simone and is by Amy Marie’s Kits. You can purchase this kit at http://amymarieskits.com/store/
Font of your choice. I am using Brandley. This is a PTU font.
Plugins:
NONE
Drop shadow used throughout:
0 0 100 13.50 black

Let's Begin:
Open a blank canvas that is going to give you plenty of room to work with.
Open element 40 and shift+D to duplicate. Close the original. Using your magic wand select the inside of the frame and go to selections modify and expand by 5. Layers new raster layer and drag under the frame. Flood fill with black. Open your tube and copy and paste as a new layer and drag under the frame. Position so her face is within the frame. Adjust hue and saturation, colorize and set both values to 0. Selections invert and hit delete. Selections select none. Merge all of these layers together. Crop this canvas around the frame. Copy and paste as a new layer on the blank canvas. Re-size. Image free rotate to the left 23 degrees. Adjust sharpen. Move to the left of the canvas. Add a drop shadow.
Open element 66 and we are going to basically repeat the same steps as above but do not colorize. Once you get your tube positioned in the frame go to effects. Photo Effects. Sepia Toning and set the amount to age to 60. Merge the layers together. Crop the canvas. Copy and paste as a new layer onto your tag canvas. Re-size. Move to the top and to the right of your first image and drag under so it comes out from behind that frame. Use my tag for reference if needed. Add a drop shadow.
Open your tube and copy and paste as a new layer. Re-size as needed. Move her to the far right and up so her head is right next to the small black framed image. Use my tag for reference if needed. Add a drop shadow.
Now let’s dress the tag up with elements from the kit. I will list the elements I used. Feel free to use other elements to make your tag unique. Placement of the elements is completely up to you. If you want your tag to look just like mine then use my tag for reference.
Elements I used:
9
10
11
24
27
35
53
54
56
62
65
99
Add your name.
Add your copyright and licensing information.
Crop and save.


Thursday, September 22, 2016

Fright Night


Fright Night
Written 9/21/2016
This tutorial is meant purely as a guide. Feel free to use your own choice of tube or scrap kit to make your tag unique. If you want your tag to look just like mine them use the same supplies I have used. This tutorial assumes you have a knowledge of paint shop pro. Any resemblance to any other tag or tutorial is completely coincidental.
Supplies Used:
Tube of your choice. I am using the work of Pinup Toons. You can purchase this tube at http://cdoestore.com I purchased this tube when PUT was with CILM.
Scrap kit is a great lil Halloween mini kit by Amy Marie’s Kits. It is called Lexi’s Halloween Collection. You can purchase it at http://amymarieskits.com/store/
Mask of your choice. I am using mask #281 by Vix. You can get her masks at http://www.freewebs.com/vixpsp/
Font of your choice. I am using Humblle Rought. You can download it at http://www.dafont.com/humblle-rought.font
Plugins:
NONE
Drop shadow used throughout:
0 0 100 12.50 black
Let's Begin:
Open F1 from the kit and shift+D to duplicate. Close the original. Make your canvas large enough to work with. Using your magic wand select the inside of the frame. Selections modify and expand by 3. Layers new raster layer and drag under the frame. Open paper 5 and copy and paste into selection. Selections select none.
Copy and paste the same paper again and drag to the bottom. Apply the mask of your choice. Delete the mask layer and merge the group.
Add a drop shadow to the frame.
Open element 8 and copy and paste as a new layer and move to the far right side of the frame. Add a drop shadow.
Open element 9 and copy and paste as a new layer and place center bottom of the frame. Add a drop shadow.
Open your tube and copy and paste as a new layer. Re-size as needed. Place so she is sitting in the bottom of the frame. Add a drop shadow.
Open element 24 and re-size as needed. Copy and paste as a new layer. Drag down under the grass. Move to the far left. Add a drop shadow.
Open element 50 copy and paste as a new layer and place at the top of the framed area mostly over the image inside of the frame.
Open element 3 and re-size. Copy and paste as a new layer and place at the top over the tree. Add a drop shadow.
Open element 18 and copy and paste as a new layer and re-size as needed. Move to the far left near the headstone. Add a drop shadow.
Add your name.
Add your copyright and licensing information.
Crop and save.


Thursday, November 5, 2015

Fall Witch


Fall Witch
written 10/24/2015

This tutorial is meant purely as a guide. Feel free to make your tag unique by using your own tube and scrap kit. If you want your tag to look just like mine then use the same tube and scrap kit as I have.

Supplies Used:

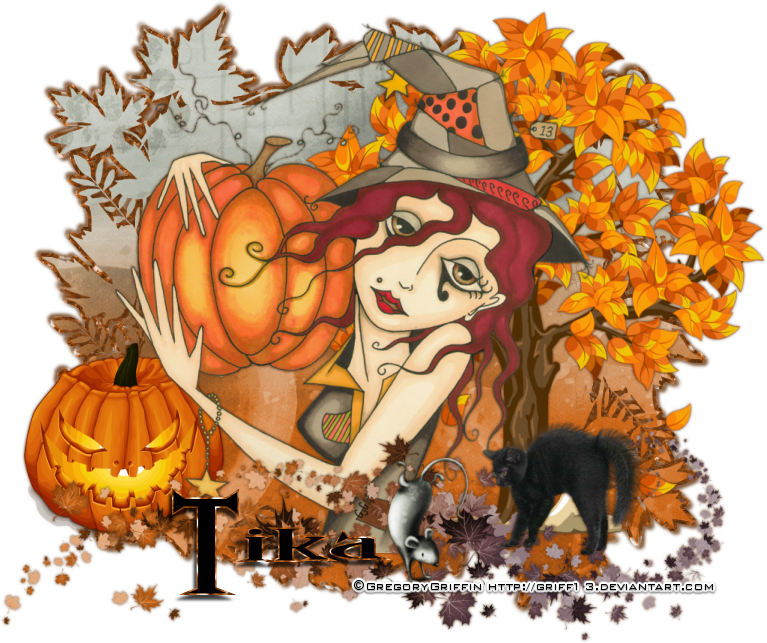
Tube by Gregory Griffin. He is a FTU artist. You can find his work at http://griff13.deviantart.com

Scrap kit is a freebie by Melissaz Creationz. You can get it at http://melissazcreationz.blogspot.com/2015/10/scrappin-your-out-october-blog-train.html

Mask of your choice. I am using mask #275 by Weescotslass Creations. You can get her great masks at http://weescotslasscreations.blogspot.com/2009/04/masks.html

Font of your choice. I am using Jack Bisio.

Plugins:
NONE

Let's Go:
Open paper 1 and shift+D to duplicate.
Close the original.
Re-size.
Promote your background layer to a raster layer.
Apply the mask of your choice.
Delete the mask layer and merge the group.
Selections select all float and defloat.
Layers new raster layer.
Open paper 12 and copy and paste into selection.
Selections select none.
Drag this layer under the other mask layer.
Add a drop shadow to both of layers.
Open your tube and copy and paste as a new layer.
Position within the center of your tag.
Add a drop shadow.
Open element 8 and copy and paste as a new layer.
Drag behind your tube.
Re-size and move to the right side of the tag.
Add a drop shadow.
Open element 13 and copy and paste as a new layer and place at the top and then near the bottom of your tag in the center.
Add a drop shadow.
Open element 24 and copy and paste as a new layer.
Re-size if needed and move to the bottom in front of the tree.
Add a drop shadow.
Open element 31 and copy and paste as a new layer.
Re-size and move to the bottom to the left of the cat.
Add a drop shadow.
Open element 33 and copy and paste as a new layer.
Move to the far left of the tag.
Add a drop shadow.
Add your name.
Add your copyright and licensing information if you used a PTU tube.
Crop and save.

Wednesday, October 28, 2015

Glamorous Death


Glamorous Death
written 10/28/15

This tutorial is meant purely as a guide. Feel free to make your tag unique by using your own choice of tube and scrap kit. If you want your tag to look just like mine then use the same supplies that I have and use my tag for reference.
This tutorial works best with a tube that has a close up.

Supplies Used:

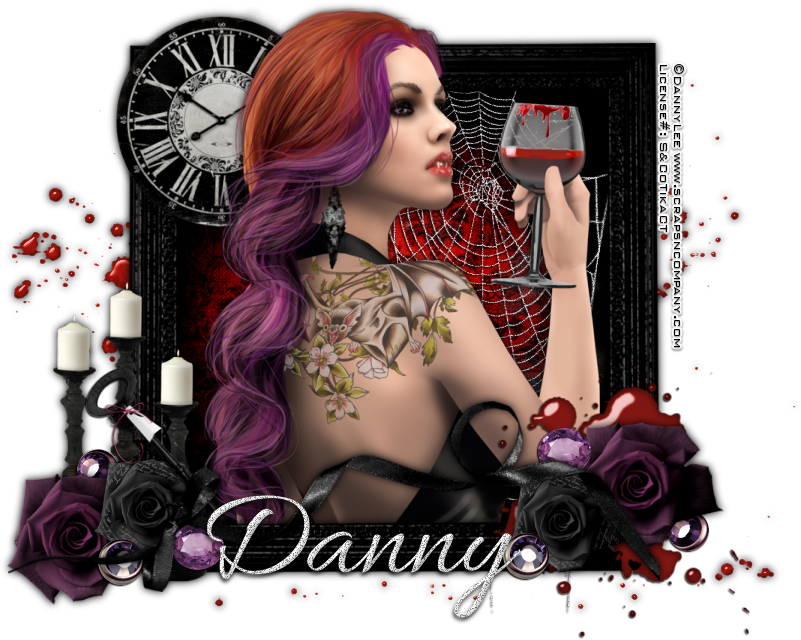
Tube by Danny Lee called Bloody Mary. You can purchase her at http://scrapsncompany.com/index.php?main_page=product_info&cPath=113_132_219&products_id=14730

Beautiful matching scrap kit by Chili Designz also called Bloody Mary and you can purchase it at http://scrapsncompany.com/index.php?main_page=product_info&products_id=14733

Font of your choice. I am using Allura. You can get it at http://www.fontspace.com/typesetit/allura

Plugins:
NONE

Let's Begin:
Open frame 8 from the kit and shift+D to duplicate.
Close the original.
Re-size to a size you would like.
This will be the base of your tag.
Using your magic wand select the inside of the frame.
Selections modify expand by 10.
Layers new raster layer and drag under the frame.
Open paper 6 and copy and paste into selection on the new layer.
Selections select none.
Make your frame layer active again and using your magic wand select the inside of the frame again.
Selections modify and expand by 4.
Open the close up of your tube and copy and paste as a new layer.
Position within the frame.
Selections invert and using your eraser tool erase any bits that are hanging outside of the frame that you do not want.
Selections select none.
Add a drop shadow to both your tube and your frame.
Ok let's dress this tag up with elements from the kit.
I will list the elements I used and placement is entirely up to you.
If you want your tag to look just like mine then use my tag for reference.
Elements I used:
Blood
Blood4
Gem
Gem2
Key
Bow2
Candles
Clock
Rose
Rose2
Web2
Add your name.
Add your copyright and licensing information.
Crop and save.


Friday, October 23, 2015

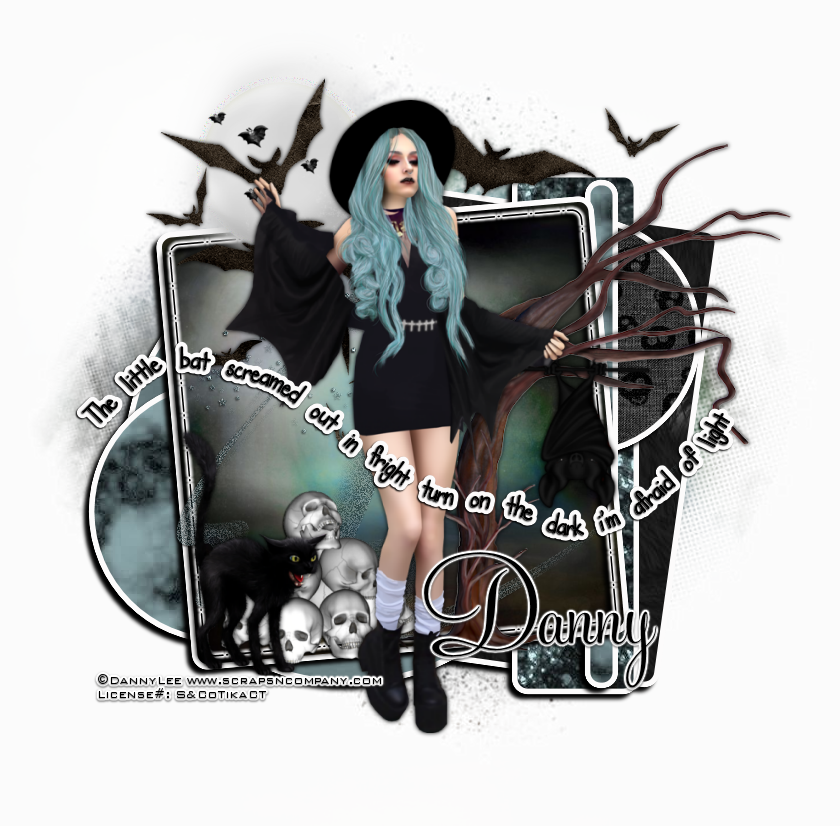
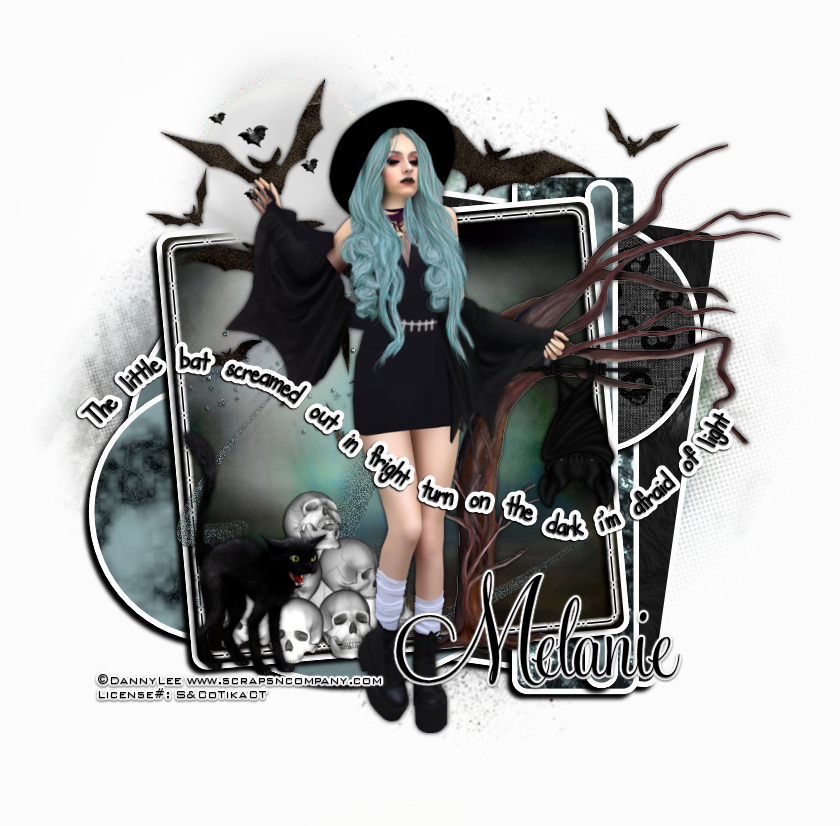
Afraid Of Light


Afraid Of Light
written 10/23/2015

This tutorial is meant purely as a guide. Feel free to make your tag unique by using your own tube and scrap kit. If you want your tag to look just like mine then use the same tube and the same scrap kit. Use my tag for reference for placement of items.

Supplies Used:


Scrap Kit by Blissful Designs. You can get it at http://scrapsncompany.com/index.php?main_page=product_info&products_id=14818

Mask of your choice. I am using mask #134 by Millies PSP Madness. You can get it at http://milliespspmadness.blogspot.com/2015/09/mask-134-and-tag-w-verymany-and-pink.html

Template #10 by Dangerously Delicious Designz. You can get it in the Halloween Templates 1-10 on the left side of her blog at http://dangerouslydeliciousdesignz.blogspot.ca/

Font of your choice. I am using DJB Teacher for the text on a path. This is a PTU font so use whatever you like and for the name I used Feelscript which is also a PTU font.

Plugins:
Eye Candy 4000 or Eye Candy 5 Gradient Glow

Let's Begin:
Open the template and shift+D to duplicate.
Close the original.
Remove the following layers:
info, You drive me, Batty Black, Batty White, blue star and bg.
Merge together raster 9 and raster 11.
Move them up to the top left of the template
Make your canvas large enough to work with.
Starting with the green square layer.
Selections select all float and defloat.
Open paper 10 and copy and paste as a new layer.
Selection invert and hit delete.
Selections select none.
Delete the original green square layer.
Repeat the above steps with all layers except the orange square and the circles that we merged together.
On the orange square selections select all float and defloat.
Layers new raster layer.
Open paper 1 and copy and paste into selection.
Selections select none.
Delete the original orange square layer.
Now starting with the bottom layer apply a gradient glow in white of your choice on size and what not to each of the layers except the merged circles.
Then add a drop shadow to each layer.
Open paper 1 and copy and paste as a new layer and drag to the bottom.
Apply the mask of your choice.
Delete the mask layer and merge the group.
Open your tube and re-size if needed.
Copy and paste as a new layer.
Position where you want.
Move the merged circles up behind her head but to the left of it.
Open element 68 and copy and paste as a new layer and re-size as needed but place it in the center of the merged circles to cover the green inside of it.
I chose to greyscale mine but that is completely up to you.
Now lets dress this tag up with some elements.
I will list the elements that I used and placement is up to you.
Unless you want your tag to look just like mine then use my tag for reference.
Elements used:
element 4
element 13
element 21
element 23
element 26 (I added noise to this element)
element 59
Add a drop shadow to all elements.
Using your pen tool and turning off your background color.
Draw a vector path across your tag up and down that we can add some text to.
Add the text of your choice.
Add your name.
Add your copyright and licensing information.
Crop and save.


Tuesday, October 20, 2015

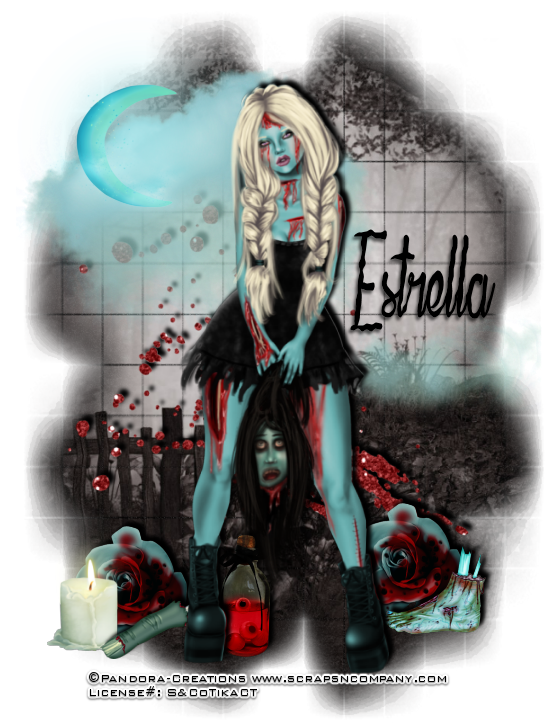
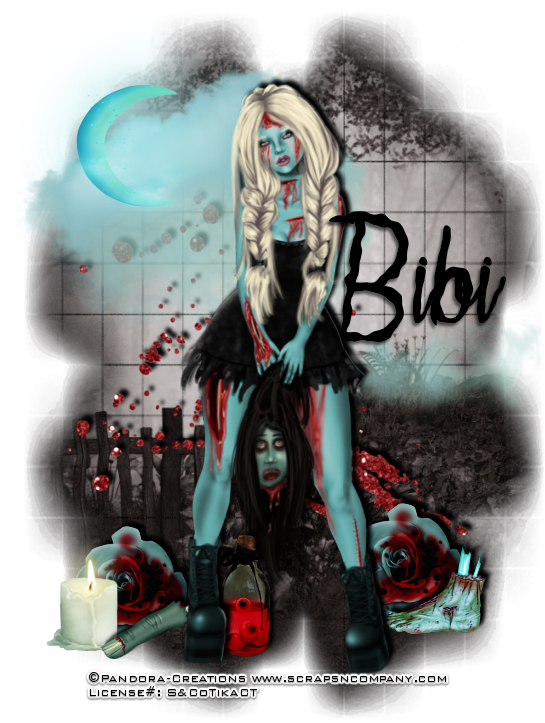
Off With Her Head - 3 Piece Forum Set


Off With Her Head – 3 piece set
written 10/20/2015

This tutorial is meant purely as a guide. Feel free to make your tag unique by using your own tubes and scrap kit. If you want your tag to look just like mine then use the same supplies that I have and use my tag for reference on placement of items.

Supplies Used:


Mask of your choice. I am using mask #30 from Insatiable Dreams. You can get her masks at http://insatiabledreams.net

Font of your choice. I am using La Maison de Papier. You can get it at http://www.dafont.com/la-maison-de-papier.font

Plugins:
NONE

Please note this is going to be a lengthy tutorial as it is 3 pieces and I will describe how to create each of the 3 pieces and since 2 of them are animated it will take a bit of time. *

Let's Begin:
We are going to start with the first item in the set which will be the avatar and the easiest.
Open a new blank canvas that is 98x208.
Selections select all.
Open paper 6 and copy and paste into selection.
Selections select none.
Open your tube.
If you are using the same tube as me you will have 1 layer that is normal and 1 layer that is bloody. We will be working with both.
First select all the options you want as far as hair color, makeup etc.
Select the layer that is bloody first.
Copy and paste as a new layer onto your avatar canvas.
Re-size by 50%.
Move to the lower part of the canvas with her head tilting towards the left.
Once you have her into place go back to your tube and copy and paste as a new layer the normal tube with the same options as you selected previously.
Re-size by 50%.
Move down and make sure you place it directly on top of the first tube.
Add a drop shadow to both tubes.
Layers new raster layer and flood fill with black.
Selections modify and contract by 7 and then hit delete.
Selections select none.
Add a drop shadow to the frame.
Add your name or initial.
Add your copyright and licensing information and lets get ready to animate.
I am going to go over the animation instructions and it will be the same for this avatar and the banner tag.
Hide the bottom tube layer which should be your bloody layer.
Copy merged the normal layer.
Open animation shop and right click and paste as a new animation.
Go to effects image transition and select fade.
Delete the very last frame which will leave you 20 frames.
Copy the above steps with the bloody tube.
Click on the last frame of the normal tube animation and copy and paste all the frames of the bloody tube animation after that frame.
Adjust the frame properties until you are happy with the effect.
This is all trial and error.
Now lets go back to psp and work on the banner tag.
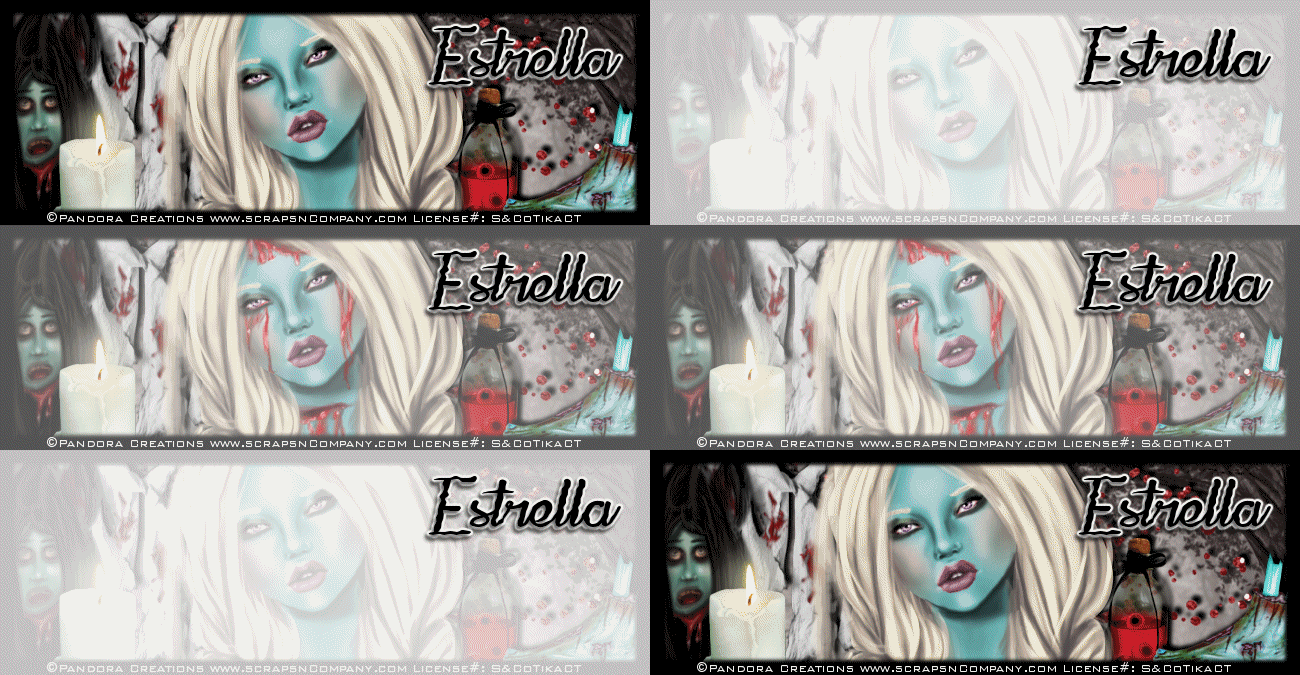
Open a new blank canvas that is 650x225.
Open paper 6 and copy and paste as a new layer and position how you want on your canvas.
Copy and paste your bloody tube and then your normal tube like you did on the av.
Link them and then move them to position how you want in the center of the tag canvas.
Add a drop shadow as you did on the avatar.
Dress up your banner by adding some of the elements from the kit.
Add an outside banner like you did with the avatar. Only I made mine 10 thick on this banner.
Now animate your banner just like you did your avatar.
Lets move on to the actual tag.
Open paper 6 and shift+D to duplicate.
Close the original.
Promote your background layer to a raster layer.
Apply the mask of your choice.
Delete the mask layer and merge the group.
Selection select all float and defloat.
Selections modify and expand by 6.
Flood fill with black and you might have to do it a couple of times until you get it as full as you want.
Selections select none.
Drag the black layer under the mask layer.
Merge these 2 together.
Open your tube either the normal or the blood your choice.
Copy and paste as a new layer and position on your tag.
Add a drop shadow.
Now dress up your tag with elements from the kit.
Add your name to all 3 pieces along with copyright and licensing information.
Crop and save.
Thanks for trying my tutorial.


Wednesday, October 14, 2015

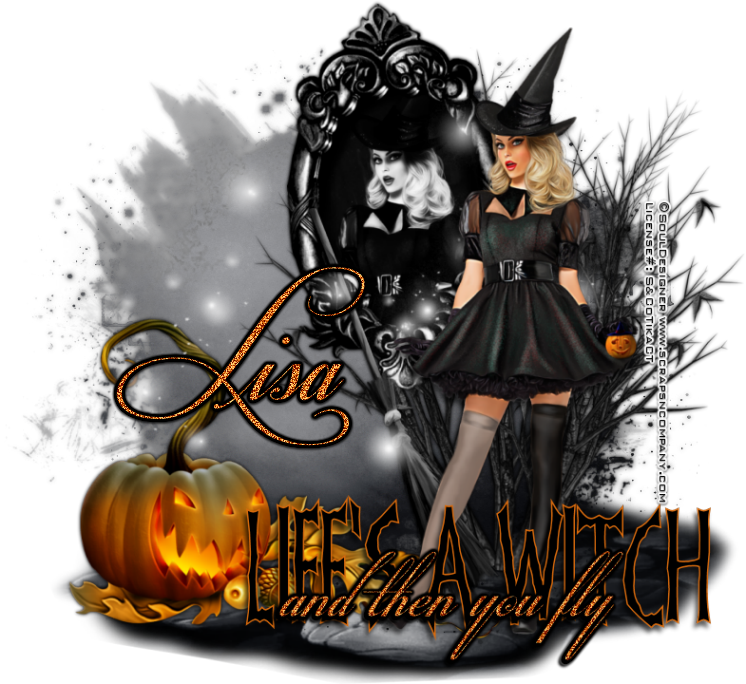
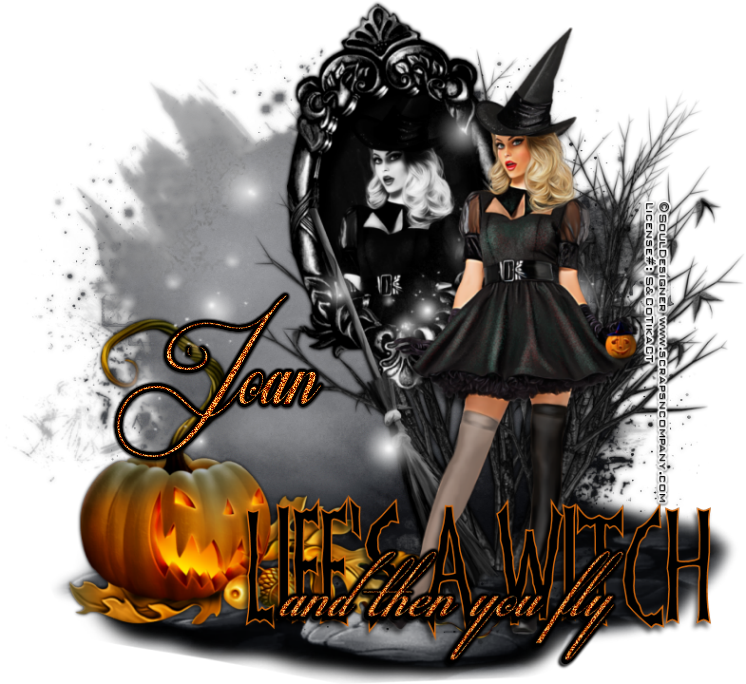
Life's A Witch


Life Is A Witch
written 10/14/2015

This tutorial is meant purely as a guide. Feel free to make your tag unique by using your own tube and scrap kit. If you want your tag to look exactly like mine then use the same supplies that I did and follow the tutorial as I have written it.

Supplies Used:


Mask of your choice. I am using mask #2 from this set at Rachel Designs. You can get it at https://racheldesignsblog.wordpress.com/2015/10/11/mask-set-97/

Font of your choice. I am using Frankendork which you can get at http://www.dafont.com/frankendork.font and also Respective which you can get at http://www.dafont.com/respective.font

Plugins:
Xero Radiance

Let's Begin:
Open paper 7 from the kit and shift+D to duplicate.
Close the original.
Re-size.
Promote your background layer to a raster layer.
Apply your mask.
Delete the mask layer and merge the group.
Add a drop shadow to the mask layer.
Open your tube and copy and paste as a new layer.
Position where you want.
Add a drop shadow to the tube.
Open element 89 and shift+D to duplicate.
Close the original.
Ok lets prep this element to go onto our tag.
Using your selection tool select the inside of the frame.
I find it easiest to make the element large and then use my selection tool set to point to point so I can get as close the edges as I can.
Once you have it all selected open your tube again and copy and paste as a new layer and position her face within the selected area.
Selections invert and hit delete.
Selections select none.
Apply the Xero Radiance plugin using the default settings.
Change the properties of this layer to luminance legacy.
Merge your tube down to the frame layer so you have 1 layer.
Re-size so it will fit on your tag.
Copy and paste as a new layer and position where you want.
I will list the elements that I used and placement is up to you.
If you want them in the same place as mine then use my tag for reference.
Elements used:
element 2
element 15
element 23
element 47
element 64
Add some text along the bottom if you wish.
Add your name.
Add your copyright and licensing information.
Crop and save.