Showing posts with label Pandora Creations. Show all posts

Saturday, April 2, 2016

Change Your Name


Change Your Name
written 4/2/2016

This tutorial is meant purely as a guide. Feel free to make your tag unique by using your own choice of tube and scrap kit. If you want your tag to look just like mine then use the same supplies I have used. This tutorial assumes you have a knowledge of paint shop pro. Any resemblance to any other tag or tutorial is purely coincidental.

Supplies Used:

Tube by Pandora Creations. She is called Berta Bride. You can purchase her at http://scrapsncompany.com/index.php?main_page=product_info&cPath=113_348_136&products_id=18776

Matching scrap kit by Blissful Designs. It is also called Berta Bride. You can purchase it at http://scrapsncompany.com/index.php?main_page=product_info&products_id=18777

Font of your choice. I am using Anggie 1. This is a PTU font.

Plugins:
NONE

Drop shadow used throughout:
0 0 50 10.00 black

Let's Begin:
Open element 34 and shift+D to duplicate.
Close the original.
Make your canvas large enough to work with.
Move the frame up and to the top more.
Using your magic wand select the inside of the frame.
Selections modify and expand by 3.
Open paper 7 and copy and paste as a new layer.
Drag down under the frame.
Selections invert and hit delete.
Selections select none.
Add a drop shadow to the frame.
Open element 14 and re-size by 50% 2x and then again by 60%.
Copy and paste as a new layer.
Place on the frame somewhere.
Duplicate many times and scatter around the frame.
Add a drop shadow to each of them.
If you are like me and like to keep your layer palette neat and tidy then merge all of these layers together to 1 layer.
Open element 12 and copy and paste as a new layer.
Drag to the bottom.
Move to the top left of the heart frame.
Make it so the top of the flowers are peeking out from behind the frame.
Make sure you can see some of the red for that pop of color.
Duplicate.
Image free rotate to the left 15 degrees.
Adjust sharpen.
Move this duplicate down and to the left just a little bit.
Duplicate again and repeat the above steps with this 3rd one.
Once you are done and have them in place merge these 3 together.
Add a drop shadow.
Duplicate and image flip horizontal.
Move this copy to the right side of the heart frame.
Merge these 2 layers together.
Open your tube and copy and paste as a new layer.
Re-size as needed so she is just larger than the frame.
Place in the center of the frame.
Add a drop shadow.
Now lets use some of the awesome elements from this kit.
I will list the elements I used.
Placement is completely up to you.
Again use my tag as a reference if you want your tag to look just like mine.
Feel free to use other elements that I did not use if you wish.
This is what will make your tag unique.
Elements I used:
9
40
45 (duplicated for 2)
46
74
75
Add your name.
Add your copyright and licensing information.
Crop and save.


Tuesday, October 20, 2015

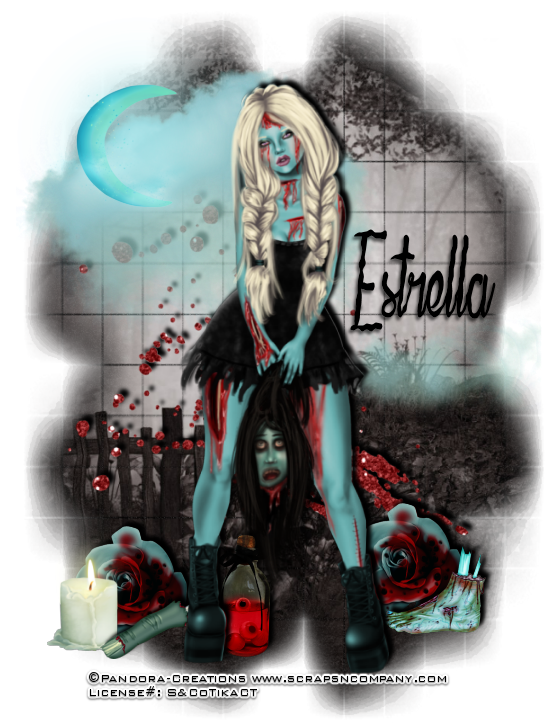
Off With Her Head - 3 Piece Forum Set


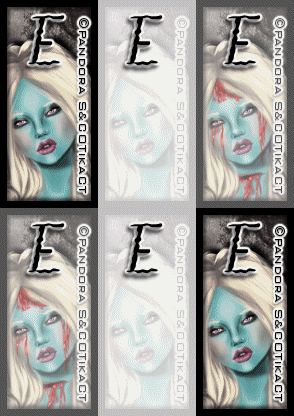
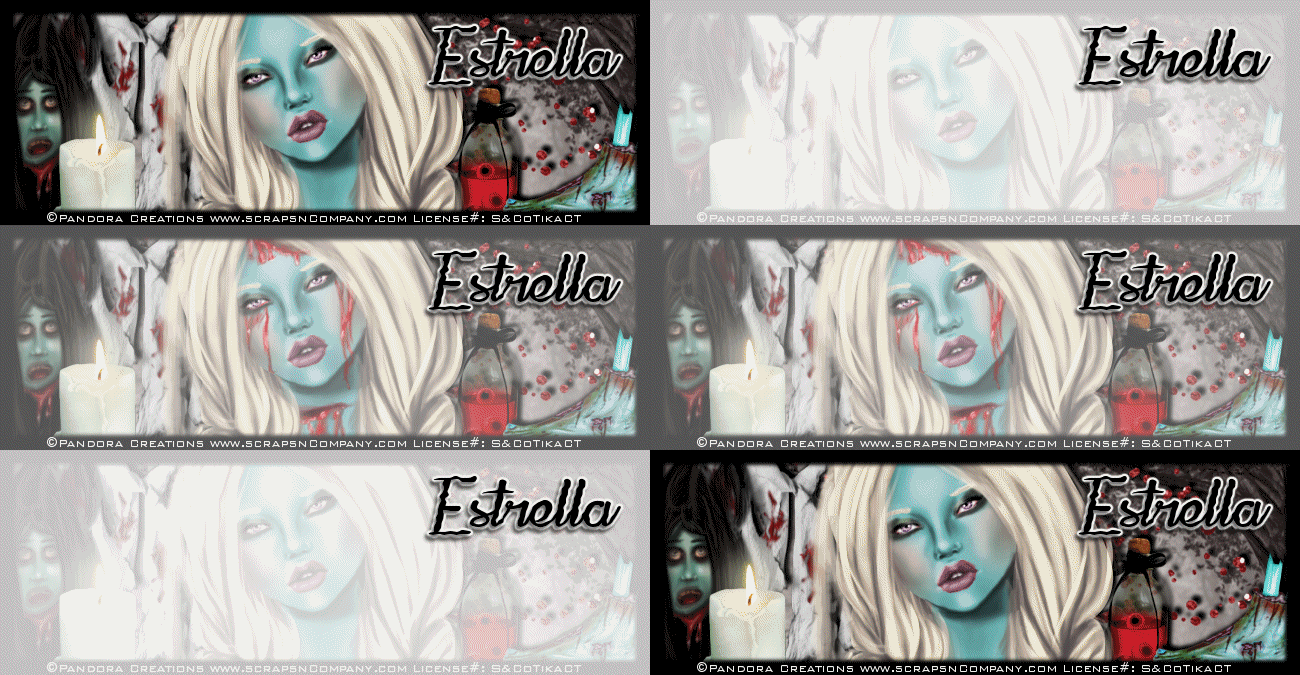
Off With Her Head – 3 piece set
written 10/20/2015

This tutorial is meant purely as a guide. Feel free to make your tag unique by using your own tubes and scrap kit. If you want your tag to look just like mine then use the same supplies that I have and use my tag for reference on placement of items.

Supplies Used:


Mask of your choice. I am using mask #30 from Insatiable Dreams. You can get her masks at http://insatiabledreams.net

Font of your choice. I am using La Maison de Papier. You can get it at http://www.dafont.com/la-maison-de-papier.font

Plugins:
NONE

Please note this is going to be a lengthy tutorial as it is 3 pieces and I will describe how to create each of the 3 pieces and since 2 of them are animated it will take a bit of time. *

Let's Begin:
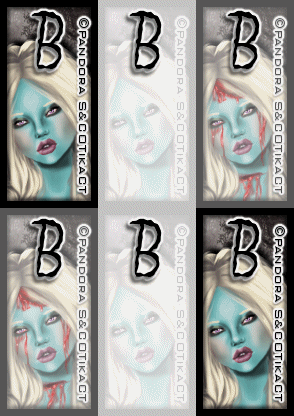
We are going to start with the first item in the set which will be the avatar and the easiest.
Open a new blank canvas that is 98x208.
Selections select all.
Open paper 6 and copy and paste into selection.
Selections select none.
Open your tube.
If you are using the same tube as me you will have 1 layer that is normal and 1 layer that is bloody. We will be working with both.
First select all the options you want as far as hair color, makeup etc.
Select the layer that is bloody first.
Copy and paste as a new layer onto your avatar canvas.
Re-size by 50%.
Move to the lower part of the canvas with her head tilting towards the left.
Once you have her into place go back to your tube and copy and paste as a new layer the normal tube with the same options as you selected previously.
Re-size by 50%.
Move down and make sure you place it directly on top of the first tube.
Add a drop shadow to both tubes.
Layers new raster layer and flood fill with black.
Selections modify and contract by 7 and then hit delete.
Selections select none.
Add a drop shadow to the frame.
Add your name or initial.
Add your copyright and licensing information and lets get ready to animate.
I am going to go over the animation instructions and it will be the same for this avatar and the banner tag.
Hide the bottom tube layer which should be your bloody layer.
Copy merged the normal layer.
Open animation shop and right click and paste as a new animation.
Go to effects image transition and select fade.
Delete the very last frame which will leave you 20 frames.
Copy the above steps with the bloody tube.
Click on the last frame of the normal tube animation and copy and paste all the frames of the bloody tube animation after that frame.
Adjust the frame properties until you are happy with the effect.
This is all trial and error.
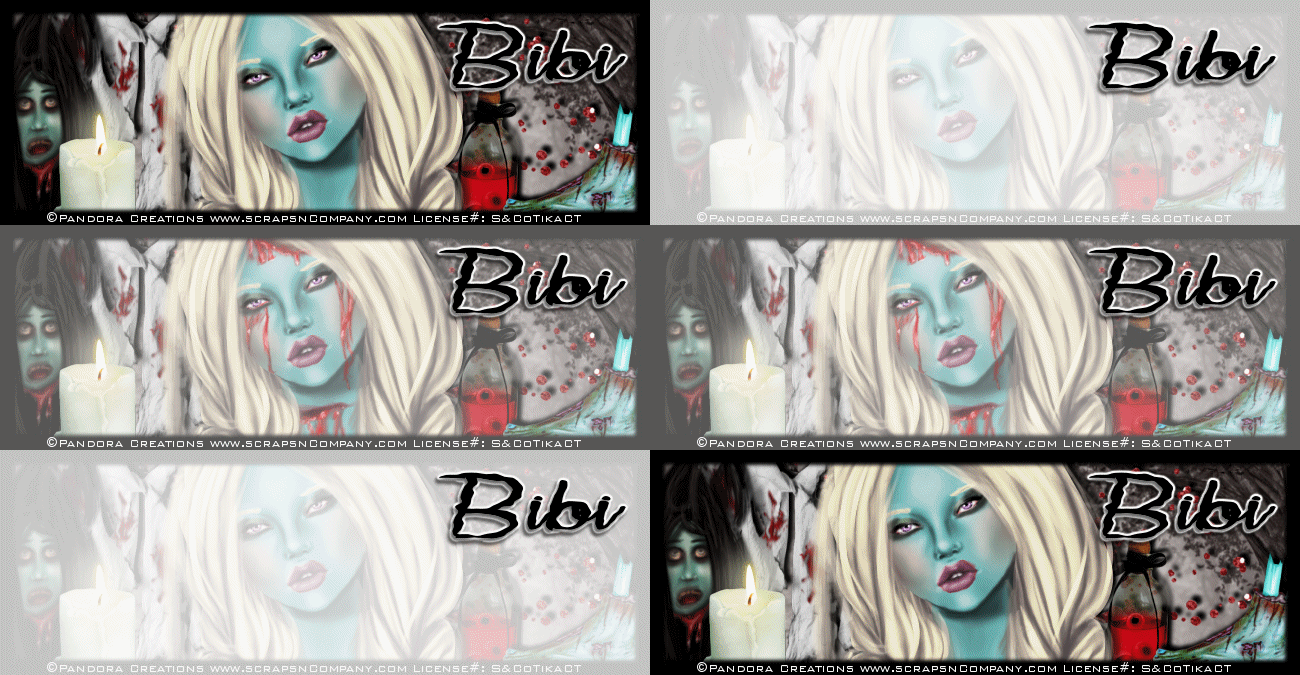
Now lets go back to psp and work on the banner tag.
Open a new blank canvas that is 650x225.
Open paper 6 and copy and paste as a new layer and position how you want on your canvas.
Copy and paste your bloody tube and then your normal tube like you did on the av.
Link them and then move them to position how you want in the center of the tag canvas.
Add a drop shadow as you did on the avatar.
Dress up your banner by adding some of the elements from the kit.
Add an outside banner like you did with the avatar. Only I made mine 10 thick on this banner.
Now animate your banner just like you did your avatar.
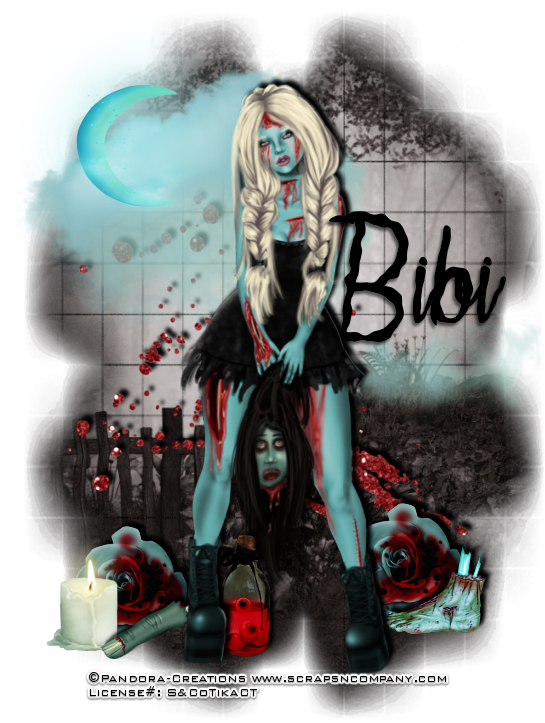
Lets move on to the actual tag.
Open paper 6 and shift+D to duplicate.
Close the original.
Promote your background layer to a raster layer.
Apply the mask of your choice.
Delete the mask layer and merge the group.
Selection select all float and defloat.
Selections modify and expand by 6.
Flood fill with black and you might have to do it a couple of times until you get it as full as you want.
Selections select none.
Drag the black layer under the mask layer.
Merge these 2 together.
Open your tube either the normal or the blood your choice.
Copy and paste as a new layer and position on your tag.
Add a drop shadow.
Now dress up your tag with elements from the kit.
Add your name to all 3 pieces along with copyright and licensing information.
Crop and save.
Thanks for trying my tutorial.


Tuesday, August 11, 2015

Zen Princess


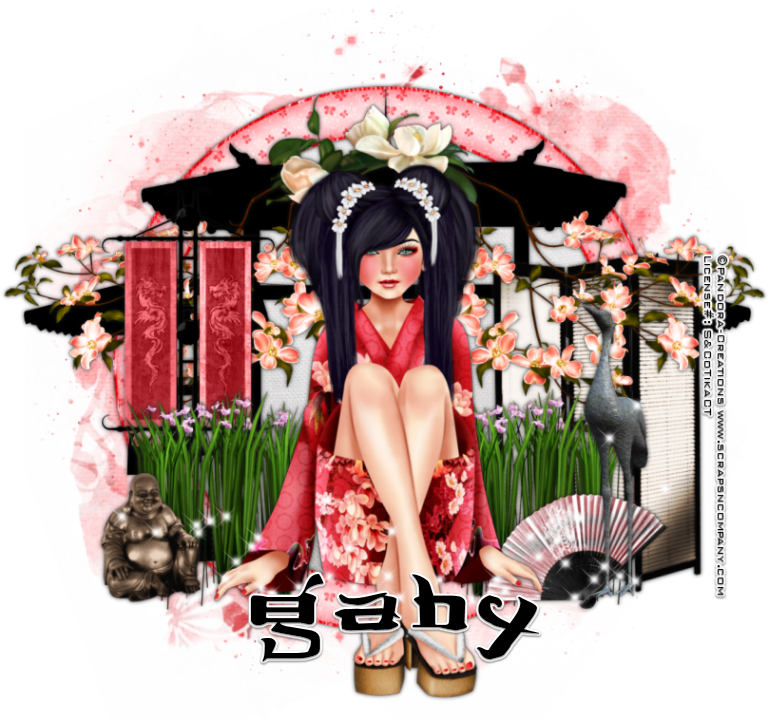
Zen Princess
written 8/11/2015

This tutorial is meant purely as a guide. Make your tag unique to you by using your own tube and scrap kit. If you want your tag to look just like mine then use the same tube and scrap kit that I am and use my tag as a reference.

Supplies Used:


Mask of your choice. I am using mask 2 in this set from Rachel Designs.

Font of your choice. I am using JSA Lovechinese. You can get it at http://www.dafont.com/jsa-lovechinese.font

Plugins:
NONE

Let's Begin:
Open element 80 and shift+D to duplicate.
Close the original.
Re-size to a size you are happy with. This will be the base of your tag.
Make your canvas large enough to give you plenty of room to work with.
Open paper 4 and copy and paste as a new layer and drag to the bottom.
Apply your mask.
Delete the mask layer and merge the group.
Make your frame layer active and using your magic wand select the inside of the frame.
Selections modify and expand by 8.
Layers new raster layer and drag under the frame.
Open paper 3 and copy and paste into selection.
Selections select none.
Add a drop shadow to the frame.
Open element 52 and copy and paste as a new layer.
Position over the center of the frame.
Add a drop shadow.
Open your tube and copy and paste as a new layer.
Position so she is sitting on the bottom of the frame in the center.
Add a drop shadow.
Now lets dress it up with some elements.
I will list the elements I used.
Placement is completely up to you.
If you want your tag to look just like mine then use my tag as reference for placement of the elements.
Be sure to add a drop shadow to each element.
Elements used:
element 4
element 6
element 9
element 30
element 44
element 45
element 51
element 88
Add your name.
Add your copyright and licensing information.
Crop and save.


Monday, July 27, 2015

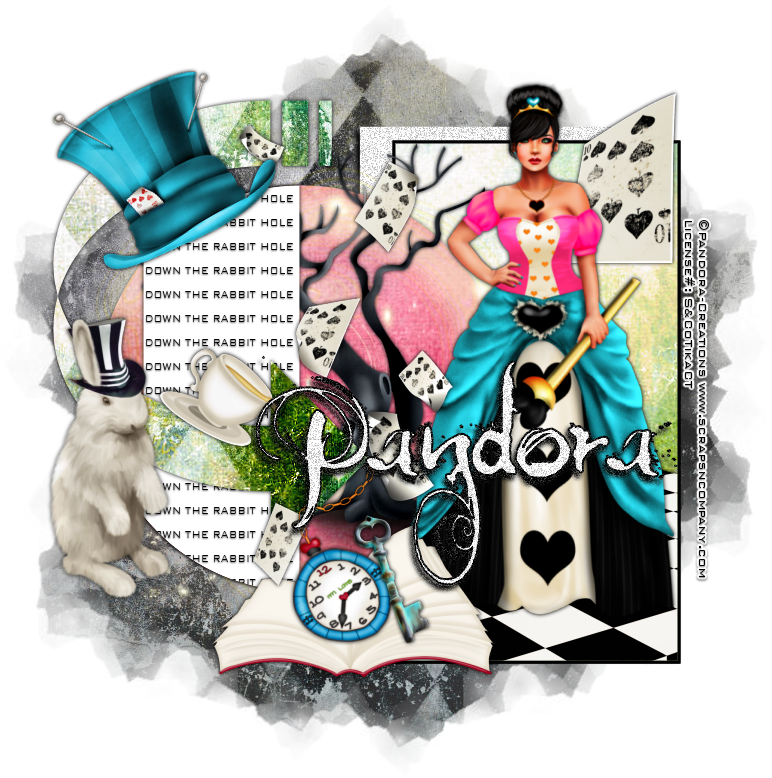
Down The Rabbit Hole


Down the Rabbit Hole
written 7/27/2015

This tutorial is merely a guide. Feel free to use any tubes and scrapkits that you wish. If you want your tag to look just like mine then use the same supplies and use my tag as a reference.

Supplies Used:


Matching Scrap Kit by DnScraps. You can get it at http://scrapsncompany.com/index.php?main_page=product_info&products_id=12361

Tag Template by Me. You can it on my blog at the bottom of this tutorial.

Mask of your choice. I am using mask 220 by WeeScotlas Creations. You can get her masks at http://weescotslasscreations.blogspot.com/2009/04/masks.html

Font of your choice. I am using Moonlight Shadow. You can get it at http://www.fontspace.com/david-kerkhoff/moonlight-shadow

Plugins:
NONE

Let's Begin:
Open your tag template and shift+D to duplicate.
Close the original so you can use it again if you wish.
Delete the cr layer.
Make your canvas large enough to work with.
Open paper 5 from the kit and copy and paste as a new layer and drag to the bottom.
Apply the mask of your choice.
Delete the mask layer and merge the group.
Add a drop shadow to your mask layer.
Add a drop shadow to the white glitter rectangle layer.
Make your black rectangle layer active and go to selections select all float and defloat.
Selections modify and contract by 3.
Open paper 4 and copy and paste as a new layer.
Selections invert and hit delete.
Selections invert again.
Open the ground element from the kit and copy and paste a a new layer and position within the selected area.
Selections invert and hit delete.
Selections select none.
Add a drop shadow to the floor.
Make the grey circle layer active and selections select all float and defloat.
Open paper 2 and copy and paste as a new layer.
Selections invert and hit delete.
Selections select none.
Make grey arrow layer active.
Selections select all float and defloat.
Open paper 7 and copy and paste as a new layer.
Selections invert and hit delete.
Selection select none.
Add a drop shadow to all layers.
Open your tube and copy and paste as a new layer.
Re-size and position where she is in the rectangle standing on the floor.
Add a drop shadow.
Lets dress this up with some of the fun elements from the kit.
I will list the elements I used.
Placement is up to you.
Elements used:
hat
hallo
dark tree
rabbit
clock
key
cup
cards2
cards
book2
Add your name.
Add your copyright and licensing information.
Crop and save.

Template made for this tutorial 

You can download it HERE


Friday, November 7, 2014

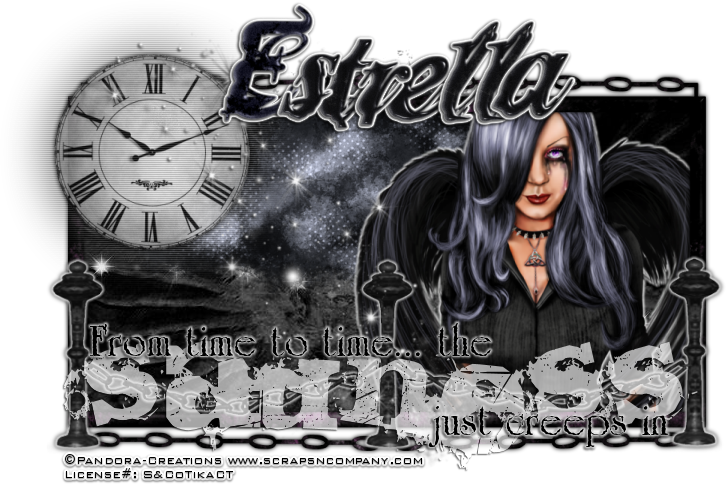
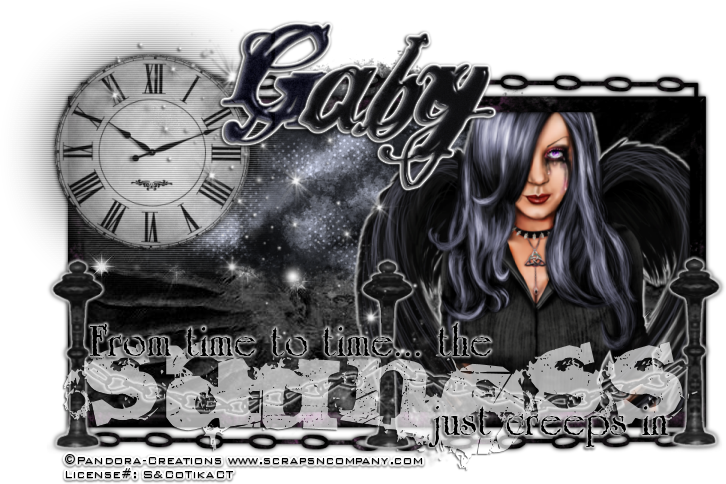
The Sadness


The Sadness
written11/7/2014

Supplies Needed:


Scrap Kit by Disturbed Scraps. You can get this kit at http://scrapsncompany.com/index.php?main_page=product_info&products_id=6416

Font of your choice. I am using Guilty for the word sadness which you can get at http://www.fontspace.com/misprinted-type/guilty. I am also using Grunge Caltek Bold for the rest of the wordart. You can get it at http://www.fontpalace.com/font-details/Grunge+Caltek+Bold/. For the name I am using the alpha from the kit.

Plugins:
Eye Candy 4000 Gradient Glow

Lets Begin:
Open element 76 from the kit and shift+D to duplicate.
Close the original.
Re-size by 75%.
Image rotate to the right or left. Does not matter.
Make your canvas large enough to work with.
Using your magic wand select the inside of the frame.
Selections modify and expand by 6.
Open paper 14 and copy and paste as a new layer.
Drag under the frame.
Selections invert and hit delete.
Selections invert again and selections modify and contract by 4.
Open your tube and copy and paste as a new layer.
Drag under the frame and move over to the far right side.
Position wherever you are happy with the placement.
Selections invert again and hit delete.
Selections select none.
Apply a slight gradient glow in white around your tube.
Open element 27 and re-size by 75%.
Copy and paste as a new layer and drag under the tube.
Place near the top and behind your tube.
It is ok if it peeks out the top of your frame some.
Open element 46 and re-size by 50%.
Copy and paste as a new layer at the top.
Move to the top left corner of the framed area.
Duplicate.
On the bottom copy go to adjust blur gaussian blur and blur at 25.
On the blur layer apply the blinds texture included in psp with the following settings:
width – 2
opacity – 70
color – black
horizontal and light from left/top both checked
Add a drop shadow to the top copy.
Lower the opacity of this layer to 75.
Open element 32 and re-size by 90%.
Copy and paste as a new layer at the top.
Place along the bottom of the frame area.
Add the same gradient glow you did to your tube.
Add a drop shadow.
Open element 80 and copy and paste as a new layer.
Move to where it is coming from the bottom middle of the frame area up over the top of the clock.
Re-size so it will fit nicely as it is rather large.
Add your wordart/text.
Add your name.
Add your copyright and licensing information.
Crop and save.


Wednesday, August 20, 2014

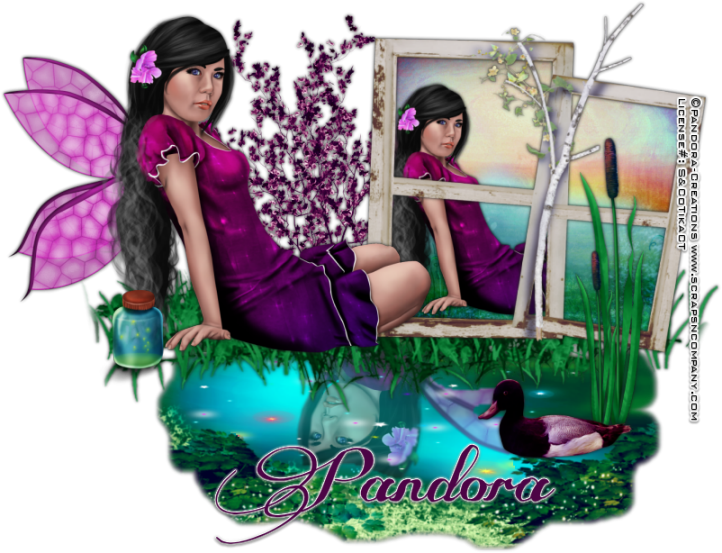
Fairy Reflection


Fairy Reflection
written 8/20/2014

Supplies Needed:


Matching scrap kit is by Bibi's Collection. It is called Fairy Dream and you can get it at http://scrapsncompany.com/index.php?main_page=product_info&products_id=5180

Font of your choice. I am using Some Weatz. You can get this font at http://www.dafont.com/some-weatz.font

Lets Begin:
Lets start by opening element 81.
Shift+D to duplicate.
Close the original.
Re-size so it will fit nicely on your tag in the top right corner.
We are beginning to build our base.
You don't want this too large but not too small either.
Use my tag for reference.
Using your freehand selection tool set to point to point draw around the outside edges of the window frames.
Make sure you are selecting both windows.
Layers new raster layer.
Drag under the windows.
Open paper 1 and edit copy.
Paste into selection.
Leave selected.
Open your tube and re-size so she will fit inside the biggest window on the left.
Copy and paste as a new layer and position within that bigger window.
Erase any bits hanging out of the window and any that might be in the window on the right.
Selections select none.
Add a drop shadow to the tube and to the windows.
Merge these layers visible.
Open element 38 and re-size so it will fit nicely under the windows and have some room hanging out the left side.
Use my tag for reference.
Using your freehand selection tool set to freehand select just the water part of the element.
It doesn't have to be perfect.
Go to your tube and duplicate it and image flip vertical.
Copy and paste as a new layer and position your tubes head/face within the selected area.
Selections invert and hit delete.
Selections invert again and keep selected until I tell you
Using your softener tool soften the edges so it doesn't look so sharp and jaggedy.
Lower the opacity of this layer to 55.
Layers new raster layer.
Open element 36 and re-size by 60%.
Copy and paste into selection.
Selections select none.
Merge both the sparkles and the tube down to the water layer.
Open element 54 and re-size so it will fit nicely along the top of the waters edge and behind the windows. Leaving room on the left side of the windows to copy your tube again.
Open your tube and re-size and copy and paste as a new layer and place her sitting in the grass.
Open element 55 and image flip horizontal. Re-size so it fits nicely on the water on the right side.
Copy and paste as a new layer and add a drop shadow.
Open element 23 and re-size and copy and paste as a new layer and place between the windows and your main tube.
Drag to the bottom.
Add a drop shadow.
Open element 59 and re-size.
Copy and paste as a new layer and place on the far right side of the water and drag behind your duck.
Duplicate and re-size this one smaller.
Move to the left of the larger one.
Merge these 2 layers and add a drop shadow.
Open element 63 and re-size and copy and paste as a new layer and place to the left of your main tube in the grass.
Add your name.
Add your copyright information.
Crop and save.


Wednesday, July 23, 2014

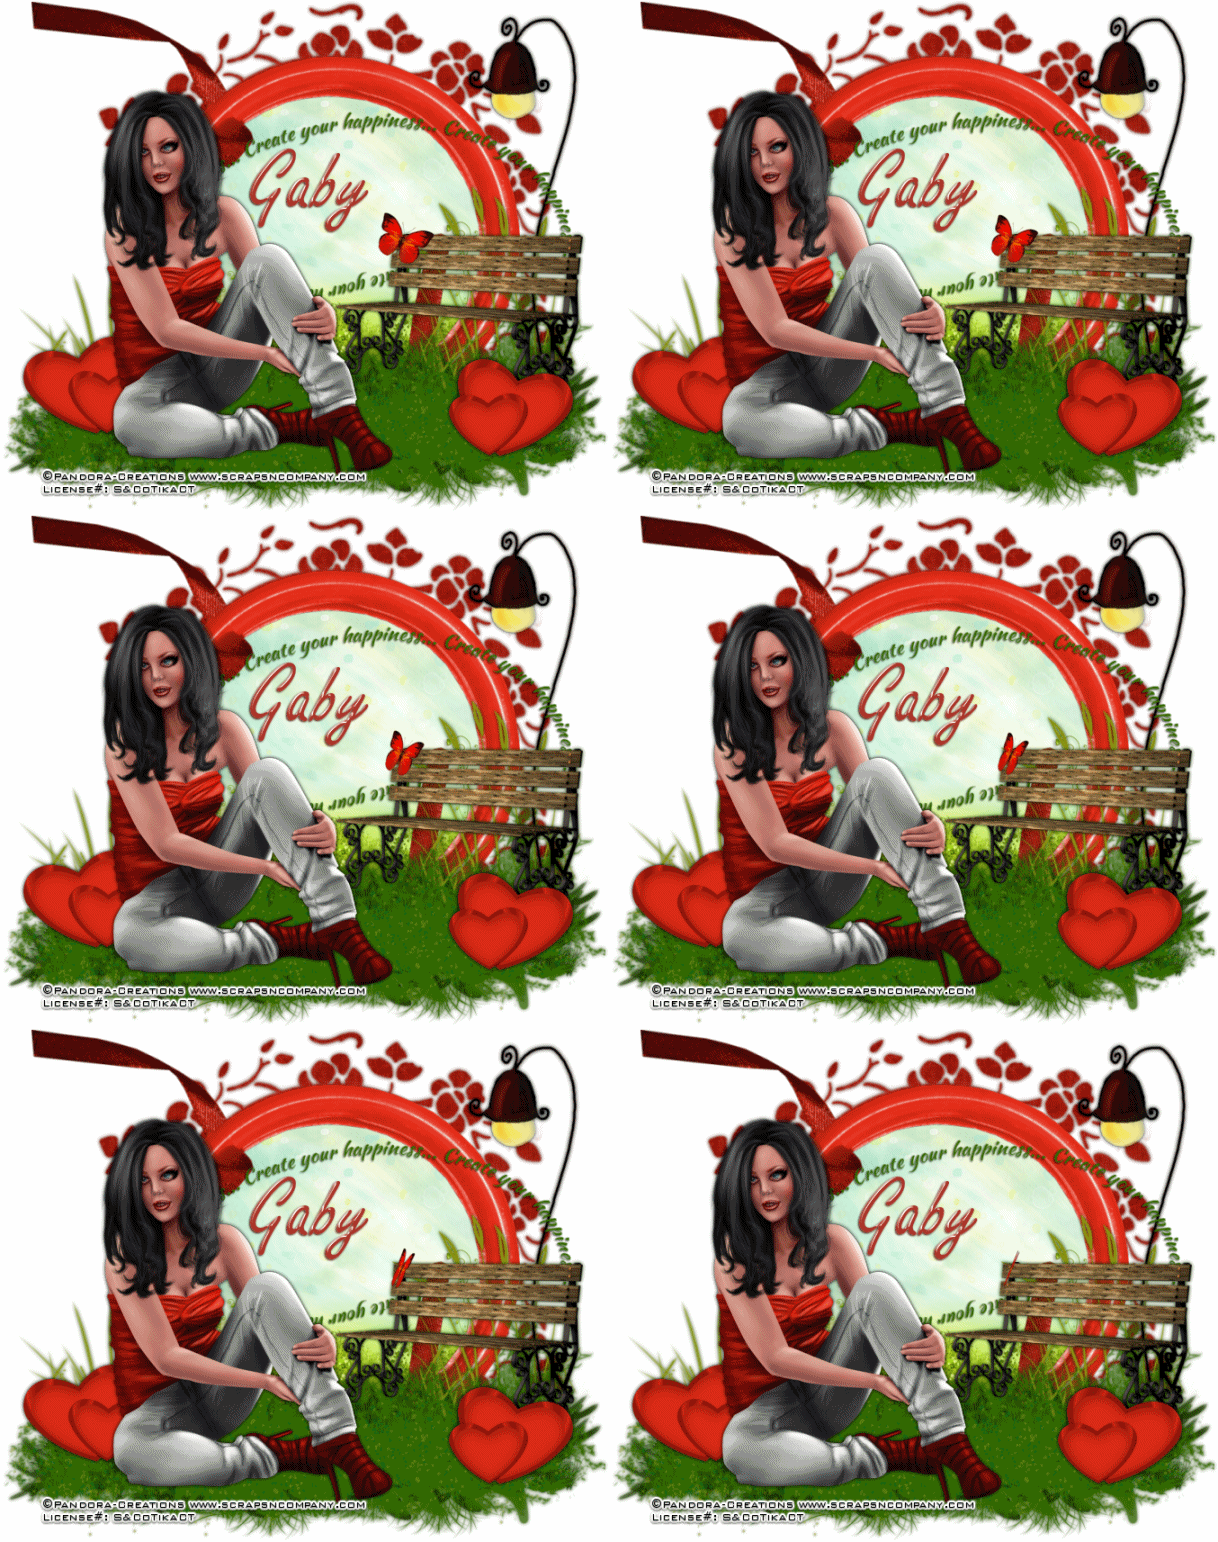
Create Your Happiness


Create Your Happiness
written 7/23/2014

Supplies Needed:


Scrap Kit by Disturbed Scraps. You can get this kit at http://scrapsncompany.com/index.php?main_page=product_info&products_id=4689

Mask of your choice. I am using Doodle Mask 3 by Cat. You can get this mask at http://insatiabledreams.net under resources.

Font of your choice. I am using Playful Print.

Lets Begin:

Open element 86. Shift + D to duplicate.
Close the original.
Resize by 85% 2x.
Center in your canvas.
Make your canvas large enough to give you room to work with.
Open paper 3 and copy and paste as a new layer.
Drag under the frame.
Apply the mask of your choice.
Delete the mask layer and merge the group.
Resize if you need to.
Center your frame in the mask.
Make your frame layer active and using your magic wand select the inside of the frame.
Go to selections modify and expand by 10.
Layers new raster layer and drag under the frame.
Open paper 7 and edit copy paste into selection.
Selections select none.
Open your tube and resize.
Copy and paste as a new layer and move to the far left of the frame.
Add a drop shadow.
Open element 26 and resize by 90%.
Copy and paste as a new layer and drag under your tube.
Move down so your tube is sitting on it.
Add a drop shadow.
Open element 70.
Resize and flip horizontal.
Copy and paste as a new layer to the right side and so it looks to be coming out of the frame but sitting on the grass.
Add a drop shadow.
Open element 71 and resize and then flip horizontal.
Copy and paste as a new layer.
Drag under the bench and position to the right so it looks to be hanging over the bench.
Add a drop shadow.
Open element 91 and resize by 75%.
Copy and paste as a new layer and place so it appears to be coming behind the bench but on top of the frame so you can read it.
Add a slight drop shadow to help it stand out.
Open element 44 and resize by 50% 2x.
Copy and paste as a new layer and place in front of the right legs of the bench.
Duplicate and flip horizontal.
Move to the left of your tube.
Add a drop shadow to both.
Add your name right in the center of the frame.
Add your copyright and licensing information.
Crop.
If you are going to create and add the animation follow the steps below.
Layers new raster layer and drag to the bottom.
Flood fill with white.
Hide this white layer and merge visible all your other layers.
Unhide the white layer.
Open element 65 and resize by 50% 2x.
Copy and paste into animation shop as a new animation.
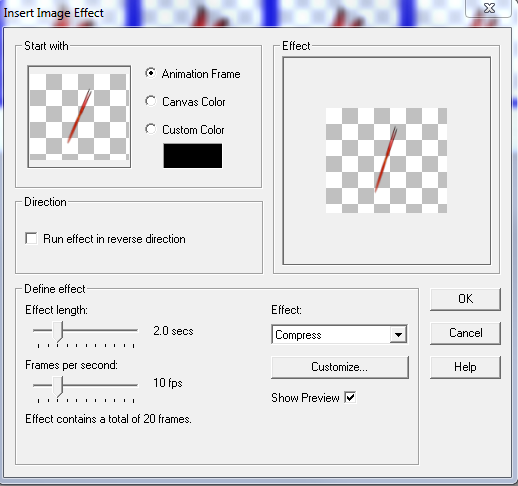
Go to effects insert image effect using the following settings:

Rotate the animation 22 degrees to the right.
Back to your tag in psp and edit copy merged and bring the entire tag into animation shop and duplicate the frames to match the frames in the animation you just created.
Mine has 21 frames.
Select all frames in your animation and your tag.
Grab frame 1 of your animation and drag it onto frame 1 of your tag.
Place so it is sitting on the bench.
Change the frame properties of your tag to 5.
Optimize and save.