Showing posts with label Kizzed By Kelz. Show all posts

Sunday, May 23, 2021

Dog Day Beach


Dog Day Beach

Written May 22, 2021

This tutorial is meant purely as a guide. Feel free to use your own choice of tube or scrap kit to make your tag unique.

If you want your tag to look just like mine, then use the same supplies I have used. This tutorial assumes you have a knowledge of paint shop pro. Any resemblance to any other tag or tutorial is completely coincidental.

Supplies Used:

Tube is by Maryline Cazenave and can be purchased at http://cdoestore.com You must have a license to use this image in your tag creations.

Scrapkit is by Kizzed By Kelz and can also be purchased at CDO.

Mask of your choice.

Font of your choice.

Plugins: (plugins are most generally optional)

Xero-Moodlight

Xero - Radiance

Let's Begin:

Open frame 1 from the kit and shift+D to duplicate. Close the original so you can use it again if you choose in other creations.

Make your canvas large enough for you to work with by going to Image Canvas Size and setting the size you want. I usually do 900x900 just to give me loads of room to work with while creating. You will be cropping and resizing at the end if you wish.

Resize the frame by 80%. Go to Adjust Sharpen more and sharpen it 2x to clean it up some.

Using your magic wand select the inside of the frame. Selections modify and expand by 5. Layers new raster layer and drag this new layer under the frame.

Open paper 5. There is a small white border around this paper so I like to crop that out just because of me wanting to use the paper as a fill for my frame I do not want the white border but you can leave it if you choose. After cropping. Copy and paste into selection which should be on your new layer. Selections select none. Duplicate the paper layer 2x. On both copies change the blend mode of the layer to multiply.

Open paper 2 and copy and paste as a new layer. Drag to the bottom. Apply the mask of your choice. Delete the mask layer and merge the group.

Open your tube and copy and paste as a new layer at the top. Resize as needed and position where you would like. Apply the Xero Moodlight plugin using the following settings:


Drop shadow both the frame and your tube.

Now let’s dress the tag up with elements from the kit. I will list the elements I used. Feel free to use other elements to make your tag unique. Placement of the elements is completely up to you. If you want your tag to look just like mine, then use my tag for reference.

Elements I used:

4

6

8

17

21

26

30

31

Once you have everything in place add your artist copyright information and any other details you need to add. Make sure your license # is on there.

I then chose to apply the Xero Radiance plugin using the following settings:

This is completely up to you.

Crop your tag.

Add your name.

Save.

Thanks for trying my tutorial.


Saturday, April 23, 2016

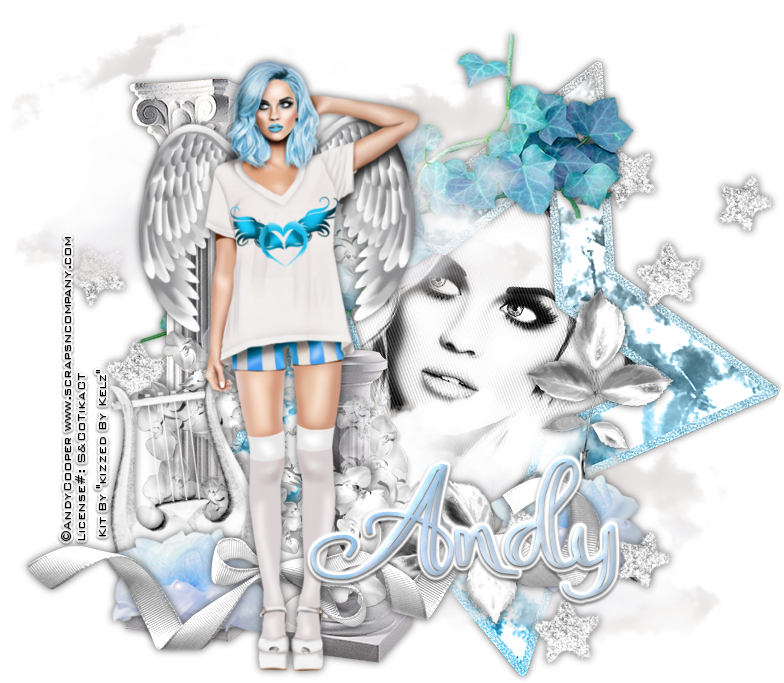
Heaven Knows


Heaven Knows
written 4/22/2016

This tutorial is meant purely as a guide. Feel free to make your tag unique by using your own choice of tube and scrap kit. If you want your tag to look just like mine then use the same supplies I have used. This tutorial assumes you have a knowledge of paint shop pro. Any resemblance to any other tag or tutorial is purely coincidental.

Supplies Used:

Tube is by Andy Cooper and is part of an awesome collab you can get at Scraps and Company right now. It is a free gift with your purchase of $12.50. There are some awesome items in this collab. Well worth it. Check it out at http://scrapsncompany.com/

The beautiful scrap kit is by Kizzed by Kelz and it is also part of this wonderful collab.

Font of your choice. I am using Aysheea. This is a PTU font.

Plugins:
Xero Radiance
Penta Jeans

Drop shadow used throughout:
0 0 65 12.00 black

Let's Begin:
Open element 40 and shift+D to duplicate.
Close the original.
Using your magic wand select the inside of the star.
Selections modify and expand by 4.
Open the close up of the tube and copy and paste as a new layer.
Drag under the star.
Position her face within the selected area.
Selections invert and hit delete.
Selections select none.
Apply the Xero Radiance plugin using the default settings.
Adjust hue and saturization. Colorize.
Set both values to 0.
Apply the Penta Jeans plugin and change the top value to 30.
Add a drop shadow to the star.
Merge these 2 layers together.
Make your canvas large enough to work with.
Image free rotate to the right 24.50 degrees.
Adjust sharpen.
Move up and to the right slightly.
Now open your full tube and copy and paste as a new layer.
Place over on the left side of the star.
Re-size as needed.
Add a drop shadow.
Now lets dress it up with some of the awesome elements.
I will list the elements I used.
Placement is entirely up to you.
If you want your tag to look just like mine then use my tag for reference.
Feel free to use elements that I did not use this will make your tag unique.
Elements I used:
9
12
19
20
23
27
28
31
38
Add your name.
Add your copyright and licensing information
Crop and re-size if you wish.
Save.


Monday, March 28, 2016

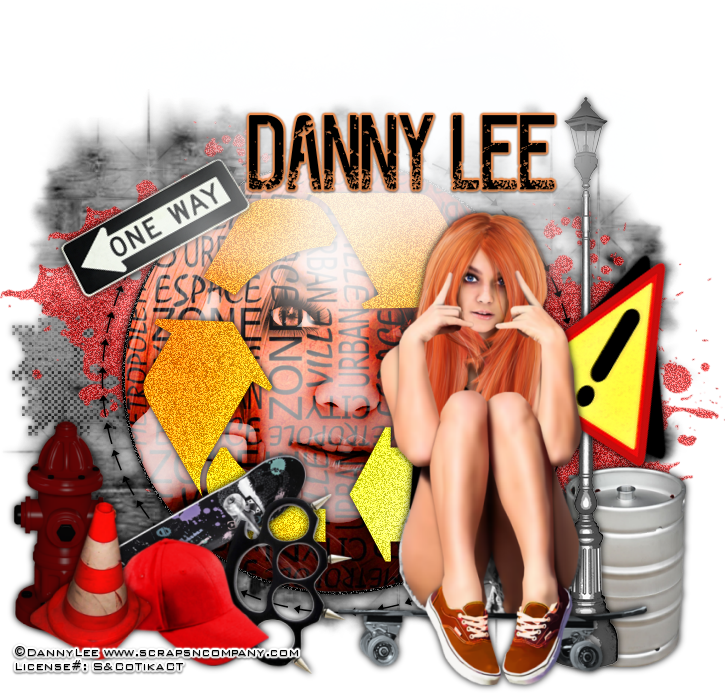
Skater4Life


Skater4Life
written 3/28/2016

This tutorial is meant purely as a guide. Feel free to make your tag unique by using your own choice of tube and scrap kit. If you want your tag to look just like mine then use the same supplies I have used. This tutorial assumes you have a knowledge of paint shop pro. Any resemblance to any other tag or tutorial is purely coincidental.

Supplies Used:


Matching scrap kit by Kizzed by Kelz. You can purchase it at http://scrapsncompany.com/index.php?main_page=product_info&products_id=18124

Tag template #1 by Me. You can download this template at http://tagsbytika.blogspot.com/2014/06/some-old-templates.html

Mask of your choice. I am using a mask by me. It is my first big mask. You can download it at http://tagsbytika.blogspot.com/2014/06/1st-big-mask.html

Font of your choice. I am using The Sound Of Truth. You can download it at http://www.fontspace.com/lj-design-studios/the-sound-of-truth

Plugins:
Xero Porcelain(optional)

Drop shadow used throughout:
0 0 100 10.00 black

Let's Begin:
Open your tag template and shift+D to duplicate. Close the original.
Make your canvas large enough to work with.
Delete the following layers:
Raster 5 and Raster 1.
Make raster 2 layer active and selections select all float and defloat.
Selections modify and contract by 3.
Layers new raster layer.
Open paper 10 and copy and paste into selection.
KEEP SELECTED!
Open the close up of your tube and copy and paste as a new layer.
Position within the selected area.
Selections select none.
Make the bottom black layer raster 2 active and go to adjust add/remove noise and add noise at 100 uniform and monochrome checked.
Make the closeup tube layer active and go to adjust hue and saturation and colorize then set both values to 0.
Apply the Xero Porcelain filter with the default settings.
Change the properties of this layer to Hard Light.
Merge these 3 layers together : raster 2 the paper layer and the closeup tube layer.
Add a drop shadow.
Make raster 3 layer active and add a drop shadow.
Make Raster 4 layer active and selections select all float and defloat.
Open paper 16.
Copy and paste as a new layer.
Selections invert and hit delete.
Selections select none.
Delete the original layer 4.
Adjust add/remove noise at 50%.
Add a drop shadow.
Open paper 20 and copy and paste as a new layer and drag to the bottom.
Apply your mask.
Delete the mask layer and merge the group.
Add a drop shadow to the mask.
Open your full size tube and copy and paste as a new layer.
Re-size as needed.
Move to the far right of the tag.
Add a drop shadow.
Now lets dress this tag up with some of the great elements from this awesome kit.
I will list the elements I used and placement is entirely up to you.
If you want your tag to look just like mine then use my tag for reference.
If you want to use other elements I didn't use then that is up to you too.
That is what makes each tag unique.
Elements I used:
19
22
39
41
42
72
78
91
99
102
122
Add your name.
Add your copyright and licensing information.
Crop and save.


Tuesday, March 22, 2016

Hippity Hop


Hippity Hop
written 3/22/2016

This tutorial is meant purely as a guide. Feel free to make your tag unique by using your own choice of tube and scrap kit. If you want your tag to look just like mine then use the same supplies I have used. This tutorial assumes you have a knowledge of paint shop pro. Any resemblance to any other tag or tutorial is purely coincidental.

Supplies Used:

Tube is an exclusive by Lady Mishka. It is called Bunny 1 and you can purchase her at http://scrapsncompany.com/index.php?main_page=product_info&cPath=490_554&products_id=18209

The matching scrap kit is by Kizzed By Kelz. It is also called Bunny 1 and you can purchase it at http://scrapsncompany.com/index.php?main_page=product_info&products_id=18220

Mask of your choice. I am using mask #350 by Weescotslass Creations. You can get her awesome masks at http://weescotslasscreations.blogspot.com/2009/04/masks.html

Font of your choice. I am using 2 Peas Evergreen.

Plugins:
NONE

Drop Shadow used throughout:
0 0 75 5.00 black

Let's Begin:
Open element 59 and shift+D to duplicate.
Close the original.
Make your canvas large enough to work with.
Using your magic wand select inside the frame.
Selections modify and expand by 5.
Layers new raster layer and drag under the frame.
Open paper 6 and copy and paste into selection.
Selections select none.
Copy and paste your paper again as a new layer.
Drag to the bottom.
Apply your mask.
Delete the mask layer and merge the group.
Add a drop shadow to the frame.
Open your tube and copy and paste as a new layer.
Re-size as needed.
Place on the far right side of the frame.
Add a drop shadow.
Now lets dress this tag up with some of the great elements from the kit.
I will list the elements I used .. you can use the same elements or choose others that suit you and your tag.
If you want your tag to look just like mine then use my tag as a reference for placement of the elements.
Elements I used:
6
18(duplicated and used a few of them)
24
41
45
63(duplicated and used a few of them)
65
72
110
Using your font add some text to both the bottom and middle boards of the sign.
I chose to make mine look like they were carved in and this is how you do that .
This is the way I do it and others may do it another way so however you accomplish it is what matters in the end.
Type out your text and then convert it to a raster layer.
Selections select all float and defloat.
Hit delete.
Now go to effects 3D effects cut out with the following settings:
Offset – V 0 H 0
Attributes – Opacity 80 Blur 100
Shadow color Black
DO NOT CHECK FILL INTERIOR
Add your name to the top board of the sign.
Add your copyright and licensing information.
Crop and save.


Tuesday, January 12, 2016

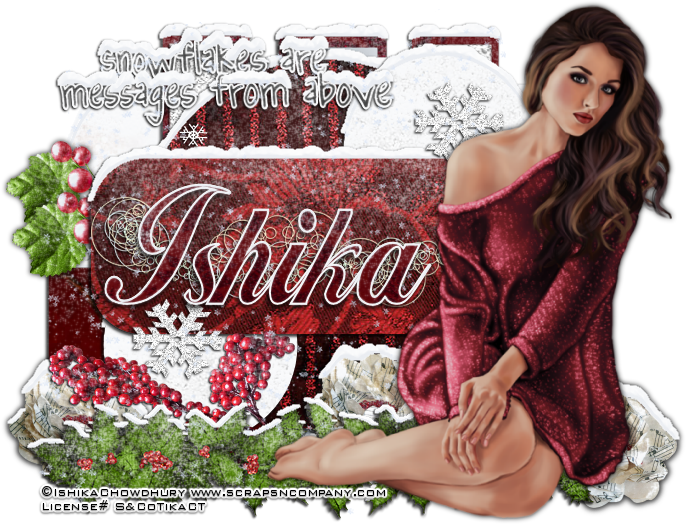
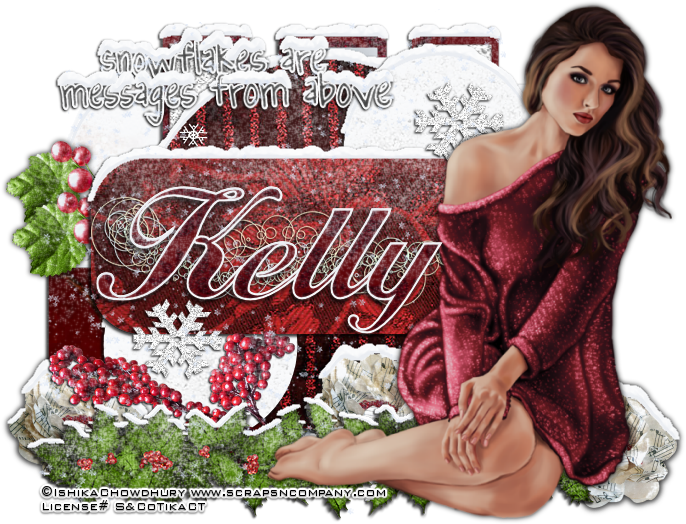
Snowflakes Are Messages


Snowflakes Are Messages
written 1/12/2016

This tutorial is meant purely as a guide. Feel free to make your tag unique by using your own choice of tube and scrap kit. If you want your tag to look just like mine then use the same supplies that I have used.

Supplies Used:

Tube by Ishika Chowdhury. It is called Avril and you can purchase it at http://scrapsncompany.com/index.php?main_page=product_info&cPath=113_425&products_id=16436

Scrap kit by Kizzed By Kelz. It's also called Avril. You can purchase it at http://scrapsncompany.com/index.php?main_page=product_info&products_id=16466

Tag template by LindaNM Rawkin Designs. You can download it at http://nmrawkindesigns.blogspot.com/2013/11/snowflake-templet.html

Font of your choice. I am using John Hancock Regular. You can get it at http://fontzone.net/font-details/johnhancock-regular

Plugins:
Eye Candy 5 Nature Snow Drift

Let's Begin:
Open your tag template and shift+D to duplicate.
Close the original.
Delete the background layer.
Make your canvas large enough to work with.
Using the papers from the kit fill each of the layers.
After you have each layer filled then add a slight drop shadow to each layer.
I use
1 -1 100 2.50 black
Then apply the snow drift plugin with the following settings.

Apply this on every layer of the template.
Add the drop shadow again to all of the layers.
Open your tube and copy and paste as a new layer.
Re-size as needed.
Move to the far right side of the template.
Add a drop shadow.
Open element 7 and copy and paste as a new layer.
Re-size and place along the bottom behind your tube but peeking out.
Duplicate a few times and place along the bottom of the template.
Add the snow drift plugin.
Apply a drop shadow.
Open element 14 and copy and paste as a new layer.
Re-size.
Image flip horizontal.
Move to the far left side of the template and drag down under the main oblong layer of the template.
Add a drop shadow and apply the snow drift plugin.
Duplicate and move down and to the right a bit.
Open element 26 and copy and paste as a new layer.
Re-size so it fits within the oblong layer of the template.
Add a drop shadow.
Open element 41 and copy and paste as a new layer.
Drag down under your tube and move to the bottom.
Apply the snow drift plugin and add a drop shadow.
Open element 99 and copy and paste as a new layer.
Drag down to just above your template.
Re-size so it fits over the top of the template.
Open element 104 and copy and paste as a new layer.
Re-size and move down to below the garland and to the left side of the tag.
Add a drop shadow and the snow drift plugin.
Add your name.
Add your copyright and licensing information.
Crop and save.


Wednesday, November 11, 2015

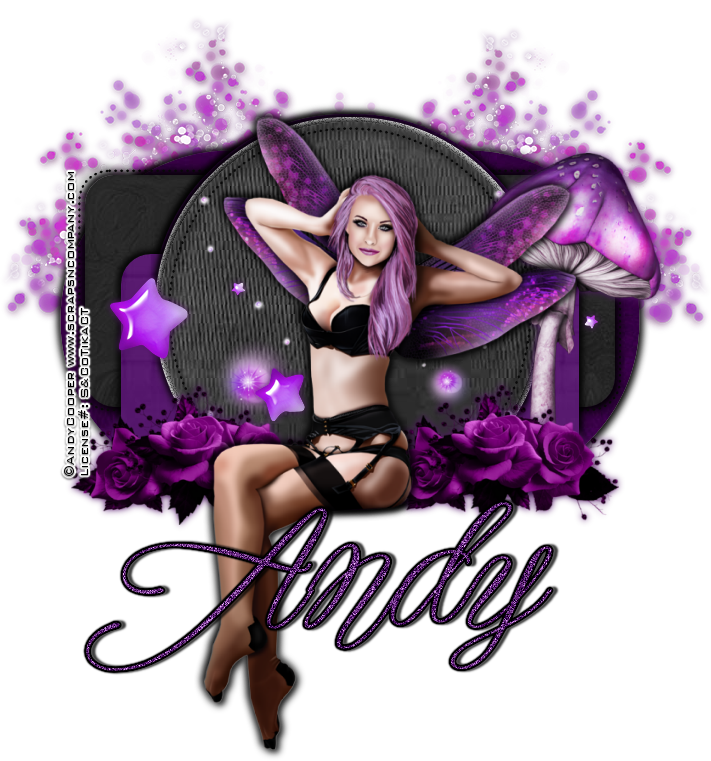
Some Type Of Fantasy


Some Type of Fantasy
written 11/11/2015

This tutorial is simply a guide. Feel free to make your tag unique by using your own choice of tube and scrap kit. If you want your tag to look just like mine then use the same supplies that I have used.

Supplies Used:

Tube by Andy Cooper called Fairy Purple. You can get it at http://scrapsncompany.com/index.php?main_page=product_info&cPath=113_304&products_id=15304

Matching scrap kit by Kizzed by Kelz also called Fairy Purple. You can get it at http://scrapsncompany.com/index.php?main_page=product_info&products_id=15413

Tag template #773 by Millies PSP Madness. You can get it at http://milliespspmadness.blogspot.com/2015/06/template-773-and-tag-featuring-verymany.html

Font of your choice. I am using Plates Napery. You can get it at http://www.fontspace.com/m%C3%A5ns-greb%C3%A4ck/plates-napery-personal-use

Plugins:
NONE

Let's Begin:
Open your template and shift+D to duplicate.
Close the original.
Remove the following layers:
temp by millie
13
12
background
Make your canvas large enough to work with.
Fill each of the layers of the template using the different papers from the kit.
Alternate purple and black between the layers.
Select each layer by going to selections select all float and defloat.
Once you are done add a drop shadow to each layer.
Open your tube and copy and paste as a new layer.
Center within the template and make it so she is sitting on the bottom of the circle.
I will list the elements I used.
Placement is completely up to you.
If you want your tag to look just like mine then use my tag for reference.
Elements used:
4
6
7
79
112
Add a drop shadow to all layers.
Add your name.
Add your copyright and licensing information.
Crop and save.


Thursday, October 8, 2015

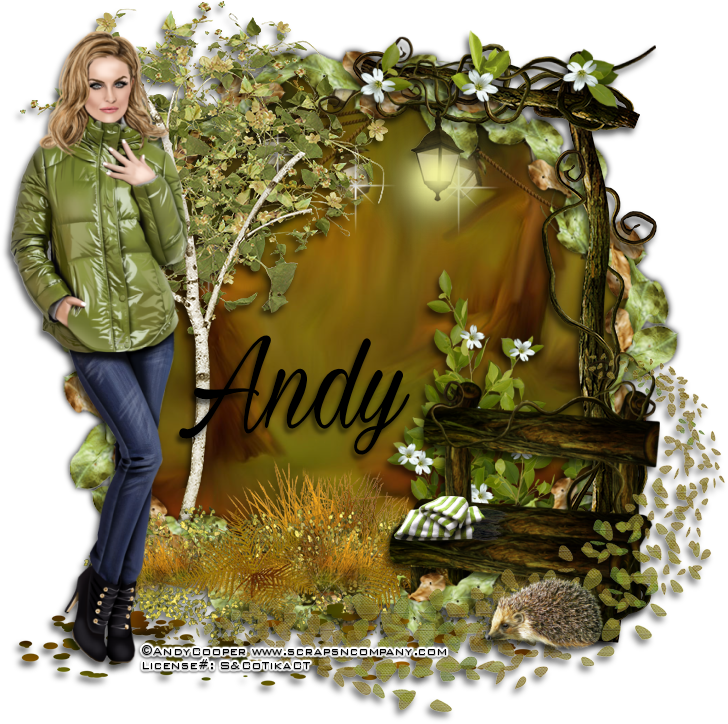
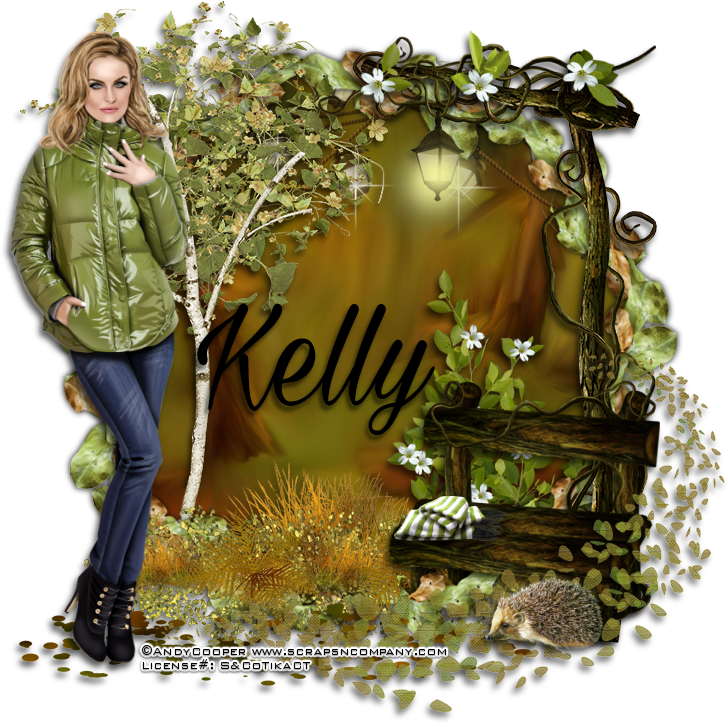
End Of Summer


End of Summer
written 10/08/2015

This tutorial is meant purely as a guide. Make your tag your own by using your own tube of choice and scrap kit. If you want your tag to look just like mine then use the same supplies and follow the tutorial to the letter. Use my tag for reference for the placement of elements.

Supplies Used:

Tube by Andy Cooper. It is called Green Jacket and you can get it at http://scrapsncompany.com/index.php?main_page=product_info&cPath=113_304&products_id=14143

Matching scrap kit by Kizzed by Kels. It is called Green Jacket also and you can get it at http://scrapsncompany.com/index.php?main_page=product_info&products_id=14144

Sparkle picture tube of your choice. You can get some at http://www.hypergurl.com/sparklestubes.html

Font of your choice. I am using Milasian Circa. You can get it at http://www.fontspace.com/m%C3%A5ns-greb%C3%A4ck/milasian-circa-personal

Plugins:
NONE

Let's Begin:
Open element 118 and shift+D to duplicate.
Close the original.
Re-size by 105% 2x.
Make your canvas large enough to work with.
Using your magic wand select the inside of the frame.
Selections modify and expand by 15.
Layers new raster layer.
Drag this new layer under the frame.
Open paper 37 and copy and paste into the selection.
Selections select none.
Add a drop shadow to the frame.
Using your sparkle picture tube place a sparkle on each of the hanging lights on the paper.
Open your full size tube and copy and paste as a new layer.
Re-size to match the size of your frame/tag.
Place where you want and add a drop shadow to the tube.
Now lets add some elements.
Re-size each element as you need to to fit within your tag.
I will list the elements I used and placement is completely up to you.
Use my tag for reference if you want your tag to look just like mine.
Elements used:
1
21
23
33
46
59
70
75
103
106
Add your name.
Add your copyright and licensing information.
Crop and save.


Thursday, March 5, 2015

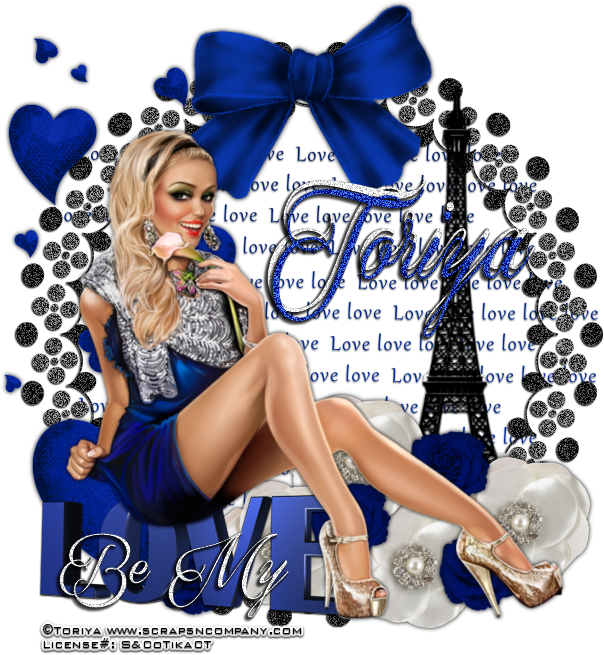
Be My Love


Be My Love
written 3/5/2015

Supplies Needed:


Matching Scrap Kit by Kizzed By Kelz. You can get it at http://scrapsncompany.com/index.php?main_page=product_info&products_id=8232

Font of your choice. I am using Qaskin. You can get it at http://www.fontspace.com/m%C3%A5ns-greb%C3%A4ck/qaskin-black-personal-use

Plugins:
None

Let's Begin:
Open element 45 and shift+D to duplicate.
Close the original.
Make your canvas large enough to work with.
Go to adjust add/remove noise and add noise at 75% with uniform and monochrome checked.
Add a sharp drop shadow to the element frame.
I used 1 -1 100 2.00 black
Open element 55.
Copy and paste as a new layer.
Drag under the frame.
Move to the left side of the inside of the frame.
Add a slight drop shadow.
I used 1 0 60 2.00 black.
Duplicate and move this layer to the right side.
Merge these 2 layers together just to keep your layer palette clean.
Open your tube and copy and paste as a new layer.
Re-size so she will fit nicely within your tag.
I moved mine to the far left of the frame so it looked like she was sitting on it.
Add a drop shadow to your tube.
Now lets add some elements and dress this tag up.
Placement is entirely up to you and you can use my tag as reference.
I will list the elements that I used:
element 11 – I placed this under my tube so she was sitting on it.
Element 30 – I duplicated and placed them randomly along the bottom.
Element 35
Element 38
Element 86 – again I duplicated and placed them randomly along the bottom with the white flowers.
Element 119
I used my font and added the words “ Be My” at the bottom in front of love but this is up to you.
Add your name.
Add your copyright and licensing information.


Tuesday, January 13, 2015

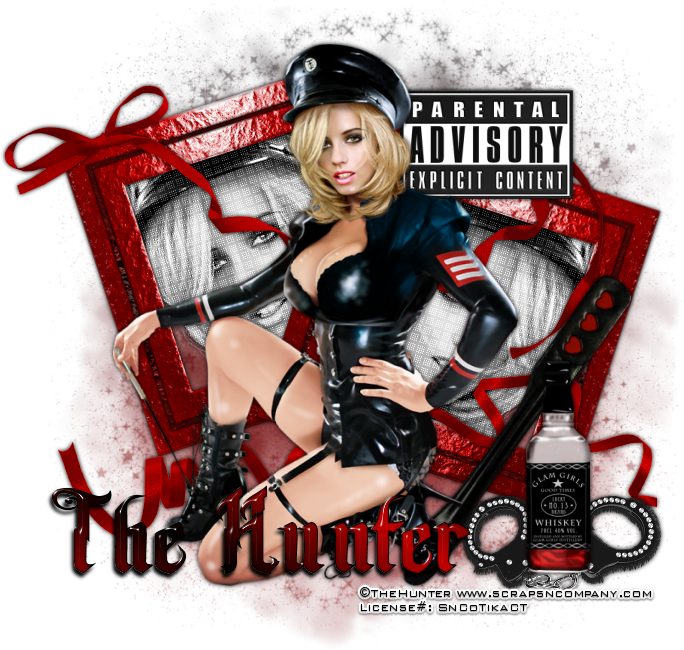
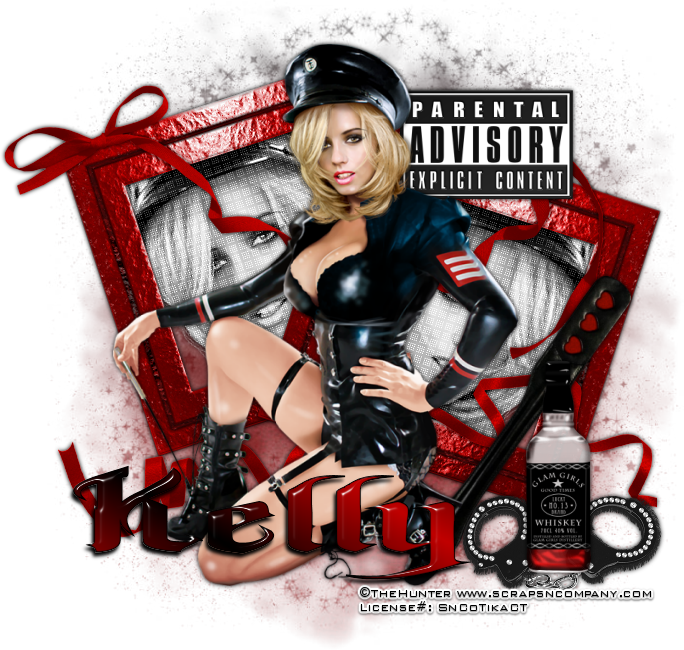
Love Commander


Love Commander
written 1/13/2014

Supplies Needed:


Mask of your choice. I am using mask #27 by Millie. You can get her masks at http://milliespspmadness.blogspot.com/search/label/Masks

Font of your choice. I am using Back Stab. You can get it at http://www.dafont.com/backstab.font

Plugins:
Penta dot com Dot and Cross

Lets Begin:
Open a new blank canvas that will give you plenty of room to work with.
Open element 35.
Re-size by 65%.
Copy and paste as a new layer.
Using your magic wand select the inside of the frame.
Selections modify and expand by 4.
Open the close up of your tube and copy and paste as a new layer.
Drag under the frame and position her face in the frame.
Selections invert and hit delete.
Selections select none.
Adjust hue and saturation/colorize and set both properties to 0.
Apply the Penta dot com Dot and Cross plugin using the default settings.
Add a drop shadow to both the tube and the frame.
Merge these 2 layers together.
Image free rotate to the left 18 degrees.
Duplicate and image flip horizontal.
Move this duplicate to the right and down just a bit.
Open your main tube and copy and paste as a new layer.
Place in the center in front of the frames.
Add a drop shadow.
Open element 6 and re-size by 50%.
Copy and paste as a new layer.
Move over to the far right of the frames.
Open element 10.
Re-size by 50% and again by 75%.
Copy and paste as a new layer.
Move up near the tubes head and drag behind your tube a bit.
Open element 14 and copy and paste as a new layer and move to the far top left of the frame.
Open element 15 and copy and paste as a new layer and place near the bottom.
Open element 49 and re-size by 50%.
Copy and paste as a new layer and move under the bottle.
Open element 54 and re-size by 75% 2x.
Copy and paste as a new layer and place between your tube and the bottle.
Open paper 9 and copy and paste as a new layer.
Drag to the bottom.
Apply the mask of your choice.
Delete the mask layer and merge the group.
Add your name.
Add your copyright and licensing information.
Crop and save.


Saturday, September 27, 2014

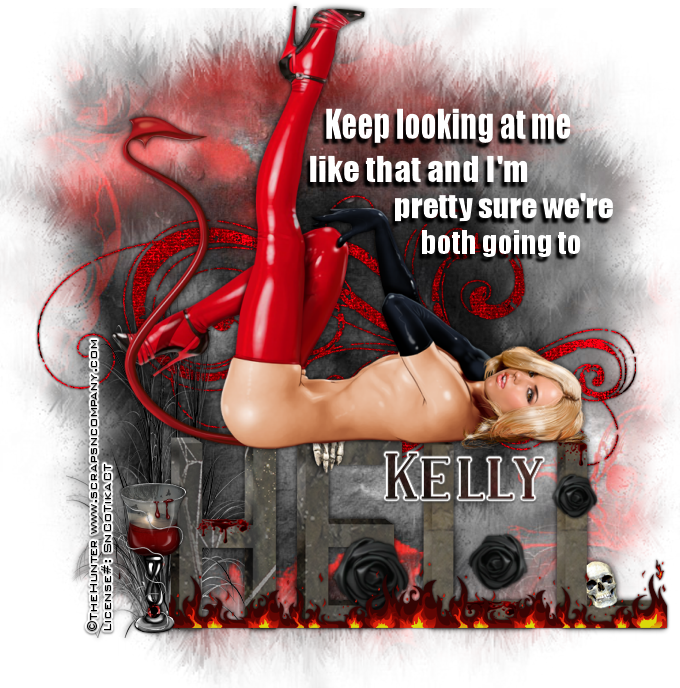
Going To Hell


Going to Hell
written on 9/27/2014

Supplies Needed:


Mask of your choice. I am using mask #177 by Insatiable Dreams. You can get her awesome masks at http://insatiabledreams.net

Font of choice. I am using Impact and SF Covington SC. You can get the Covington fonts from http://www.1001fonts.com/sf-covington-font.html

Lets Begin:

Open element 1 and shift+D to duplicate.
Close the original.
Make your canvas large enough to work with.
Open the tube and copy and paste the laying down tube.
Re-size her so she will fit nicely along the top of the letters.
Add a drop shadow to both the letters and the tube.
Open paper 25 and copy and paste as a new layer.
Drag to the bottom and apply the mask.
Delete the mask layer and merge the group.
Using a font of your choice add some text if you would like.
Open element 84 and copy and paste as a new layer and place along the bottom of the “Hell” text.
Erase some bits of needed if it overhangs.
Add a drop shadow.
Open element 90 and copy and paste as a new layer and place behind your tube.
Add a drop shadow.
Open element 61 and re-size so it will fit nicely along side of the text.
Copy and paste as a new layer and add a drop shadow.
Open element 104 and re-size so it will fit nicely in front of the text.
Copy and paste as a new layer and add a drop shadow.
Add your name.
Add your copyright and licensing information.
Crop and save.