Showing posts with label Purple Dreams Scraps. Show all posts

Monday, September 12, 2016

Fall Coffee


Fall Coffee
Written 9/12/2016
This tutorial is meant purely as a guide. Feel free to use your own choice of tube or scrap kit to make your tag unique. If you want your tag to look just like mine them use the same supplies I have used. This tutorial assumes you have a knowledge of paint shop pro. Any resemblance to any other tag or tutorial is completely coincidental.
Supplies Used:
Tube of your choice. I am using one by Nocturne. This tube is called Cocoa. You can purchase it at http://picsfordesign.com
Scrap kit is called Autumn Blessings by Purple Dream Scraps. You can purchase it at http://picsfordesign.com
Mask of your choice. I am using one by Moonbeams and Spiderwebs. You can download it at http://moonbeamsandspiderwebs.blogspot.com/2015/10/masks-79.html
Font of your choice. I am using Morning Sky Two. This is a PTU font.
Plugins:
Xero Porcelain
Drop shadow used throughout:
0 0 85 12.00 a dark brown color from my tube

Let's Begin:
Open paper 12 from the kit and shift+D to duplicate. Close the original. Promote the background layer to a raster layer. Re-size if you wish. Apply the mask of your choice. Delete the mask layer and merge the group. Selections select all float and defloat. Open your tube and copy and paste as a new layer. Position so her face is within the selected area of the mask. Selections invert. Hit delete and I hit it a few times to bring it in but this is up to you. Apply the Xero Porcelain plugin using the default settings. Merge these 2 layers together. Add a drop shadow.
Open element 45 and copy and paste as a new layer. Re-size by 85% and then again by 90%. Add a drop shadow.
Open your tube and copy and paste as a new layer. Re-size until you are happy. Place to the far left side. Add a drop shadow.
Open element 46 and copy and paste as a new layer. Re-size until in nice proportion with your tube. Move behind your tube and place to the right behind her shoes. Add a drop shadow.
Open element 40 and re-size. Copy and paste as a new layer and place on the far right near the top of the frame. I used my eraser tool to make it look like it was coming out from behind the frame. Add a drop shadow.
Open element 07 and re-size. Copy and paste as a new layer. Move to the bottom far left and in front of your tube. Add a drop shadow.
Open element 11 and re-size. Copy and paste as a new layer. Drag under your tube but in front of the haystack. Place to the bottom right of the haystack. Add a drop shadow.
Open element 26 and re-size. Copy and paste as a new layer and move to the bottom in front of the coffee mug. Add a drop shadow.
Open element 36 and re-size. Copy and paste as a new layer and drag under the coffee mug. Add a drop shadow.
Open element 33 and re-size. Copy and paste as a new layer and drag behind the haystack and place behind and to the right. Add a drop shadow.
Add your name to the tags hanging from the tree branch.
Add your copyright and licensing information.
Crop and save.


Tuesday, August 16, 2016

Summers Last Fling


Summers Last Fling
Written 8/16/2016
This tutorial is meant purely as a guide. Feel free to use your own choice of tube or scrap kit to make your tag unique. If you want your tag to look just like mine them use the same supplies I have used. This tutorial assumes you have a knowledge of paint shop pro. Any resemblance to any other tag or tutorial is completely coincidental.

Supplies Used:
Tube of your choice. Preferably one with a close up.  I am using the work of Zlata M. The tube is called Barely and can be purchased at http://picsfordesign.com
The scrap kit is called Sea Breeze by Purple Dreams Scraps and can also be purchased at http://picsfordesign.com
Mask of your choice. I am using mask#451 by Vix. You can download her masks at http://www.freewebs.com/vixpsp/
Font of your choice. I am using Vallerie. This is a PTU font.
Plugins:
NONE
Drop shadow used throughout:
0 0 85 6.50 Black

Let's Begin:
Open paper 5 and shift+D to duplicate. Close the original. Promote the background layer to a raster layer. Make your canvas large enough to work with. Re-size the paper if you wish. Apply the mask of your choice. Delete the mask layer and merge the group. Selections select all float and defloat. Open the close up of your tube and copy and paste as a new layer. Position over the mask how you want within the selected area. Selections invert and hit delete. I hit delete a couple of times to bring mine in a little bit from the edges but this is completely up to you and the mask you may be using. Once you are happy selections select none. Change the properties of the tube layer to luminance legacy. Lower the opacity to 60. Merge these 2 layers together if you like to keep  your layer palette organized like I do.
Open element 26 from the kit and copy and paste as a new layer. Move to the far left side. Drag under the mask layer. Duplicate and move this duplicate over to the right side. Merge these 2 layers together.
Open element 49 and copy and paste as a new layer on top of the layer palette. Place in the bottom left of the mask area. Duplicate and move this one down and to the right a bit.
Open your tube and copy and paste as a new layer. Re-size as needed. Place on the bottom right so she is sitting in the sand. Add a drop shadow.
Now let’s dress the tag up with elements from the kit. I will list the elements I used. Feel free to use other elements to make your tag unique. Placement of the elements is completely up to you. If you want your tag to look just like mine then use my tag for reference.
Elements I used:
1
4
9
10
12
16
23
28
35
36
40
46
Add your name.
Add your copyright and licensing information.
Crop and save.


Saturday, May 7, 2016

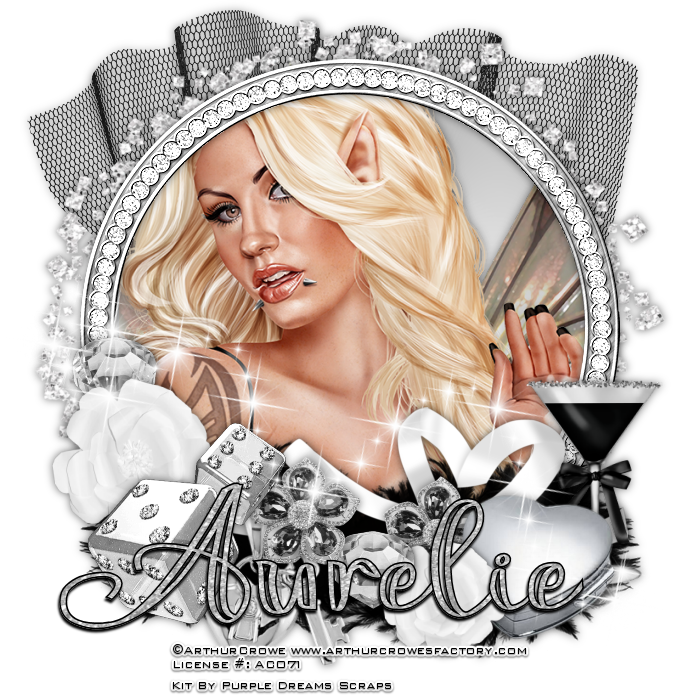
Fairy Beautiful


Fairy Beautiful
Written 5/5/2016
This tutorial is meant purely as a guide. Feel free to make your tag unique by using your own choice of tube and scrap kit. If you want your tag to look just like mine then use the same supplies I have used. This tutorial assumes you have knowledge of paint shop pro. Any resemblance to any other tag or tutorial is purely coincidental.
Supplies Used:
Tube is called Blonde Fairy by Arthur Crowe. You can purchase her at http://arthurcrowesfactory.com/store/index.php?route=common/home
Scrap kit is by Purple Dreams Scraps. It is called Black and White and can be purchased at http://picsfordesign.com
Font of your choice. I am using Aysheea. This is a PTU font.
Plugins:
NONE
Drop shadow used throughout:
0 0 55 13.00 black

Let’s Begin:
Open element 49 and shift+D to duplicate. Close the original. Make your canvas large enough to work with.
Using your magic wand select the inside of the frame. Selections modify and expand by 5.
Open paper 11 and copy and paste as a new layer. Drag under the frame. Selections invert and hit delete.
LEAVE SELECTED!!
Selections invert again. Open your tube and copy and paste as a new layer. Position within the selected frame area. Selections invert and hit delete. Selections select none.
Add a drop shadow to both the tube and the frame layers.
Open element 45 and re-size by 90%. Copy and paste as a new layer. Drag to the bottom. Position around the frame. Add a drop shadow.
Open element 34 and copy and paste as a new layer. Drag to the bottom. Position at the top of the frame. Add a drop shadow.
Open element 3 and copy and paste as a new layer. Move to the bottom of your tag along the bottom of the frame. Add a drop shadow.
Open element 9 and re-size by 50% and then again by 75%. Copy and paste as a new layer. Place at the bottom of your tag and to the left of the feathers. Add a drop shadow. Duplicate. Re-size this copy by 75%. Move to the bottom and to the right.
Open element 12 and re-size by 75% 2x. Copy and paste as a new layer. Drag under the smaller of the 2 flowers. Move to the right of that flower. Add a drop shadow.
Open element 15 and re-size by 50%. Copy and paste as a new layer and drag under the larger of the 2 flowers. Place on the far left above the flower. Duplicate. Move this copy down and to the right in front of the smaller of the 2 flowers. Add a drop shadow to both.
Open element 16 and re-size by 50%. Copy and paste as a new layer. Place to the left. Add a drop shadow.
Open element 23 and image flip horizontal. Copy and paste as a new layer. Drag down to just above the feathers. Add a drop shadow.
Open element 26 and re-size by 75%. Copy and paste as a new layer and place to the far right. Add a drop shadow.
Open element 31 and re-size by 50% and then again by 75%. Copy and paste as a new layer and place near the bottom and to the left. Add a drop shadow.
Open element 69 and re-size by 50%. Copy and paste as a new layer. Duplicate and place this one where you wish. Add a drop shadow to both.
Add your  name.
Open element 1 and copy and paste as a new layer.
Add your copyright and licensing information.
Crop and save.

Wednesday, April 20, 2016

Drunk On You & High On Summertime


Drunk On You & High On Summertime
written 4/20/2016

This tutorial is meant purely as a guide. Feel free to make your tag unique by using your own choice of tube and scrap kit. If you want your tag to look just like mine use the same supplies that I used. This tutorial assumes you have a knowledge of paint shop pro. Any resemblance to any other tag or tutorial is purely coincidental.

Supplies Used:

Tube of your choice. I am using one by Lysisange. You can purchase it at http://picsfordesign.com

Scrap kit is by Purple Dreams Scraps. It is called Sea Breeze and you can also purchase it at http://picsfordesign.com

Tag template is by Simple Expressions. I am using template #11. You can download it at http://simpleexpressions58.blogspot.ca/2016/04/setemplate11.html

Font of your choice. I am using Everbest Script.

Plugins:
NONE

Drop shadow used throughout:
5 -3 60 5.00 black

Let's Begin:
Open the tag template and shift+D to duplicate.
Close the original.
Delete the following layers:
credit and white background.
Make your canvas large enough to work with.
We are going to start at the bottom and work our way up.
Lets fill each of these layers using the beautiful papers from this kit.
Once you are done delete all the original layers and add a drop shadow to each layer.
Open your tube and copy and paste as a new layer.
Position within the frame.
Erase any bits that are hanging out that you do not want.
Add a drop shadow to the tube.
Lets dress up this tag with some of the awesome elements from the kit.
I will list the elements I used.
Placement is completely up to you.
If you want your tag to look just like mine then use my tag for reference.
Feel free to use any of the elements that I didn't use..this will help your tag be unique.
Elements I used:
04
08 (duplicated and used a few)
09 (duplicated and used a couple)
12 (duplicated and used a few)
16
19
21 (duplicated and used a few)
30
35
49
Add some text if you wish.
Add your name.
Add your copyright and licensing information.
Crop and re-size.
Save. 
 

Saturday, April 2, 2016

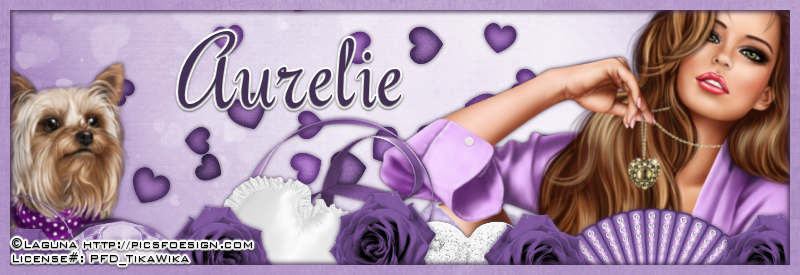
Puppy Love - 3 Piece Forum Set


Puppy Love – 3 piece forum set
written 4/2/2016

This tutorial is meant purely as a guide. Feel free to make your tag unique by using your own choice of tube and scrap kit. If you want your tag to look just like mine then use the same supplies I have used. This tutorial assumes you have a knowledge of paint shop pro. Any resemblance to any other tutorial or tag is purely coincidental.

Supplies Used:

Tube by Laguna. It is called Key To My Heart. You can purchase it at http://picsfordesign.com

Scrap Kit is by Purple Dreams Scraps. It is called Debbie. You can purchase it also at http://picsfordesign.com

Mask of your choice. I am using mask #53 by Moonbeams and Spiderwebs. You can download it at http://moonbeamsandspiderwebs.blogspot.com/search/label/Masks

Font of your choice. I am using Roselyn.

Plugins:
NONE

Drop shadow used throughout:
0 0 85 6.00 dark purple color

Let's Begin:
We are going to start with the main large tag.
Open element 45 and shift+D to duplicate.
Close the original.
Re-size the frame by 85%.
Open paper 10 and copy and paste as a new layer and drag under the frame.
Apply your mask.
Delete the mask layer and merge the group.
Add a drop shadow to the frame.
Open element 11 and copy and paste as a new layer.
Drag under the frame and place inside the center of the frame.
Open your tube and copy and paste the girl as a new layer onto your tag.
Re-size as needed.
Move to the far right side and add a drop shadow.
Back to your tube and copy and paste the dog as a new layer.
Re-size as needed.
Place at the bottom and to the left of your tube so it is sitting in front of her foot.
Add a drop shadow.
Open element 6 and copy and paste as a new layer.
Image free rotate and rotate to the left 90 degrees.
Drag between your tube and the frame.
Add a drop shadow.
Open element 27 and re-size by 75% 2x.
Copy and paste as a new layer just above the frame.
Move to the top center of the frame.
Add a drop shadow.
Open element 67 and copy and paste as a new layer.
Place at the top of the frame.
Add a drop shadow.
Open element 16 and re-size by 50% 2x and then again by 60%.
Place along the bottom of the tag.
Duplicate several times and move around the tag.
Add a drop shadow to each and merge these layers all together.
Open element 66 and copy and paste as a new layer and place at the bottom.
Add your name and copyright information.
Crop and save.
Now lets create the banner style tag:
Open a new blank canvas that is 800x275.
Open paper 10 and copy and paste as a new layer.
Open element 11 and copy and paste as a new layer.
Add a drop shadow.
Open the dog and copy and paste as a new layer.
Re-size as needed.
Move to the lower left side corner of the banner.
Add a drop shadow.
Open the tube and copy and paste as a new layer.
Re-size as needed.
Move to the far right side of the banner.
Add a drop shadow.
Open element 6 and copy and paste as a new layer.
Image free rotate to the left 90 degrees.
Move to the bottom and towards the left a bit so the majority is between your tube and the dog.
Add a drop shadow.
Open element 16 and re-size by 50% 2x.
Copy and paste as a new layer.
Move the bottom left corner.
Add a drop shadow.
Duplicate many times and place all along the bottom of the tag.
Open element 36 and re-size as needed.
Copy and paste as a new layer.
Place along the bottom between 2 of your flowers.
Add a drop shadow.
Open element 37 and copy and paste as a new layer.
Move to the bottom and place between 2 of your flowers.
Open element 39 and re-size as needed.
Copy and paste as a new layer and place along the bottom between 2 of your flowers.
Add a drop shadow to all of these elements.
Layers new raster layer at the top.
Selections select all
Open paper 4 and copy and paste as a new layer.
Selections modify and contract by 10.
Hit delete.
Selections select none.
Add a drop shadow to the frame.
Add your name and copyright information.
Merge layers together.
Save.
Now lets make our avatar and then we will be done:
Open a new blank canvas that is 175x175.
Open paper 10 and copy and paste as a new layer.
Open element 11 and re-size by 50%.
Copy and paste as a new layer.
Add a drop shadow.
Open your tube and re-size as necessary.
Copy and paste as a new layer and add a drop shadow.
Layers new raster layer at the top.
Open paper 4 and copy and paste as a new layer.
Selections select all.
Selections modify contract by 5.
Add a drop shadow to the frame.
Add your name or initial.
Add your copyright and licensing information.
Merge all layers together.
We are done!!!

Monday, March 21, 2016

Secret Spring


Secret Spring
written 3/21/2016

This tutorial is meant purely as a guide. Feel free to make your tag unique by using your own choice of tube and scrap kit. If you want your tag to look just like mine then use the same supplies I have used. This tutorial assumes you have knowledge of paint shop pro. Any resemblance to any other tag or tutorial is purely coincidental.

Supplies Used:

Tube of your choice. I am using the work of Lightartist_xxx. You can purchase this tube at http://picsfordesign.com

The beautiful scrap kit is by Purple Dreams Scraps. It is called Secret Spring and you can also purchase it at http://picsfordesign.com

Mask of your choice. I am using

Font of your choice. I am using Autumn Flower.

Plugins:
Dreamsuite Dreamy Photo (optional)

Drop shadow used throughout
0 0 85 5.00 black

Let's Begin:
Open element 43 and shift+D to duplicate.
Close the original.
Make your canvas large enough to work with.
Open element 44 and copy and paste as a new layer and drag under the frame.
This just adds more leaves and makes it look fuller.
Add a drop shadow to both layers
Open element 48 and copy and paste as a new layer.
Drag to where it is under the 2 leaf frames.
Add a drop shadow.
Open paper 1 and copy and paste as a new layer and drag to the bottom.
Apply your mask.
Delete the mask layer and merge the group.
Open your tube and copy and paste as a new layer.
Re-size as needed.
Place on the far right side of the frame.
Add a drop shadow.
Now lets dress this up with some of the elements from this great kit.
I will list the elements I used.
Placement is completely up to you.
If you want your tag to look just like mine then use my tag for reference.
Elements I used:
1
2
4
5
16
24
33
34
41
49
55
Add your name.
Add your copyright and licensing information.
When I was done I applied Dream Suite Dreamy Photo to my tag because I like the look of it but that's up to you.
Crop and save.


Wednesday, March 16, 2016

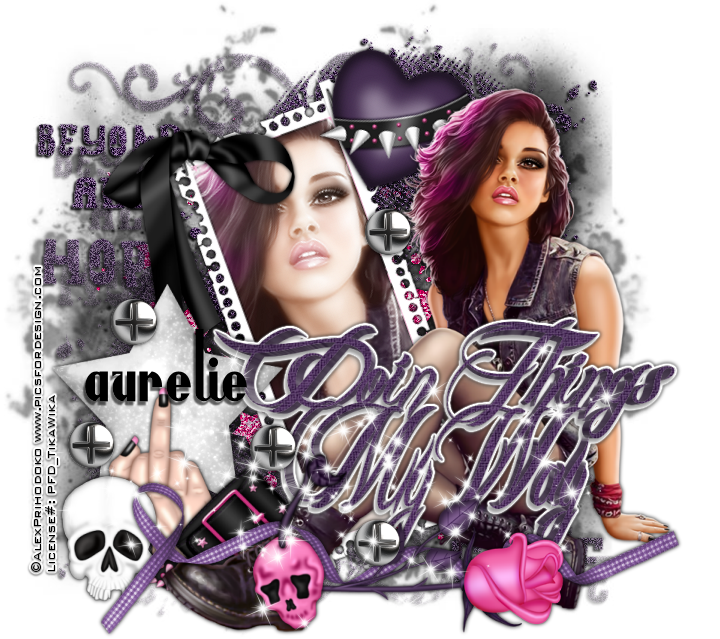
My Way


My Way
written 3/16/16

This tutorial is meant purely as a guide. Feel free to make your tag unique by using your own choice of tube and scrap kit. If you want your tag to look just like mine then use the same supplies that I have used. This tutorial assumes you have a knowledge of paint shop pro. Any resemblance to any other tag or tutorial is purely coincidental.

Supplies Used:
Tube of your choice. The tube I am using is called Tanya by Alex Prihodoko. You can purchase it at http://picsfordesign.com

Scrap kit is called Fuck U by Purple Dreams Scraps which you can also purchase at http://picsfordesign.com

2 masks of your choice. I am using MPM_mask31 by Millies PSP Madness and you can download her masks at http://milliespspmadness.blogspot.com/search/label/Masks the second mask is Vix Mask #401 and you can get her masks at http://www.freewebs.com/vixpsp/

Font of your choice. I am using Anchor Steam NF. You can download it at http://www.fontspace.com/nicks-fonts/anchor-steam-nf

Wordart by me which can be downloaded at https://app.box.com/s/4k9dtbfxts0ly4lrswkaaubaua6ehgy5

Plugins:
Eye Candy 4000 Gradient Glow (optional)


Drop shadow I used throughout
0 0 100 6.00 black
unless otherwise noted

Let's Begin:
Open paper 1 and shift+D to duplicate.
Close the original.
Promote the background layer to a raster layer.
Re-size by 85% and then make your canvas large enough to work with.
Apply your first mask. I used the mask MPM_mask31 to this layer.
Open paper 02 and copy and paste as a new layer.
Re-size by 85%.
Apply your second mask. This is where I used the mask by Vix.
Delete the mask layer and merge the group.
Adjust add/remove noise. Add noise at 70% uniform and monochrome checked.
Add a drop shadow of 2 -2 100 2.00 black to this layer.
Open element 40 and copy and paste as a new layer.
Drag between the 2 mask layers.
Open your tube and copy and paste as a new layer.
Re-size as needed.
Move to the far right side of the tagging area.
Add a drop shadow.
Open element 24 and shift + D to duplicate.
Close the original.
Image rotate to the right.
Using your magic wand select the inside of the frame.
Selections modify and expand by 3.
Open paper 12 and copy and paste as a new layer.
Drag under the frame.
Selections invert and hit delete.
Selections select none.
Open your tube again and copy and paste as a new layer into this frame.
Position her face within the frame.
Selections invert and hit delete.
Selections select none.
Duplicate so there are 2 layers.
On the bottom layer adjust hue and saturation colorize and set both values to 0.
On the top copy adjust blur gaussian blur and set to 4.00.
Change the property of this layer to Screen.
Add a drop shadow to the frame.
Merge visible.
Copy this frame and paste as a new layer on your tag.
Drag behind your tube.
Image free rotate to the left 20 degrees.
Adjust sharpen.
Now lets dress it up with some of the elements from this great kit.
I will list the elements I used.
If you choose to use other elements thats completely up to you.
Placement of the elements is also completely up to you.
If you want your tag to look just like mine then use my tag as a reference.
Elements I used:
08
10
14
28
32
34
42
44
45
47
48
Open the wordart and copy and paste as a new layer.
Drag down to just above your tube.
Move to the right side.
Add a drop shadow.
I also added a white gradient glow to help it stand out a bit but thats completely up to you.
Add your name.
Add your copyright and licensing information.
Crop and save.
Sunday, February 28, 2016

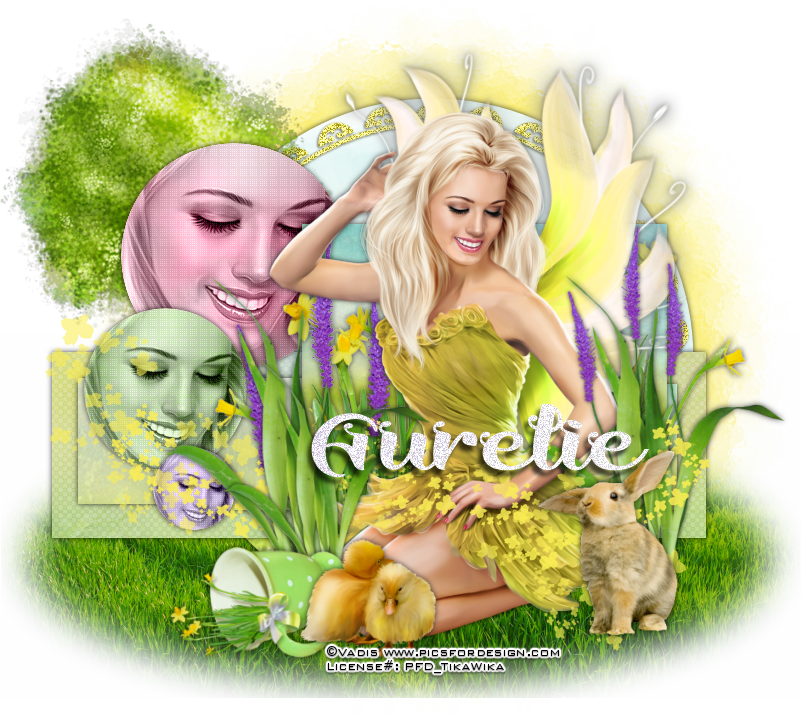
Hello Spring


Hello Spring
written 2/28/2016

This tutorial is meant purely as a guide. Feel free to make your tag unique by using your own choice of tube and scrap kit. If you want your tag to look just like mine then use the same supplies I have used. Any resemblance to any other tutorial or tag is purely coincidental.
This tutorial assumes you have a basic knowledge of paint shop pro.

Supplies Used:

Tube by Vadis. You can purchase her at http://picsfordesign.com

Scrap kit by Purple Dreams Scraps which can also be purchased at http://picsfordesign.com

Tag template by Simple Expressions. I am using template_01. You can download it at http://simpleexpressions58.blogspot.com/2016/01/setemplate01.html

Mask of your choice. I am using mask #451 by Vix. You can download her amazing masks at http://www.freewebs.com/vixpsp/

Font of your choice. I am using Brigent Script. You can purchase it at https://thehungryjpeg.com/product/7170-brigent-script/

Plugins:
Penta Dot and Cross

Let's begin:
Open the tag template and shift+D to duplicate.
Close the original.
Delete the following layers:
Raster 1, frame, and white background.
Make your canvas large enough to work with.
Open paper 7 and copy and paste as a new layer.
Drag to the bottom.
Apply your mask.
Delete the mask layer and merge the group.
I moved my mask to sit behind the circle in the template but this is completely up to you and depending on what mask you use how it looks.
Now lets fill each of the template layers using papers from the kit.
Once you are done delete all the original template layers.
Add a drop shadow to each layer.
I chose to add the face of my tube to each of the circle layers and change the layer property to luminance legacy.
I also applied Penta Dot and Cross using the default settings.
I also added noise to the scalloped layer but this is completely up to you also.
Now copy and paste your tube as a new layer.
Re-size as needed.
Position within the center of the tag to the right side.
Add a drop shadow.
Now lets dress this beauty up with some of the great elements from the kit.
I will list the elements I used and you can either use the same elements or choose others.. its completely up to you.
Use my tag for reference on placement of the elements if you are wanting your tag to look just like mine.
Elements used:
1
3
8
14
15
21
23
27
36
Add your name.
Add your copyright and licensing information.
Crop and save.

Monday, February 22, 2016

Irish In A Few Beers


Irish In A Few Beers
written 2/22/2016

This tutorial is meant purely as a guide. Feel free to make your tag unique by using your own choice of Tube and Scrap Kit. If you want your tag to look exactly like mine then use the same supplies that I have used. Any resemblance to any other tutorial or tag is purely coincidental.

Supplies Used:

Tube by Amber Kelso. I got this tag when the artist was at CILM. I am not sure where to get her tubes now sorry.

Scrap kit is by Purple Dreams Scraps. It is called Irish and you can purchase it at http://picsfordesign.com/en/catalogue/id_116578_irish.pix

Animation by Love Shack Animations and PSP Tutorials. You can get it at http://loveysshack.blogspot.com.ar/2012/01/st-pattys-day-animations.html

Font of your choice. I am using Sistah Ysse you can get it at http://www.fontspace.com/vvb-designs/sistah-ysse

Plugins:
NONE

Let's Begin:
Open element 18 and shift+D to duplicate.
Close the original.
Image free rotate and rotate in either direction 90 degrees.
Make your canvas large enough to work with.
Using your magic wand select the inside of the frame.
Selections modify and expand by 3.
Open paper 5 and copy and paste as a new layer.
Drag under the frame.
Selections invert and hit delete.
Selections select none.
Add a drop shadow of
4
-2
85
5.00
black
to the frame.
Open your tube and copy and paste as a new layer at the top.
Position at the bottom center of the frame.
Add the same drop shadow to the tube.
Now lets dress it up with some of the fun elements from this awesome kit.
Open element 4.
Image rotate to the right.
Copy and paste as a new layer and drag to just above your frame.
Move to the far right side and make it peeking out from behind your tube.
Duplicate and image flip horizontal.
Move this duplicate to the far left side.
Merge these 2 layers together and add a drop shadow.
Open element 21 and copy and paste as a new layer.
Drag behind your tube.
Move to the far left side bottom.
Re-size as needed.
Add a drop shadow.
Open element 5 and copy and paste as a new layer.
Drag behind your tube.
Re-size as needed.
Place to the far left bottom in front of the cauldron.
Add a drop shadow.
Duplicate and image rotate to the right 90 degrees.
Move this layer above your tube and place in front of the first bottle and your tube.
Duplicate the standing bottle and move to the far right of your tube.
Add some wordart text if you choose.
Add your name.
Add your licensing and copyright information.
Crop.
Merge all layers visible.
Add a new raster layer and drag to the bottom.
Flood Fill with white.
Copy Copy Merged
Open animation shop and right click and paste as a new animation.
Open your animation.
Take note of the number of frames in your animation and duplicate your tag to have the same amount of frames.
Be sure to remove the first frame of the animation that is black.
Re-size the animation if you need to to fit over the top of the pot of gold in your tag.
Select all frames in both the animation and in the tag.
Grab frame 1 of the animation and drag it onto frame 1 of the tag .. Position where you want and drop.
View your animated tag.
If you are happy save. If not undo and repeat until you get it just right.
Save your tag once you are happy.