Showing posts with label Black and White. Show all posts

Sunday, January 15, 2017

Rebel Winter


Rebel Winter
Written 1/15/2017
This tutorial is meant purely as a guide. Feel free to use your own choice of tube or scrap kit to make your tag unique. If you want your tag to look just like mine them use the same supplies I have used. This tutorial assumes you have a knowledge of paint shop pro. Any resemblance to any other tag or tutorial is completely coincidental.

Supplies Used:
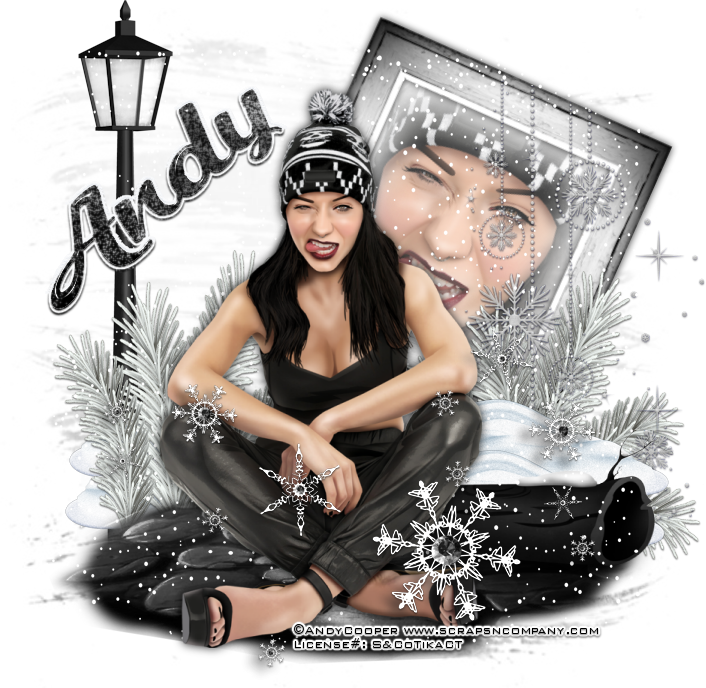
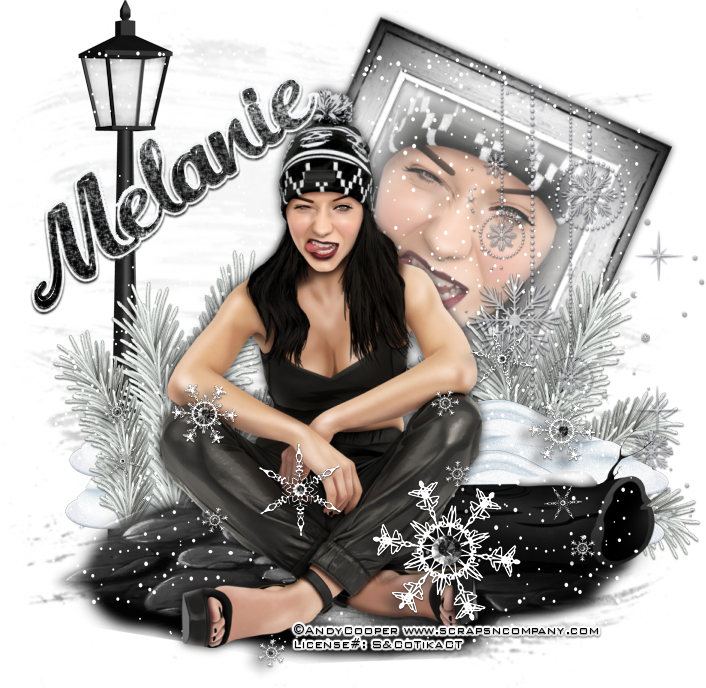
Tube of your choice. I am using a tube called Rebel Girl by Andy Cooper. You can purchase this tube at http://scrapsncompany.com/index.php?main_page=product_info&cPath=113_652_304&products_id=25314
The awesome matching scrap kit is also called Rebel Girl by Blissful Designs. You can purchase this scrap kit at http://scrapsncompany.com/index.php?main_page=product_info&products_id=25323
Mask of your choice. I am using mask # 161 by Insatiable Dreams. You can get her masks at http://insatiabledreams.net
Font of your choice. I am using Blanche de la Fontaine. You can download it at http://www.fontspace.com/octotype/blanche-de-la-fontaine
Plugins:
Eye Candy 5 Nature Snowdrift (optional – I used on my name)
Drop shadow used throughout:
0 0 85 14.00 black

Let's Begin:
Open paper 7 and shift+D to duplicate. Close the original. Promote the background layer to a raster layer. Re-size if you wish. Apply the mask of your choice. Delete the mask layer and merge the group.
Open your tube and copy and paste as a new layer. Re-size as needed. Position at the bottom of the mask in the center. Add a drop shadow to the tube.
Open element 14 and copy and paste as a new layer. Re-size by 75%. Layers new raster layer and drag under the frame. Now we are going to clone part of your tube into the frame using the clone tool. I just learned this nifty trick (Thanks Vix A Roo) in all the years of psp’ing I have never used the clone tool and now I will be cloning everything LOL .. OK let me walk you through it.
Ok Open your tube or whatever image you want to clone into the frame. Open your clone tool and select a brush shape that you want. I used a rounded square one so it would fit inside the frame. Set the settings like below : (thanks Vix again for the settings)
Size 200
Step 32
Opacity 50
Right click on the area of your tube that you want to clone. You will see an outline around the area with an x in the middle. Go back to your tag. Make sure you are on the blank new layer under the frame. Left click and it will place the area that you cloned. You can left click multiple times if you wish to make the image darker. This part is completely up to you.
Add a drop shadow to the frame. Merge the frame and tube together. Image free rotate to the right by 24 degrees. Adjust sharpen. Move under your main tube and place near the top so you can see the framed image from behind the tube.
Now let’s dress the tag up with elements from the kit. I will list the elements I used. Feel free to use other elements to make your tag unique. Placement of the elements is completely up to you. If you want your tag to look just like mine then use my tag for reference.
Elements I used:
4
11
40
68
69
70
74
85
Add your name.
Add your copyright and licensing information.
Crop and re-size if you wish.
Save your tag.
♥♥♥


Monday, June 27, 2016

When You're Gone


When You’re Gone
Written 6/27/2016
This tutorial is meant purely as a guide. Feel free to use your own choice of tube or scrap kit to make your tag unique. If you want your tag to look just like mine them use the same supplies I have used. This tutorial assumes you have a knowledge of paint shop pro. Any resemblance to any other tag or tutorial is completely coincidental.
Supplies Used:
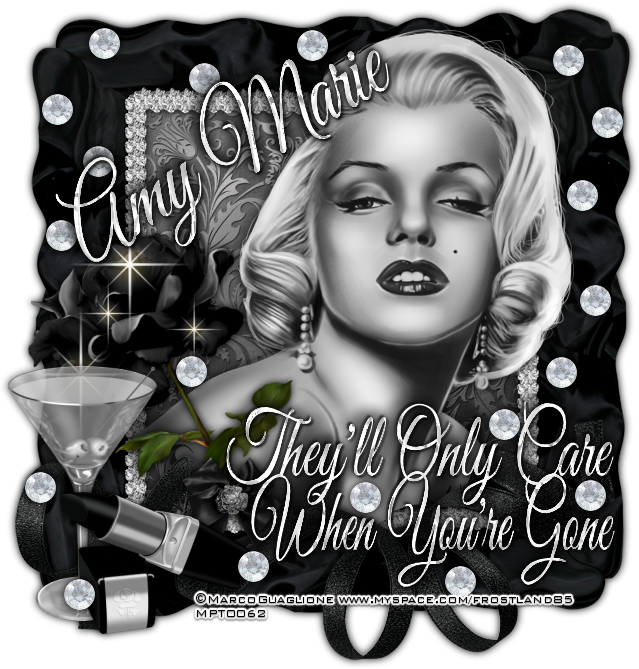
Tube of your choice. I am using the work of Marco Guaglione. I purchased this tube when he was selling at MPT when they were in business. As far as I know you can no longer purchase his work in psp tube form.
Scrap Kit is called Black and White by Amy Marie’s Kits. You can purchase this kit at http://amymarieskits.com/store/
Sparkle tubes of your choice. You can get some at http://www.hypergurl.com/sparklestubes.html
Font of your choice. I am using Great Vibes. You can get it at https://www.fontsquirrel.com/fonts/great-vibes

Plugins:
NONE
Drop shadow used throughout:
0 0 100 12.00 black

Let's Begin:
Open element 40 and shift+D to duplicate. Close the original. Re-size if you wish. This is going to be the base of your tag. Make your canvas large enough to work with. Using your magic wand select the inside of the frame. Selections modify and expand by 6. Layers new raster layer and drag under the frame. Open paper 11 and copy and paste into selection. Selections select none.
Open your tube and copy and paste as a new layer. Center within the frame and erase any bits you do not want hanging out of the frame.
Add a drop shadow to both the frame and the tube.
Open element 42 and re-size by 75%. Copy and paste as a new layer and place in the lower left corner of the frame in front of your tube. Add a drop shadow.
Layers new raster layer. Apply some sparkle tubes to this layer over the black rose. I made a few and re-sized some of them.
Open element 70 and re-size by 75%. Copy and paste as a new layer and move to the bottom left corner in front of the rose. Add a drop shadow.
Open element 71 and re-size by 60%. Copy and paste as a new layer. Move to the bottom and to the right of the glass. Add a drop shadow.
Open element 81 and copy and paste as a new layer. Drag to just above the rose. Move to the bottom of the frame. Add a drop shadow.
Open element 95 and re-size by 50% 2x. Copy and paste as a new layer and move to the stem of the rose. Add a drop shadow.
Open element 66 and re-size by 50% 2x. Copy and paste as a new layer and place wherever you want on the tag. Duplicate many times and move all over the tag. Once you are done add a drop shadow to all of them.
Add some wordart if you choose to.
Add your name.
Add your copyright and licensing information.
Crop and save.


Saturday, May 7, 2016

Fairy Beautiful


Fairy Beautiful
Written 5/5/2016
This tutorial is meant purely as a guide. Feel free to make your tag unique by using your own choice of tube and scrap kit. If you want your tag to look just like mine then use the same supplies I have used. This tutorial assumes you have knowledge of paint shop pro. Any resemblance to any other tag or tutorial is purely coincidental.
Supplies Used:
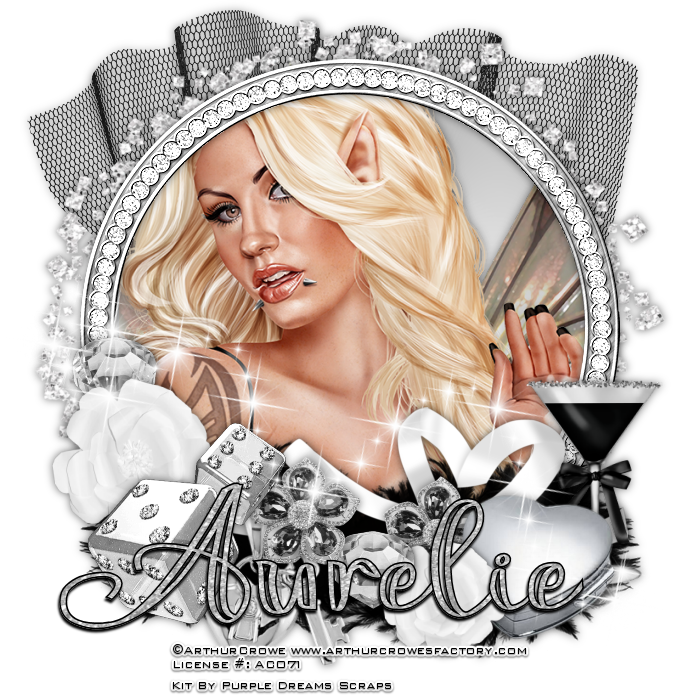
Tube is called Blonde Fairy by Arthur Crowe. You can purchase her at http://arthurcrowesfactory.com/store/index.php?route=common/home
Scrap kit is by Purple Dreams Scraps. It is called Black and White and can be purchased at http://picsfordesign.com
Font of your choice. I am using Aysheea. This is a PTU font.
Plugins:
NONE
Drop shadow used throughout:
0 0 55 13.00 black

Let’s Begin:
Open element 49 and shift+D to duplicate. Close the original. Make your canvas large enough to work with.
Using your magic wand select the inside of the frame. Selections modify and expand by 5.
Open paper 11 and copy and paste as a new layer. Drag under the frame. Selections invert and hit delete.
LEAVE SELECTED!!
Selections invert again. Open your tube and copy and paste as a new layer. Position within the selected frame area. Selections invert and hit delete. Selections select none.
Add a drop shadow to both the tube and the frame layers.
Open element 45 and re-size by 90%. Copy and paste as a new layer. Drag to the bottom. Position around the frame. Add a drop shadow.
Open element 34 and copy and paste as a new layer. Drag to the bottom. Position at the top of the frame. Add a drop shadow.
Open element 3 and copy and paste as a new layer. Move to the bottom of your tag along the bottom of the frame. Add a drop shadow.
Open element 9 and re-size by 50% and then again by 75%. Copy and paste as a new layer. Place at the bottom of your tag and to the left of the feathers. Add a drop shadow. Duplicate. Re-size this copy by 75%. Move to the bottom and to the right.
Open element 12 and re-size by 75% 2x. Copy and paste as a new layer. Drag under the smaller of the 2 flowers. Move to the right of that flower. Add a drop shadow.
Open element 15 and re-size by 50%. Copy and paste as a new layer and drag under the larger of the 2 flowers. Place on the far left above the flower. Duplicate. Move this copy down and to the right in front of the smaller of the 2 flowers. Add a drop shadow to both.
Open element 16 and re-size by 50%. Copy and paste as a new layer. Place to the left. Add a drop shadow.
Open element 23 and image flip horizontal. Copy and paste as a new layer. Drag down to just above the feathers. Add a drop shadow.
Open element 26 and re-size by 75%. Copy and paste as a new layer and place to the far right. Add a drop shadow.
Open element 31 and re-size by 50% and then again by 75%. Copy and paste as a new layer and place near the bottom and to the left. Add a drop shadow.
Open element 69 and re-size by 50%. Copy and paste as a new layer. Duplicate and place this one where you wish. Add a drop shadow to both.
Add your  name.
Open element 1 and copy and paste as a new layer.
Add your copyright and licensing information.
Crop and save.

Tuesday, December 15, 2015

Monochrome Christmas


Monochrome Christmas
written 12/15/2015

This tutorial is meant purely as a guide. Feel free to make your tag unique by using your own choice of tube and scrap kit. If you want your tag to look just like mine then use the same supplies as I have.

Supplies Used:

Tube is called Kylie by Always Smiling. You can purchase it at http://scrapsncompany.com/index.php?main_page=product_info&cPath=113_568&products_id=16199

Scrap kit is called Black and White by Designs By Joan. You can purchase it at http://scrapsncompany.com/index.php?main_page=product_info&cPath=112_115_170&products_id=6523

Mask of your choice. I am using mask #19 from horseplay pasture designs. You can get it at http://www.horseplayspasture.blogspot.com/search/label/Masks

Font of your choice. I am using Shalimar Swash. It is a PTU font so choose whatever you want to use.

Plugins:
VanDerLee Snowscape You can download it at http://www.vanderlee.com/plugins_snowscape.html

Let's Begin:
Open a blank canvas that is large enough to give you plenty of room to work with.
Open paper 4 and copy and paste as a new layer.
Apply the mask of your choice.
Delete the mask layer and merge the group.
Open element 40 and copy and paste as a new layer.
Center within the mask area.
Add a slight drop shadow.
Open element 35 and re-size.
Copy and paste as a new layer and move to the far left side.
Add a slight drop shadow.
Open your tube and copy and paste as a new layer.
Re-size and move to the far right side.
Add a drop shadow.
Open element 5 and re-size.
Copy and paste as a new layer and move to the top center of the window.
Add a drop shadow.
Open element 24 and re-size.
Copy and paste as a new layer and move to the lower far left in front of the tree at the bottom.
Open element 29 and re-size.
Copy and paste as a new layer and move to the bottom just right of the first gifts.
Open element 32 and re-size.
Copy and paste as a new layer and move to the top center of the wreath.
Open element 44 and re-size.
Copy and paste as a new layer and move to the bottom of the tree near the gifts.
Add your name.
Add your copyright and licensing information.
Now merge together all the layers except the mask layer.
Duplicate the mask layer until there are 3 of them.
On the bottom layer apply the Vanderlee snowflakes plugin using the basic white settings.
On the second layer apply the plugin again and hit random seed.
Repeat again on the top layer.
Close off the top 2 layers of the mask and edit copy merged and paste into animation shop.
Back to psp and hide the bottom mask layer and unhide the middle layer.
Edit copy merged and in animation shop paste after current frame.
Repeat with the top layer.
View your animated tag.
Save.
 

Tuesday, September 29, 2015

Classic Glamour


Classic Glamour
written 7/5/2014

Supplies Needed:
Tube of your choice. Preferably a black and white tube. I am using the work of Jennifer Janesko. I got this tube when she was with CILM but you can now get her work at http://cdoestore.com

Scrap Kit is a freebie by Scottish Butterfly Creations. It is called Cool Retro and you can get it at http://scottishbutterfly.blogspot.com/2013/12/ftu-cool-retro.html

Font of your choice. I am using MA Sexy

Plugins:
Xero Porcelain (optional)

Lets Go:

Open the Glitter element from the kit and shift+D to duplicate.
Close the original.
Resize by 85% and then make your canvas large enough to give you plenty of room to work with.
Using your preset elipse tool and setting your foreground color to black and turning off your background.
Set the width to 14.
Draw a circle in the middle of the glitter.
Convert to raster layer.
Add noise at 100 and uniform and monochrome.
Using your magic wand select the inside of the frame.
Go to selections modify and expand by 3.
Layers new raster layer and drag under the frame.
Flood fill this layer with a black and white or black and silver gradient.
Make the black be at the bottom so if you have to invert your gradient do so.
Leaving your frame selected open the CityScape element from the kit and copy and paste as a new layer and position inside of the frame.
Selections invert and hit delete to clear any excess hanging out.
Selections invert again.
Open the Sparkles from the kit and copy and paste as a new layer.
Selections invert and hit delete to clear the excess.
Selections invert one more time.
Open your tube and copy and paste as a new layer and place inside the frame area on either side.
Selections invert and hit delete to clear the excess.
Selections select none.
Add a nice drop shadow to the cityscape.
Apply the Xero Porcelain plugin using the default settings to your tube.
Add the same drop shadow to your tube and to the frame.
Open the ribbon from the kit and copy and paste as a new layer.
Position near the bottom of the frame.
Now using your eraser tool very carefully erase any bits overlapping the frame.
You want it to look like the ribbon is wrapped around the edges of the frame on both sides.
Add a drop shadow to the ribbon.
Open leaves from the kit and resize so they fit nicely along the bottom of your frame.
Open Flower from the kit and resize so it will fit nicely in the middle of the leaves.
Merge these 2 together and add a drop shadow.
Duplicate and image flip horizontal.
Move just down and to the right of the first one.
Using your font add your name.
Add your copyright information and crop and save.