Showing posts with label Designz By Sue. Show all posts

Wednesday, October 7, 2015

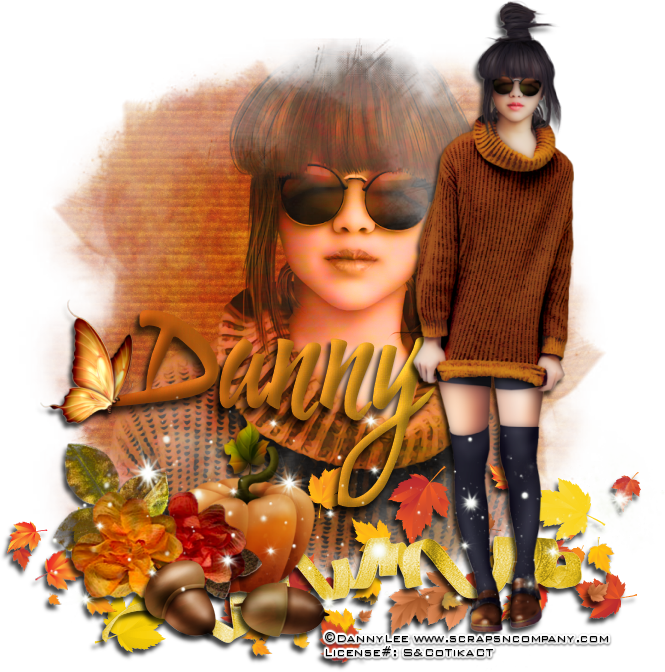
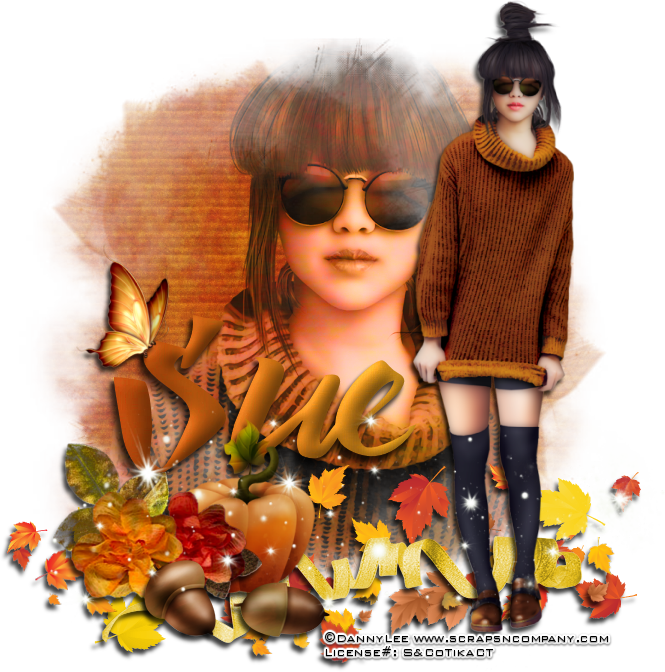
Falling Leaves


Falling Leaves
written 10/07/2015

This tutorial is meant purely as a guide. You do not have to follow it to the letter and you can make your tag unique by using different tubes and even a different scrap kit. If you want your tag to look just like mine then use the same supplies that I have used. Also use my tag for reference on where to place items.

Supplies Used:

Tube by Danny Lee. It is called Dry Leave. You can get it at http://scrapsncompany.com/index.php?main_page=product_info&cPath=113_132_219&products_id=14350

Matching Scrap Kit by Designz By Sue. It is called Dry Leaves. You can get it at http://scrapsncompany.com/index.php?main_page=product_info&cPath=112_250&products_id=14349

Mask of your choice. I am using mask #54 by Millies PSP Madness. You can get her masks at http://milliespspmadness.blogspot.com/?zx=a494020e1b0eb310

Font of your choice. I am using Handletter which is a freebie you can get at http://dealjumbo.com/downloads/handletter-free-script-font/

Plugins:
Xero Porcelain

Let's Begin:
Open paper 18 from the kit and shift+D to duplicate.
Close the original.
Promote background layer to a raster layer by right clicking on the layer in the layer palette
Re-size the paper layer by 75%.
Open the half tube/closeup and copy and paste as a new layer on top of the paper.
It is ok if the tube is larger than the paper for now.
Apply the Xero Porcelain plugin using the default settings.
Crop around the side of your paper.
This will get rid of the excess tube.
Change the properties of the tube layer to luminance legacy.
Merge the 2 layers together.
Make your canvas large again to give you plenty of room to work with.
Apply the mask of your choice.
Delete the mask layer and merge the group.
Open your full size tube and copy and paste as a new layer.
Position where you want on the tag.
Apply the Xero Porcelain plugin using the default settings.
Add a drop shadow.
Now lets dress this tag up with some of the great elements from this kit.
I will list the elements I used; placement is entirely up to you.
Re-size the elements as you need so that they fit within the size of your tag.
Elements used:
001
005
012
014
015
016
027
029
Add a drop shadow to each of the elements.
Add your name.
Add your copyright and licensing information.
Crop and save.


Friday, October 10, 2014

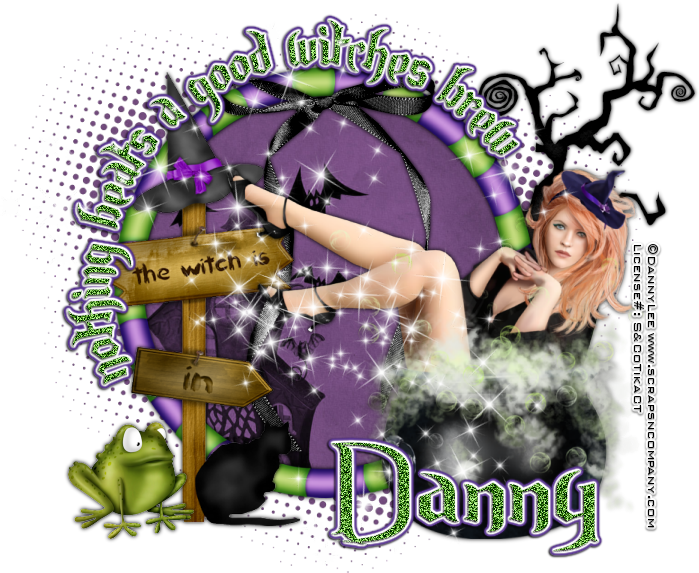
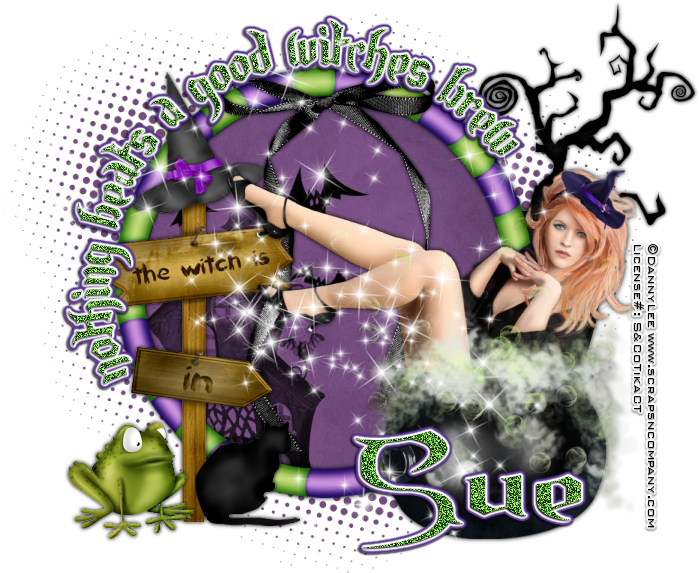
Witches Brew


Witches Brew
written 10/10/2014

Supplies Needed:


Scrap kit is by Designz By Sue. You can get it at http://scrapsncompany.com/index.php?main_page=product_info&products_id=6028

Font of your choice. I am using Endor which you can get at http://www.dafont.com/endor.font

Plugins:
Eye Candy gradient glow (optional)

Lets Begin:
Open element 29 and shift+D to duplicate.
Close the original.
Re-size if you wish.
This is going to be the base for your tag.
Make your canvas large enough to work with.
Open element 5 and copy and paste as a new layer.
Re-size to fit within the center of your background.
Using your magic wand select the inside of the frame and go to selections modify and expand by 4.
Layers new raster layer and drag under the frame.
Open paper 6 and edit copy and paste into selection.
Selections select none.
Add a drop shadow to your frame.
Open your tube and copy and paste as a new layer.
Re-size and move to the far right side of the frame.
Add a drop shadow.
Set your foreground color to any color and turn off your background color.
Using your elipse preset shape tool draw out a circle around the outside edges of the frame.
Leave this as a vector layer as we are going to add some text on a path.
Ok to add text on a path select the color or colors for your text.
Select the font you want to use and set the size.
Change the create as: to floating.
Move your mouse over to your tag until you see the T with the line under it.
Once you see that go ahead and click and type out your text.
You may have to undo it a couple of times to get it right and to sit where you want around the frame.
Once you are done promote your selection to a layer.
Selections select none.
Delete the circle layer you created.
Adjust add/remove noise and add noise to the text at 100% monochrome and uniform.
Add a gradient glow if you wish to help it stand out.
Add a drop shadow.
Open element 56 and copy and paste as a new layer and place in the center top of your frame.
Add a drop shadow.
Open element 45 and re-size by 75%.
Copy and paste as a new layer and drag down under your paper layer.
Position behind and to the top right of your tube.
Add a drop shadow.
Open element 40 and re-size by 75%.
Copy and paste as a new layer and place in front of your frame but to the left a little bit.
Add a drop shadow.
Open element 18 and re-size by 50%.
Copy and paste as a new layer and place on the lower left of the sign.
Add a drop shadow.
Open element 55 and re-size so its just slightly smaller than your tag.
Copy and paste as a new layer at the top.
Add your name.
Add your copyright and licensing information.
Crop and save.