
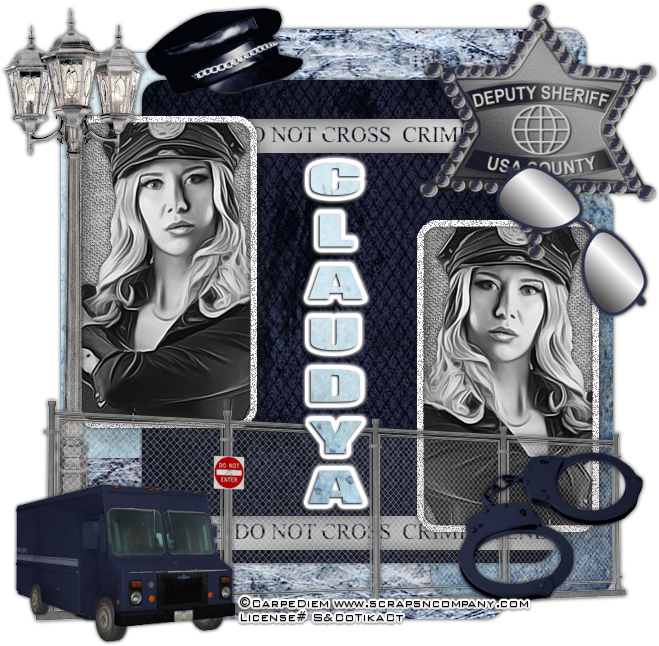
Freeze
Right There
written
9/16/2015
This
tutorial is meant to be a guide. Feel free to make your tag unique to
you. If you want your tag to look exactly like mine then use the same
supplies as I have and follow the tutorial.
Supplies
Used:
Tube by
Carpe Diem. You can get it at
http://scrapsncompany.com/index.php?main_page=product_info&cPath=113_492_494&products_id=13713
Scrap Kit
by Blissful Designs. You can get it at
http://scrapsncompany.com/index.php?main_page=product_info&products_id=13734
Tag
Template by Millies PSP Madness. You can get it at
http://milliespspmadness.blogspot.ca/2015/05/template-753-and-tag-with-amaryllis.html?zx=ec03a08e4a1f8459
Font of
your choice. I am using Impact. This is a free windows font.
Plugins:
NONE
Let's
begin:
Open the
template and shift+D to duplicate.
Close the
original.
Remove the
following layers:
cr
10
bkgrd
Make your
canvas large enough to work with.
You can
crop and re-size when you are done.
Merge
together layers 1 and 2.
Selections
select all float and defloat
Open paper
4 and copy and paste as a new layer.
Selections
invert and hit delete.
Selections
select none.
Merge
layers 3 and 4 together.
Repeat the
above steps but using paper 2.
Repeat the
above steps for layers 5 using paper 3.
Merge
together layers 8 and 6.
Repeat
above steps using paper 5.
Copy and
paste your tube into each of the layers on the left and right side.
Change the
properties of each layer to luminance legacy.
Add a drop
shadow to each tube.
Merge
together layers 9 and 7.
Add noise
at 100% uniform and monochrome.
Add a drop
shadow to all layers.
Open
element 11 and copy and paste as a new layer and move to the far left
side.
Add a drop
shadow.
Open
element 74 and flip horizontal.
Copy and
paste as a new layer and re-size so it fits under the picture frame
by the light post.
Add a drop
shadow.
Open
element 68 and copy and paste as a new layer.
Drag
behind the truck.
Add a drop
shadow.
Open
element 54 and copy and paste as a new layer.
Re-size.
Image
rotate to the right 45 degrees.
Place on
the top right corner of the frame on the right side.
Add a drop
shadow.
Open
element 43.
Copy and
paste as a new layer.
Re-size.
Image flip
horizontal.
Move to
the top left of the tag.
Add a
drop shadow.
Open
element 42.
Copy and
paste as a new layer.
Re-size.
Move to
the bottom right of the tag.
Add a drop
shadow.
Open
element 38 and re-size so it will fit across the blue middle of the
tag.
Copy and
paste as a new layer and drag down to just above the blue layer.
Place at
the top of the blue area.
Add a drop
shadow.
Duplicate
and move down to the bottom of the blue area.
Open
element 29.
Copy and
paste as a new layer and move to the top right of the tag.
Add a drop
shadow.
Add your
name.
Add your
copyright and licensing information.
Crop and
save.

No comments:
Post a Comment