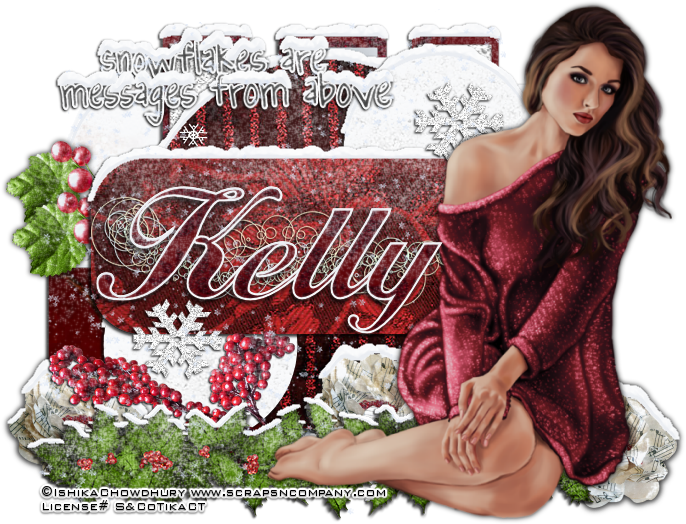
Snowflakes
Are Messages
written
1/12/2016
This
tutorial is meant purely as a guide. Feel free to make your tag
unique by using your own choice of tube and scrap kit. If you want
your tag to look just like mine then use the same supplies that I
have used.
Supplies
Used:
Tube
by Ishika Chowdhury. It is called Avril and you can purchase it at
http://scrapsncompany.com/index.php?main_page=product_info&cPath=113_425&products_id=16436
Scrap
kit by Kizzed By Kelz. It's also called Avril. You can purchase it at
http://scrapsncompany.com/index.php?main_page=product_info&products_id=16466
Tag
template by LindaNM Rawkin Designs. You can download it at
http://nmrawkindesigns.blogspot.com/2013/11/snowflake-templet.html
Font
of your choice. I am using John Hancock Regular. You can get it at
http://fontzone.net/font-details/johnhancock-regular
Plugins:
Eye
Candy 5 Nature Snow Drift
Let's
Begin:
Open
your tag template and shift+D to duplicate.
Close
the original.
Delete
the background layer.
Make
your canvas large enough to work with.
Using
the papers from the kit fill each of the layers.
After
you have each layer filled then add a slight drop shadow to each
layer.
I
use
1
-1 100 2.50 black
Then
apply the snow drift plugin with the following settings.
Apply
this on every layer of the template.
Add
the drop shadow again to all of the layers.
Open
your tube and copy and paste as a new layer.
Re-size
as needed.
Move
to the far right side of the template.
Add
a drop shadow.
Open
element 7 and copy and paste as a new layer.
Re-size
and place along the bottom behind your tube but peeking out.
Duplicate
a few times and place along the bottom of the template.
Add
the snow drift plugin.
Apply
a drop shadow.
Open
element 14 and copy and paste as a new layer.
Re-size.
Image
flip horizontal.
Move
to the far left side of the template and drag down under the main
oblong layer of the template.
Add
a drop shadow and apply the snow drift plugin.
Duplicate
and move down and to the right a bit.
Open
element 26 and copy and paste as a new layer.
Re-size
so it fits within the oblong layer of the template.
Add
a drop shadow.
Open
element 41 and copy and paste as a new layer.
Drag
down under your tube and move to the bottom.
Apply
the snow drift plugin and add a drop shadow.
Open
element 99 and copy and paste as a new layer.
Drag
down to just above your template.
Re-size
so it fits over the top of the template.
Open
element 104 and copy and paste as a new layer.
Re-size
and move down to below the garland and to the left side of the tag.
Add
a drop shadow and the snow drift plugin.
Add
your name.
Add
your copyright and licensing information.
Crop
and save.


Ty so much for using my templet in your tutorial love what you did with it! LindaNM
ReplyDelete