
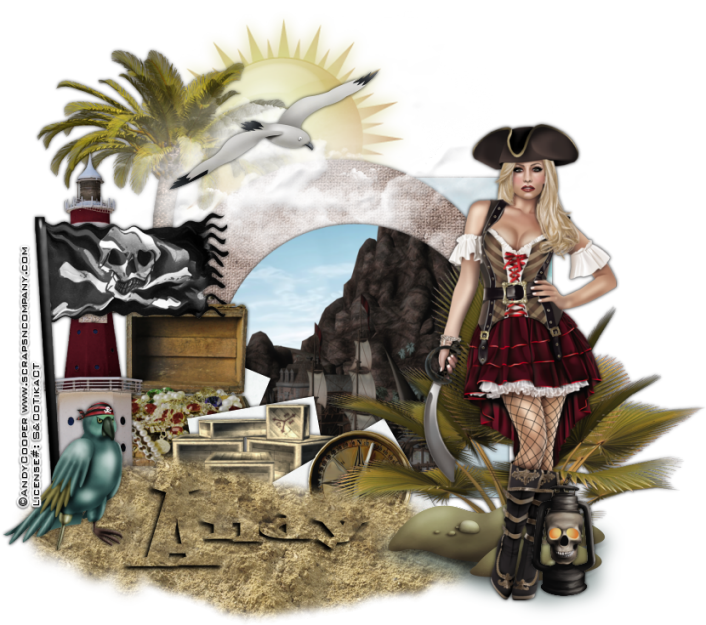
Ye
Land Lubber
written
1/19/2016
This
tutorial is meant purely as a guide. Feel free to make your tag
unique by using your own choice of tube and scrap kit. If you want
your tag to look just like mine use the same supplies I have used.
Supplies
used:
Tube
by Andy Cooper. You can purchase it at
http://scrapsncompany.com/index.php?main_page=product_info&cPath=113_304&products_id=16704
Scrap
Kit by Mariel Designs. You can purchase it at
http://scrapsncompany.com/index.php?main_page=product_info&products_id=16844
Template
by Seraph Creations. You can download it at
http://seraphcreations.blogspot.co.uk/2013/07/tag-templates-26-30.html
Font
of your choice. I am using Jack Bisio. You can get it at
http://fontzone.net/font-details/jack-bisio
Plugins:
NONE
Let's
Begin:
Open
your template and shift+D to duplicate.
Close
the original. Delete the credits layer and the background layer.
Make
your canvas large enough to work with.
Make
rectangle 1 layer active and selections select all float and defloat.
Open
paper 7 and copy and paste as a new layer.
Selections
invert and hit delete.
Selections
select none.
Delete
the original rectangle layer.
Repeat
these steps with the remaining layers using the papers of your
choice.
Add
a drop shadow to each layer.
Open
your tube and copy and paste as a new layer .
Re-size
until it is just larger than the template.
Move
to the far right side.
Add
a drop shadow.
Open
element 62 and copy and paste as a new layer.
Re-size
if needed.
Drag
to the bottom and move to the far left and up near the top.
Add
a drop shadow.
Open
element 61 and copy and paste as a new layer.
Drag
under your tube.
Move
to the bottom near her feet.
Add
a drop shadow.
Open
element 83 and re-size by 50%.
Copy
and paste as a new layer and drag to the bottom.
Move
to the top and just right of the tree.
Open
element 84 and copy and paste as a new layer.
Drag
down to just below the top circle layer.
Move
to the top so it is front of the tree and the sun.
Open
element 67 and copy and paste as a new layer.
Drag
under your tube.
Move
to the bottom in front of the 3 squares of the template.
Open
element 71 and copy and paste as a new layer.
Image
flip horizontal.
Re-size
by 50% and then again by 65%.
Move
to the far left in the bottom corner so it is standing in the sand.
Add
a drop shadow.
Open
element 64 and re-size by 50% 2x.
Copy
and paste as a new layer.
Drag
down to just above the squares layers.
Place
in front of the square that is most right.
Add
a drop shadow.
Open
element 48 and re-size by 50% and then again by 65%.
Copy
and paste as a new layer.
Drag
down to below the first square layer.
Move
in front of the center square.
Add
a drop shadow.
Open
element 44 and re-size by 75%.
Copy
and paste as a new layer and move over to the far left behind the
bird.
Add
a drop shadow.
Open
element 43 and re-size by 65%.
Copy
and paste as a new layer and move to the left on front of the light
house.
Add
a drop shadow.
Open
element 35 and copy and paste as a new layer.
Re-size
by 50%.
Move
up to the top in front of the sun and tree.
Add
a drop shadow.
Open
element 34 and re-size by 50%.
Copy
and paste as a new layer and move to the far right under your tube at
her feet.
Open
element 23 and re-size by 50% 2x.
Copy
and paste as a new layer and drag down to just above the bottom
square layer.
Move
it over in front of that square.
Add
a drop shadow.
Open
element 8 and re-size by 50% 2x.
Copy
and paste as a new layer at the top.
Move
to the bottom right of your tube by her feet.
Add
a drop shadow.
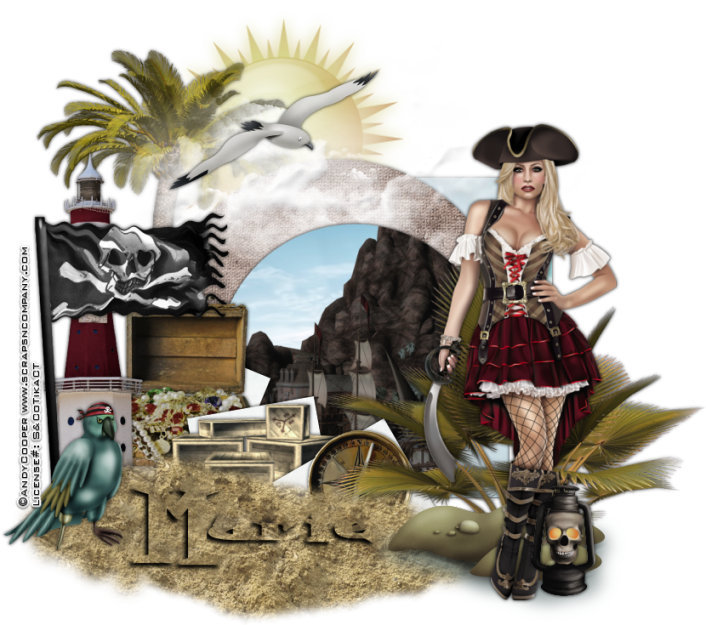
Add
your name.
If
you want your name to look like mine it is fairly simple.
Type
out your name and get it to the size and in the place you want.
Selections
select all float and defloat.
Selections
modify and expand by 2.
Hit
delete.
Add
a drop shadow.
Selections
select none.
Add
your copyright and licensing information.
Crop
and save.

No comments:
Post a Comment