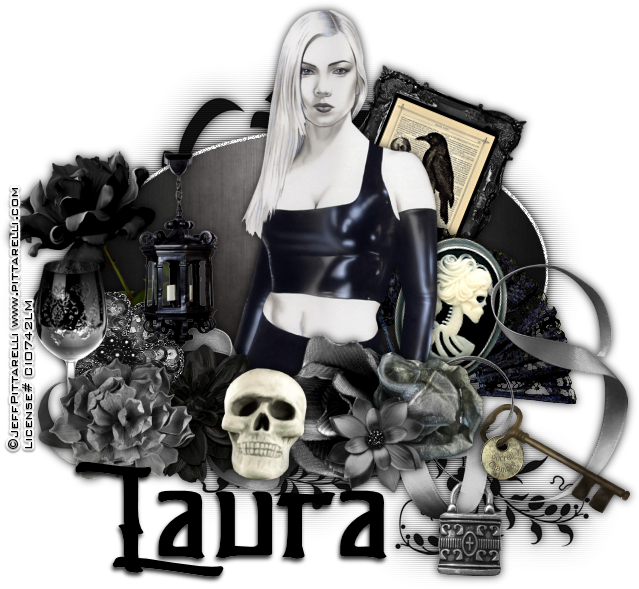
Dark Night Beauty
Written 9/15/2016
This tutorial is meant purely as a guide. Feel free to
use your own choice of tube or scrap kit to make your tag unique. If you want
your tag to look just like mine them use the same supplies I have used. This
tutorial assumes you have a knowledge of paint shop pro. Any resemblance to any
other tag or tutorial is completely coincidental.
Supplies Used:
Tube of your choice. I am using the work of Jeff
Pitarelli. I got this tube when he was with CILM. I am not sure where you can
get his tubes now or if you even can.
Scrap Kit is called Zypher by Tiny Turtle Designs. You
can purchase this kit at http://tinyturtledesigns.com/store/
Font of your choice. I am using Mishall. This is a PTU
font.
Plugins:
NONE
Drop shadow used throughout:
0 0 85 13.00 Black
Let's Begin:
Open element 28 from the kit and shift+D to duplicate.
Close the original. Make your canvas large enough to work with.
Using your magic wand select the inside of the center
of the mask. Open paper 15 and copy and paste into selection. Open your tube
and copy and paste as a new layer. Place in the center of the mask area. Erase
any bits you do not want hanging out with your eraser tool. Add a drop shadow.
Back on the mask layer select the white outline using
your magic wand. Add noise of your choice to the outline. Add a drop shadow to
the mask layer.
Duplicate the mask layer. On the bottom layer adjust
blur Gaussian blur at 15.00. Effects Texture Effects Blinds with the following
settings:
Width – 2
Opacity – 85
Color – White
Horizontal and Light from left/top – both checked
Now let’s dress the tag up with elements from the kit.
I will list the elements I used. Feel free to use other elements to make your
tag unique. Placement of the elements is completely up to you. If you want your
tag to look just like mine then use my tag for reference.
Elements I used:
7
13
15
16
23
40
42
43
48
51
55
60
61
63
82
97
Add your name.
Add your copyright and licensing information.
Crop and save.


No comments:
Post a Comment