Shot Through The Heart
Written 2/14/2017
This tutorial is meant purely as a guide. Feel free to
use your own choice of tube or scrap kit to make your tag unique.
If you want your tag to look just like mine, then use
the same supplies I have used. This tutorial assumes you have a knowledge
of paint shop pro. Any resemblance to any other tag or
tutorial is completely coincidental.
Supplies Used:
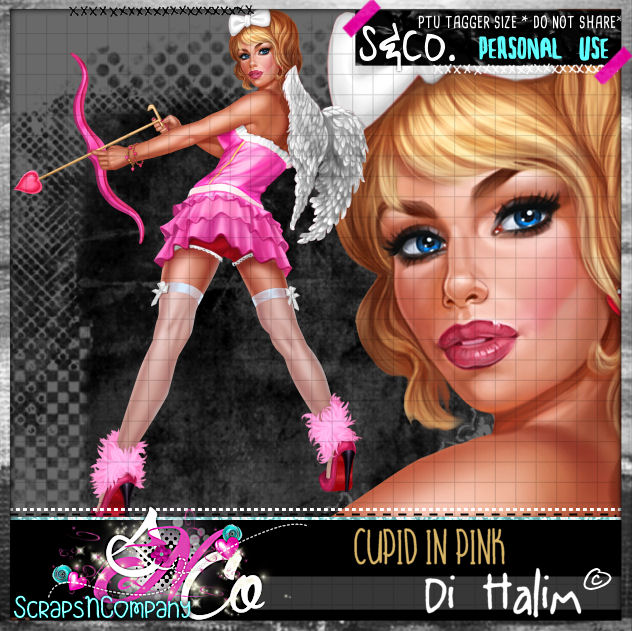
Tube of your choice. I am using the work of Di Halim.
This tube is called Cupid in Pink and you can purchase her at http://scrapsncompany.com/index.php?main_page=product_info&cPath=113_133_166&products_id=25991
Scrap Kit is by Bibi’s Collection. It is called Cupid
In Pink. You can purchase it at http://scrapsncompany.com/index.php?main_page=product_info&products_id=26002
Mask of your choice. I am using one by a member at my
forum. This mask was made by Bev. You can find our forum at http://thetaggerslounge.forumotion.com/ Come join
us and check out all the goodies and fun!!
Font of your choice. I am using Guarddilla Typeface.
This is a PTU font.
Plugins:
NONE
Let's Begin:
Open paper 8 from the kit. Shift+D to duplicate. Close
the original. Re-size as needed/wanted. Promote the background layer to a
raster layer. Apply the mask of your choice. Delete the mask layer and merge
the group. I added a slight drop shadow to the mask layer to help it stand out
just a bit more but this is completely up to you.
Open your tube and copy and paste as a new layer.
Re-size until she is just slightly larger than the mask layer. Add a drop
shadow.
Now let’s dress the tag up with elements from the kit.
I will list the elements I used. Feel free to use other elements to make your
tag unique. Placement of the elements is completely up to you. If you want your
tag to look just like mine, then use my tag for reference.
Elements I used:
8
29
37
39
42
76
121
Add your Name.
Add your copyright and licensing information.
Let’s Get ready to add the animation:
Crop your tag.
Merge all the layers together except the mask layer.
Layers new raster layer and move to the bottom.
Flood fill with white.
Copy the white background and the mask layer to
animation shop.
Duplicate the number of frames to match the number of
frames in your animation. In my case its
20.
Drag the first frame of your animation onto the first
frame of your tag. Once happy with the placement go back to psp and copy the
rest of your tag. Bring into animation shop. Duplicate and drag to the animated
tag. Once you are done view your completed animated tag. If you are happy
optimize and save.
♥♥♥


No comments:
Post a Comment