
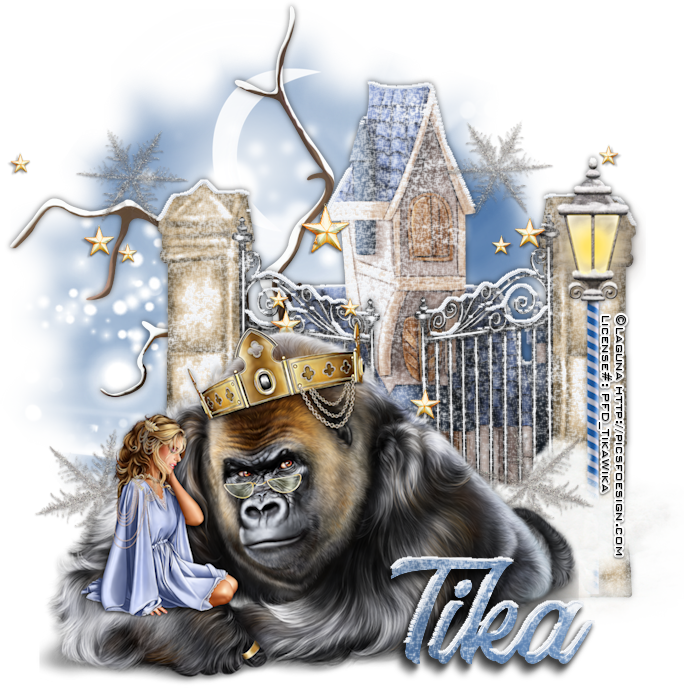
Beauty and The Beast
Written 12/11/2019
This tutorial is meant purely as a guide. Feel free to
use your own choice of tube or scrap kit to make your tag unique.
If you want your tag to look just like mine, then use
the same supplies I have used. This tutorial assumes you have a knowledge
of paint shop pro. Any resemblance to any other tag or
tutorial is completely coincidental.
Supplies Used:
Tube by Laguna called Beauty and The Beast. You can
purchase this tube at http://picsfordesign.com
You must have a license to use this
image.
Scrap kit by Hania’s Design called Girl from the
North. You can purchase this kit at http://picsfordesign.com
Font of your choice.
Mask of your choice. I am using mask #133 by Weescotslass
Creations. You can get her awesome masks at http://weescotslasscreations.blogspot.com/2009/04/masks.html
Plugins: (plugins are most generally optional)
Alien Skin Eye Candy 5 – Nature (snow drift)
Let's Begin:
Open paper 2 and shift+D to duplicate. Close the
original. Promote the background layer to a raster layer. Resize all layers by
70 % and then resize just the paper layer by 80%. Apply your mask. Delete the
mask layer and merge the group.
Open element 46 and copy and paste as a new layer.
Re-size to a size that you are happy with. Position to the far right of your
mask area. Open the Eye Candy 5 Nature snow drift plugin and apply the preset
Small, A little white snow.
Open element 74 and copy and paste as a new layer.
Re-size until it just larger than the house/castle element. Position in front
of the house/castle element. Apply the same Eye Candy 5 Nature snow drift
plugin using the same settings.
At this time open your tube and copy and paste as a
new layer. Re-size to how you want. Position in front of the gates but leave
the pillar on the far right un covered.
Open element 36 and resize until it is nearly the same
size as the gates. Copy and paste as a new layer and place in front of the far
right pillar.
Open element 27. Re-size 50% and then again by 75%.
Image mirror horizontal. Drag to just below the house/castle layer. Position at
the top to the left of the house/castle.
Open element 67 and copy and paste as a new layer.
Drag to just above the moon layer. Re-size until happy. It doesn’t matter at
this point because it is behind everything you can move it to where it shows
from behind the house/castle and the gates.
Open element 68. Copy and paste as a new layer. Re-size
by 75%. Drag behind your tube. Move to the far left. Duplicate. Image mirror
horizontal. Move if you need to. I also erased a couple of the stars that were
overlapping and I didn’t care for the look of it but that is entirely up to you.
Open element 37. Copy and paste as a new layer. Move
behind your tube. Position at the bottom. Move to where it shows out the right
side in front of the light and the pillar.
Add your name.
Add your copyright and licensing information.
Crop and save.
Thank you for trying my tutorial.
No comments:
Post a Comment