
Always
Blessed
Written
11/24/2021
This tutorial is meant purely as a guide. Feel free to use your own choice of tube or scrap kit to make your tag unique. If you want your tag to look just like mine, then use the same supplies I have used. This tutorial assumes you have a knowledge of paint shop pro. Any resemblance to any other tag or tutorial is completely coincidental.
I made this set for my best friend Rhonda. We have been friends for oh so many years. I wont say how many exactly because that would let you all know how old we are LOL I am always blessed by her. Blessed by her friendship. Blessed that she is part of my life and my circle and is my main tribe mate. Blessed by her helpfulness as I have been going through some health issues lately and I hate to call on her because she is a nurse but she has been there with me the entire way and helped me make some good decisions regarding my care and also lifted me up when I was in the pit of despair and wanted to just give up. I love her endlessly and will always be blessed by just having her near.

Supplies
Used:
Tube of
your choice. I am using a cute tube by The Paper Shelter. You can purchase
their super cute tubes at www.thepapershelter.com
Scrap kit
is a freebie by Sheila Reed. It is called Thankful Harvest. You can download it
at DigiTee
Designs By Sheila: Thankful Harvest November 2015 Blog Train Freebie!!!
I am using
a freebie texture by Queen Cheshire which can be downloaded at Queen-Cheshire
- Hobbyist, Digital Artist | DeviantArt
Mask of
your choice. I am using mask #9 by Scrappy Bit of Fun. You can download
Simone’s awesome masks at Scrappy Bit Of
Fun there is a link on the right hand side where she has placed her masks
into groups and numbered them.
Font of
your choice. I am using 2 Peas Gimme Coffee
Let's
Begin:
This is a 3
piece set so we will start with the tag first.
Open a new
blank canvas that will give you plenty of room to work with. I use 900x900 but
the size is up to you. You can crop and resize when you are done if you wish.
Copy and
paste your texture onto your blank canvas as a new layer. Resize so it fits in
your canvas with room around it.
Apply your
mask to this layer. Delete the mask layer and merge the group.
At this
point open your tube and copy and paste as a new layer. Place where your tube
fits best. Add a drop shadow of your choice to the tube layer.
At this
point I started adding elements from the kit so I will list those below.
Now let’s
dress the tag up with elements from the kit. I will list the elements I used.
Feel free to use other elements to make your tag unique. Placement of the
elements is completely up to you. If you want your tag to look just like mine,
then use my tag for reference.
Elements I
used:
1
2
Burnt
orange flower large
Burnt
orange flower small
Light
purple felt flower
Light
purple small flower
Light
yellow small flower
Pink
flower large
Purple
felt flower
Purple
flower large
Yellow
burnt orange flower
Yellow
paper flower
Burnt
orange leaf
Gold leaf
Purple
leaf
White
leafy branch
Yellow
leaf
Pink cream
berries
Red gold
berries
Wordart
always blessed
Add a drop
shadow of your choice to all of the elements.
Add your
copyright and licensing information.
Add your
name.
Crop and
resize if you wish.
Ok we are done
with the tag.
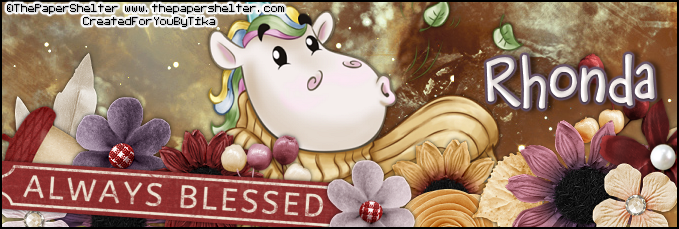
Lets move
onto the banner:
The banner
size is really up to you but for my example this time I am going with 675 width
and 225 height.
Open your
texture again and copy and paste as a new layer.
Copy and
paste as your tube into the center of the canvas. Place so mostly the face of
your tube is showing. Add a drop shadow of your choice.
Now take
some of the same elements from your tag and place along the bottom of the
canvas of your banner.
Add a
border of 2 in black.
Now add
your copyright and licensing information to this tag.
Add your name.
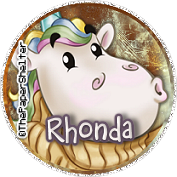
Lets move
on to the avatar.
Set your
texture as your background color.
Open a new
blank canvas.
Draw out a
circle that looks to be the appropriate size.
Convert to
a raster layer.
Selections
select all float and then defloat.
Selections
modify expand by 3.
Layers new
raster layer and flood fill with color of your choice.
Add noise
to this layer at 100%
Selections
select none.
Drag this
layer under your paper layer.
Make your
paper layer active.
Selections
select all float and defloat
Selections
contract by 4
Layers new
raster layer
This time
take your texture and copy and paste into selection.
Now
leaving this selected. Open your tube and copy and paste as a new layer.
Position where
you are happy.
Selections
invert and hit delete
Selections
select none.
Add your
copyright and licensing information
Add your
name or initial.
And you
are done!!!
Thanks for
trying my tutorial.
Tika I LOVE it!!!!!!!!!!!!!!!!!!!!! You are my bestie and everything you said about me double it for you. We have been through A LOT but always proved friends are your friends through it all
ReplyDelete