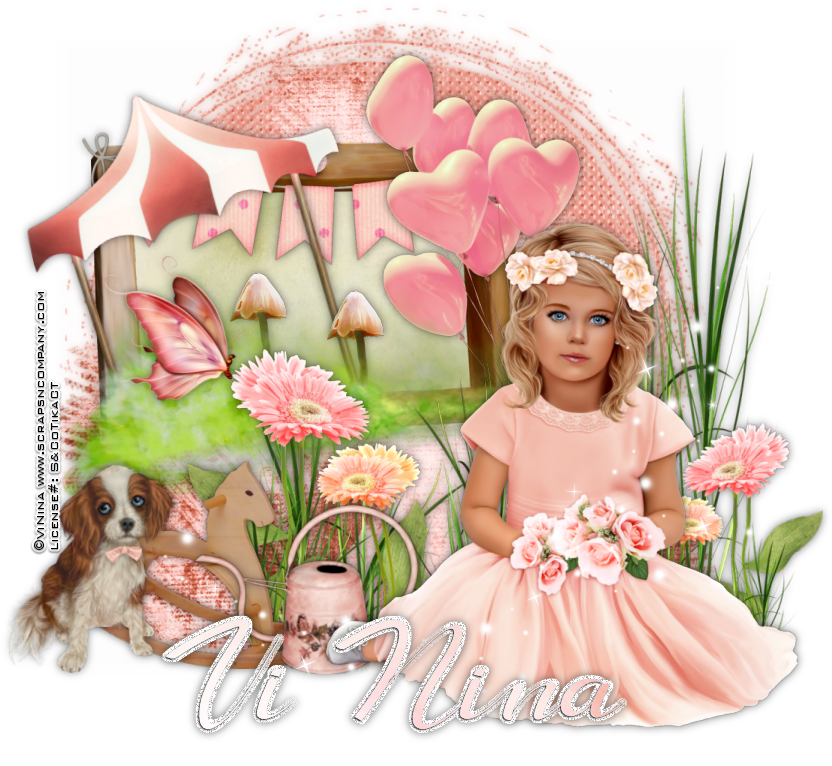
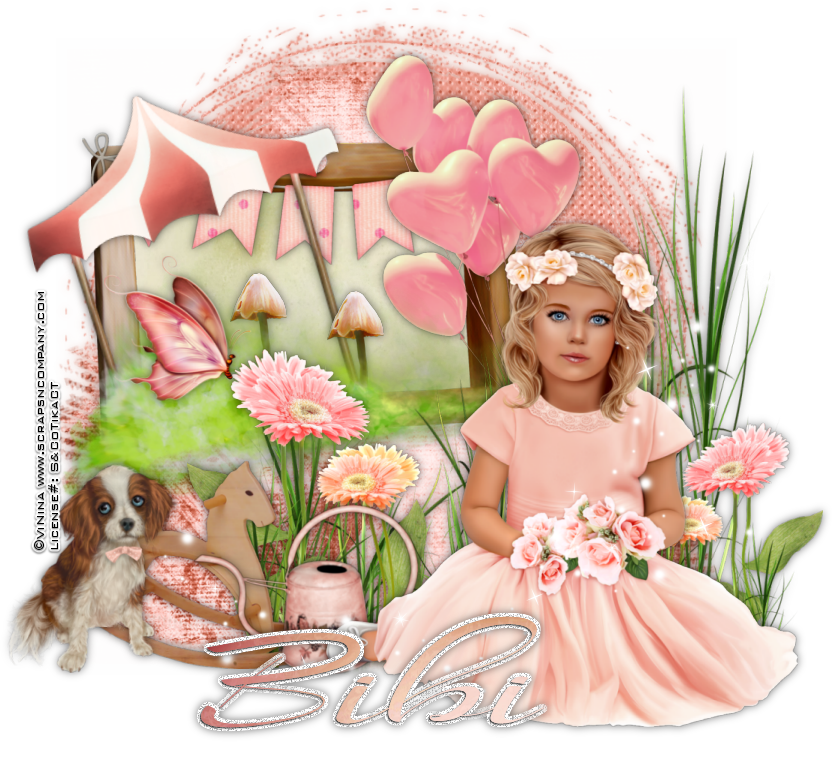
Eyes Of A Child
Written 5/5/2016
This tutorial is meant purely as a guide. Feel free to
make your tag unique by using your own choice of tube and scrap kit. If you
want your tag to look just like mine then use the same supplies I have used.
This tutorial assumes you have a knowledge of paint shop pro. Any resemblance
to any other tag or tutorial is purely coincidental.
Supplies Used:
Tube by Vi Nina. She is called Rosie and you can
purchase her at http://scrapsncompany.com/index.php?main_page=product_info&cPath=113_294&products_id=19405
The beautiful matching scrap kit is by Bibi’s
Collection. It is called Mama. You can purchase it at http://scrapsncompany.com/index.php?main_page=product_info&products_id=19370
Font of your choice. I am using LongShine Script. This
is a PTU font.
Plugins:
NONE
Drop shadow used throughout:
0 0 55 13.00 black
Let’s Begin:
Open element 118 and shift+D to duplicate. Close the
original.
We are going to use this as the base of the tag so if
you want to re-size then feel free.
Make your canvas large enough to work with.
I like to get my tube on the canvas/tag then I can
build around it so at this time open your tube and copy and paste as a new
layer. Re-size as needed. Place in the lower right corner. Add a drop shadow to
the tube and the background piece. I changed the color of the drop shadow on
the background to the darker color in the actual piece because the black didn’t
look good but this is completely up to you.
Now let’s begin to build our tag using the awesome
elements in this kit.
Open element 98 and copy and paste as a new layer. Re-size
so it is slightly smaller than your tube. Drag this layer under the tube layer
and place to the left and up a bit of the tube.
Using your magic wand select the inside of the frame
and go to selections modify and expand by 3.
Open paper 10 and copy and paste as a new layer. Drag
under the frame. Selections invert and hit delete. Selections select none.
Open element 105 and image flip horizontal. This way
it will be leaning to the left instead of the right. Copy and paste as a new
layer. Re-size so it is just slightly larger than the frame. You want it
hanging out of the frame and to give it a 3D type of look as if it is popping
out of the frame. I used my “pick” tool and tilted it to the left a little more
but this is completely up to you. You could also use the image free rotate
within psp if you choose. If you do use the second method do not forget to
sharpen. Erase any bits hanging out of the frame that you do not want. Once you
are happy then add a drop shadow.
Open element 59 and re-size so it fits nicely from one
side of the frame to the other. Copy and paste as a new layer and place at the
top of the frame and drag under the tent and balloons layers. Add a drop
shadow.
Open element 42 and re-size. Copy and paste as a new
layer and drag under your tube layer. Place so it is at the top left of your
tube and coming out in front of the right side of the frame. Add a drop shadow.
Open element 77 and re-size so it is about the same
size as the frame across the bottom. Copy and paste as a new layer. Use either
your “pick” tool or image free rotate method and rotate to the left so it lines
up with the bottom of the frame. Place along the bottom of the frame. Add a
drop shadow.
Open element 78 and copy and re-size so it is small
enough to fit within the frame. Copy and paste as a new layer. Drag under the
grass. I duplicated this layer so I had 2 and just placed them within the frame
area near the tent. Add a drop shadow when done.
Open element 72 and re-size so it is just larger than
your tube. Copy and paste as a new layer and drag under your tube. Place behind
your tube so it appears she is sitting in the grass. Add a drop shadow.
Open element 61 and re-size. Copy and paste as a new
layer. Place on the bottom far left. Drag behind your tube. Add a drop shadow.
Open element 37 and re-size. Copy and paste as a new
layer. Drag under your tube and place to the bottom left of the tube between
the tube and rocking horse. Add a drop shadow.
Open element 28 and image flip horizontal so it is
facing to the right. Re-size and then copy and paste as a new layer. Place so
it is near the largest flower to the left of your tube. Add a drop shadow.
Open element 7 and re-size. Copy and paste as a new
layer. Place to the far left of the rocking horse. Add a drop shadow.
Open element 117 and copy and paste as a new layer at
the top. Place to the far right so it crosses over your tube.
Add your name.
Add your copyright and licensing information.
Crop and save.


No comments:
Post a Comment