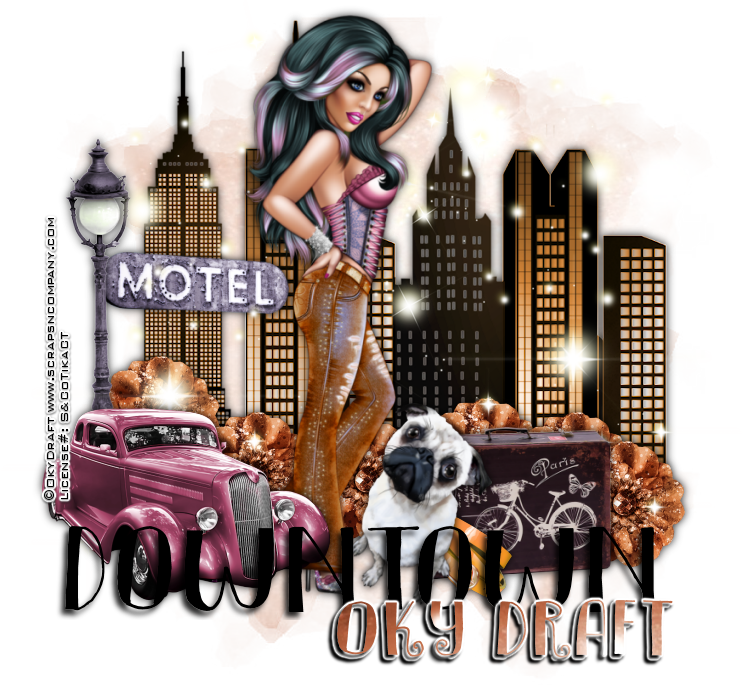
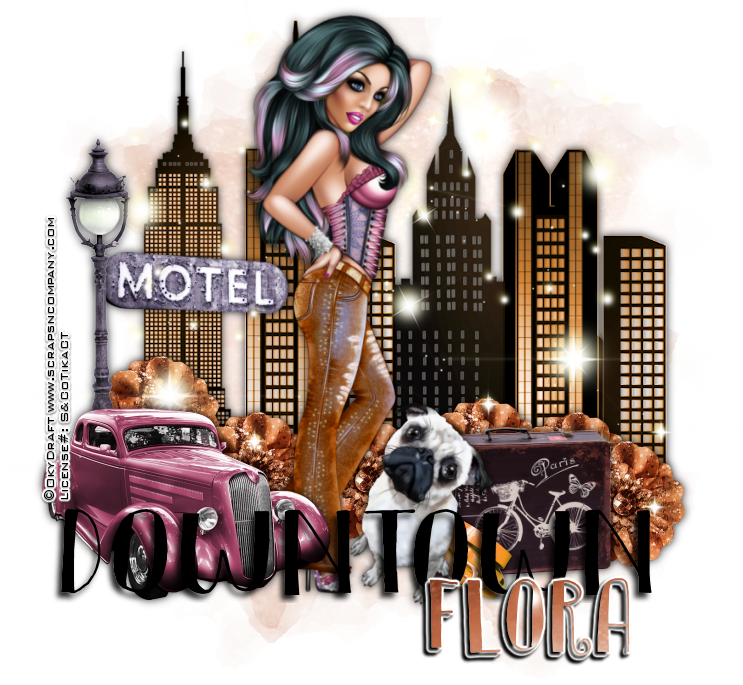
Downtown
Written 7/6/2016
This tutorial is meant purely as a guide. Feel free to
use your own choice of tube or scrap kit to make your tag unique. If you want
your tag to look just like mine them use the same supplies I have used. This
tutorial assumes you have a knowledge of paint shop pro. Any resemblance to any
other tag or tutorial is completely coincidental.
Supplies Used:
Tube of your choice. I am using the work of Oky Draft.
This tube is an exclusive commission for Scraps N Company. You can purchase
this tube at http://scrapsncompany.com/index.php?main_page=product_info&cPath=658_423&products_id=20707
Matching scrap kit is by Mysterfeerie Creation. You
can purchase this kit at http://scrapsncompany.com/index.php?main_page=product_info&products_id=20818
Mask of your Choice. I am using mask #19 by Horseplays
Pasture Designs. You can get her mask at http://horseplayspasturedesigns.blogspot.com.au/
Font of your choice. I am using DK Innuendo. You can
download it at http://www.dafont.com/dk-innuendo.font
Plugins:
NONE
Drop shadow used throughout:
0 0 75 13.50 black
Let's Begin:
Open paper 2 and shift+D to duplicate. Close the
original. Promote the background layer to a raster layer. Make your canvas
large enough to work with. Re-size the paper if you want to. Apply the mask of
your choice. Delete the mask layer and merge the group.
Open element 57 and copy and paste as a new layer.
Place the buildings in the center of the mask. Add a drop shadow.
Open element 37 and re-size by 85% and copy and paste
as a new layer and place at the far left side of the buildings. Add a drop
shadow.
Open element 80 and copy and paste as a new layer and
place on the far left side of the buildings. Duplicate and image flip
horizontal and move to the far right side of the buildings.
Open element 47 and re-size by 50%. Image flip
horizontal. Copy and paste as a new layer and place on the far left in front of
the light pole. Add a drop shadow.
Open your tube and re-size so she is slightly larger
than the buildings. Image flip horizontal if you wish. Copy and paste as a new
layer and drag under the car layer. Move to the far left but to the right of
the car and tuck her under the front end. Add a drop shadow.
Open element 70 and copy and paste as a new layer.
Re-size and place at the feet of the tube. Add a drop shadow.
Now let’s dress the tag up with elements from the kit.
I will list the elements I used. Feel free to use other elements to make your
tag unique. Placement of the elements is completely up to you. If you want your
tag to look just like mine then use my tag for reference.
Elements I used:
22
24
29
56(duplicated a few times and placed all along the
bottom of the tag)
Add your name.
Add your copyright and licensing information.
Crop and save.


No comments:
Post a Comment