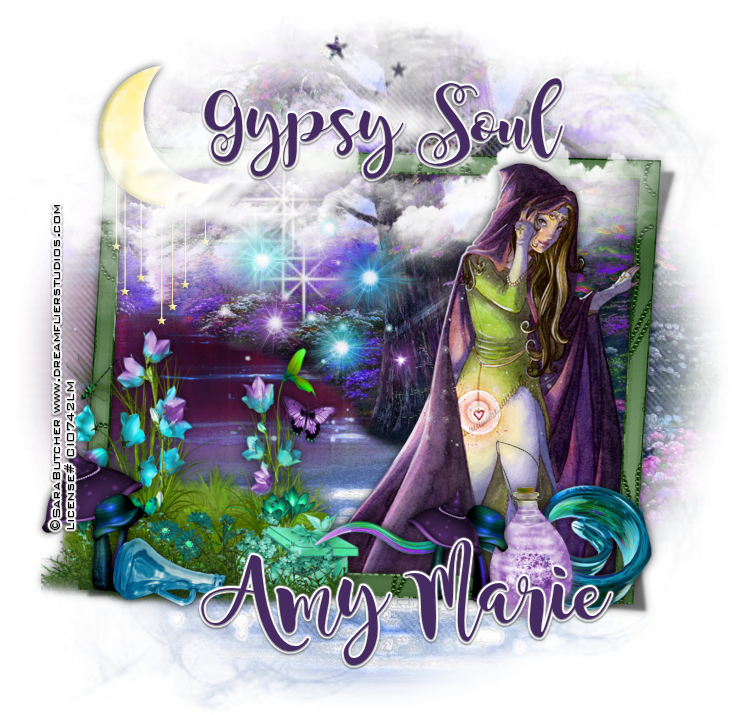
Gypsy Soul
Written 7/4/2016
This tutorial is meant purely as a guide. Feel free to
use your own choice of tube or scrap kit to make your tag unique. If you want
your tag to look just like mine them use the same supplies I have used. This
tutorial assumes you have a knowledge of paint shop pro. Any resemblance to any
other tag or tutorial is completely coincidental.
Supplies Used:
Tube of your choice. I am using the work of Sara
Butcher. I purchased this tube at CILM when they were in business. But you can
now purchase her work at http://cdoestore.com
The stunning scrap kit is Magical Nights by Amy Marie’s
Kits. You can purchase this kit at http://amymarieskits.com/store/
Mask of your choice. I am using mask #8 by Gems Taggin
Scraps. You can get her masks at http://gemstagginscraps.blogspot.com/
Font of your choice. I am using Magnolia Sky. You can
download it at http://www.dafont.com/magnolia-sky.font
Plugins:
Drop shadow used throughout:
0 0 75 12.50 black
Let's Begin:
Open element 77 from the kit. This is going to be the
base of your tag. Shift+D to duplicate. Close the original. Make your canvas
large enough to work with. Using your magic wand select the inside of the
frame. Layers new raster layer and drag under the frame. Selections modify and expand by 3. Open the
paper of your choice from the kit; I used paper 10 and copy and paste into
selection. Selections select none.
Copy and paste the paper again as a new layer and drag
to the very bottom. Apply the mask of your choice and delete the mask layer and
merge the group.
Make your frame layer active and using the magic wand
select the inside of your frame again. Selections modify and expand by 1. Open
your tube and copy and paste as a new layer. Position within the selected frame
area and then use your eraser tool and erase any bits you do not want hanging
out of the frame. Selections select none.
Add a drop shadow to both the tube and the frame.
Open element 35 and re-size by 85%. Copy and paste as
a new layer. Drag under your tube. Place at the top of the frame behind the
head of your tube.
Open element 12 and re-size by 50% and copy and paste
as a new layer and place in the top left corner of the frame. Add a drop
shadow.
Open element 44 and copy and paste as a new layer and
place in front of the moon but you still want to be able to see the moon at the
top and the stars and sparkles through the clouds.
Open element 80 and re-size by 50% and then again by
75%. Copy and paste as a new layer and place in the bottom left hand corner of
the frame. Add a drop shadow. Duplicate and image flip horizontal. Re-size this
duplicate by 75% and move over in front of the tube.
Do the same with element 79.
Open element 81 and re-size by 75%. Image free rotate
to the left 90 degrees. Copy and paste as a new layer and place on the far
right hand side bottom corner of the frame. Add a drop shadow.
Open element 86 and re-size by 65%. Copy and paste as
a new layer and move to the bottom left corner of the frame. Drag under the
mushrooms. Add a drop shadow.
Open element 82 and re-size by 50%. Copy and paste as
a new layer and move under the mushrooms. Place to the right of the mushrooms
on the right hand side. Add a drop shadow.
Open element 87 and re-size by 50% and then again by
75% 2x. Copy and paste as a new layer and place in front of the mushrooms on
the far left side. Add a drop shadow.
Open element 83 and re-size by 50%. Copy and paste as
a new layer and place over the flowers.
Add some text along the top if you wish.
Add your name.
Add your copyright and licensing information.


No comments:
Post a Comment