Showing posts with label Designs By Sue. Show all posts

Friday, August 26, 2016

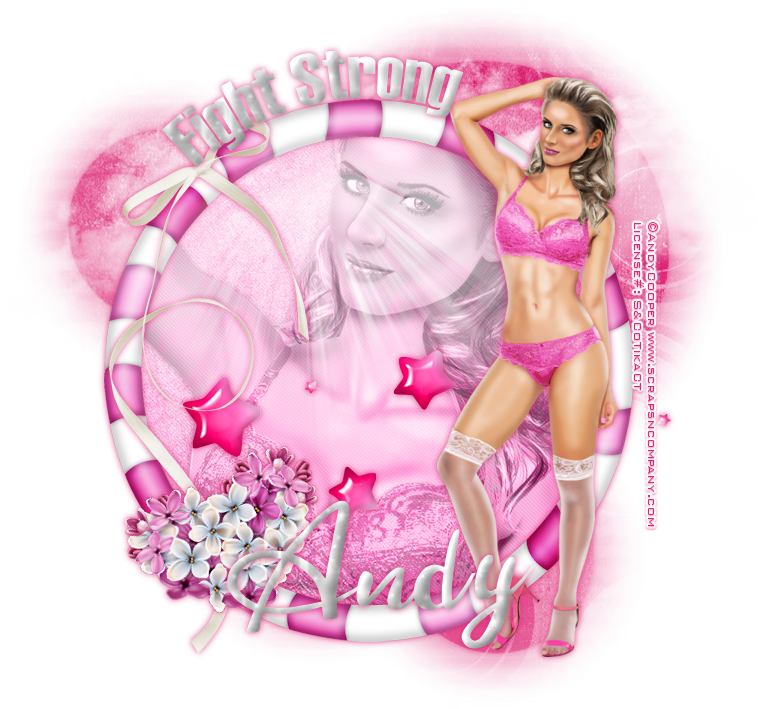
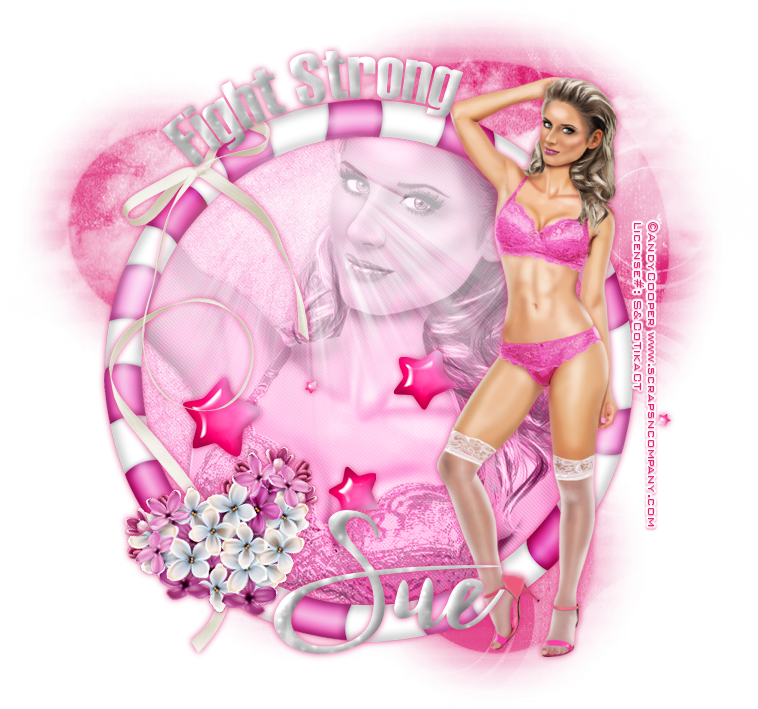
Fight Strong


Fight Strong
Written 8/24/2016
This tutorial is meant purely as a guide. Feel free to use your own choice of tube or scrap kit to make your tag unique. If you want your tag to look just like mine them use the same supplies I have used. This tutorial assumes you have a knowledge of paint shop pro. Any resemblance to any other tag or tutorial is completely coincidental.
Supplies Used:
Tube of your choice. Preferably one with a close up. I am using the work of Andy Cooper. This tube is called Angel Pink and you can purchase her at http://scrapsncompany.com/index.php?main_page=product_info&cPath=113_652_304&products_id=21402
The scrap kit is also called Angel Pink and is by Designz By Sue. You can purchase it at http://scrapsncompany.com/index.php?main_page=product_info&products_id=21458
Mask of your choice. I am using mask 56 by Vix. You can get her masks at http://www.freewebs.com/vixpsp/
Font of your choice. I am using Hattenschweiler and Twister Script(this is a PTU font)
Plugins:
Penta.com Jeans
Drop shadow used throughout:
0 0 85 9.50 Using a dark pink for the color.

Let's Begin:
Open element 19. Shift+D to duplicate. Close the original. Make your canvas large enough to work with.
Open paper 17 and copy and paste as a new layer. Drag under the frame. Apply the mask of your choice. Delete the mask layer and merge the group. Add a drop shadow to the mask using a pink from the paper for your color.
Using your magic wand select the inside of the frame. Selections modify and expand by 3. Open paper 13 and copy and paste as a new layer. Drag under the frame. Selections invert and hit delete. Selections invert again. Open the close up of your tube and copy and paste as a new layer. Position within the frame. Selections invert and hit delete. Selections select none. Change the properties of this layer to luminance legacy. Add a drop shadow to the tube. Merge the tube and paper layers together. Apply penta.com Jeans plugin but change the top value to 10.
Add a drop shadow to the frame.
You can merge the frame layer down to the tube/paper layer if you wish if you like to keep your layer palette clean.
Open your full size tube and copy and paste as a new layer. Re-size until she is just slightly larger than the frame. Move to the far right side of the frame and add a drop shadow.
Now let’s dress the tag up with elements from the kit. I will list the elements I used. Feel free to use other elements to make your tag unique. Placement of the elements is completely up to you. If you want your tag to look just like mine then use my tag for reference.
Elements I used:
2
11
12
38
39
Once you have all the elements you want on the tag then using your preset elipse tool draw out a circle around the outside of the frame. Now place any text you would like on it.
Add your name.
Add your copyright and licensing information.
Crop and save.

Wednesday, January 13, 2016

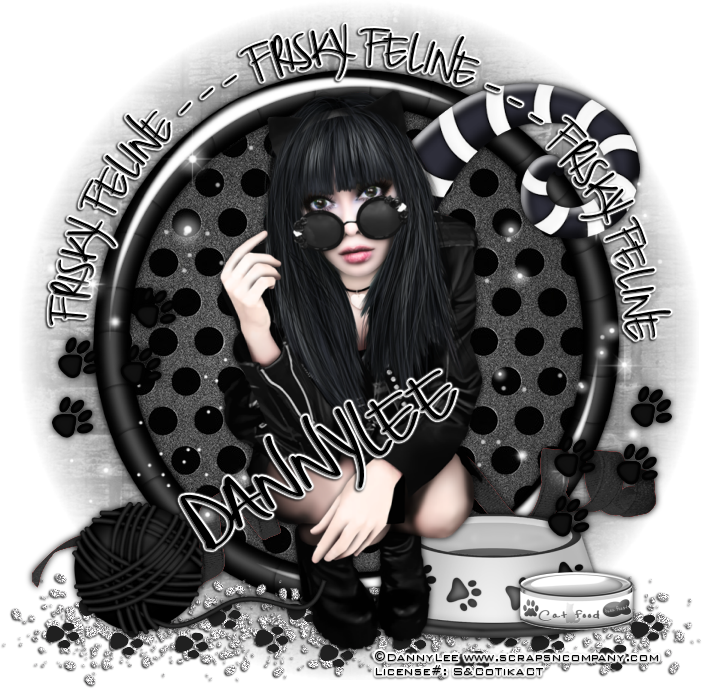
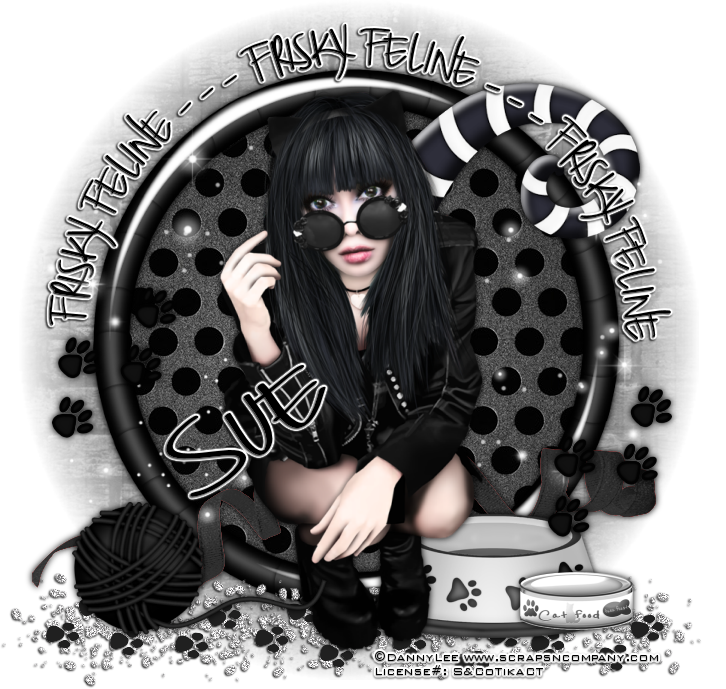
Frisky Feline


Frisky Feline
written 1/12/2016

This tutorial is meant purely as a guide. Feel free to make your tag unique by using your own choice of tube and scrap kit. If you want your tag to look just like mine then use the same supplies as I have used.

Supplies Used:


Scrap Kit by Designz By Sue also called Dark Cat. You can purchase it at http://scrapsncompany.com/index.php?main_page=product_info&products_id=16642

Mask of your choice. I am using mask #154 by insatiable dreams. You can get her great masks at http://insatiabledreams.net/

Font of your choice. I am using Brilliant and you can get it at http://www.dafont.com/brilliant.font

Plugins:
Eye Candy 4000 Gradient Glow

Let's Begin:
Open element 11 and shift+D to duplicate.
Close the original.
Re-size if you wish. This will be the base of your tag.
Make your canvas large enough to work with.
Open paper 14 and copy and paste as a new layer and drag under the frame.
Apply the mask of your choice.
Delete the mask layer and merge the group.
Make your frame layer active.
Using your magic wand select the inside of the frame.
Selections modify and expand by 6.
Open paper 13 and copy and paste as a new layer.
Drag under the frame.
Selections invert and hit delete.
Selections select none.
Add a drop shadow to the frame.
Using your circle preset shape draw out a vector circle around the frame.
Write some text around the top half of the frame.
I added a white gradient glow in white to my text. This is up to you.
Open your tube and copy and paste as a new layer at the top and in the center of the frame area.
Add a drop shadow.
Open element 2 and copy and paste as a new layer and place on the left side near the bottom of the frame.
Add a drop shadow.
Duplicate and move to the right middle of the frame.
Open element 58 and copy and paste as a new layer. Re-size by 60%.
Drag under your tube.
Place at the bottom right.
Add a drop shadow.
Open element 62 and copy and paste as a new layer.
Re-size by 50% 2x.
Move down to just above the bowl layer.
Place in the bottom right of the bowl.
Add a drop shadow.
Open element 69 and copy and paste as a new layer.
Image flip horizontal.
Re-size by 60%.
Move to the lower left of the tag.
Add a drop shadow.
Open element 64 and copy and paste as a new layer.
Drag down to under the bowl and just above the frame.
Place at the bottom of the tag.
Add a drop shadow.
Open element 49 and re-size by 80%.
Copy and paste as a new layer and drag down under your tube.
Place so it is coming out of the right side.
Add a drop shadow.
Open element 43 and re-size so it will fit nicely across your tag.
Drag down to just above your frame.
Open element 4 and copy and paste as a new layer.
Drag to the bottom of the tag and then move the layer to just above the frame.
Add a drop shadow.
Add your name.
Add your copyright and licensing information.
Crop and save.


Tuesday, December 15, 2015

Leave Me Milk & Cookies


Leave Me Cookies & Milk
written 12/15/2015

This tutorial is meant purely as a guide. Feel free to make your tag unique by using your own choice of tube and scrap kit. If you want your tag to look just like mine then use the same supplies that I have used.

Supplies Used:


Font of your choice. I am using Fabulous. You can download it at http://www.fontriver.com/font/fabulous/

Plugins:
Eye Candy 5 Nature : Snowdrift

Let's Begin:
Open element 1 and shift+D to duplicate.
Close the original.
Re-size if desired.
Make your canvas large enough to work with.
Select the inside of the frame with your magic wand.
Selections modify and expand by 6.
Open paper 6 and copy and paste as a new layer.
Drag under the frame.
Selections invert and hit delete.
Selections invert again and modify contract by 5.
Open your tube and copy and paste as a new layer.
Re-size.
Position within the selected part of the frame.
Erase any bits you do not want hanging out.
Selection select none.
Add a drop shadow to your tube and your frame.
Open element 41 and copy and paste as a new layer.
Drag to the bottom.
Move so it is more to the top and left.
Add a drop shadow.
Open element 66 and copy and paste as a new layer and re-size so it fits across the bottom of the frame in front of your tube.
Erase any bits you want as I erased to make it appear his arms were in front of the snow.
Open element 68 and copy and paste as a new layer.
Re-size so it fits nicely along the right side of the frame.
Drag under y our tube layer.
Add a drop shadow.
Open element 63 and copy and paste as a new layer.
Re-size and move to the bottom right near the light pole.
Add a drop shadow.
Open element 59 and copy and paste as a new layer.
Move near the bottom of the frame but above the cookies and milk.
Open element 44 and copy and paste as a new layer.
Re-size and move between the cookies and the light pole.
Add a drop shadow.
Open element 4 and copy and paste as a new layer.
Move to the far right next to the light pole.
Add a drop shadow.
Add your name.
Apply an inner bevel or glass setting of your choice.
Add the eye candy 5 nature snow drift plugin to your name.
Add a drop shadow.
Crop and save.