Showing posts with label Emo. Show all posts

Thursday, August 4, 2016

Goth-ish


Goth-ish
Written 8/4/2016
This tutorial is meant purely as a guide. Feel free to use your own choice of tube or scrap kit to make your tag unique. If you want your tag to look just like mine them use the same supplies I have used. This tutorial assumes you have a knowledge of paint shop pro. Any resemblance to any other tag or tutorial is completely coincidental.
Supplies Used:
Tube of choice. I am using an image by Ted Hammond. I purchased this image when his work was sold at CILM which is no longer in business. However you can now purchase his work at http://cdoestore.com
Scrap Kit is a little Mini Kit by Amy Marie’s Kits called Lexi. You can purchase this kit at http://amymarieskits.com/store/
Font of your choice. I am using Nalika. This is a PTU font.
Plugins:
NONE
Drop shadow used throughout:
0 0 85 11.00 black

Let's Begin:
Open F1 and shift+D to duplicate. Close the original. Image free rotate to the right 90 degrees. Make your canvas large enough to work with.
Using your magic wand select the inside of the frame. Selections modify and expand by 5. Layers new raster layer and drag under the frame. Open a paper of your choice from the kit and copy and paste into selection. Selections select none. I used paper 2.
Add a drop shadow to the frame.
Open your tube and copy and paste as a new layer. Re-size if needed so your tube is just slightly larger than the frame. Move to the far left. Add a drop shadow.
Now we are going to use some of the elements from the kit and make them look like they are inside and popping out of the frame. Use whichever elements you would like or I will the elements I used below.
Elements I used :
2
4
6
10
21
23
30
31
34
39
Add a drop shadow to all elements.
Add some text along the top if you wish.
Add your name.
Add your copyright and licensing information.

Crop and save.

Thursday, March 31, 2016

My Emo Dream


My Emo Dream
written 3/31/2016

This tutorial is meant purely as a guide. Feel free to make your tag unique by using your own choice of tube and scrap kit. If you want your tag to look just like mine then use the same supplies that I have used. This tutorial assumes you have a knowledge of paint shop pro. Any resemblance to any other tutorial or tag is purely coincidental.

Supplies Used:

Tube is an exclusive commission by Lady Mishka. You can purchase her at http://scrapsncompany.com/index.php?main_page=product_info&cPath=490_554&products_id=18667

Lovely matching scrap kit by Bibi's Collection. You can purchase it at http://scrapsncompany.com/index.php?main_page=product_info&products_id=18663

Font of your choice. I am using Pocket Monk. You can download it at http://www.fontspace.com/chequered-ink/pocket-monk

Plugins:
Penta Dot and Cross

Drop shadow used throughout:
2 -2 100 2.00 black

Let's Begin:
Open element 51 and shift+D to duplicate.
Close the original.
Re-size by 75%.
Make your canvas large enough to work with.
Using your magic wand select the inside of the frame.
Selections modify and expand by 10.
Open paper 4 and copy and paste as a new layer.
Drag under the frame.
Selections invert and hit delete.
Selections invert again.
Open your tube and copy and paste as a new layer.
Position her face within the frame.
Selections invert and hit delete.
Selections select none.
Change the properties of the layer to luminance legacy.
Apply the Penta Dot and Cross plugin .. change the amount to 70.
Leave the other settings as default.
Add a drop shadow to both the tube and the frame.
Open element 48.
Copy and paste as a new layer.
Drag to the bottom.
Place in the bottom right corner.
Add a drop shadow.
Duplicate a few times and place all around the frame.
Open element 58 and re-size by 50% and then again by 75%.
Copy and paste as a new layer.
Drag down to just above the blue flowers.
Place around the frame.
Duplicate several times and scatter them all around.
Add a drop shadow to all of them.
Open your tube again and copy and paste as a new layer.
Re-size so she is appropriately sized for your tag.
Add a drop shadow.
Open element 92 and copy and paste as a new layer.
Re-size by 75% 2x.
Move to the bottom center of the tag.
Add a drop shadow.
Open element 97 and re-size by 50%.
Copy and paste as a new layer.
Drag down to just above the frame.
Place on the right side.
Add a drop shadow.
Open element 96 and re-size by 50% 2x.
Copy and paste as a new layer at the top.
Place on the far right of the wordart.
Add a drop shadow.
Open element 40 and re-size by 75% 2x.
Drag under your tube.
Move to the bottom so it looks like the tube is leaning against the pillows.
Add a drop shadow.
Add your name.
Add your copyright and licensing information.
Crop and save.


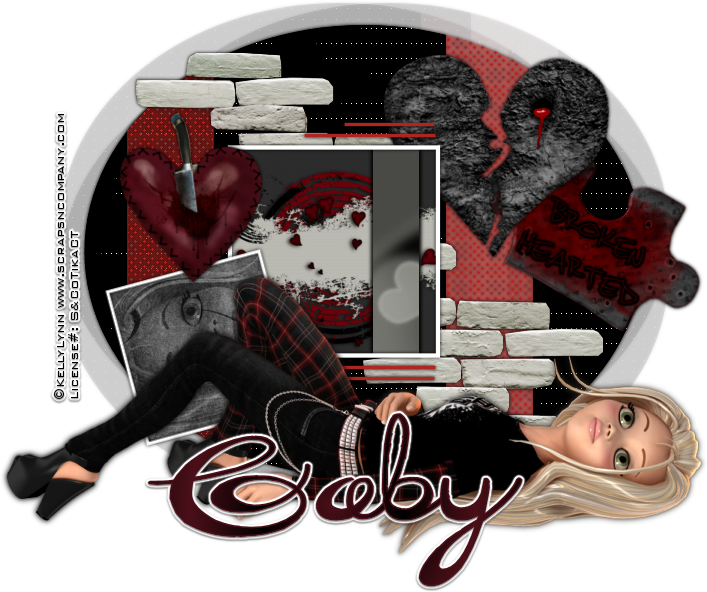
Tuesday, February 24, 2015

Lost In Loneliness


Lost In Loneliness
written 2/24/2015

Supplies Needed:


Template is a collab template by Linda and Tasha. You can get it at http://creativemisfitscreations.blogspot.com/2011/09/collab-templates.html I am using template #1.

Font of your choice. I am using The Daily Bread. You can get it at http://www.dafont.com/the-daily-bread.font

Lets Begin:

Open your template and shift+D to duplicate.
Close the original so you can work with it again later.
Remove the credits, wordart, wordart back & background layers.
Make your canvas large enough to give you plenty of room to create your tag on.
You can crop and re-size when you are finished.
Make the big back layer in the template active.
Selections select all float and de-float.
Layers new raster layer.
Open paper 10 and edit copy and paste into selection.
Selections select none.
Delete the original big back layer.
Make the rectangle layer active.
Selections select all float and de-float.
Open paper 3 and copy and paste as a new layer.
Selection invert and hit delete.
Selections select none.
Delete the original rectangle layer.
Add a drop shadow to the rectangle of
2 2 100 5.00 black
Repeat the drop shadow but change it to
-2 -2 100 5.00 black
Make the small back layer active.
Selections select all float and defloat.
Open paper 7 and copy and paste as a new layer.
Selections invert and hit delete.
Selections invert again.
Open your tube and copy and paste as a new layer.
Position her face within the selected area.
Once happy with placement selections invert and hit delete.
Selections select none.
Adjust hue/saturation colorize and set both values to 0.
Change the properties of this layer to soft light.
Delete the original small back layer.
Now add a drop shadow to each of the remaining layers that you have not yet.
Open your tube again and copy and paste as a new layer.
Image re-size by 75%. This is so she will fit nicely along the bottom of the tag.
Place her so she is laying along the bottom.
Add a drop shadow.
Now lets add some elements and dress this tag up.
Open element 12 and re-size by 75% 2x.
Copy and paste as a new layer and drag all the way down under the layer were you added the paper to the big back.
Place on the top right side.
Add a drop shadow.
Open element 34 and re-size by 75% 3x.
Copy and paste as a new layer at the top.
Move to the left side on top of the 2 frames.
Use my tag for reference if needed.
Open element 62 and re-size by 75% 2x.
Copy and paste as a new layer and drag under the first black heart you added.
Image free rotate to the right 28 degrees.
Adjust sharpen.
Place behind the black heart but peeking out to the bottom right.
Add a drop shadow.
Open element 63 and re-size by 50%.
Copy and paste as a new layer and it should be right where it needs to as far as placement in the layer palette. Move to the top left of the big back framed image.
Add a drop shadow.
Duplicate and move to the lower right of the big back framed image.
Add your name.
Add your copyright and licensing information.
Crop and save.