Showing posts with label Pinup Toons. Show all posts

Thursday, November 17, 2016

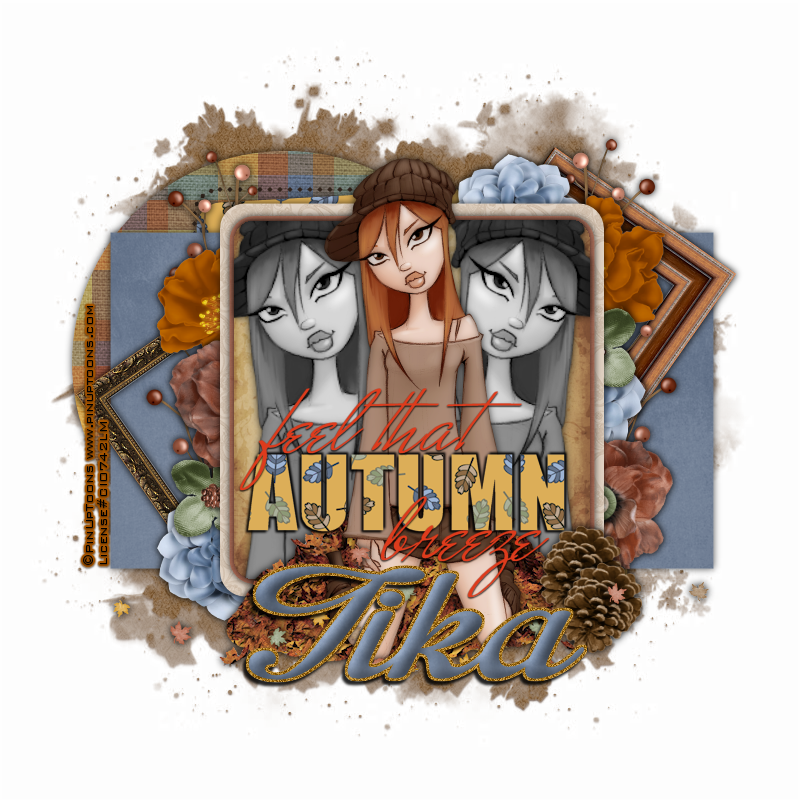
Autumn Breeze

Autumn Breeze
Written 11/17/2016
This tutorial is meant purely as a guide. Feel free to use your own choice of tube or scrap kit to make your tag unique. If you want your tag to look just like mine them use the same supplies I have used. This tutorial assumes you have a knowledge of paint shop pro. Any resemblance to any other tag or tutorial is completely coincidental.
Supplies Used:
Tube of your choice. I am using one by Pinup Toons. I purchased this tube when they were with CILM(which is now closed) but you can purchase their tubes at http://cdoestore.com/
Scrap kit is a freebie add on kit by Manipulated by Magik. It is called Shabby Autumn. You can download it at http://manipulatedbymagik.blogspot.com/2016/09/shabby-autumn-freebie-add-on-kit.html?zx=360c408fd0a908f
Mask is by Rachel Designs. You can download it at https://racheldesignsblog.wordpress.com/2016/10/14/mask-set-132/
Font of your choice. I am using Impregnable. You can download it at http://www.fontspace.com/m%C3%A5ns-greb%C3%A4ck/impregnable-personal-use-only
Plugins:
Xero Greyscaler
Xero Porcelain
Drop shadow used throughout:
0 0 70 11.00 black

Let's Begin:
Open your tag template and shift+D to duplicate. Close the original. Remove the cr and background layers. Make your canvas large enough to work with.
Fill each layer of the tag template using either papers from the kit, colors of  your choice, gradients of your choice or textures of your choice.
Add a drop shadow to each of the text layers and merge them together.
Add a drop shadow to each of the other layers.
On the center top square of the template selections select all float and defloat. Open your tube and copy and paste as a new layer. Move to far left of the square. Selections invert and hit delete. Selections select none. Apply Xero Greyscaler using the default settings. Apply Xero Porcelain using the default settings. Add a drop shadow. Duplicate. Image flip horizontal and move to the far right side of the square area. Merge these 2 layers together.
Open your tube again and copy and paste as a new layer. Position in the center. Apply the Xero Porcelain filter using the default settings. Add a drop shadow.
Move the wordart/text to the center of the tag.
Open paper 4 and copy and paste as a new layer. Drag to the bottom. Apply the mask of your choice. Delete the mask layer and merge the group. I added a slight drop shadow to the mask to help is stand out a bit .. this is completely up to you.
Now let’s dress the tag up with elements from the kit. I will list the elements I used. Feel free to use other elements to make your tag unique. Placement of the elements is completely up to you. If you want your tag to look just like mine then use my tag for reference.
Elements I used:
Berry branch 2
Flower 1
Flower 2
Flower 3
Flower 4
Pine cone
Leaf scatter
Frame 4
Frame 2
Add your name.
Add your copyright and licensing information.
Crop and save.



Thursday, September 22, 2016

Fright Night


Fright Night
Written 9/21/2016
This tutorial is meant purely as a guide. Feel free to use your own choice of tube or scrap kit to make your tag unique. If you want your tag to look just like mine them use the same supplies I have used. This tutorial assumes you have a knowledge of paint shop pro. Any resemblance to any other tag or tutorial is completely coincidental.
Supplies Used:
Tube of your choice. I am using the work of Pinup Toons. You can purchase this tube at http://cdoestore.com I purchased this tube when PUT was with CILM.
Scrap kit is a great lil Halloween mini kit by Amy Marie’s Kits. It is called Lexi’s Halloween Collection. You can purchase it at http://amymarieskits.com/store/
Mask of your choice. I am using mask #281 by Vix. You can get her masks at http://www.freewebs.com/vixpsp/
Font of your choice. I am using Humblle Rought. You can download it at http://www.dafont.com/humblle-rought.font
Plugins:
NONE
Drop shadow used throughout:
0 0 100 12.50 black
Let's Begin:
Open F1 from the kit and shift+D to duplicate. Close the original. Make your canvas large enough to work with. Using your magic wand select the inside of the frame. Selections modify and expand by 3. Layers new raster layer and drag under the frame. Open paper 5 and copy and paste into selection. Selections select none.
Copy and paste the same paper again and drag to the bottom. Apply the mask of your choice. Delete the mask layer and merge the group.
Add a drop shadow to the frame.
Open element 8 and copy and paste as a new layer and move to the far right side of the frame. Add a drop shadow.
Open element 9 and copy and paste as a new layer and place center bottom of the frame. Add a drop shadow.
Open your tube and copy and paste as a new layer. Re-size as needed. Place so she is sitting in the bottom of the frame. Add a drop shadow.
Open element 24 and re-size as needed. Copy and paste as a new layer. Drag down under the grass. Move to the far left. Add a drop shadow.
Open element 50 copy and paste as a new layer and place at the top of the framed area mostly over the image inside of the frame.
Open element 3 and re-size. Copy and paste as a new layer and place at the top over the tree. Add a drop shadow.
Open element 18 and copy and paste as a new layer and re-size as needed. Move to the far left near the headstone. Add a drop shadow.
Add your name.
Add your copyright and licensing information.
Crop and save.


Tuesday, September 29, 2015

Summer Swim


Summer Swim
written 6/23/2015

Supplies Needed:

I am using an older Pin up Toons tube. You can get PUT tubes at http://cdoestore.com

Scrap kit is a freebie by Scrappin Krazy Designs. You can get it at http://scrappinkrazydesigns.blogspot.com/2012/03/ftu-kit-mermaidia.html

Mask of your choice. I am using mask #200 from http://insatiabledreams.net

Font of your choice. I am using Paris Bold. You can get it at http://www.fontpalace.com/font-download/Paris+Bold/

Plugins:
NONE

Let's Begin:
Open element 48 and shift+D to duplicate.
Close the original.
Make your canvas large enough to work with.
Open paper 3 and copy and paste as a new layer.
Drag under the frame.
Apply the mask of your choice.
Delete the mask layer and merge the group.
Using your magic wand select the inside of the frame.
Selections modify and expand by 6.
Layers new raster layer and drag under the frame.
Open paper 9 and copy and paste into selection.
Selections select none.
Add a drop shadow to the frame.
Open your tube and copy and paste as a new layer.
Place where you want. Mine is sitting on the bottom of the frame.
Add a drop shadow to the tube.
Open element 23 and copy and paste as a new layer.
Drag under the tube and place at the bottom so she is sitting/standing on it.
Open element 21 and re-size by 50%.
Copy and paste as a new layer and place in the sand to the right of your tube.
Add a drop shadow.
Open element 20 and re-size by 50% 2x and copy and paste as a new layer and place in the bottom in the sand to the left of your tube.
Add a drop shadow.
Open element 13 and re-size by 50%.
Copy and paste as a new layer and place in the bottom in the sand.
Add a drop shadow.
Open element 4 and copy and paste as a new layer within the frame area.
Open element 24 and element 25 and copy and paste as a new layer.
Drag behind your tube and place near the top overlapping the frame.
Add your name.
Add your copyright and licensing information.
Crop and save.
 

Spring Time


Spring Time
Written 4/6/2015

Supplies Needed:

Tube of your choice. I am using the artwork of Pinup Toons. You can get this image at www.cdoestore.com


Font of your choice. I am using 2 Peas Notebook. It is a PTU font.

Plugins:
NONE

Let's Begin:
Open your template and shift+D to duplicate it.
Close the original so you can use it again.
Delete the creators information and background layers.
Make your canvas large enough to work with.
Starting at the bottom lets fill the layers with papers from the kit.
You can either flood fill or paste the papers as new layers and delete the original layers; its completely up to you.
Either way select each layer by going to selections select all float and defloat and then use the method that you choose.
I will give you the papers I used on each layer:
Layer 1 use paper 1
Layer 2 use paper 2
Layer 3 do not fill with paper but apply noise by going to adjust add/remove noise. Add noise at uniform and monochrome at 75%.
Layer 4 use paper 10
Layer 5 use paper 9
Layer 6 apply the same noise as you did above to layer 3.
Merge layers 7 & 8 together and use paper 7.
Add a slight drop shadow to all layers.
I used the following drop shadow settings:
0 0 60 5.50 black
Open your tube and copy and paste as a new layer.
Position where you want.
I chose to place mine on the right hand side of the tag.
Add a drop shadow to your tube.
Now lets add some elements to dress it up.
The placement of elements is completely up to you so I will just tell you which elements I used and you can position them where you want.
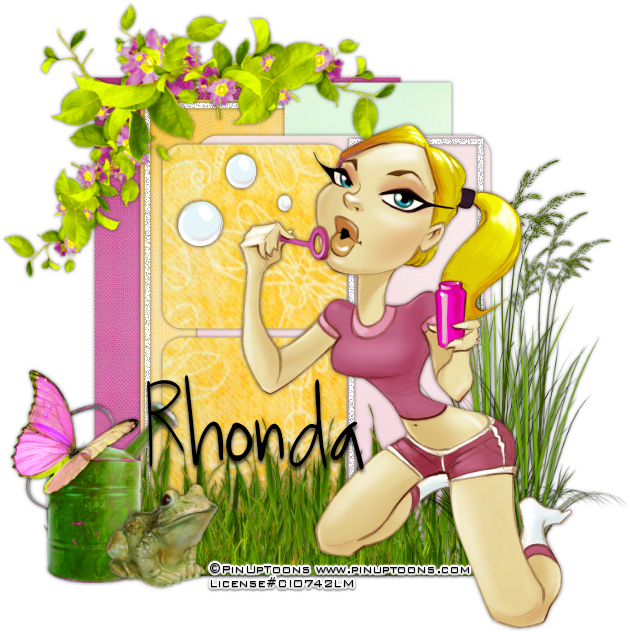
Grass 1
Grass 2
Vine
Watering Can
Butterfly
Frog
Add your name.
Add your copyright and licensing information.
Crop and save.


Crisp Autumn


Crisp Autumn
written 11/6/2014

Supplies Needed:

Tube of your choice. I am using the work of Pinup Toons. You can get this tube at www.cdoestore.com

Scrap Kit is a freebie by Simone. You can get it at http://scrappybitoffun.blogspot.com/2009/09/autumn-scrap-kit-freebie.html

Mask of your choice. I am using mask #275 by Weescotlass Creations. You can get this mask at http://weescotslasscreations.blogspot.com/2009/04/masks.html

Font of your choice. I am using 2 Peas Beef and Broccoli.

Lets Begin:
Open paper 9 and shift +d to duplicate.
Close the original.
Re-size to a nice workable size. You are going to use this to apply your mask to.
Promote the background layer to raster layer.
Apply your mask and delete the mask layer and then merge the group.
Make your canvas large enough to work with.
Add a nice drop shadow to the mask layer.
I used
0
0
100
9.50
dark brown color from the paper.
Open your tube and copy and paste as a new layer and place on the far left of the mask area.
Add a drop shadow.
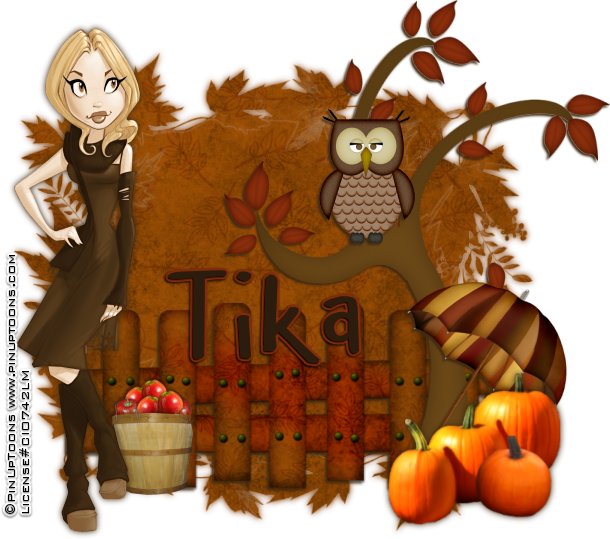
Open the barrel of apples and copy and paste as a new layer.
Drag under your tube and move to the right of your tube kind of behind the leg.
Open element 6 and re-size by 85% 2x.
Copy and paste as a new layer and move to the far right side of the tag at the bottom.
Add a drop shadow.
Open tree 1 and re-size by 75%.
Copy and paste as a new layer and drag under the pumpkins.
Move to the far right behind the pumpkins.
Add a drop shadow.
Open owl from the kit and re-size by 50%.
Copy and paste as a new layer and place so it is sitting in the tree.
Open umbrella 3 and image flip horizontal.
Re-size by 60%.
Copy and paste as a new layer and move to the far right in front of the tree but behind the pumpkins.
Add a drop shadow.
Open fence and re-size by 60% and then again by 90% and copy and paste as a new layer layer.
Drag to just above your mask and position along the bottom of the mask area.
Add a drop shadow.
Add your name.
Add your copyright and licensing information.
Crop and save.