Showing posts with label Fantasy. Show all posts

Monday, September 26, 2022

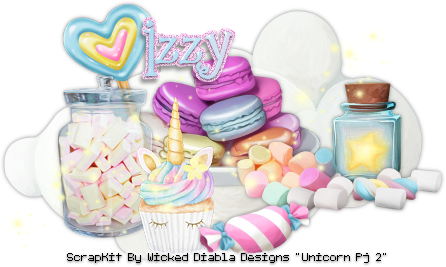
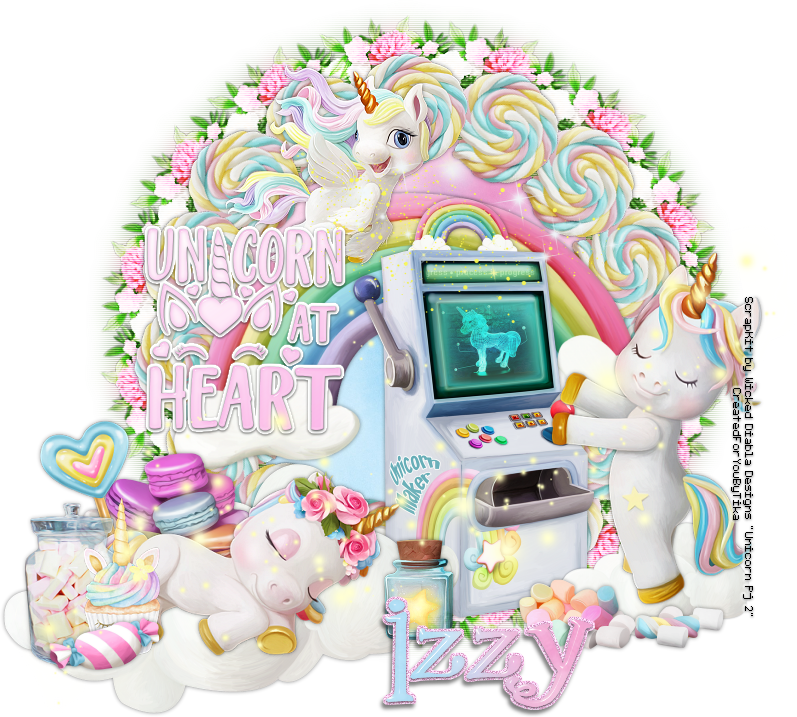
Unicorn At Heart 3 Piece Set


Unicorn At Heart

Written 9/25/2022

This tutorial is meant purely as a guide. Feel free to use your own choice of tube or scrap kit to make your tag unique.

If you want your tag to look just like mine, then use the same supplies I have used. This tutorial assumes you have a knowledge

of paint shop pro. Any resemblance to any other tag or tutorial is completely coincidental.


*THIS IS A SCRAP ONLY TAG*


Supplies Used:

Scrap Kit is by Wicked Diabla Designs. It is called Unicorn PJ. You can purchase it at www.wickeddiabladesigns.com

Font of your choice. I am using 2 Peas Mister Giggles

Plugins: (plugins are most generally optional)

Mura Meister Copies - Encircle

Let's Begin:

Open element 7 and shift+D to duplicate. Close the original. Make your canvas the size you want it to be to work with. Make sure you give  yourself plenty of working space.

Resize this element pretty small. I went 50% 2x and then 60%. Adjust sharpness-sharpen.

Open Mura Meister copies and select the encircle option.

Use the settings I have used below:
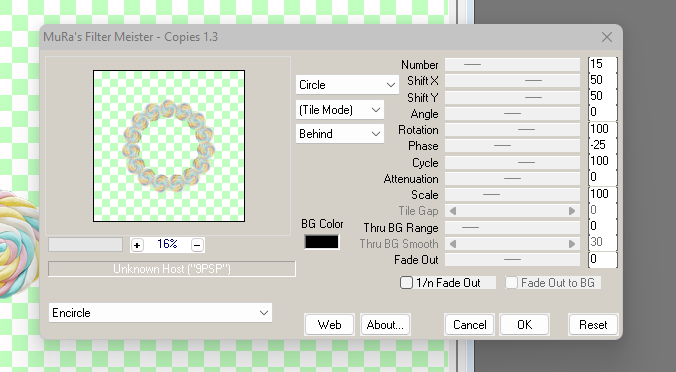


Open element 73. Copy and paste as a new layer. Again resize pretty small. I went 50% 2x and then 70%.

Again apply the Mura Meister copies – Encircle. Use the same settings as above. You will notice once you do this it will be pretty large so just resize to the size you want so it just peeks out from behind your first frame. I did 85% and then 95% to get it how I wanted it.

Duplicate this bottom frame layer. Apply Adjust Blur Gaussian Blur at 10. Change the property layer to Overlay. Apply Effects Texture Effects Blinds 2x using the settings below:
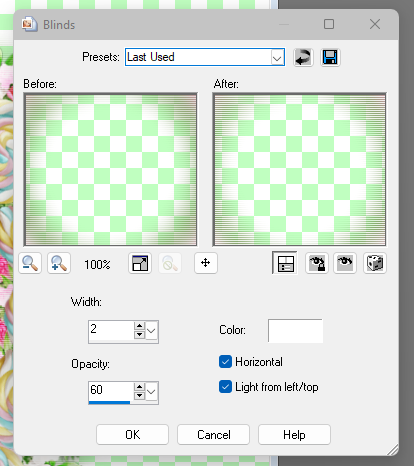


Make your top frame layer active. This should be the candy layer. Using your magic wand select the inside of the frame and go to Selections Modify Expand by 6. Layers new raster layer and drag under the candy frame layer.

Open paper 9 and copy and paste into selection.

Selections select none.

Add a drop shadow of your choice to the candy frame layer.

Open element 90. Copy and paste as a new layer. Resize to where its just smaller than the frames.

Place somewhere near the middle of your frame. Add a drop shadow.

Open element 15 and resize. Not too small. You can use my tag as a reference point. Place on the right side of your tag. Add a drop shadow.

Open element 12. Copy and paste as a new layer and resize to a pretty small size. Again you can use my tag a s reference. Place at the top of the rainbow but more to the left side just a bit. Add a drop shadow.

Open element 3 and copy and paste as a new layer. Resize again and again not too small. More like the size you did the first one. Place at the bottom left of the tag. Add a drop shadow.

Open element 8. Copy and paste as a new layer. Resize again. Not too small on this first one. But just slightly larger than the unicorn laying down. Drag under the laying unicorn and position so it looks like she is laying on it. Add a drop shadow.

Duplicate this cloud layer and resize again fairly small. I went 50% of the first one. Drag under the layer with the unicorn standing. Position under her feet so it looks like she is standing on it.


Now let’s dress the tag up with elements from the kit. I will list the elements I used. Feel free to use other elements to make your tag unique. Placement of the elements is completely up to you. If you want your tag to look just like mine, then use my tag for reference.

Elements I used:

5

13

28

42

43

44

66

88

91

96

Add your copyright information if you choose to use a tube.

Don’t forget your license information.

If you use just the scrap kit please be kind and give credit where credit is due.

Add your name.

Crop and resize if you wish.

If you want to make a 3 piece set like mine they are simple to make. Create an avatar and to make a banner I just take elements I used in the tag make them smaller and arrange them how I want.

Thanks for trying my tutorial. 

♥♥♥♥

Friday, August 5, 2016

Just Believe


Just Believe
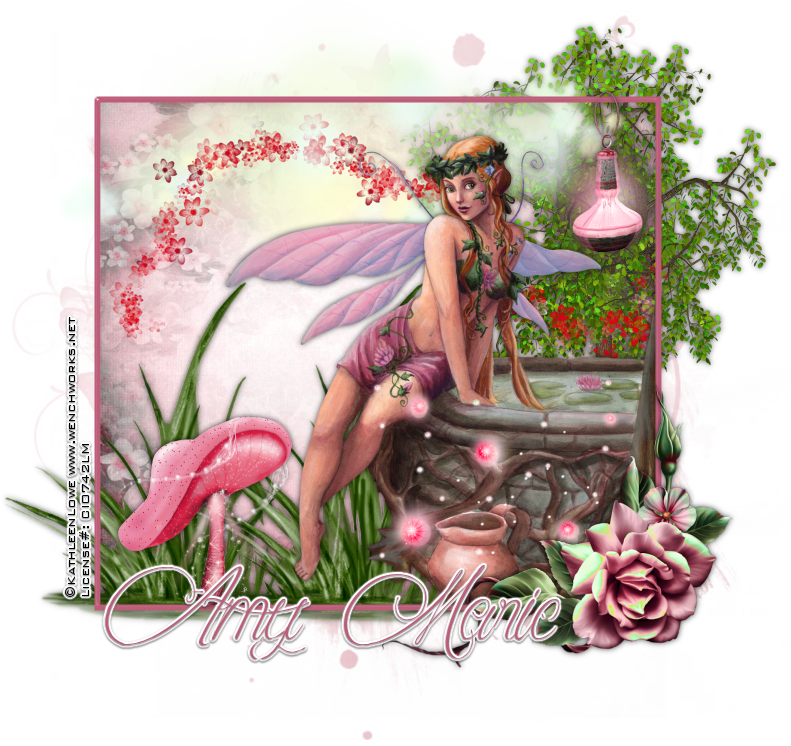
Written 8/5/2016
This tutorial is meant purely as a guide. Feel free to use your own choice of tube or scrap kit to make your tag unique. If you want your tag to look just like mine them use the same supplies I have used. This tutorial assumes you have a knowledge of paint shop pro. Any resemblance to any other tag or tutorial is completely coincidental.
Supplies Used:
Tube of your choice. I am using the work of Kathleen Lowe. I purchased this tube when she was with CILM which is no longer around. I am not sure where you can get her work now.
The scrap kit is called Magical Mini by Amy Marie’s Kits. You can purchase this kit at http://amymarieskits.com/store/
Mask of your choice. I am using mask #362 by Vix. You can get her masks at http://www.freewebs.com/vixpsp/
Font of your choice. I am using Midnight Legend. You can download it at http://www.dafont.com/de/midnight-legend.font
Plugins:
Eye Candy 4000 Glass
Drop shadow used throughout:
0 0 70 8.50 black

Let's Begin:
Open the tube of your choice and shift+D to duplicate. Close the original.
Since my tube is a half tube/cut off on one side I needed to draw my frame around the tube. However if your tube is not and you do not want to draw the frame around it then just draw a frame out that you are happy with that will be the base of your tag. I chose a color from my tube and used my preset rectangle shape. Once you are done convert your frame to a raster layer. Apply a glass effect using your Eye Candy 4000 Glass.
Using your magic wand select the inside of the frame. Selections modify and expand by 1. Layers new raster layer and drag to the bottom. Open paper 8 and copy and paste into selection. Selections select none.
Add a drop shadow to your tube.
Open the paper of your choice from the kit and copy and paste as a new layer. Drag to the bottom. Apply the mask of your choice. Delete the mask layer and merge the group.
Now let’s dress the tag up with elements from the kit. I will list the elements I used. Feel free to use other elements to make your tag unique. Placement of the elements is completely up to you. If you want your tag to look just like mine then use my tag for reference.
Elements I used:
10
15
23
24
30
37
44
48
Add a drop shadow to each of the elements.
Add your name.
Add your copyright and licensing information.
Crop and save.


Wednesday, July 6, 2016

Gypsy Soul


Gypsy Soul
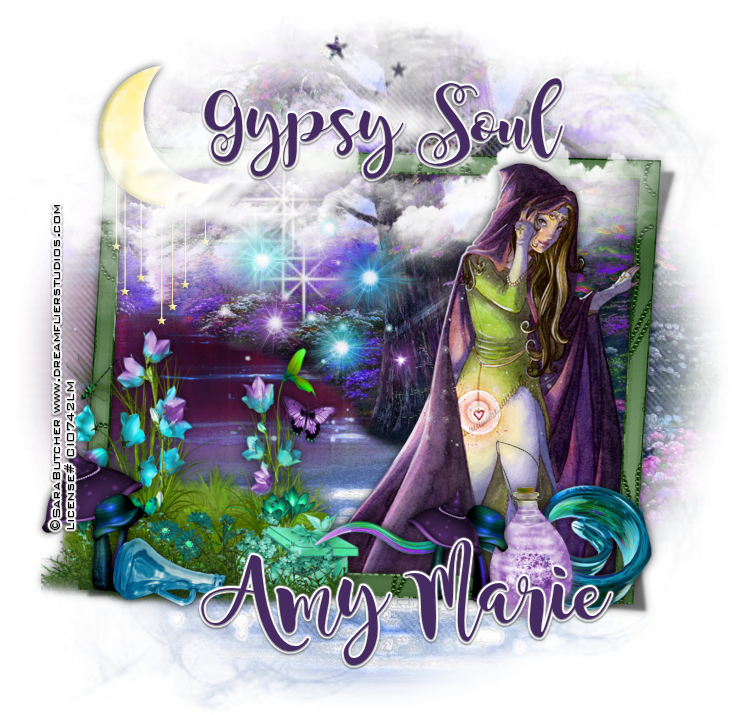
Written 7/4/2016
This tutorial is meant purely as a guide. Feel free to use your own choice of tube or scrap kit to make your tag unique. If you want your tag to look just like mine them use the same supplies I have used. This tutorial assumes you have a knowledge of paint shop pro. Any resemblance to any other tag or tutorial is completely coincidental.
Supplies Used:
Tube of your choice. I am using the work of Sara Butcher. I purchased this tube at CILM when they were in business. But you can now purchase her work at http://cdoestore.com
The stunning scrap kit is Magical Nights by Amy Marie’s Kits. You can purchase this kit at http://amymarieskits.com/store/
Mask of your choice. I am using mask #8 by Gems Taggin Scraps. You can get her masks at http://gemstagginscraps.blogspot.com/
Font of your choice. I am using Magnolia Sky. You can download it at http://www.dafont.com/magnolia-sky.font
Plugins:
Drop shadow used throughout:
0 0 75 12.50 black

Let's Begin:
Open element 77 from the kit. This is going to be the base of your tag. Shift+D to duplicate. Close the original. Make your canvas large enough to work with. Using your magic wand select the inside of the frame. Layers new raster layer and drag under the frame.  Selections modify and expand by 3. Open the paper of your choice from the kit; I used paper 10 and copy and paste into selection. Selections select none.
Copy and paste the paper again as a new layer and drag to the very bottom. Apply the mask of your choice and delete the mask layer and merge the group.
Make your frame layer active and using the magic wand select the inside of your frame again. Selections modify and expand by 1. Open your tube and copy and paste as a new layer. Position within the selected frame area and then use your eraser tool and erase any bits you do not want hanging out of the frame. Selections select none.
Add a drop shadow to both the tube and the frame.
Open element 35 and re-size by 85%. Copy and paste as a new layer. Drag under your tube. Place at the top of the frame behind the head of your tube.
Open element 12 and re-size by 50% and copy and paste as a new layer and place in the top left corner of the frame. Add a drop shadow.
Open element 44 and copy and paste as a new layer and place in front of the moon but you still want to be able to see the moon at the top and the stars and sparkles through the clouds.
Open element 80 and re-size by 50% and then again by 75%. Copy and paste as a new layer and place in the bottom left hand corner of the frame. Add a drop shadow. Duplicate and image flip horizontal. Re-size this duplicate by 75% and move over in front of the tube.
Do the same with element 79.
Open element 81 and re-size by 75%. Image free rotate to the left 90 degrees. Copy and paste as a new layer and place on the far right hand side bottom corner of the frame. Add a drop shadow.
Open element 86 and re-size by 65%. Copy and paste as a new layer and move to the bottom left corner of the frame. Drag under the mushrooms. Add a drop shadow.
Open element 82 and re-size by 50%. Copy and paste as a new layer and move under the mushrooms. Place to the right of the mushrooms on the right hand side. Add a drop shadow.
Open element 87 and re-size by 50% and then again by 75% 2x. Copy and paste as a new layer and place in front of the mushrooms on the far left side. Add a drop shadow.
Open element 83 and re-size by 50%. Copy and paste as a new layer and place over the flowers.
Add some text along the top if you wish.
Add your name.
Add your copyright and licensing information.
Crop and save.


Saturday, June 18, 2016

Wings Of Enchantment


Wings Of Enchantment
Written 6/18/2016
This tutorial is meant purely as a guide. Feel free to use your own choice of tube or scrap kit to make your tag unique. If you want your tag to look just like mine them use the same supplies I have used. This tutorial assumes you have a knowledge of paint shop pro. Any resemblance to any other tag or tutorial is completely coincidental.
Supplies Used:
Tube of your choice. I am using a tube by Anna Marine. You can purchase this tube at http://cdoestore.com
The beautiful scrap kit is by Amy Marie’s Kits. It is called Fairy Garden. You can purchase it at http://amymarieskits.com/store/
Cloud brushes of your choice. You can find some awesome brushes at http://www.deviantart.com/browse/all/?section=&global=1&q=cloud+brushes
Mask of your choice. I am using mask #81 by moonbeams and spiderwebs. You can get this mask at http://moonbeamsandspiderwebs.blogspot.com/search/label/Masks
Font of your choice I am using Nafeeza Script. This is a PTU font.
Plugins:
Animation Shop
Drop shadow used throughout:
0 0 70 15.00  Dark Grey
**NOTE: This is an animated tag and choosing to animate or not is completely up to you. There are many ways to animate tags and accomplish different animations. I simply show the way that I do it however if you know of a different way to accomplish the same thing then feel free to do it your way. **

Let's Begin:
Open paper  12 and shift+D to duplicate. Close the original. Promote the background layer to a raster layer. Re-size if you wish. Make your canvas large enough to give you room to work with. Apply the mask of your choice. Delete the mask layer and merge the group.
Open our tube and copy and paste as a new layer. Position within the center of the mask area. We are going to build the tag out around the tube. Re-size if needed. Add a drop shadow.
Open element 67 and copy and paste as a new layer. Drag under your tube. Move to the bottom so your tube is standing on it. Add a drop shadow.
Open element 107 and re-size by 85%. Copy and paste as a new layer and drag under the leaves layer. Move to the bottom behind the tube and the leaves. DO NOT ADD A DROP SHADOW to this layer.
Open element 148 and copy and paste as a new layer. Move to the far right of the tag behind your tube. Add a drop shadow.
Open element 116 and re-size by 65%. Copy and paste as a new layer. Move to the bottom left of the tag in front of your tube. Add a drop shadow.
Open element 91 and copy and paste as a new layer and drag under the water element. Place behind it but so you can see it. Add a drop shadow.
Open element 60 and copy and paste as a new layer. Move so it appears to be hanging from the right side of the archway. NO DROP SHADOW ON THIS ELEMENT.
Open element 50 and re-size by 75% 2x. Copy and paste as a new layer and place behind the water element but in front of the grass and to the right closer to your tube. Add a drop shadow.
Open element 41 and re-size by 60% and then again by 75% 2x. Copy and paste as a new layer and place in nearly the same place as the last element but so it is showing out the left of the water element. Add a drop shadow.
Open element 11 and re-size by 50% 3x and copy and paste as a new layer and move to the bottom in front of the right side of the archway. Add a drop shadow.
Open element 96 and re-size by 50%. Copy and paste as a new layer and place at the bottom on the right side of the water element. Add a drop shadow.
Layers new raster layer. Apply the cloud brush or brushes of your choice. Drag down to under the archway and of course position at the top of the tag.
Open element 138 and re-size. Copy and paste as a new layer and place so it appears to be sitting on the water element feature to the left. This is the part we are going to animate. DO NOT ADD A DROP SHADOW.
Add your name.
Add your copyright and licensing information.
Now let’s get ready to animate:
Crop your tag.
Hide the butterfly layer.
Merge visible all other layers.
Layers new raster layer and drag to the bottom and flood fill with white.
Unhide your butterfly layer and copy it and open animation shop and paste as a new animation. Go to Effects Insert Image Effect and select compress. Use the settings below:

Select all frames in the butterfly animation.
Back to psp and hide the butterfly layer and edit copy merged the other 2 layers. Open animation shop and edit paste as a new animation. Take note of the amount of frames in your butterfly animation. Should be 8. Duplicate your tag frames to have the same amount. Select all frames. Go to Animation and frame properties and change the value to 20. Now grab the first frame of the butterfly animation and drag it onto the first frame of the tag. Once you have it where you think you want it let go of your mouse button. View your animated tag. If you are happy then optimize and save. If you are not happy you can undo and redo until you are happy.
Once you are done re-size your tag if needed/wanted.

You’re all done!!

Saturday, May 14, 2016

Magical Garden


Magical Garden
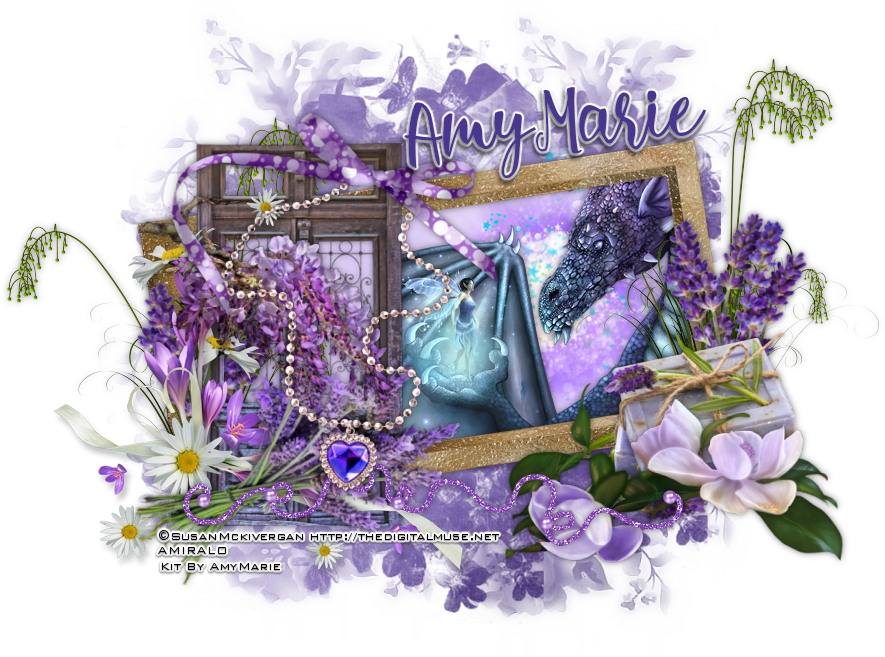
Written 5/14/2016
This tutorial is meant purely as a guide. Feel free to make your tag unique by using your own choice of tube and scrap kit. If you want your tag to look like mine then use the same supplies I have used. This tutorial assumes you have knowledge of paint shop pro. Any resemblance to any other tag or tutorial is purely coincidental.
Supplies Used:
Tube by Susan McKivergan. I purchased this tube when she was at AMI. AMI is no longer in business and I am not sure where to purchase or if you can even still purchase her work in psp tube format.
Scrap kit is by Amy Marie. It is called Lavender Garden. You can purchase Amy’s amazing kits at http://amymarieskits.com/store/
Mask of your choice. I am using mask #3 from set 115 by Rachel’s Designs. You can download the mask from https://racheldesignsblog.wordpress.com/2016/05/07/mask-set-115/
Font of your choice. I am using lovelight. This is a PTU font.
Plugins:
NONE
Drop shadow used throughout:
0 0 50 10.00 black

Let’s Begin:
Open element 34 from the kit and shift+D to duplicate. Close the original. Make your canvas large enough to work with.
Open paper 11 and copy and paste as a new layer. Drag under the frame. Apply the mask of your choice. Delete the mask layer and merge the group.
Make the frame layer active and using your magic wand select the inside of the frame. Selections modify and expand by 3. Open paper 2 and copy and paste as a new layer. Drag under the frame. Selections invert hit delete to clear the excess paper. Selections invert again.
Open your tube and copy and paste as a new layer. Drag under the frame and position within the frame. Selections invert and hit delete to clear the excess tube. Selections select none. Add a drop shadow to the tube and the frame layers.
Lets dress this tag up with some of the awesome elements from the kit. I will list the elements I used and you can choose to use the same or use others. Placement of the elements is also up to you and will probably depend largely on the tube you use. If you want your tag to look just like mine then use my tag for reference.
Elements Used:
16
24
25
41
57
74
79
92
93
101 (I used this to help cover the fact my tube was cut off and did not fill the frame)
117
118
Add your name.
Add your copyright and licensing information.
Crop and save.